


How to Plug a Leaky Tire

Updated: Feb. 15, 2023
Got a flat tire? If a small puncture is the culprit, there's a good chance you can fix it yourself. Learn how to plug a tire and get back on the road.

Introduction
Modern vehicle tires are tough, standing up well to rough terrain and thousands of miles of driving. Trouble is, tires are not invincible. Every so often car tires spring leaks. Air can start leaking from anywhere on a tire, and the location of the leak determines whether or not you can fix it yourself. And if you can't fix it yourself, the location of the leak will also tell you if you need a professional repair or a new tire.
Whether or not your tire is tubed or tubeless affects things, too, because only tubeless tires can be repaired using the technique of plugging that we'll show you here. The good news is that modern vehicles always have tubeless tires, and this means that repairing with a rubber plug is often an option.
Plugging a tubeless tire is only a possibility when your puncture is in the tread area. If the air leak is where the sidewall of the tire meets the rim — this is called a "bead leak" — you'll need to visit a mechanic with a tire machine to dismount the tire from the rim and remount it with sealing liquid applied to the bead. If your sidewall has been punctured, you need a new tire, because damage there can lead to a blowout at highway speeds, even after repair.
Learn exactly how to plug a tire so next time you spring a leak between your treads, you'll be able to get up and running again in record time.
Total time completing the repair is about 15 minutes. Doing the work yourself will save you about $20 and the time spent driving to the garage and waiting.
Tools Required
- Car jack
- Pliers
- Spray Bottle
- Tire plugging kit
- Wire cutters
Materials Required
- Paper towels
- Soap and water solution
- Tire plug strips
- Tire sealing cement
Project step-by-step (7)
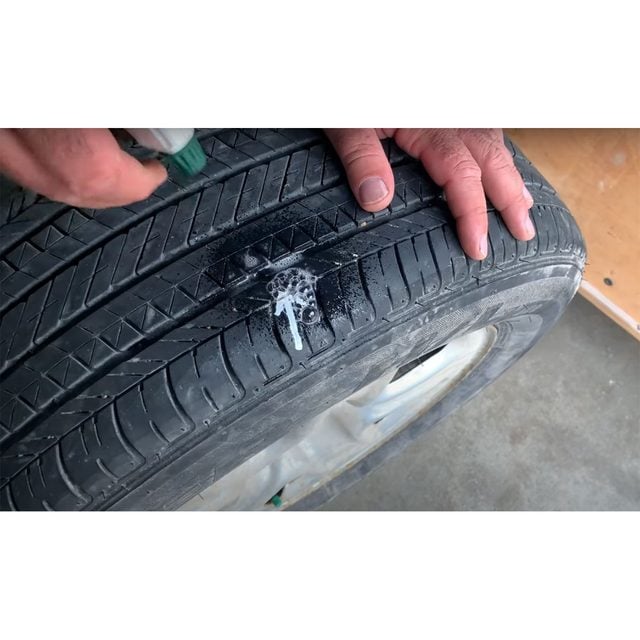
Find the Leak
- Pump enough air into the tire to fill it out and make it firm to finger pressure.
- Examine the tire closely to find the leak. There’s no need to remove the wheel from the vehicle for this, but you will find it handy to lift the vehicle up with a car jack to take the weight off the tire and allow it to be rotated.
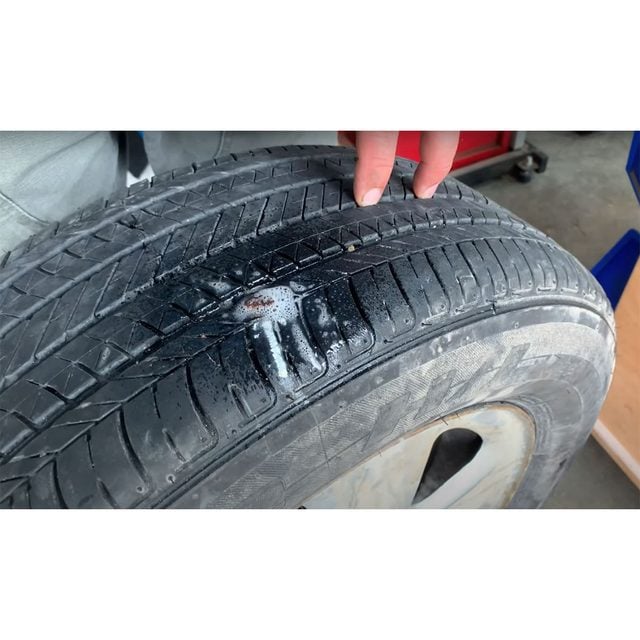
- Spray the tire methodically with a spray bottle containing a mixture of 20 percent soap and 80 percent water, if the location of the leak isn’t obvious. Constant bubbles indicate the location of the leak.
- Use pliers to pull out any nail, screw, staple or stray metal that has caused the leak.
Ream Out the Hole
- Jam your T-handle reaming tool into the hole, then work it up and down several times while rotating it. This widens the hole and roughens the inner surface in preparation for plugging.
- Pull the reaming tool out and inspect the hole. If it’s not yet round and uniform, reinsert the reaming tool and work it up and down some more.
- Sometimes, with tiny holes, the reaming tool won’t insert into the tire. In cases like these, use a hand-held drill with a drill bit slightly smaller than the diameter of your reaming tool. Use the drill and bit to enlarge the hole, followed by the reamer to roughen the sides of the hole.

Prepare the Plug
- Take a plug strip from your tire plugging kit. Thread it through the eyelet of your plug insertion tool. Use pliers to help you pull it through the eyelet until it’s protruding from the eyelet equally on each side.
- Coat the entire plug strip in tire sealing cement, then do the same with the hole in the tire.

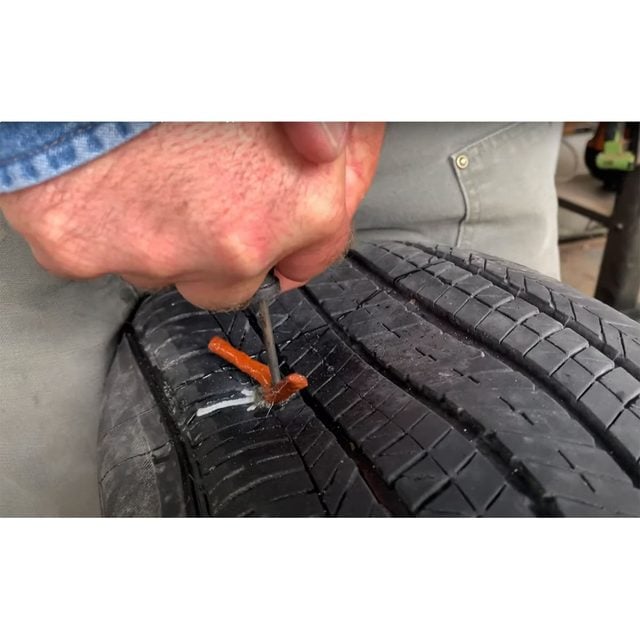
Insert the Plug Strip
- Slide your plug insertion tool (loaded with the cement-coated plug) slowly into the hole in your tire. You’ll need to press really hard to get the plug into the hole.
- When the plug is inserted deeply enough that only about an inch of it is sticking out of the tire, carefully pull the handle of your plug insertion tool straight up. The slot in the end of the tool’s eyelet should allow it to slide free, leaving the plug in the tire.
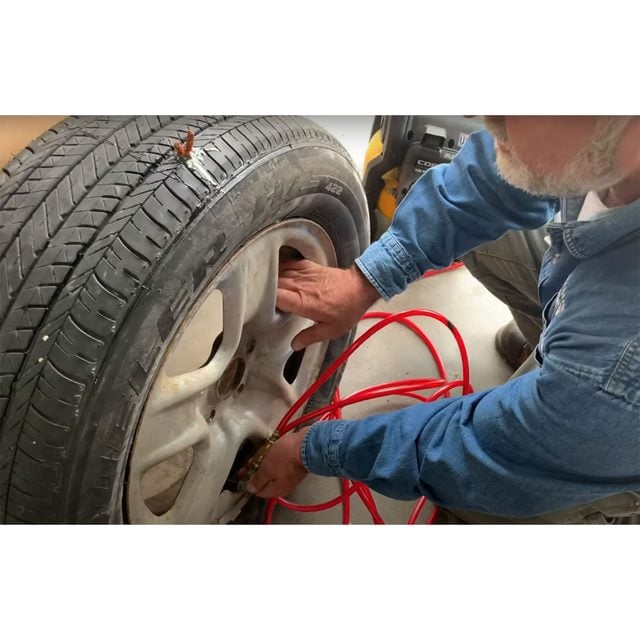
Fill the Tire
- Connect the tire to an air compressor or pump, then fill it with air that’s 10 percent below the maximum rated pressure.
- Use more soapy water to verify there is no leaking around the plug.
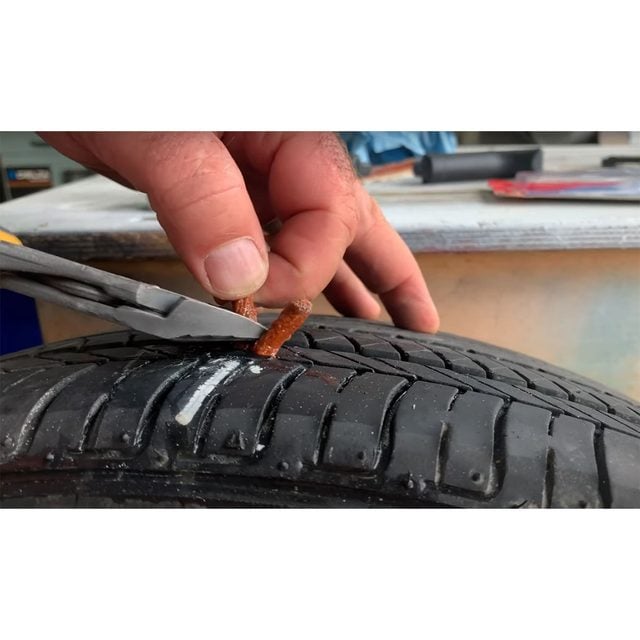
Trim the Plug
- Wipe off the excess tire sealing cement from around the plug with paper towel.
- Let the tire sit for five minutes.
- Use wire cutters to snip most of the excess off the plug, leaving 1/8 inch or so sticking out.
Do a Final Leak Test
- Spray the plugged area with more water and soap solution, watching carefully for bubbling. If you see none, the plug is doing its job.
- Lower the vehicle, remove the jack, then get back to driving right away.
- Opinions vary about whether a plug repair is permanent or temporary, but many mechanics consider it a once-and-for-all repair. I’ve never had any issue with plugs applied this way failing, even after thousands of miles of driving. It can significantly increase the lifespan of your tires. But be sure to service your spare tire in case you need it.
Originally Published: August 27, 2020