How To Sharpen a Chainsaw The Easy Way

Updated: Jul. 09, 2024
Chainsaws make cutting wood a cinch, but you'll soon be stuck if you don't know how to sharpen the chain. Yes, you can do it yourself!
10 - 20 minutes
Beginner
$200-$250
Introduction
Chainsaws are great tools, and keeping them in good working order is vital to woodcutting success. All chains go dull with heavy use, so it's important to know how to sharpen the chain teeth.
You'll know it's time to sharpen your chain when it starts cutting slower and producing small, fine chips instead of wide, flat ones.
Chain sharpening doesn't have to be difficult or complex. As a DIYer, you can tackle it two ways: by hand with files and guides, or with an electric chain sharpener. I spent years sharpening with files and guides, and although this method works fine, it's unnecessarily slow. Electric sharpeners give better, more precise results in a fraction of the time.
You don't need any practice before starting. Just follow these step-by-step instructions and you'll be good to go.
Tools Required
- Dressing stone
- Electric chainsaw sharpener with assorted grinding wheels to fit different saw tooth sizes
- Open-end wrench set
- Pencil
- Safety glasses
- Socket wrench of the right size for your saw's anchor nuts
- Stationary bench-top vice
- Tape measure
- Tooth-depth gauge tool and flat file
- Wooden base (piece of 3/4-inch plywood roughly 12 inches x 8 inches with piece of 2x6 lumber screwed to the center of the underside
Materials Required
- 2 bolts with nuts and washers that fit through the mounting holes in the base of your chain sharpener
Project step-by-step (6)
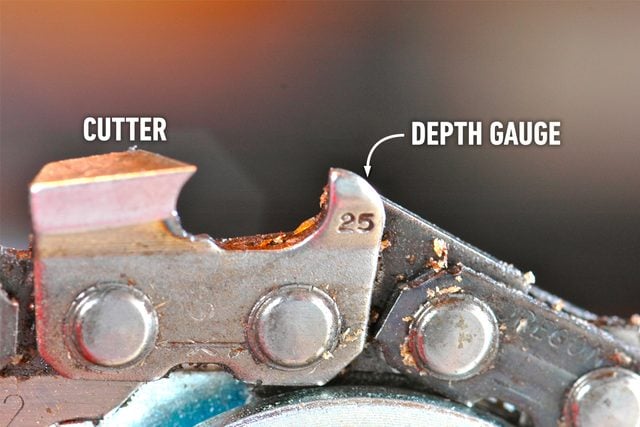
Check depth gauges and adjust if needed
- Place your chainsaw on your workbench. Then lay your depth gauge tool over one of the teeth so the dull steel nubbin (called a depth gauge) sticks through the slot in the center.
- With your finger, feel the depth gauge where it sticks through the tool. If it’s flush with the surface, no adjustment is needed. If it sticks above the tool, carefully file it down until it’s flush.
- Repeat the process for the other depth gauges.
- Making sure the depth gauges don’t stick beyond the tool ensures your saw will continue to cut with enough aggression.

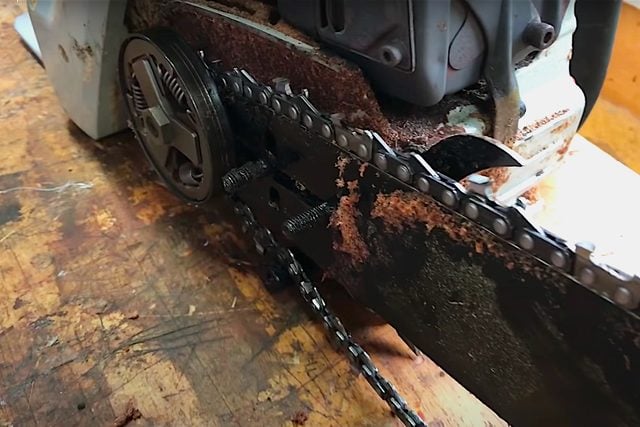
Remove the chain from the saw
- Loosen and remove the two anchor nuts holding the chain cover onto the saw.
- Place the nuts and cover to one side, out of the way.
- Lift the chain off the saw bar.
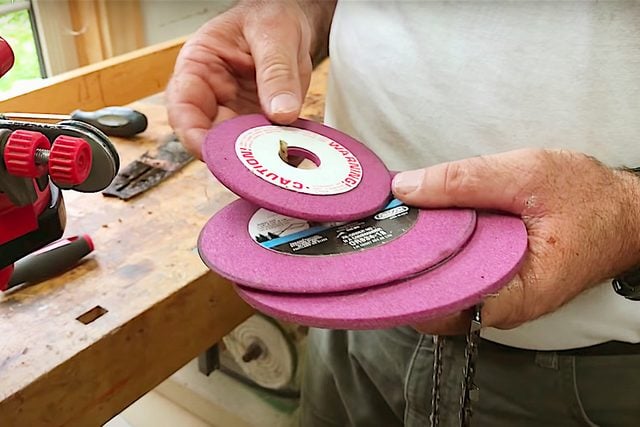
Choose and install the right grinding wheel
- Use your tape measure to determine the total distance between the centers of three chain rivets, the small steel circles on each tooth.
- Divide this number by two to get the correct grinding wheel size to sharpen your chainsaw.
- Select this grinding wheel and install it in your chain sharpener with a wrench from your open-end set.
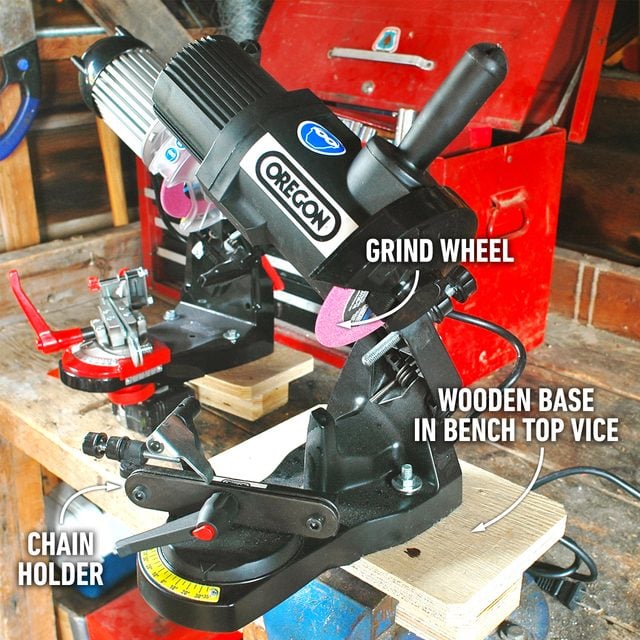
Set up chain sharpener and dress the grinding wheel
- Bolt your chain sharpener to your bench or a wooden base. If you use this wooden base method, clamp the base to your bench or secure it with a permanently mounted bench-top vice.
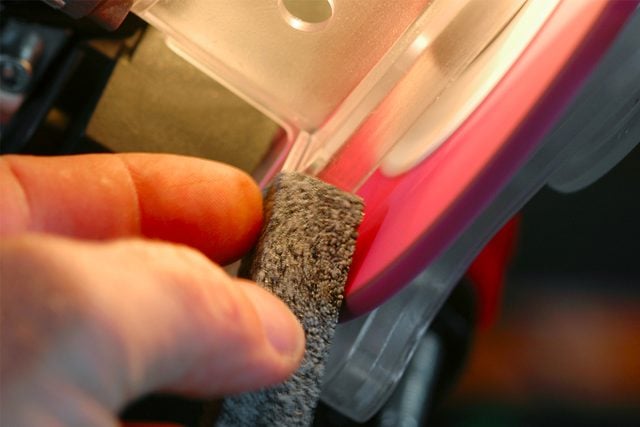
- With safety glasses on, plug in and switch on the sharpener.
- Use a dressing stone to carefully grind away any steel residue from previous sharpening work off the edge of the wheel. This isn’t necessary for new wheels.
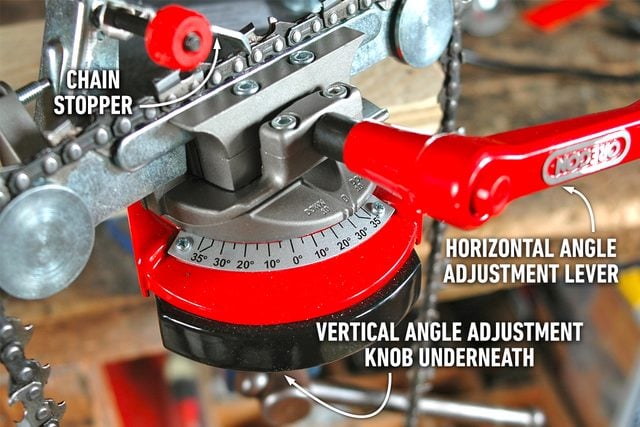
Adjust the chain sharpener
- Turn the sharpener off. Lay your chain in the groove of the sharpener.
- Use the knobs and handles on the sharpener to adjust the angle of the chain to match the angle where the grinding wheel will contact each tooth.
- Home in on the correct horizontal and vertical angles for the chain by pulling the wheel down to the chain and making small adjustments to the angle, as needed.
- Tweak the chain position until the curved profile of the grinding wheel edge comes in smooth, full contact with the concave cutting edge of the first tooth. Double-check the angle of the wheel to make sure it matches that of the cutting edge.
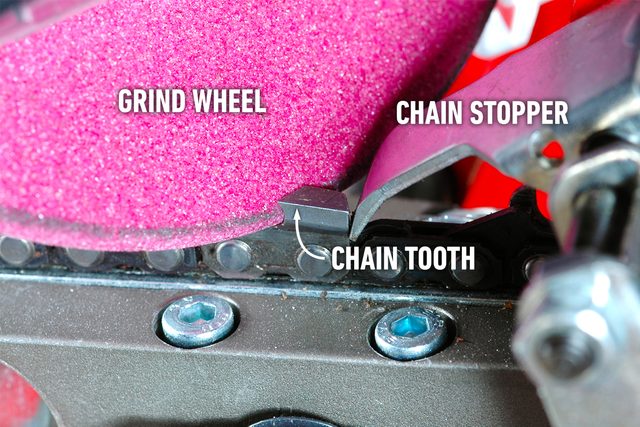
- Ensure the chain tooth is held in the correct position relative to the wheel by adjusting the chain stopper control.
- Lock all adjustment knobs and levers.
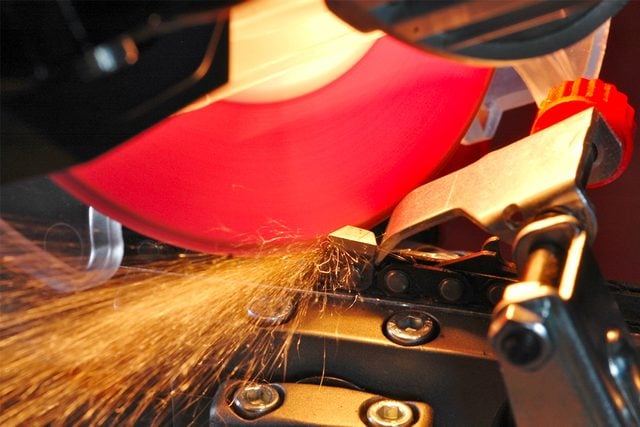
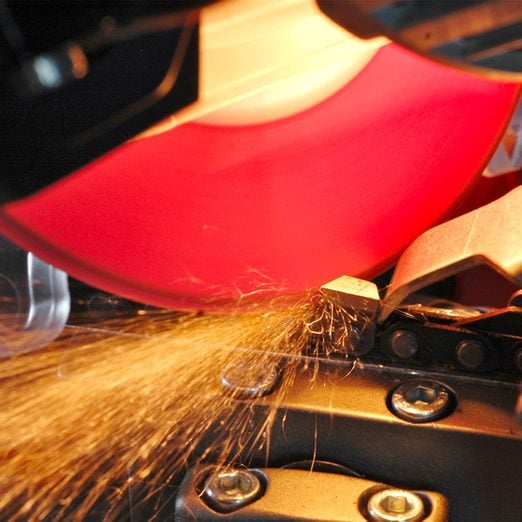
Sharpen the chain
- Mark the flat top surface of the first tooth with a pencil to indicate where you’re starting the sharpening process.
- Put on eye protection, then switch on the sharpener.
- Swivel the wheel down until it makes contact with the first tooth. Hold it against the tooth with moderate pressure for a second or two, then lift the wheel away. This tooth should now be sharp.
- Unlock the chain holder, then slide the chain forward. Skip the tooth immediately after the one you just sharpened, locking the chain in place one tooth after that. Saw teeth alternate in angle so you’ll only sharpen half the teeth before resetting the sharpener.
- Sharpen all the teeth angled in the same direction as the first tooth you worked on; you’ll see your pencil marked tooth reappear when you’re done. Then shut off the sharpener.
- Reset the horizontal and vertical angle of the chain to match the other half of the teeth. It will be roughly opposite to the angles you used for the first half.
- Sharpen the second half of the teeth, then reinstall the newly sharpened chain.