


How to Properly Wax a Car

Updated: Feb. 07, 2023
Ever wonder how to wax a car? Follow these steps and learn how to boost your car's appearance and protection.

Introduction
Want to give your car some extra shine and protection? Consider waxing. Properly applied car wax can improve your vehicle's appearance, even if it's brand new. Car wax also protects your car's paint from rain, snow, ice, bugs and UV rays. Want to learn how to wax a car? Keep reading for an easy to follow step-by step guide.
Tools Required
- Car sponge
- Car washing brush with hose connection
- Chamois towel
- Garden hose
- Large bucket
- Microfiber cloths
- Orbital buffing attachments
- Orbital polishing attachments
- Random orbit sander or buffer
- Tack cloths
Materials Required
- Bug removal spray
- Car paste wax
- Car polish
- Car soap
- Water
Project step-by-step (7)
Step 1
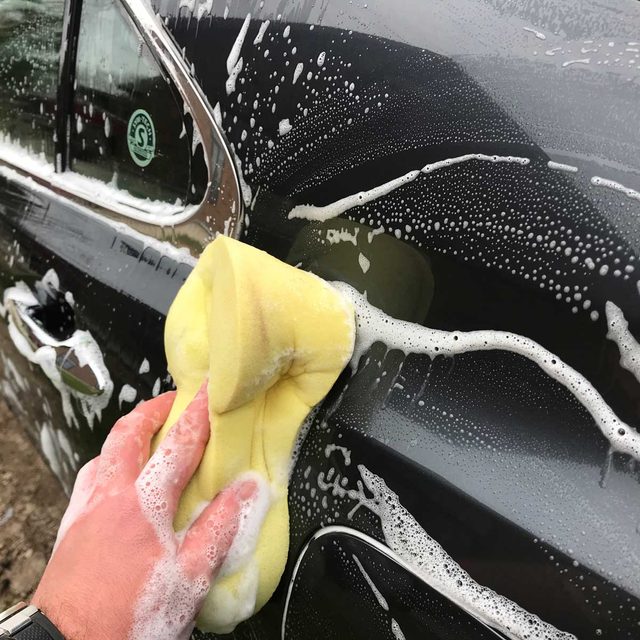
Wash the Car
- Wet the car’s surface, then scrub thoroughly with car soap and sponge.
- Wash only a few square feet at a time before rinsing the suds off with your hose-attached car washing brush.
- Rub your hose brush over every surface after washing to remove any remaining debris.
- Pay extra attention to the hood, front grill and windshield, because bug stains have likely collected there. Use bug remover spray on these spots as needed, letting it sit for a few minutes before scrubbing with soap and rinsing.
- Be sure to wash in all cracks and crevices. Don’t miss any surface.
- Give the whole vehicle a final rinse once everything is clean.
Step 2
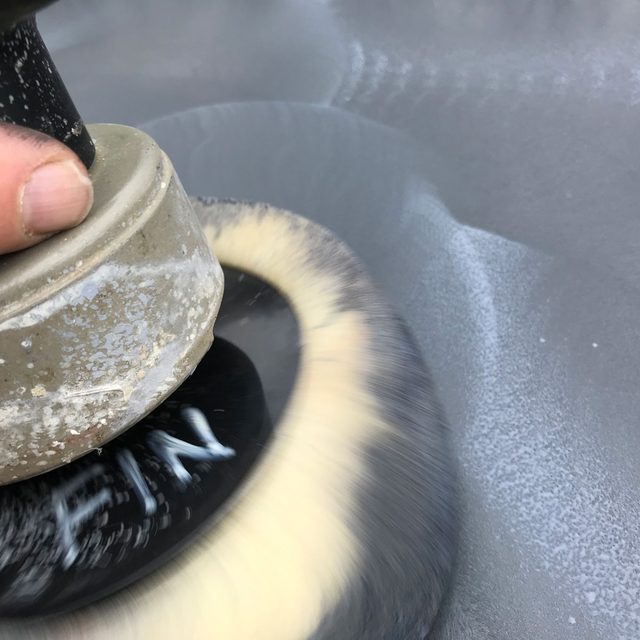
Polish the Car
- Make sure you do all of the following steps on a cloudy day or inside a garage.
- Allow the car to become almost fully dry, and then apply a two-inch circle of car polish to your random orbit sander or buffer’s polishing pad.
- Press the sander or buffer, loaded with polish, on the vehicle, and then switch it on, spreading the polish into a milky haze before applying more.
- Polish a few square feet at a time, and then use your car brush to scrub and rinse off the polish. Scrub firmly or you’ll leave some haziness behind when the water dries.
- Polish and rinse the whole car this way, including the headlights, taillights and windows. Then let everything dry.
Step 3
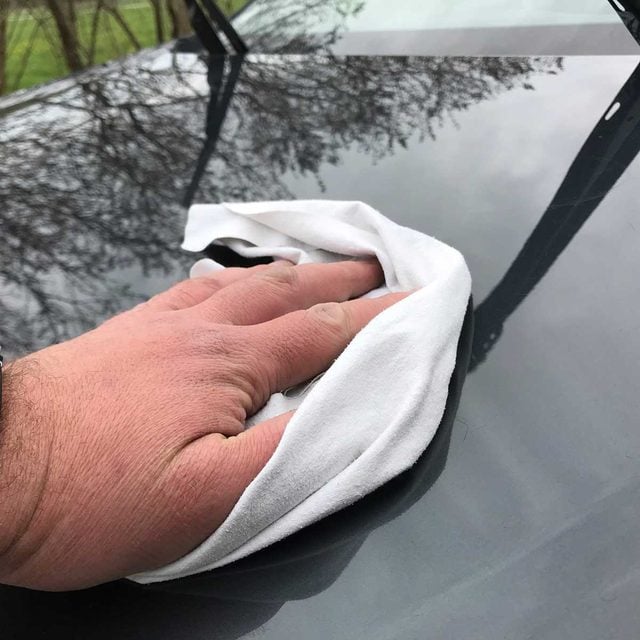
Remove Watermarks
- Inspect your car all over for watermarks after it’s fully dry.
- Use a slightly damp chamois towel to wipe down every surface with watermarks until they disappear.
Step 4
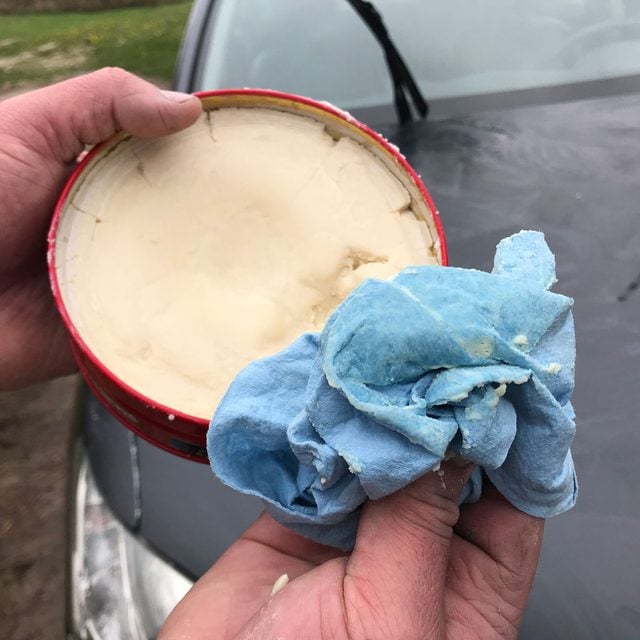
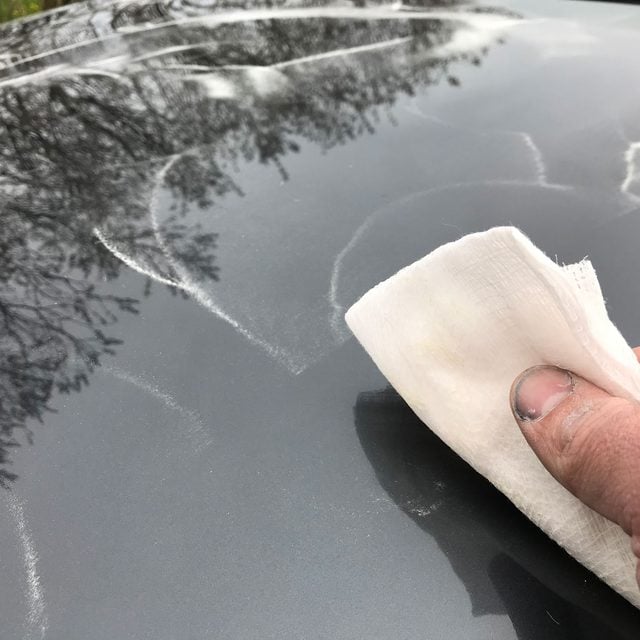
Apply Paste Wax
- Rub your microfiber cloth or heavy-duty shop towel in a circular motion over the surface of the wax with moderate pressure. Don’t saturate the cloth.
- Rub the wax-infused cloth firmly over a two- or three-foot-wide section of your vehicle’s paint, spreading it very thin, but making sure to get full coverage.
- Allow the wax the dry for a couple of minutes, then use your sander or buffer with a buffing pad to buff the surface smooth.
- Continue over the whole vehicle this way, applying wax in small sections, letting it dry briefly, then buffing off the excess until the area is smooth and shiny.
Step 5
Wax and Buff Hard-to-Reach Areas
- Examine all hard-to-reach areas of the vehicle like the roof, rear-view mirrors, door edges, etc. Make sure to wax all these because you may have missed them during initial waxing.
- Let the wax in the hard-to-reach areas dry, then buff off the excess with a clean microfiber cloth or shop towel.

Step 6
Remove Wax Dust
- Use a fresh tack cloth on the vehicle’s surfaces to collect the wax dust generated by the buffing process.
- Pass the tack cloth lightly over the whole vehicle’s surface. Don’t press so hard that you smear the wax dust and ruin your sheen.
- Swap the tack cloth for a fresh one if you notice it becoming saturated with wax.
Step 7
Final Inspection and Re-Coating
- Inspect the whole car carefully when you think you’re done, buffing out any remaining wax streaks.
- Enjoy your freshly washed, polished and waxed car. Re-coat after four to six months, or as soon as you notice the wax coating starting to wear through.

Originally Published: May 26, 2020