How To Paint a Mirror Frame

Updated: Sep. 29, 2022

Mirrors add interest and depth to any space. Customize that garage sale find, or a dated option you already own, with this mirror frame painting idea.

Next Project
Time

Multiple Days

Complexity

Beginner

Cost

$50-100

Introduction

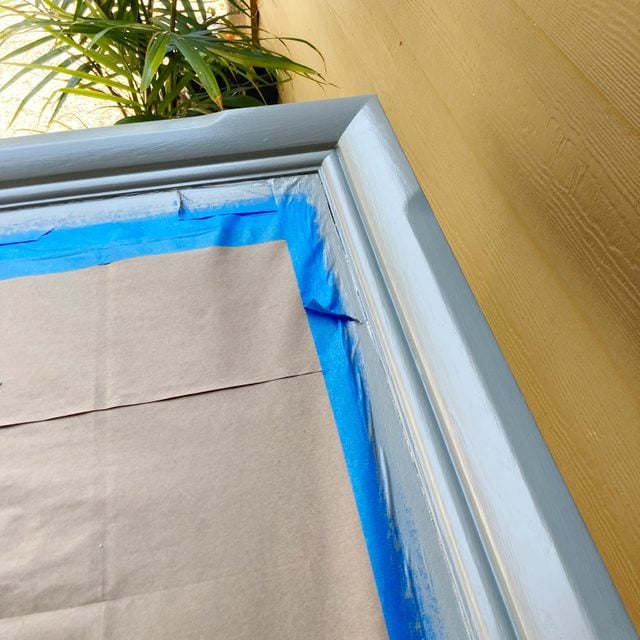
I don't like getting rid of anything functional and attractive, especially if it just needs a little TLC. This mirror is solid as a rock and the glass is in great shape. It's a perfect candidate for a beginner-level sanding and painting job, and the straightforward design will make both tasks a breeze.

Keep your eyes peeled for easy projects like this when you're at garage sales or thrift stores. In a few hours (spread out over three days), and for around $100 (less if you already have tools), you can brighten a dated mirror.

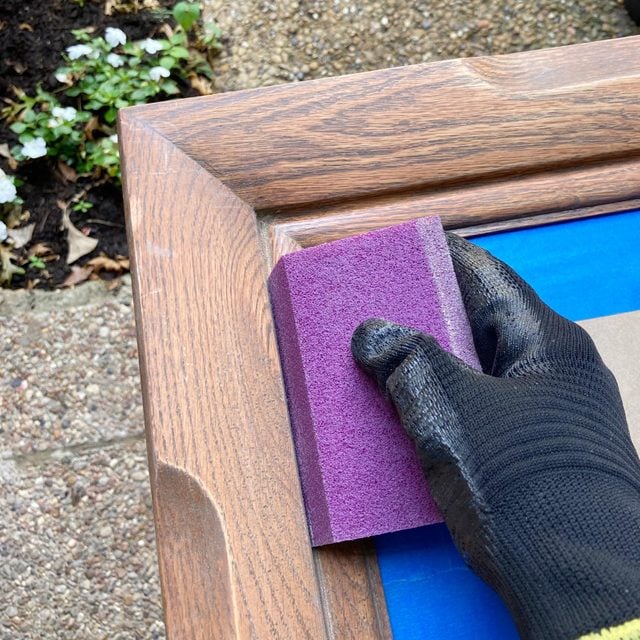
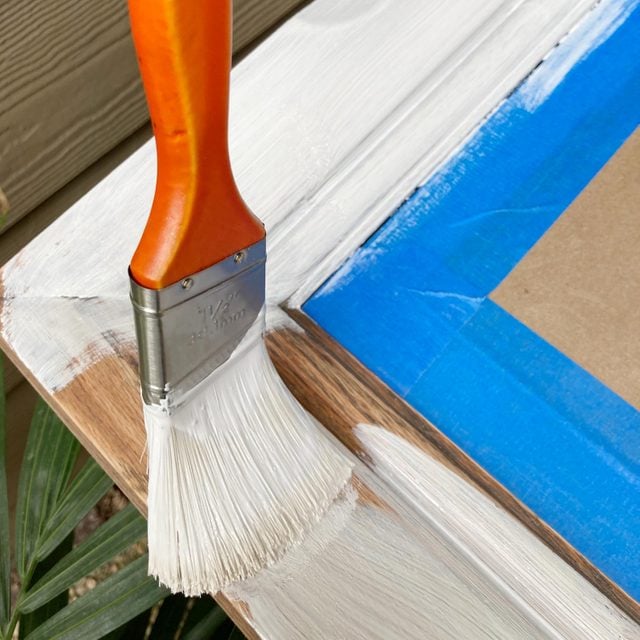
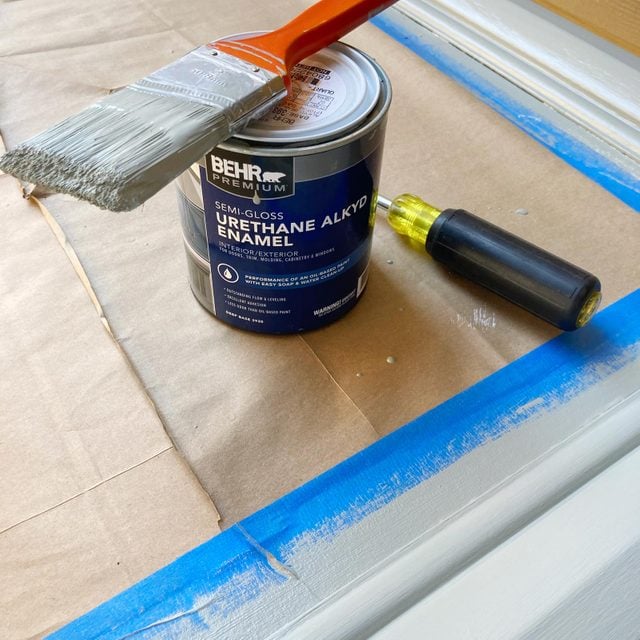
I'm painting my old varnished frame a light sage green. You choose whatever color makes you happy, with your preferred sheen. Just make sure to prepare the wood for the paint using the steps below. I'm going with a semigloss hybrid paint that combines the durability of oil-based paint with easy soap-and-water cleanup.

Let's get started.

Tools Required

  • Paint trays or clean jars for holding paint
  • Paintbrushes: 1-in. and 1-1/2-in. or smaller synthetic angled brushes
  • Painter's tape
  • PPE: gloves eye protection and a particulate (N95) respirator
  • Sandpaper or sanding sponges in 3 grit sizes from coarse to fine
  • Standard screwdriver or pry tool for primer and paint cans
  • Tack cloth
  • Utility knife
  • Vacuum cleaner with brush attachment

Materials Required

  • Dish soap
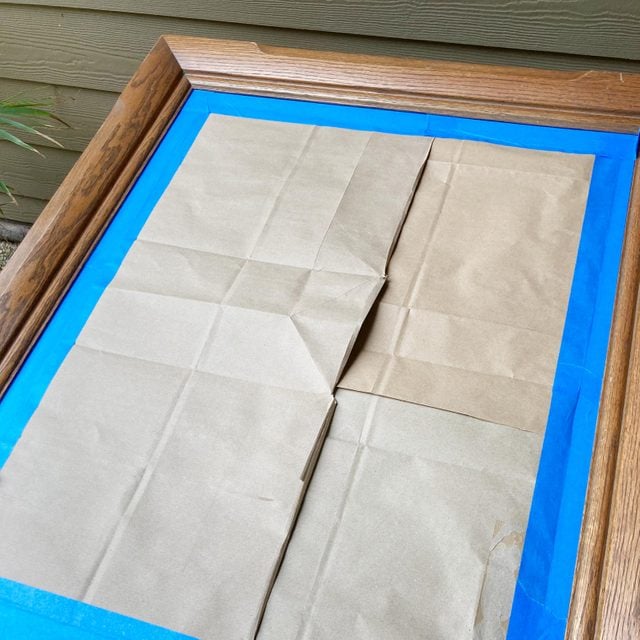
  • Newspapers or grocery bags
  • Paint
  • Primer

Project step-by-step (7)

Step 1

Prep the Work Surface

  • Use a table big enough to accommodate your mirror without moving or touching it.
  • Lay down newspapers or cardboard to protect your workspace.
Step 2

Protect the Mirror

  • Cover the mirror with several layers of newspaper or grocery bags to protect it. .
  • Secure the paper with painter’s tape applied to the glass. Align the edge of the tape up against the trim where the frame and glass meet.
    • Good taping will give our paint a nice clean line and will spare you from cleaning paint off the mirror later.
  • Remove any excess tape from the frame by carefully running your utility knife along the junction of the frame and glass. Then pull the tape away.
    • Wear cut-resistant gloves when using a utility knife.
  • Put your mirror face-up on your prepped table.

paper covering the mirrorAlly Childress for Family Handyman

Step 3

Sand and Vacuum the Frame

  • Starting with a coarse grit (60 to 80) sandpaper, sand the entire frame. Include the edges and back if they’ll be visible and painted.
  • With a beveled-edge sanding sponge or a folded sheet of sandpaper, work the edge into grooves and crevices.
  • Switch to the medium grit (100 to 150) sandpaper once the shiny finish is gone, and repeat sanding the entire frame.
    • It’s OK to see the stain in the bare wood. But the varnish? It has to go.
  • Smooth any accidental cross-grain sanding marks where mitered corners meet.
  • Vacuum the frame periodically as sawdust accumulates.

sanding wooden frameAlly Childress for Family Handyman

Step 4

Clean the Frame of Debris

  • With the brush attachment, vacuum the entire frame again. A clean paintbrush can help get sanded wood particles out of small grooves, too.
  • Lightly wipe down the surface with a tack cloth.
  • The frame must be clean and dust-free before the next step. Any foreign substance, from wood to dust to dog hair, will prevent the paint from adhering to the wood.

vacuum frame dust from sandingAlly Childress for Family Handyman

Step 5

Prime the Frame

  • Apply a thin coat of primer to every surface of the wood.
  • Let primer dry according to the manufacturer’s instructions.
    • Wrap brushes in plastic wrap between coats so they won’t dry out.
  • Apply a second coat to provide optimal coverage and prevent tannins in the wood from showing through.
  • Once dry, lightly sand with fine (220 or higher) sandpaper to remove drips and brushstrokes.
  • Vacuum and lightly wipe with a tack cloth before moving on to paint.

putting primer on a wooden frame with a paint brushAlly Childress for Family Handyman

Step 6

Paint the Frame

  • Apply your first coat of paint. I used a Behr Premium water-based alkyd paint and a one-inch angled brush.
    • Multiple thin coats are always better than one thick one, so use a light touch.
    • Don’t overload your brush. Dip it in about halfway and lightly tap against the jar or tray to remove excess.
    • Always paint with the grain.
  • Allow the full amount of dry time between coats recommended by the manufacturer. Painting over partially-dry paint looks awful, so be patient.
    • Wrap your brush in plastic wrap between coats.
  • Once fully dry, sand lightly with fine (220 or higher) sandpaper, vacuum and wipe down with a tack cloth. Sanding between coats creates a smoother finish by reducing the appearance of brushstrokes.
  • Apply a second coat and, if needed, a third. Sand, vacuum and use tack cloth between coats.

painting the frameAlly Childress for Family Handyman

Step 7

Finish the Project

  • Clean your paintbrushes with dish soap and warm water, then wrap in paper to maintain shape.
    • Use the cardboard wrapper the brushes came in (if you still have it.) That’s what it’s for!
  • Pull the tape off the mirror at a 45-degree angle after the paint has dried to the touch. (Check the back of the paint can for recommended time).
    • If paint starts to come off with the tape, use your utility knife to lightly score along the edge of the trim as you pull up the tape.
  • Let the frame dry completely, for at least 24 hours, before attempting to clean, move or hang your mirror.

finishing the frameAlly Childress for Family Handyman