


Build this footstool and gain a perfect place to stow your stuff.
A half day
Intermediate
$50-100
Introduction
Relax and put your feet up after making this fun 1/2-day project. Build this easy DIY Ottoman for less than $60 with simple woodworking joints and minimal tools. No upholstery skills required.
Storage Ottoman
Overall dimensions: 17″H x 24″W x 18″D
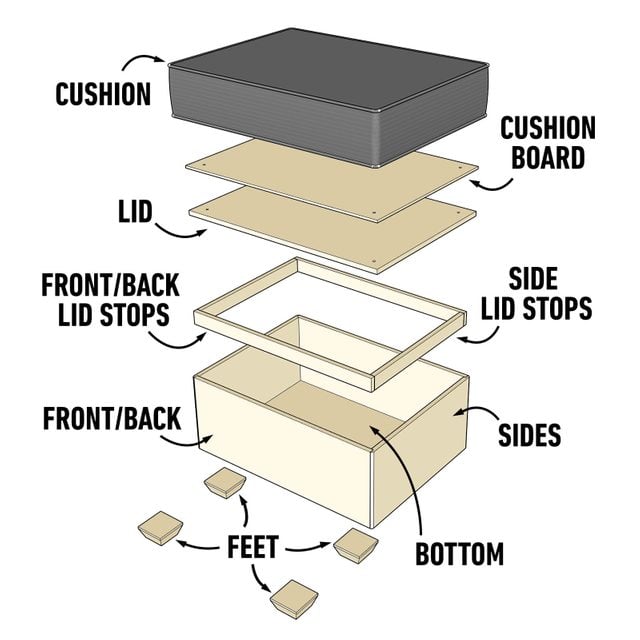
Cutting List
| Part | Part Name | QTY | Dimensions |
| A | Front & back | 2 | 1/2″ x 9″ x 23″ |
| B | Sides | 2 | 1/2″ x 9″ x 17-1/2″ |
| C | Bottom | 1 | 1/2″ x 23″ x 17″ |
| D | Lid | 1 | 1/2″ x 22-3/8″ x 16-3/8″ |
| E | Cushion board | 1 | 1/4″ x 22-3/8 x 16-3/8″ |
| F | Front & back lid stops | 2 | 1/2″ x 1-1/4″ x 23-1/2″ |
| G | Side lid stops | 2 | 1/2″ x 1-1/4″ x 15-1/2″ |
| H | Feet | 4 | 1-1/2″ x 3-1/2″ x 3-1/2″ |
Tools Required
- Awl
- Dado blade
- Drill and bits
- Dust mask
- Finish nailer
- Hearing and eye protection
- Measuring tape
- Orbital sander
- Phillips-head screwdriver
- Router with a 1/4-in. roundover bit
- Table saw
Materials Required
- #10 Tee nuts (4)
- #10 x 3/4" Flat-head screws (4)
- 1-1/4-in. 18-gauge brad nails
- 1/2" x 4' x 4' Baltic birch plywood (1)
- 15" 2x4
- 18" x 24" x 5" Cushion
- 3/4" 18-gauge brad nails
- Double-sided tape
- Felt pads (4)
- Trim paint or polyurethane
- Wood filler
- Wood glue
Watch How to Make a DIY Storage Ottoman
Project step-by-step (12)
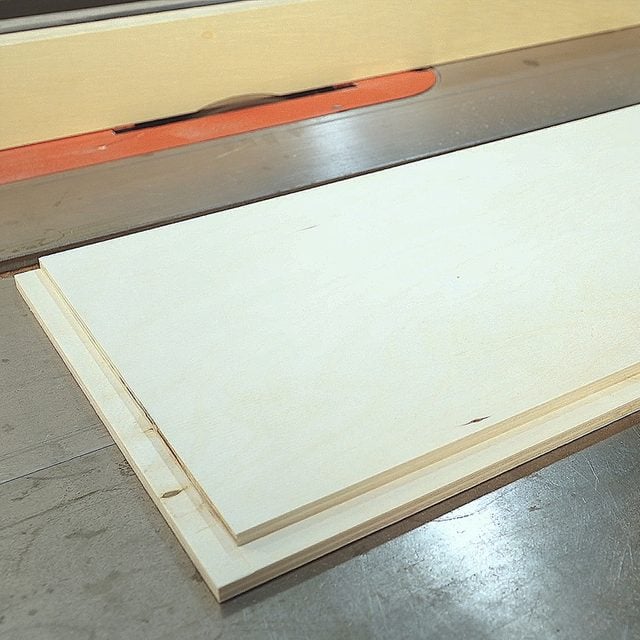
Step 1
Cut the Box Parts
- First cut the front, back and sides according to the cutting list.
- Cut the remainder of the parts after the box is glued together.
- At this point, move on to cutting rabbits on the front, back and sides.
Cutting Rabbit Joints
- If available, install a dado blade on your table saw. You can also use a router with a rabbiting bit to cut rabbit joints. Or make multiple passes on your table saw to cut rabbits.
- Cut 1/2-in. wide x 1/4-in. deep rabbit along the two sides and the bottom edge of both side boards.
- Next, cut another rabbit 1/2-in. wide x 1/4-in. deep along the bottom edge of the front and back boards.
- Remove the dado blade and re-install your table saw blade.
Step 2
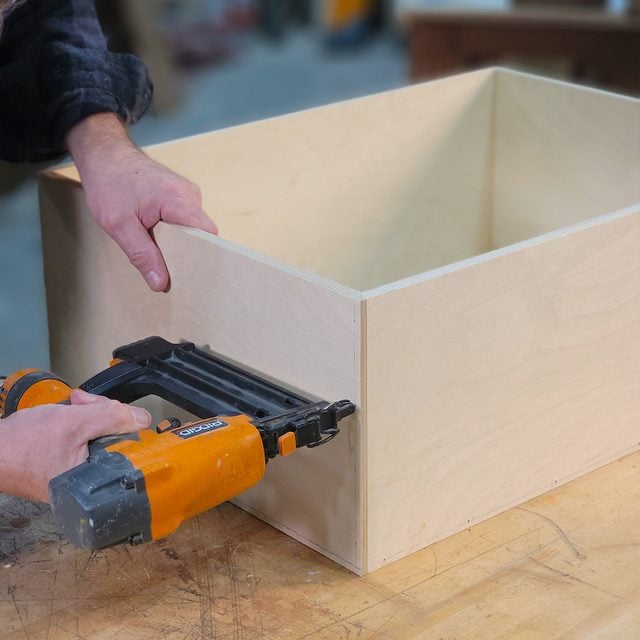
Assemble the Box
Attach the front and back to the left side
- Start assembling the box by attaching the front to the left side.
- Apply wood glue to the left rabbit on the left side and insert the short edge of the front board into the rabbit, keeping both boards flush along the top edge.
- Secure the two boards together with 1-1/4-in. finish nails. Quick-release or bar clamps come in handy for this task
- Repeat the previous procedure and attach the back to the left side.
- Pro tip: Draw lines on the sides, 1/4-in. from each edge as a guide for nailing.
Attach the right side to the front and back
- Next, apply glue to both rabbits on the right side. Insert front and back boards into the rabbits, keeping all three boards flush at the top edge.
- Secure the right side to the front and back using 1-1/4-in. finish nails.
Step 3
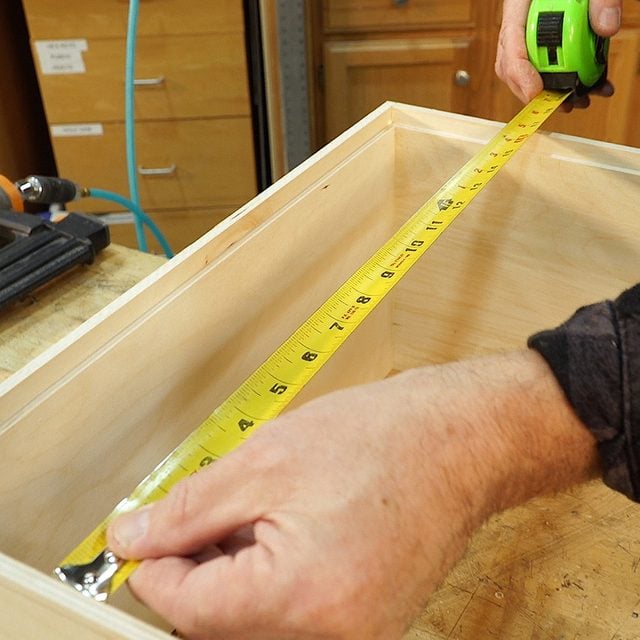
Cut the Bottom
- Before you cut the bottom, measure the inside of the rabbits from top to bottom and left to right to get the dimensions for your bottom board.
- Cut the bottom using a circular or table saw.
Step 4
Attach The Bottom
- Before you attach the bottom to your box, dry-fit the pieces together as a test.
- Attach the bottom to the box by applying wood glue on all four rabbits, then fitting the bottom into the box. Secure it on all four sides with 1-1/4-in. finish nails.
- Wipe away any excess glue with a damp cloth.

Step 5
Fill the Nail Holes
- At this point, plug the nail holes with wood filler and set the box aside until the filler dries.
Step 6
Cut More Parts
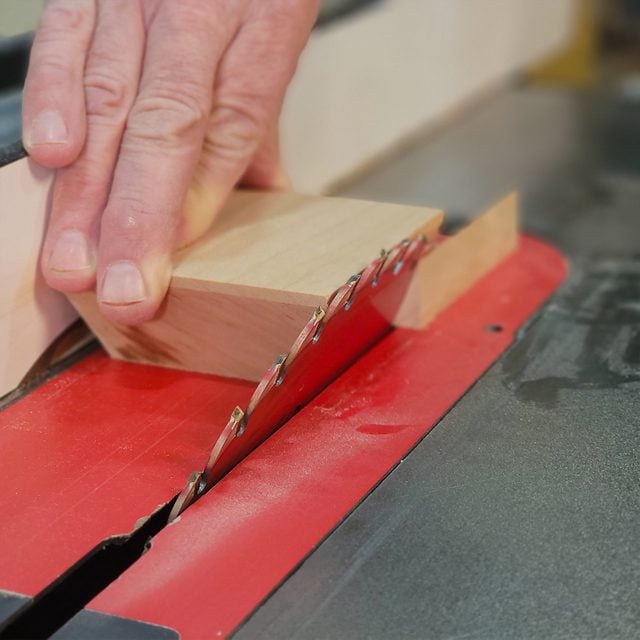
- Head back to the table saw and cut the remainder of the parts on your cut list: lid, cushion board, lid stops and all four feet.
- To make the feet for this project, start by cutting four blocks. Tilt the table saw blade to 22.5-degrees and cut angles on all four sides of each foot.
Step 7
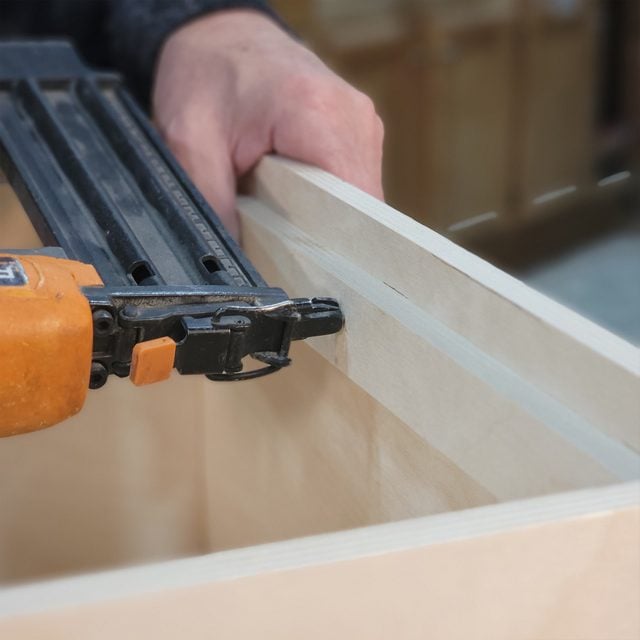
Attach the Lid Stops
- Draw lines around the perimeter of the inside of the box 3/4-in. from the top edge.
- Attach the lid stops at the lines using wood glue and 3/4-in. finish nails. Attach the front and back lid stops, then attach the two side lid stops.
Step 8
Lid and Cushion Board
- We attached the lid to the cushion by sandwiching the bottom fabric of the cushion between two boards, the lid and the cushion board.
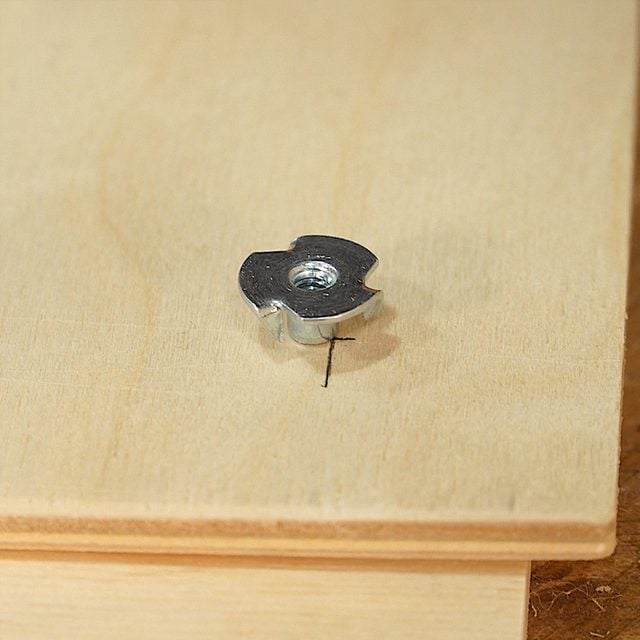
- Start by laying the cushion board on top of the lid. Mark and drill 1/4-in. holes through both boards in all four corners 1-1/2-inches in from each edge.
- Insert tee nuts into the four holes in the cushion board. (See photo.)
- Next, unzip the cushion zipper and place the cushion board inside the cushion between the foam core and the bottom fabric of the cushion. (You may need to remove the foam core or batting.)
- Once the cushion board is centered, zip the cushion closed and position its bottom facing up. Lay the lid on top of the cushion and center it with the cushion board.
- Poke through the cushion fabric in all four holes with an awl or nail.
Step 9
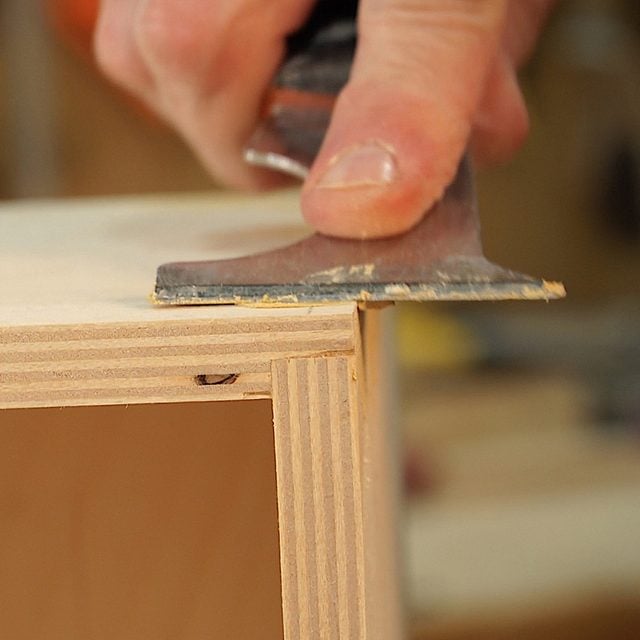
Round-Over Edges and Sand
- To make this box more pleasing to the touch, round over all the edges using a router with a 1/4-inch round-over bit. Round over all four edges to one side of the lid as well. (Optional)
- Sand the entire box using an orbital sander with 220-grit sandpaper.
Step 10
Finish the Box and Feet
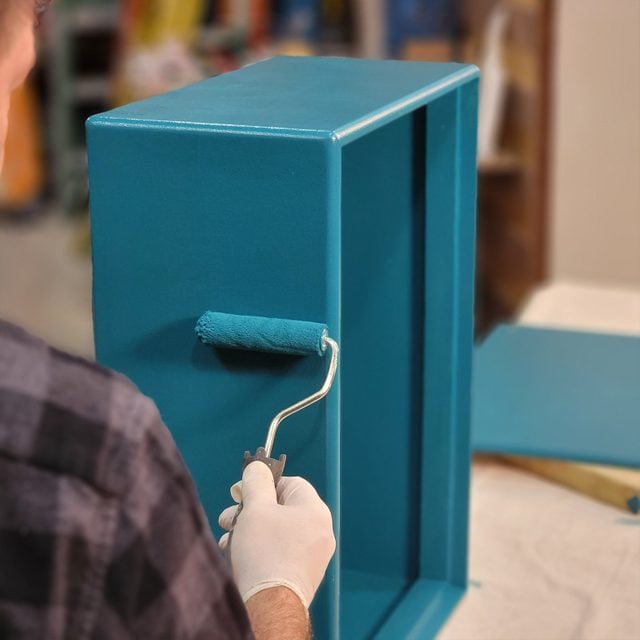
- You can customize the look of your Ottoman to match the décor of your home. Stain the box to match your wood floors and trim, or paint the box as an accent color to your walls.
- Seal the box and feet with trim/cabinet paint or wipe-on polyurethane.
Step 11
Attach the Feet
- Start by adhering double-faced tape to the top of all four feet and stick them in each corner on the bottom of the box. Flip the box over and secure the feet to the box from the inside of the box using 1-1/4-inch finish nails or screws. (See photo.)
- Stick felt pads to the bottom of each foot to prevent scratching your floors.

Step 12
Attach the Lid
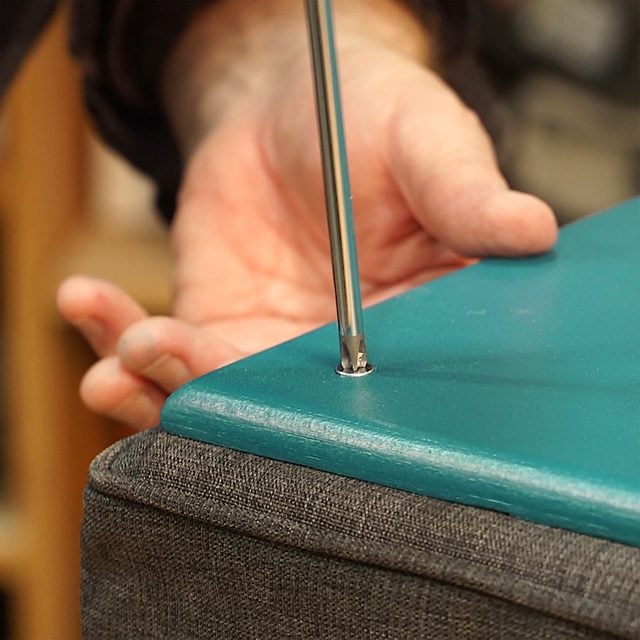
- Attach the lid to the cushion with flathead screws through the four holes in the lid. Drive them into the four tee nuts in the cushion board.
- Place the lid on the box.
Originally Published: December 22, 2021