How To Check Your Antifreeze

Updated: Jun. 02, 2023

What is antifreeze, why do you need to check it and what are you looking for? We've got answers to all these questions.

Next Project
Time

A few minutes

Complexity

Beginner

Cost

$20-50

Introduction

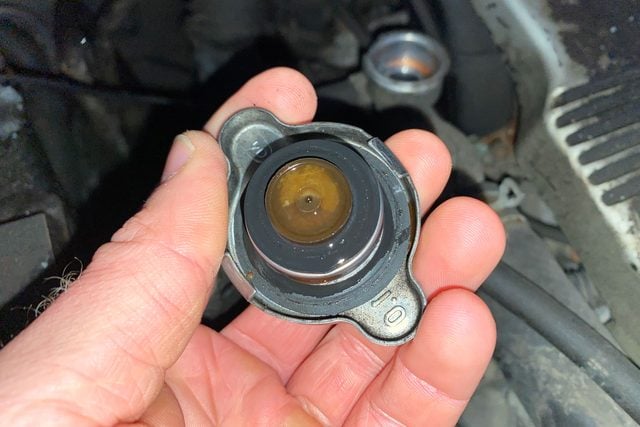
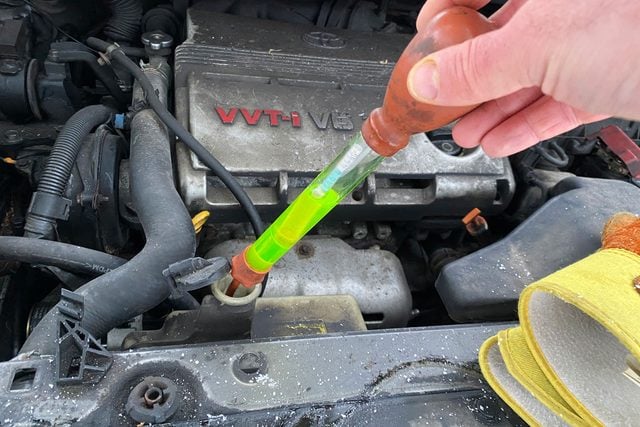
Even if you're not interested in how cars work, you need to be aware of certain maintenance requirements. Knowing how to check antifreeze is one of those.

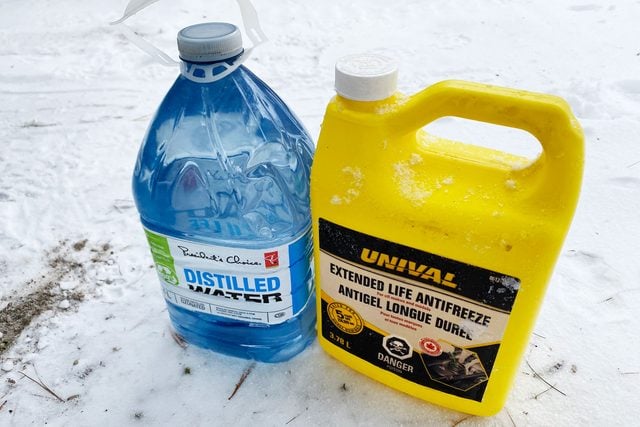
The first thing to understand is the difference between antifreeze and coolant. Although the terms are often used interchangeably, they aren't quite the same thing. Engine coolant mixes equal parts concentrated antifreeze and water that keeps various parts of your engine cool and lubricated. Antifreeze is the concentrated liquid that makes up half of this mixture.

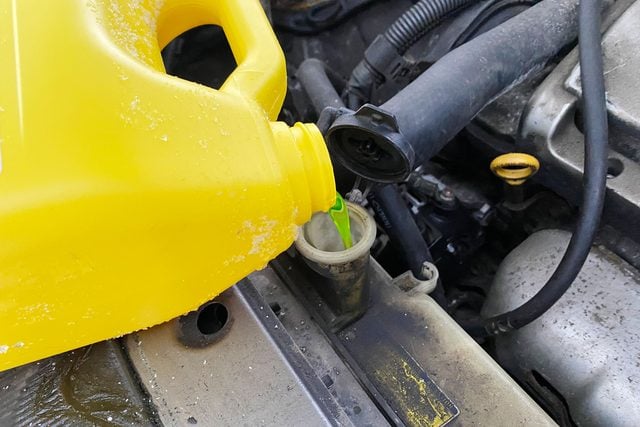
Some manufacturers sell pre-diluted coolant already mixed with water. Whether you buy pre-diluted antifreeze or mix it yourself, letting coolant get too low or too old means your engine could quickly overheat and become severely damaged.

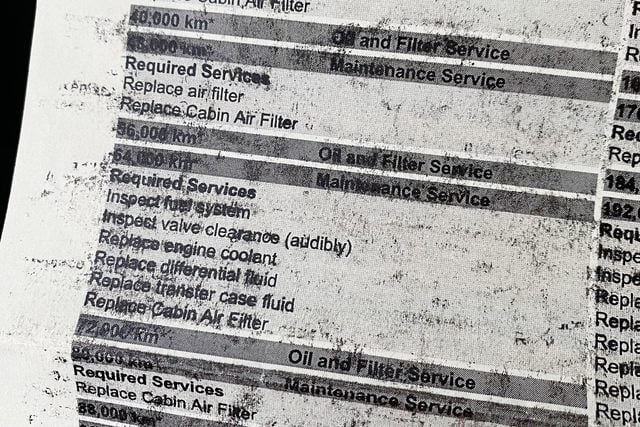
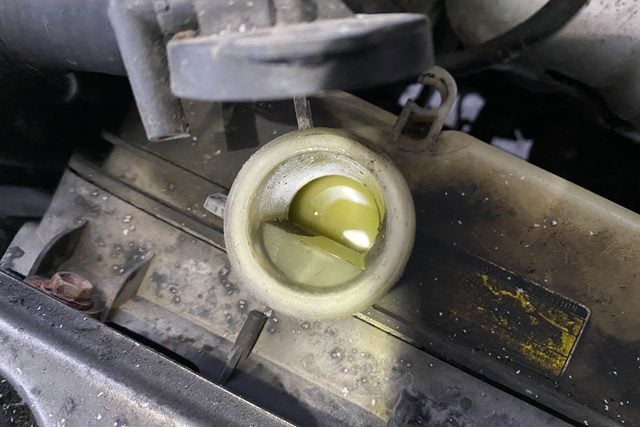
That's why checking the antifreeze at least twice a year, and topping off or changing it, if needed, is crucial. Keep reading to learn how to check your antifreeze and coolant.

Project step-by-step (6)

Step 1

Purchase the right type of coolant for your vehicle

  • Your owner’s manual is the best place to find the exact type of coolant your vehicle needs. If you don’t have the manual, try looking it up online, or call a certified dealer to determine what type and formula of coolant you need. Vehicle manufacturers almost always have suggested coolant types and colors, so be sure you take the time to get this right.
  • Purchase a few jugs of antifreeze for your vehicle. If you’re not buying pre-diluted antifreeze, pick up with the same volume of distilled water  Different vehicles need different amounts of coolant, but five liters is about average.
  • Don’t rely on color alone when buying coolant. Although colors can be a helpful indicator, different brands of antifreeze often use different color coding systems. That makes it too easy to buy the wrong stuff if you don’t read the label.

buy CoolantRobert Maxwell for Family Handyman

Step 2

Determine how often you need to change coolant

  • Look up the last time the coolant was changed in your vehicle and what type was used. As a diligent vehicle owner, keeping records of things like coolant changes helps keep your car running optimally. Most vehicle manufacturers recommend changing coolant at least every three years or 36,000 miles. Some say their vehicles can go for up to five years or 150,000 miles.
  • Your owner’s manual will tell you how often your vehicle needs fresh coolant.

how Often does the coolant need changingRobert Maxwell for Family Handyman

Step 3

Inspect the inside of the radiator

  • Pop the hood, then open your radiator cap if your vehicle has one.
  • Examine the underside of the cap, looking for a buildup of brownish sludge. If you find sludge, it could be a sign your coolant has gone bad and needs to be flushed and replaced.
  • Using a flashlight, look inside the radiator itself and try to see the coolant level. If you see coolant, take note of its color and consistency. If it looks brown and sludgy or has visible particles floating in it, it’s probably gone bad.

radiator CapRobert Maxwell for Family Handyman

Step 4

Check the coolant reservoir

  • Locate the plastic coolant reservoir under your hood.
  • Remove the reservoir cap and look inside. If the coolant looks like its original color, it may not need changing. If you’re not sure what the original color was but the coolant still looks fairly bright and fluorescent, with a clearly defined color like bright green, orange, yellow, etc., it’s probably still good. If it’s muddy, brownish or has visible particles, it’s gone bad and needs to be flushed and replaced.

check ReservoirRobert Maxwell for Family Handyman

Step 5

Test your coolant with a hydrometer

  • Open your radiator cap or coolant reservoir. (Most vehicles have both, and it doesn’t matter which you use for this coolant test.) Insert the tubular end of your hydrometer into the coolant.
  • Squeeze the rubber bulb, filling the transparent plastic body of the hydrometer with coolant.
  • Examine the floating indicator inside. It will point at a certain number printed on the tool based on the coolant’s density. Fresh coolant should resist freezing down to minus 35 F.
  • Prepare to flush and replace your coolant if the reading shows a significantly higher freeze point than minus 35 F.

hydrometer testRobert Maxwell for Family Handyman

Step 6

Top off or flush your coolant, if needed

  • Flush your radiator if you’ve determined that your coolant is no good.
  • Add fresh coolant once the radiator is fully flushed. Fill and cap the radiator first, then the reservoir.
  • Mix any new, undiluted antifreeze 50/50 with distilled water.
  • Top off your coolant if it’s low but hasn’t gone bad. Pour coolant into the radiator until it’s full, then replace the radiator cap. Finish by topping off the reservoir up to the indicator line.

top OffRobert Maxwell for Family Handyman