
How to Caulk Interior Trim

Updated: Oct. 05, 2023
Whether prepping trim for paint or eliminating gaps behind your baseboards, caulking is an essential skill for any DIYer.
Varies
Beginner
$10 - $40
Introduction
Learn how to caulk like a pro. Once you get the hang of it, it's really not that hard. Here's how.
Tools Required
- Caulk gun
- Utility knife
Materials Required
- Cup of water
- Damp rag
- Painter's tape
- Rubbing alcohol
- Tube of caulk
Project step-by-step (10)
Which caulk should I use for trim?
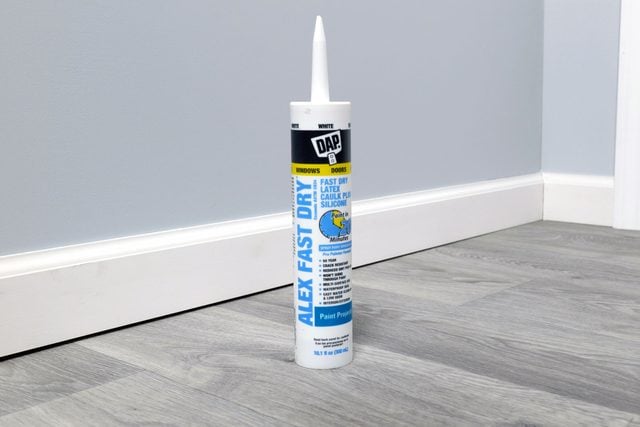
You’ll find lots of choices at the home center. To pick the best caulk for the project, review the label to see which kind best fits your needs. Indoor, outdoors, watertight or paintable are all things to consider.
For interior trim, I recommend a latex caulk. It’s durable with low odor, cleans up easily with water, expands into seams and can be painted.
Grab a decent caulk gun
The smooth rod caulk gun will be your new best friend, because it makes applying caulk easy-peasy. A mid-priced one should be fine. Unless it’s a major project, you probably don’t need a high end electric one, but you also don’t want a cheap one that breaks before you’re finished with your project.
Now, let’s get started!
Clean up your space
- For older trim, make sure to clean up the surface. Vacuum any dirt or pet hair, wipe it down with rubbing alcohol, then let dry. If there’s any moisture under the new caulk, mold could form.
- Check for nails that need to be pulled. Fill sunken nail holes with filler. Once dry, sand it down so the trim or baseboard is smooth.
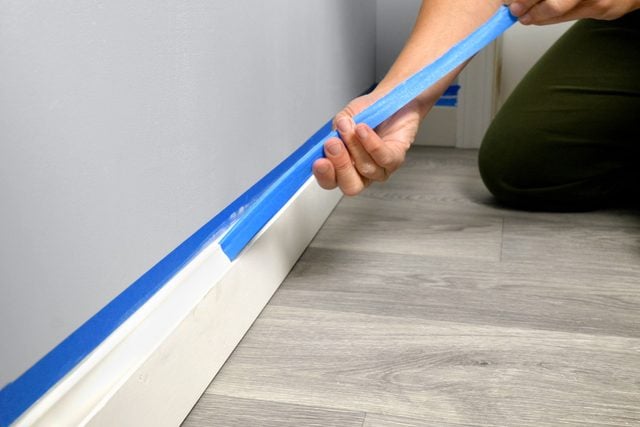
Prep the surface
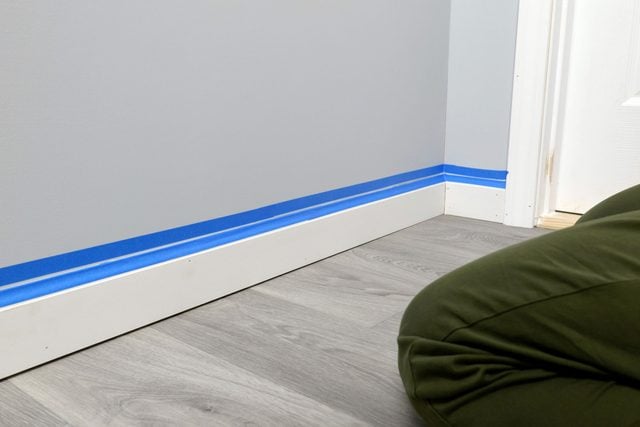
For indoor applications, put painters’ tape above and below where you’re caulking to create a clean line. This can also help keep the caulk exactly where you want it. Once you get the hang of caulking, you might find yourself skipping this step.
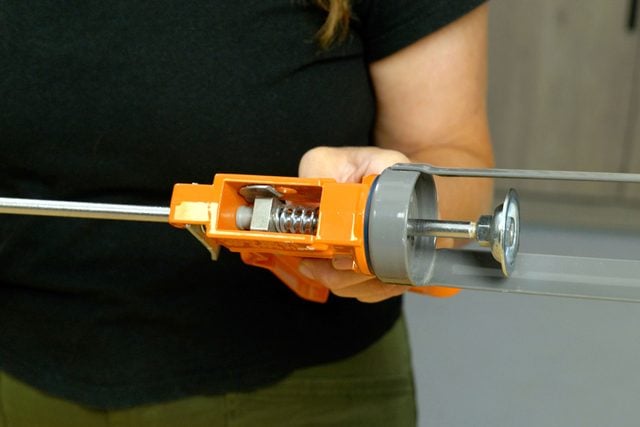
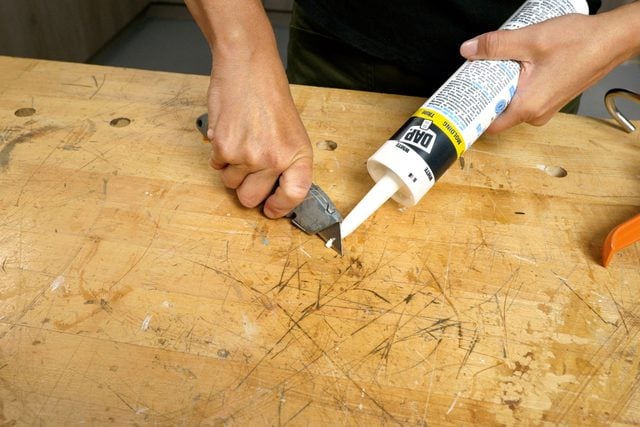
Open the caulking tube
- Take a utility knife and cut off the tip of the caulking tube at a 45-degree angle. If your caulking gun includes a nozzle cutter, use that.
- Use the thin metal rod attached to the caulking gun to pierce the inner seal through the nozzle. If there isn’t a rod, a long thin nail works as well.
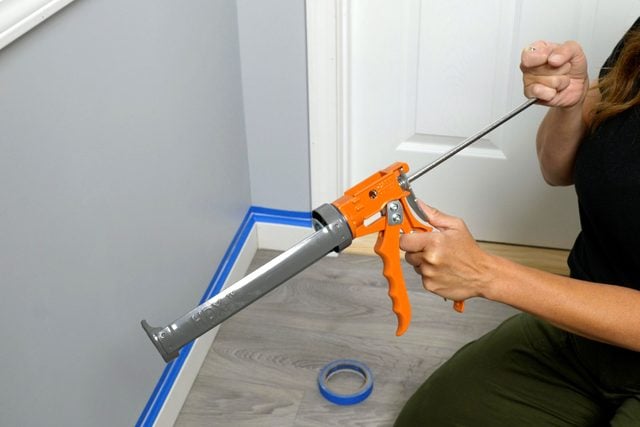
Load the caulking tube into the gun
- Typically, smooth rod caulk guns feature a metal trigger on the back that releases the plunger. While pressing it down, pull the rod back as far as you can.
- Insert the tube by placing the nozzle into the frame at the face of the gun and pressing the flat base of the tube to the back.
- Pull the trigger until the base plate of the plunger is firmly against tube.
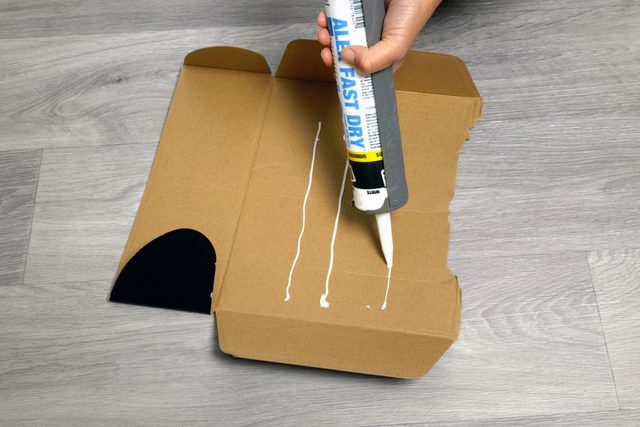
Test your skill
Practice using the caulk gun on a piece of paper or cardboard.
- Squeeze the trigger and move down the line at a 45-degree angle. Keep a consistent pace. If you go too slowly, the caulk might clump. Too fast, and areas might not get covered.
- Make sure to bend at the elbow and keep your wrist steady.
- It’s best to start away from your body and draw the line of caulk towards you.
- If the caulk bead is too thin, cut the tip wider.
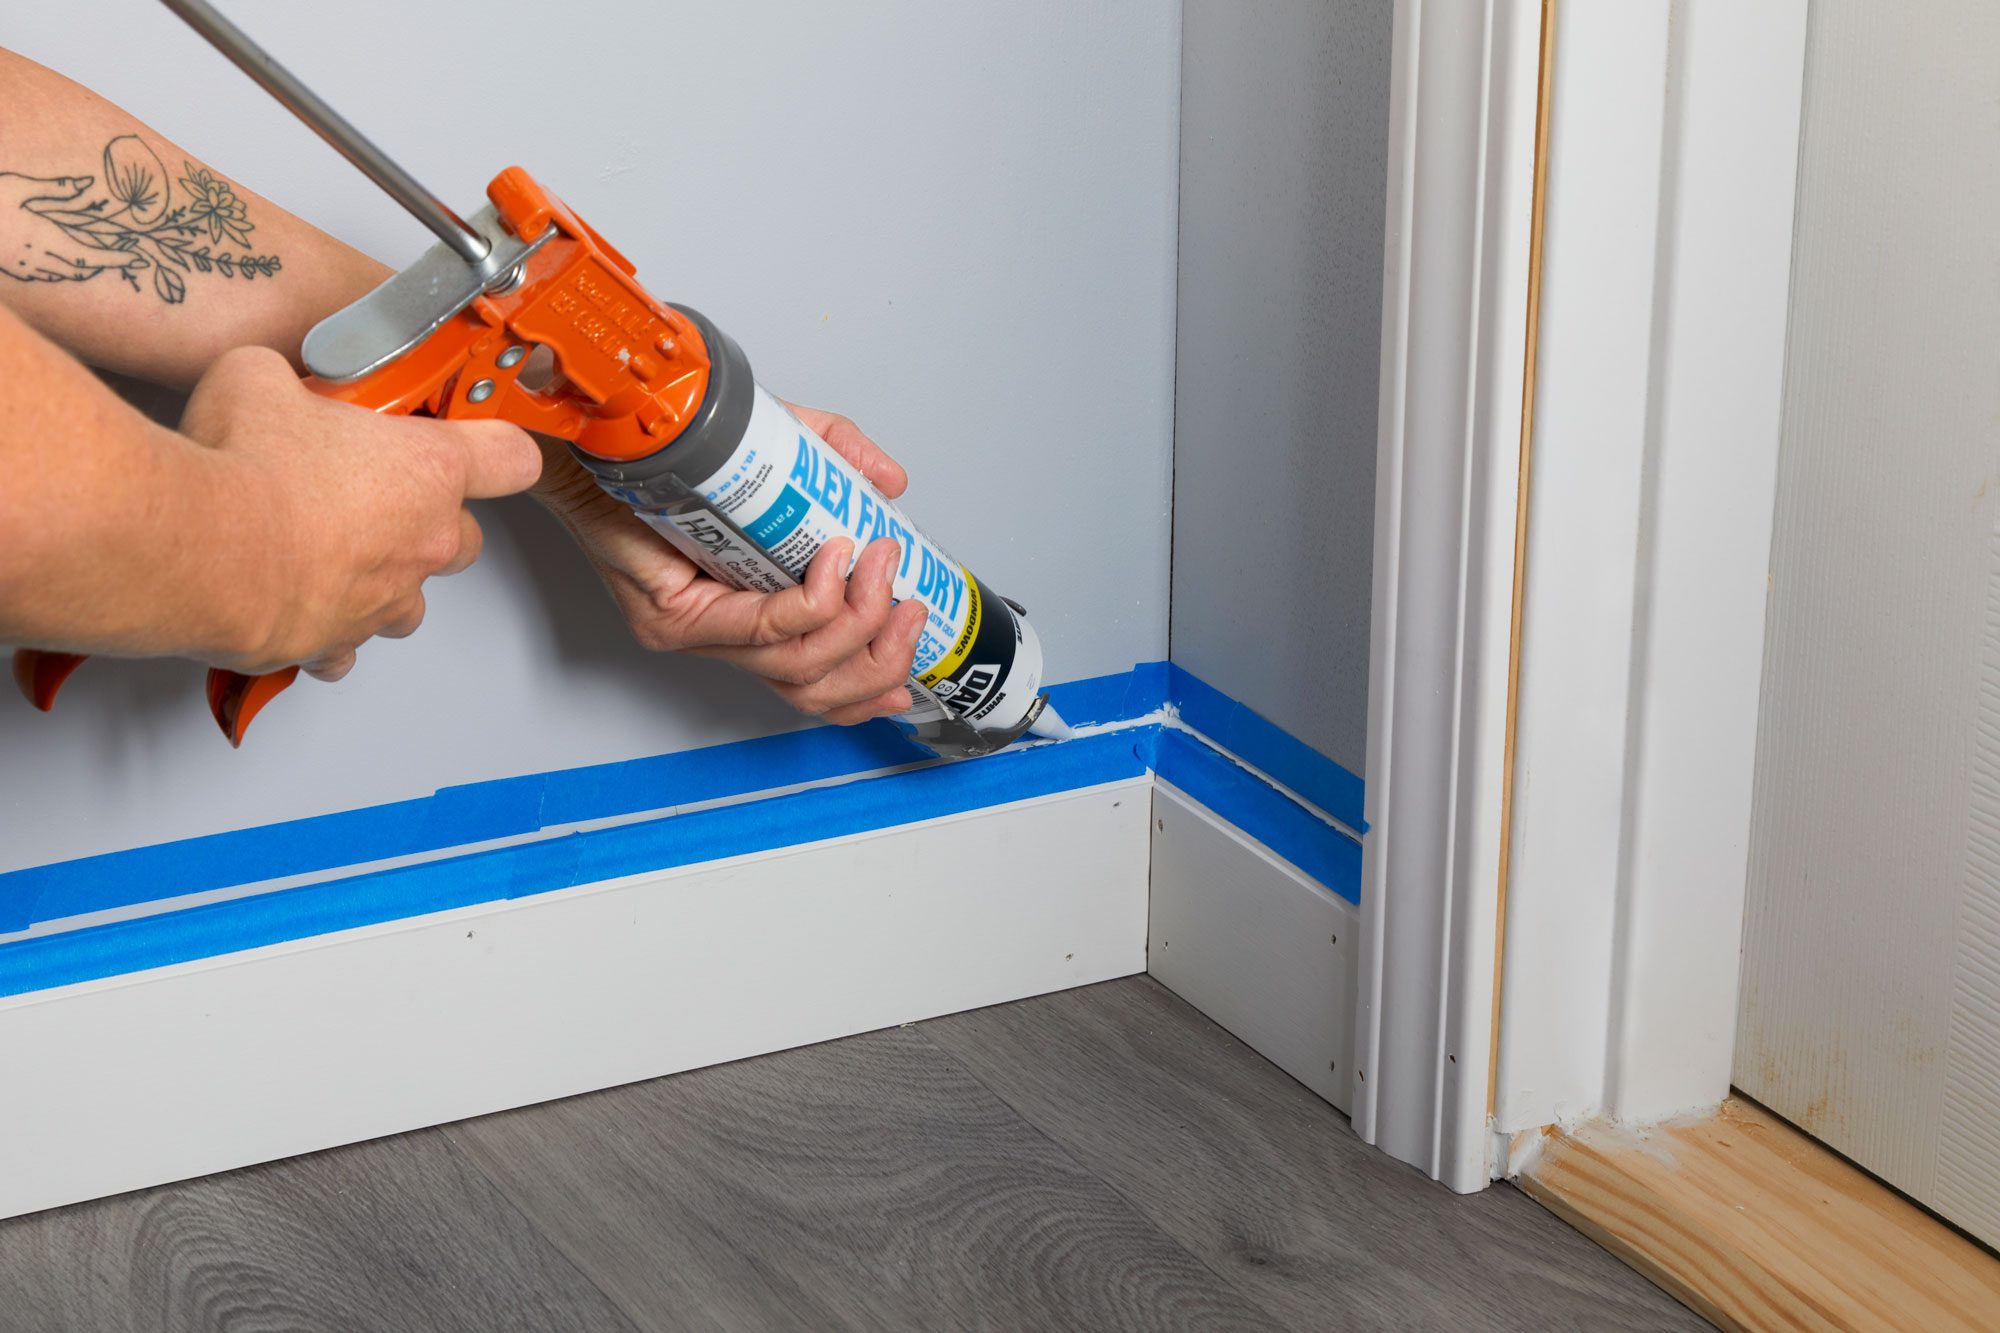
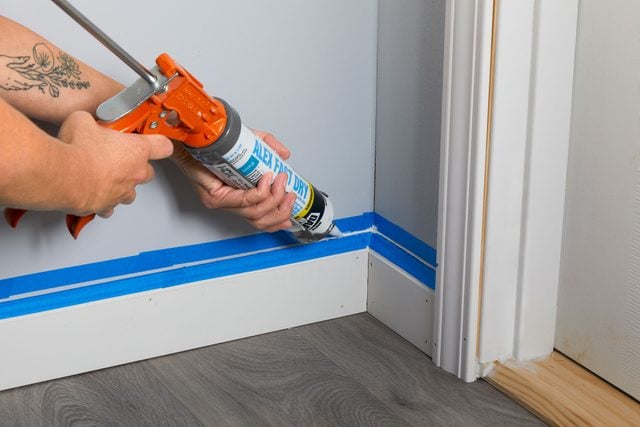
Caulk the trim or baseboard
- Make sure to point the tip towards the seam.
- Rotate the caulk in the gun to get the angle needed.
- To do this, start away from your body and move the line toward you. Once you reach the middle of the trim, stop and turn around to the other side. Start at the other corner and pull the line towards your body again to meet the already created line in the middle.
- If the tip of the nozzle clumps up at all, wipe it clean with a damp rag.
A beautiful finish
- For a beautiful finish, dip your finger in water and run it over the caulk. This is especially helpful on projects like caulking windows, since it will push the caulk into the joint and ensure a tight, smooth seal.
- Wipe the caulk off your finger with the wet rag.
Pro tip: Start running the finger ahead of the caulk a bit, then keep going. This will keep the line smooth from start to finish.
If the caulk ever becomes too thick, run a wet finger through the line to remove some of it. If you leave an edge behind, it will show up if you paint over it.

Let it dry
- Remove the painter’s tape.
- Let it dry according to the manufacturer’s instructions on the caulking tube
Originally Published: October 05, 2023