
How to Load a Caulk Gun

Updated: Sep. 07, 2023
Follow these steps and you'll be caulking that drafty window in no time.
Varies
Beginner
$10 to $30
Introduction
Caulk guns are a DIYers' best friend. They can help you bridge gaps in trimwork to make sure it looks flawless, caulk windows to keep out the elements, and so much more.
However, before you can use a caulk gun, you need to know how to load the caulk. Luckily, it's really not that hard.
Tools Required
- Smooth rod caulk gun
- Utility knife
Materials Required
- Tube of caulk
Maybe you’ve got to seal up a drafty window your partner has been complaining about, or maybe you’ve decided to reinvent your hallway with some chair rail molding. Whatever the case, it’s time to dive into the world of caulking.
If you want to caulk a beautifully straight line, you need a caulk gun. Let’s dig into how to load up a caulk gun and get that perfect line.
Project step-by-step (5)
Choose the right caulk
The first step is choosing the right caulk for your project. Is the job indoors or outdoors? Does it need to be watertight and/or paintable? Not all caulk is the same. Be sure to read the label to make sure it matches the task at hand.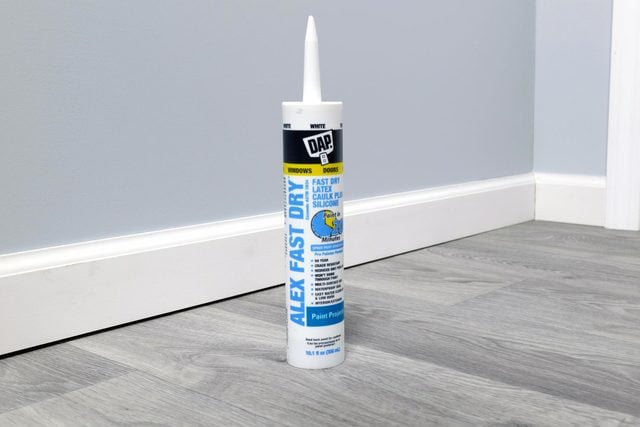
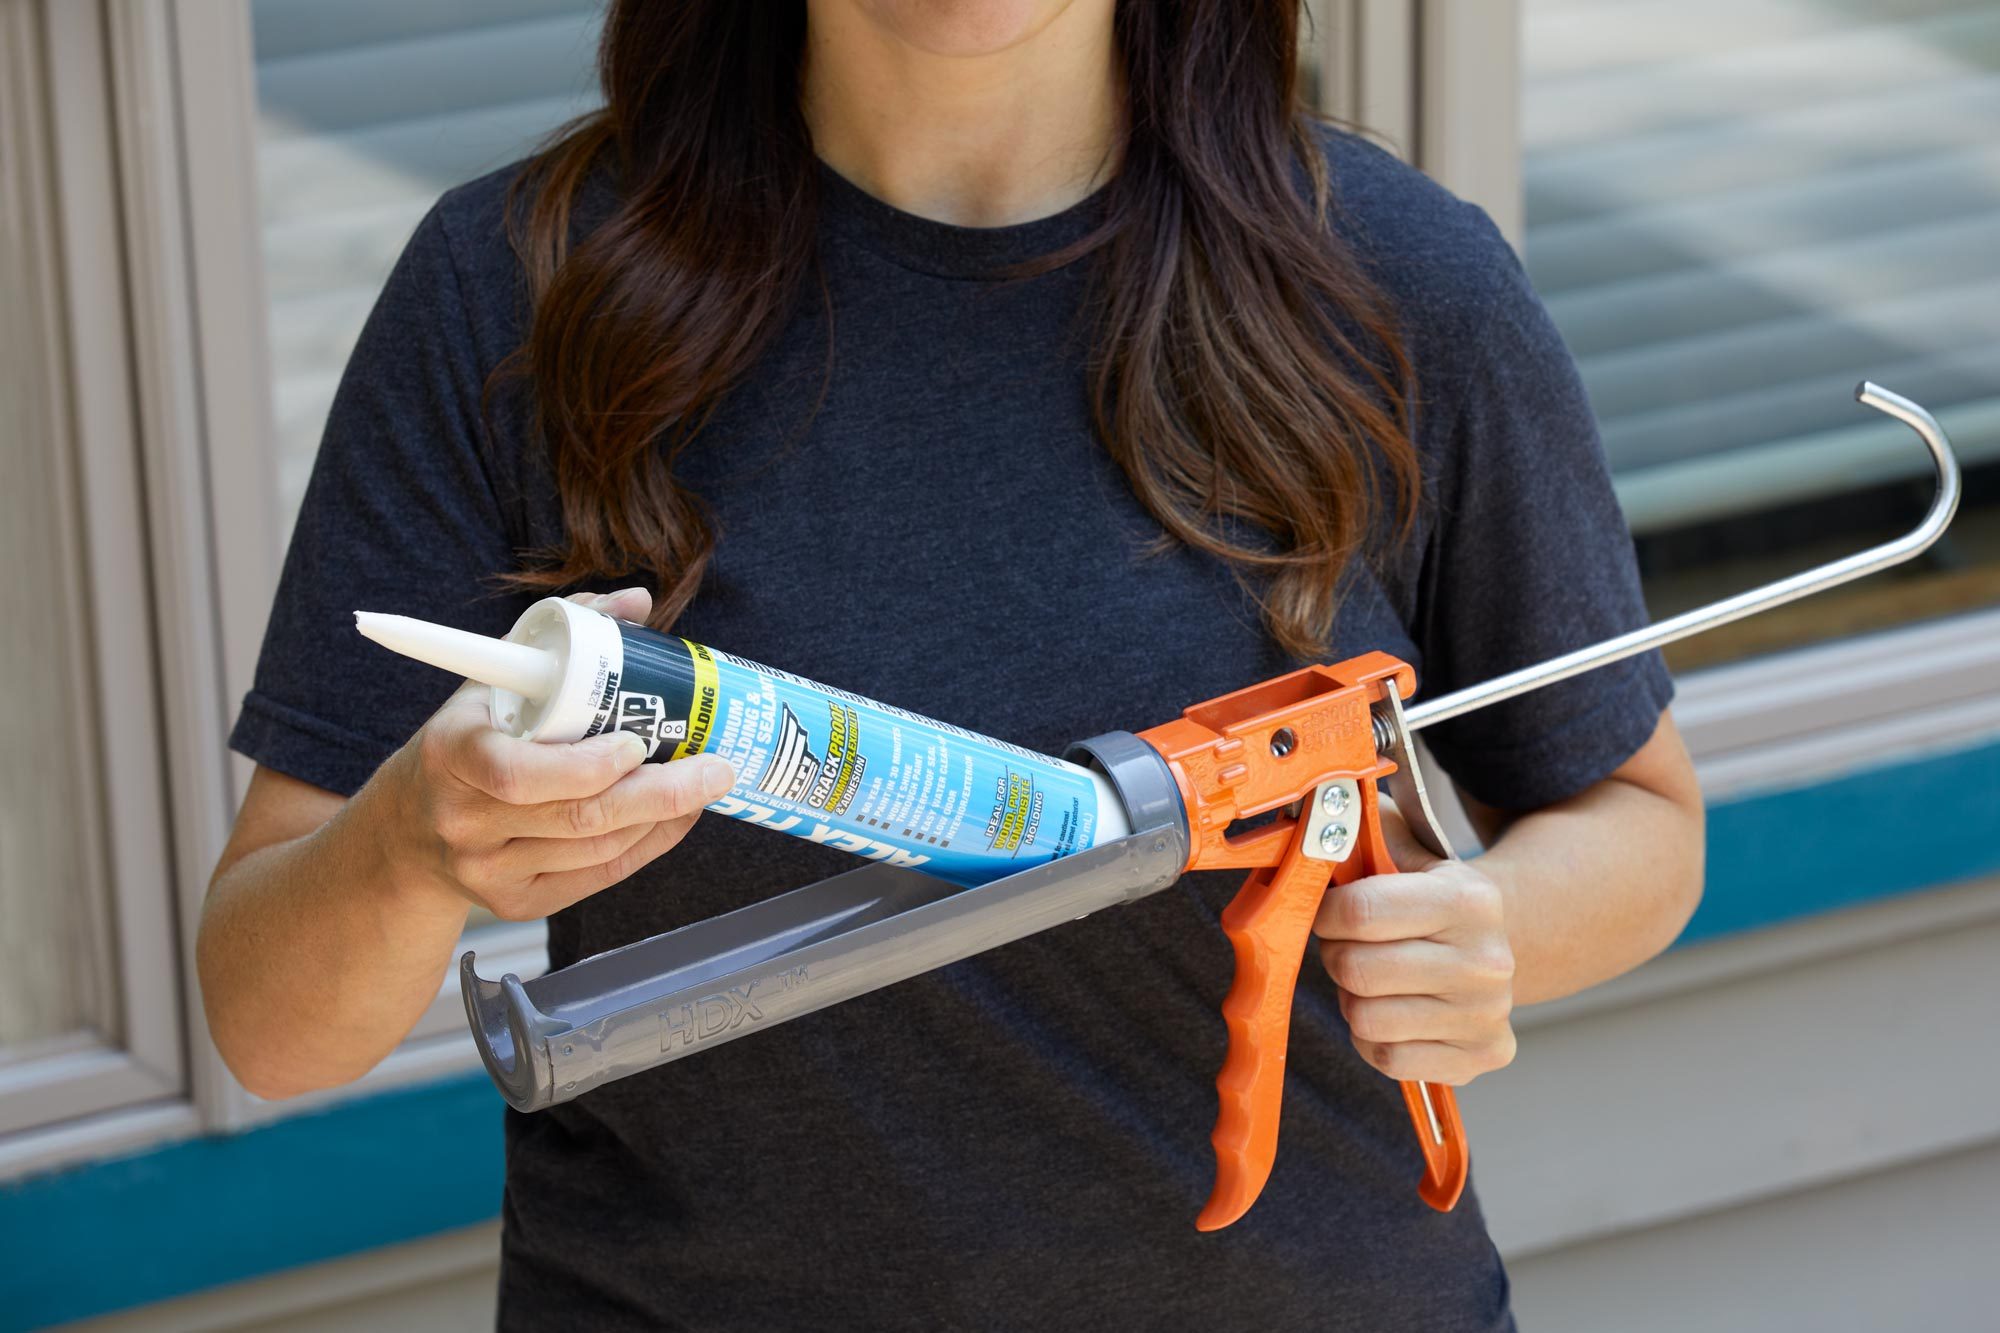
Grab a decent caulk gun
The right caulk gun will create a nice, beaded line and require less smoothing and cleanup. The most common types are ratchet rod and smooth rod. Best to avoid the cheapest models that might break in mid-project; a mid-priced one should be fine.
Ratchet rod caulk gun
This uses a metal rod to push the caulk out of the tube. Its lesser thrust ratio of 5:1 means only latex caulk really works well with this type. Thicker caulk will be a lot more work and harder to control.
Smooth rod caulk gun
The gun, with a thrust ratio of 10:1, can handle silicone caulk and other thick types. The spring-loaded mechanism allows you to adjust pressure and the caulking stream, and you can stop the flow by releasing the trigger. If you’re a homeowner and doing multiple projects, this type will be a lifesaver for your hands.

Electric caulk gun
Unless it’s a major project, you probably don’t need something this high-end.
With your new caulk gun in hand, let’s get started.
How to open the caulking tube
- Many caulk guns come with a built-in cutter to slice off the tip of the caulking tube, usually on the side of the handle. Simply insert the tip and squeeze the handle. Cut at a 45-degree angle.
- If there’s no built-in cutter, cut the tip with a utility knife.
- Pierce the inner seal of the tube with the thin metal rod attached to the caulk gun. If there isn’t one, a trusty nail works just as well.
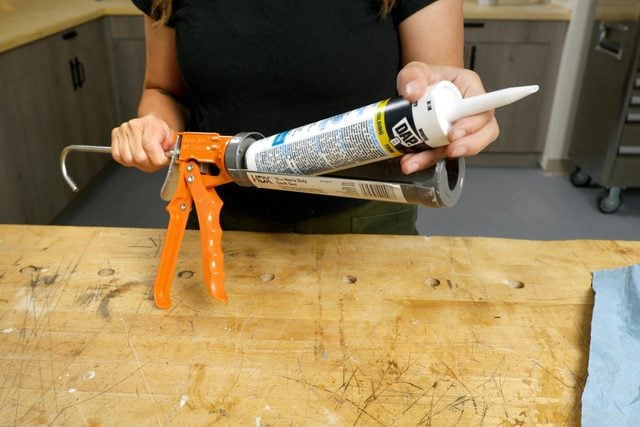
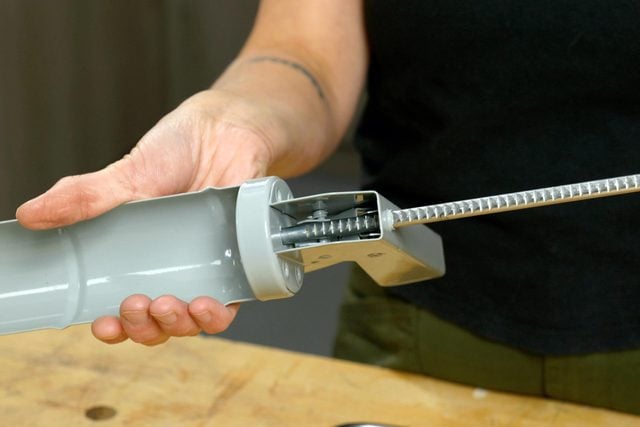
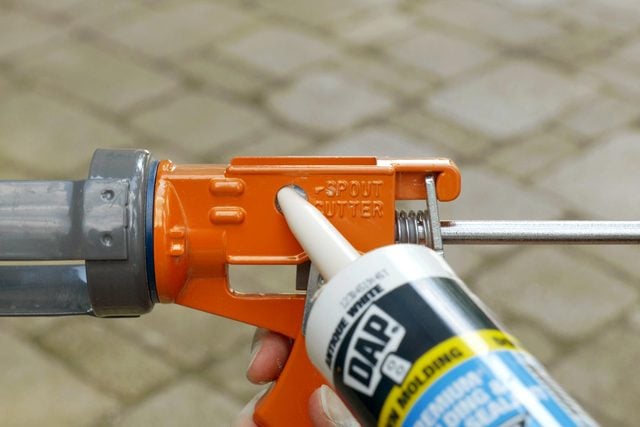
Load the caulk gun
- Typically, smooth rod caulk guns come with a metal trigger on the back that releases the plunger. While pressing it down, pull the rod back as far as you can.
- Insert the tube by placing the nozzle into the frame at the face of the gun, and pressing the flat base of the tube to the back of the gun.
- Pull the trigger until the base plate of the plunger is firmly against tube.
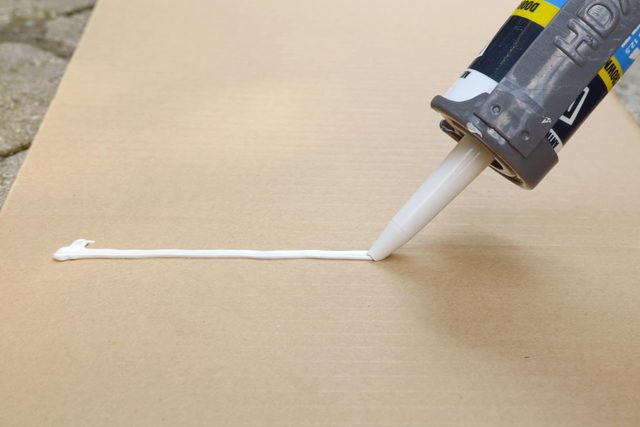
Test your skill
Practice applying a straight line of caulk on some cardboard before diving into your project.
Originally Published: September 07, 2023