How to Use a Caulk Gun
Updated: Feb. 07, 2024
Learn how to caulk like a pro!
Varies
Beginner
Varies
Introduction
A caulk gun is an essential DIY tool for every homeowner. Follow these steps to learn how to use one the right way.Tools Required
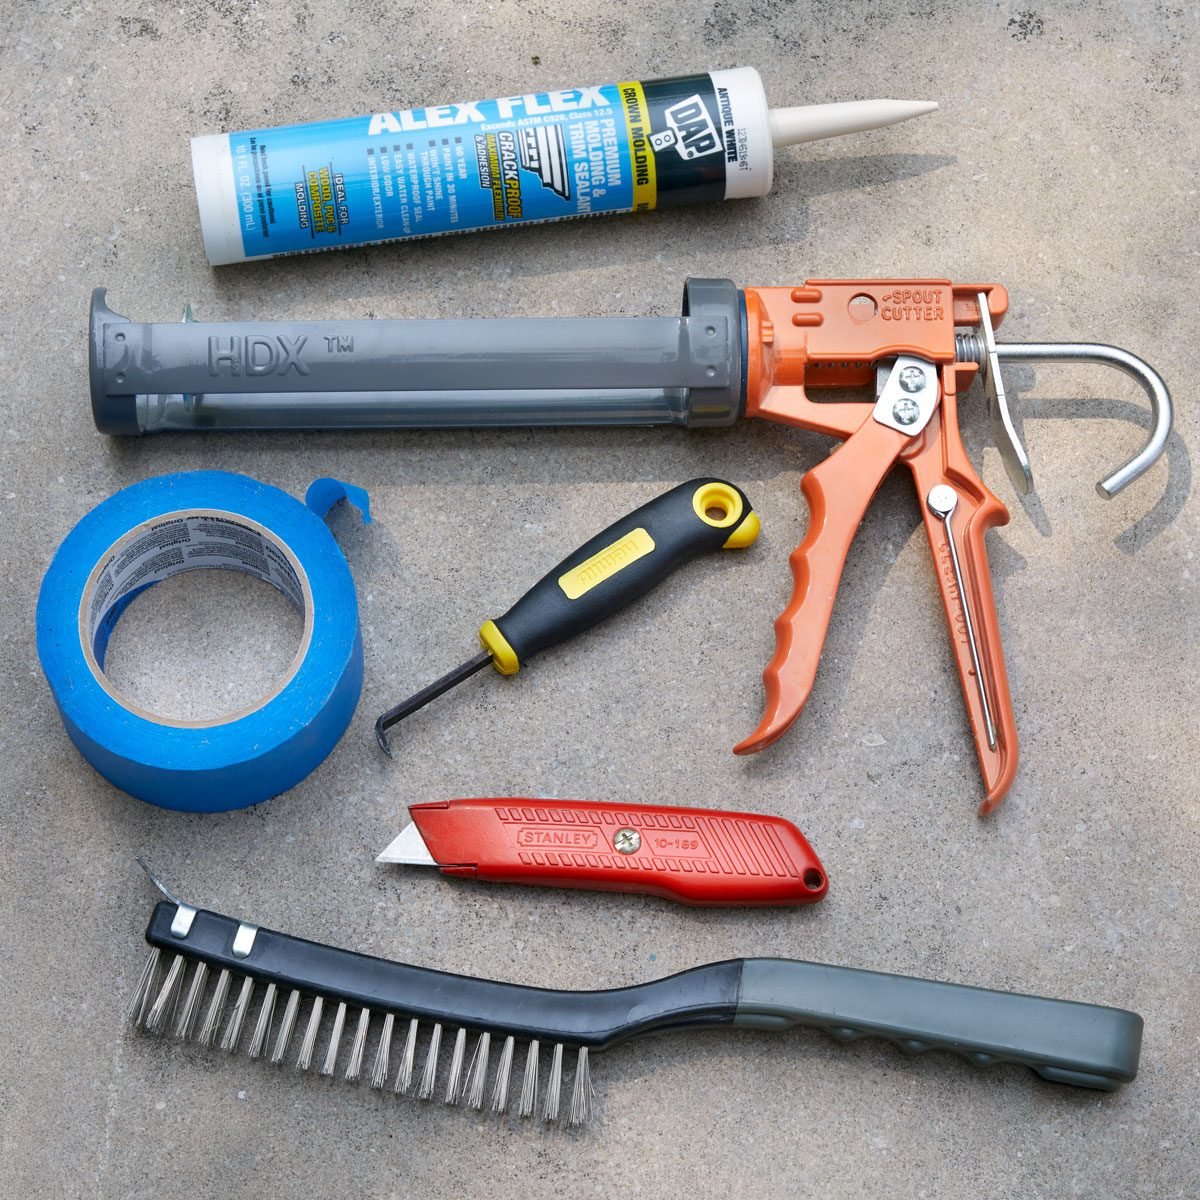
- Caulk gun
- Putty knife or a caulk removal tool
- Utility knife
Materials Required
- Cup of water
- Damp rag
- Painter's tape
- Rubbing alcohol
- Tube of caulk
Knowing how to use a caulk gun offers easy entry to the do-it-yourself lifestyle.
Caulk creates a watertight seal that protects your drywall and cabinets wherever water is present. It seals kitchen sinks, tubs, windows, doors, and tiles, and fills in cracks for a smooth finish. I enjoy applying caulk to wainscotting when framing my hallway. It really added some flavor to my space!
So whether you’re renting or your own home, if you need to replace deteriorating caulk or simply want to reinvent your wall with some board and batten, learning how to use a caulk gun will be your key to success. With a few easy tips, you’ll be caulking like a pro.
Types of caulk
The most common are silicone- or latex-based. Choosing the right caulk for the job will depend on the project.
Silicone-based caulk: Best for bathtubs or sinks, this type repels moisture and prevents mildew buildup.
Latex-based caulk: Used to fill cracks or spaces between baseboards or molding. This type expands better than silicone, but breaks down faster if exposed to water and sunlight.
Which caulk gun to buy
The smooth rod caulk gun makes applying caulk easy. A midrange-priced one should work. Unless it’s a major project, you probably don’t need a high end electric one, but you also don’t want a cheap one that breaks before you’re finished.
Now that you have your caulk and gun, let’s get started.
Project step-by-step (7)
Clean up the space
If you’re dealing with moldy, old or deteriorating caulk, do some cleanup before administering new caulk.
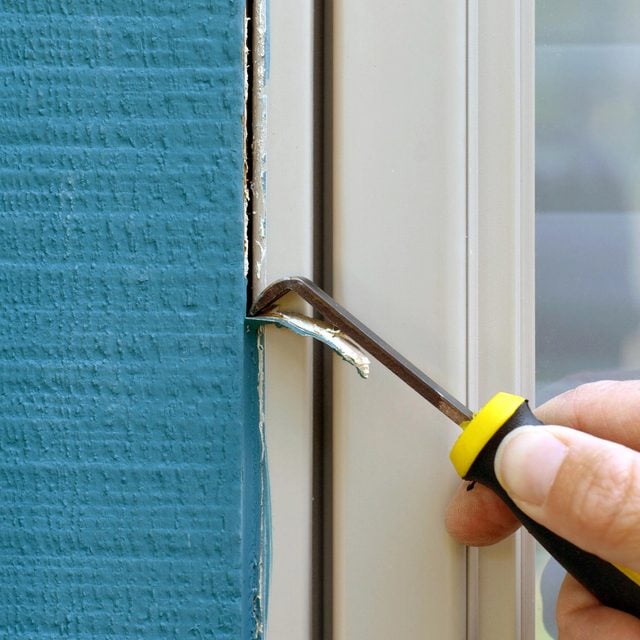
- Use a utility knife, putty knife or a caulk removal tool to scrap off the old caulking.
- Once the surface is clear, clean it with some rubbing alcohol.
- Let the surface dry completely. If any moisture remains, mold could form under the new caulk.
How to open a tube of caulk
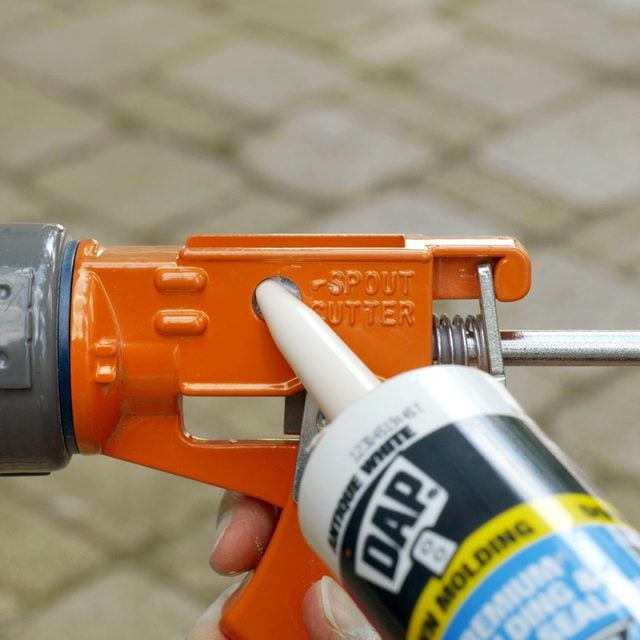
- Some caulk guns come with a spout cutter built in. If not, use a utility knife to cut the tip off the caulking tube at a 45-degree angle.
- For fatter lines, cut the nozzle closer to the tube.
- Use the thin metal rod attached to the underside of the caulk gun to pierce the inner seal. If your caulk gun doesn’t have a seal puncher, a nail works just as well.
Prep the surface
- If indoors, use painter’s tape above and below where the caulk will go to create a clean line and give you a target.

Caulk gun loading
- Typically, smooth rod caulk guns feature a metal trigger on the back. While pressing it down, pull the L shaped rod back as far as you can.
- Insert the tube by pressing the flat base of the tube to the back of the gun, then placing the nozzle into the hole at the face of the gun.
- Pull the trigger until the base plate of the rod is firmly against tube.
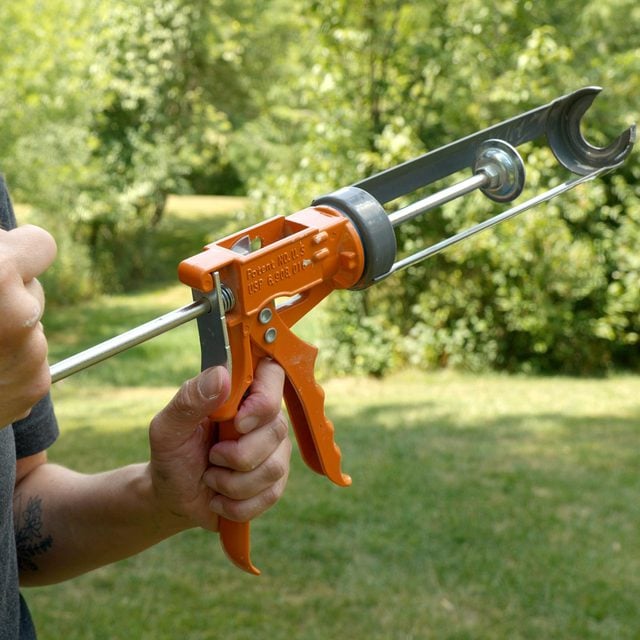
Using a caulk gun
- Practice using the caulk gun on a piece of cardboard.
- Squeeze the trigger and move down the line at a 45-degree angle at a consistent pace. If you go too slowly, the caulk might end up clumping. Too fast, areas might not get covered.
- If the line is too small, cut the tube again to make it bigger.
Taking this approach will greatly minimize the chances of a caulking mistake. Once you have the hang of it, go ahead and start caulking!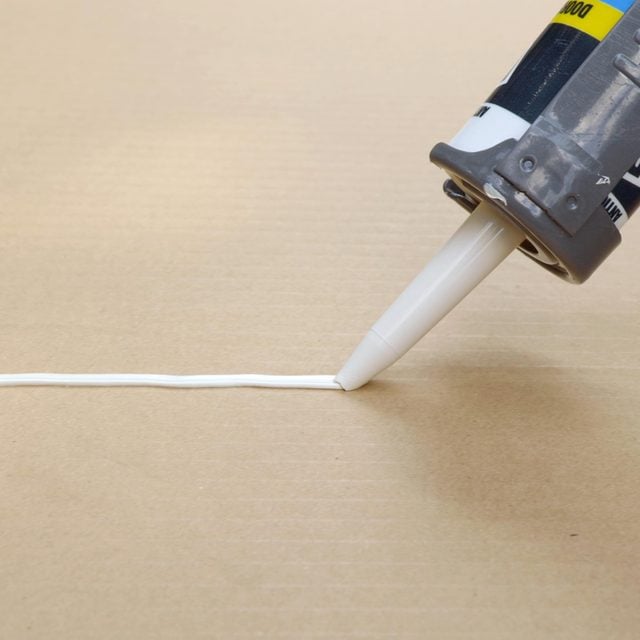
Finishing step
- For a perfect line of caulk, dip your finger in water, then run it over the caulk.
- This will also push the caulk into the joint, making a tight, smooth seal.
- Wipe the excess caulk off your finger with a wet rag.
Pro tip: Start running the finger ahead of the caulk a bit, then keep going. This will keep the line smooth from start to finish.
If the caulk ever becomes too thick at one point, run a wet finger through the line to remove it. Don’t leave an edge behind, because it will show up if you paint over it.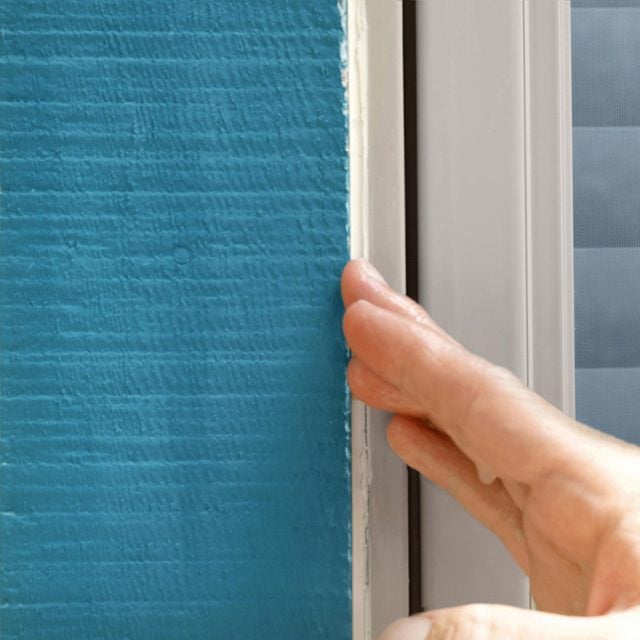
Let it dry
- Remove the painter’s tape.
- Let it dry, per the instructions on the caulking tube.
- Once dry, you can paint over it. Or, in the case of a tub, take that long soak you’ve been dreaming about.
