


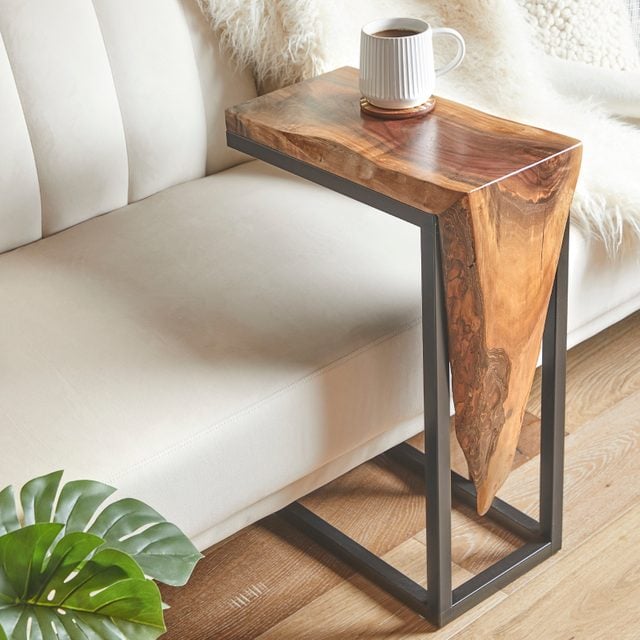
This table is so simple. The beauty of the wood does most of the work!
A full day
Beginner
$101–250
Introduction
Live-edge wood has a natural appeal that makes it popular for many woodworking projects — dining room tables, shelving and more. But where do you find beautiful two-inch-thick slabs of walnut or maple? Certainly not at home centers. Search online for local sawmills and hardwood suppliers to find live-edge wood slabs.
At the supplier, you’re sure to find DIYers and pro woodworkers combing through stacks of wood slabs looking for that perfect piece. We sourced this walnut from a local hardwood supplier and had it surfaced-planed at a local sawmill.
Watch How to Build a Waterfall Side Table
Tools Required
- Circular saw
- Clear packing tape
- Drill bits
- Drill/driver
- Dust mask
- Measuring tape
- Miter saw
- Rubber mallet
- safety goggles
- straight edge
- Wood chisel
Materials Required
- #8 x 1-1/2" wood screws
- 1 - 1" x 12" x 36" live-edge walnut
- 4 - 90-degree press-fit connectors
- 4 - Stick-on felt pads
- 4 - Three-way press-fit connectors
- Clear packing tape
- Spray paint & primer
- Wipe-on polyurethane
- Wood glue
- 1 - 1" x 1" x 12' square tubing
Imagination
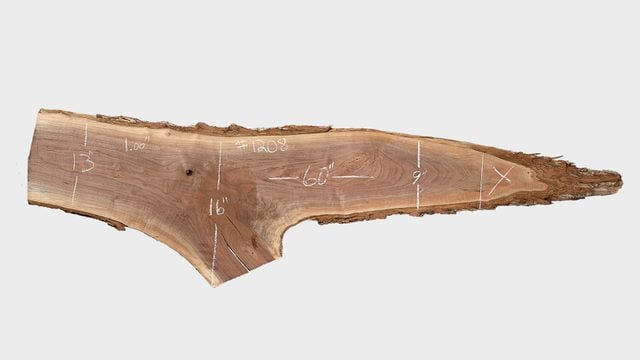
The artistic challenge — or opportunity! — of any woodworking project is visualizing your finished item in the piece of wood even before you buy it. Have general measurements in mind and bring a tape measure when you go hunting for that superb slab.
A few things to think about when looking at a slab: Start with your overall dimensions, including the thickness of the piece. Then consider how much of the live edge is exposed, the amount of sapwood, and how many cracks you see in the wood. (You can fill cracks. Don’t let them deter you from buying an attractive piece.)
Determine how much machining and milling it will take to make the piece usable for your project. It’s the science and art of woodworking.
Project step-by-step (15)
Step 1
Lay Out the Top
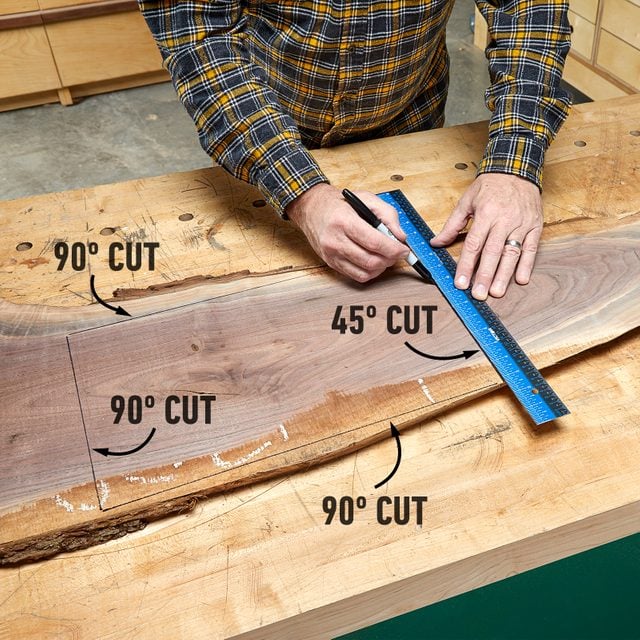
- Before you start cutting, examine the contours of the live edge and notice the wood’s grain patterns. Decide which surface will be most pleasing for the top of your table. As much as possible, leave the live edge untouched.
- Lay out the size of your table frame on the underside of the piece. Draw lines where you plan to make cuts.
- The front edge of the top will have a 45-degree angle, with the front edge of the table frame aligning at the short point of the 45-degree angle on the underside of the top. Some of your tabletop might have straight 90-degree cuts. That depends on the slab you chose and the shape of its live edges.
Step 2
Setup for Cutting
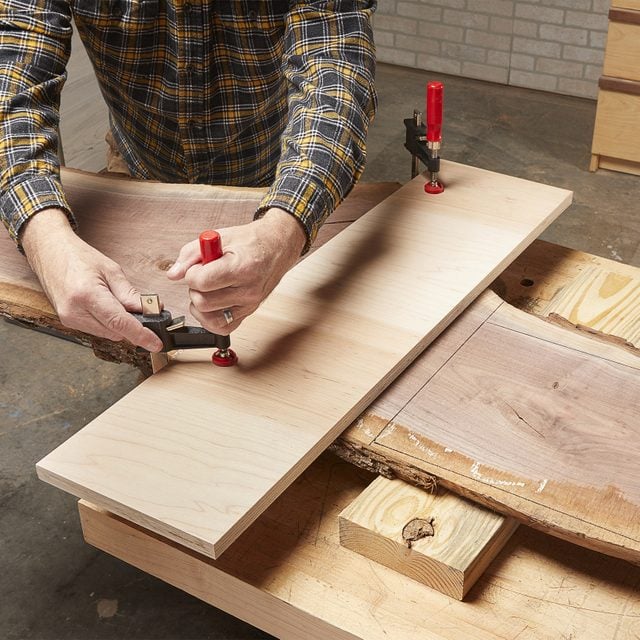
- Secure the slab on a stable workbench or sawhorses. Make your cuts by letting the slab hang over the edge of your work surface or setting it on top of the 2x4s. This allows room for the saw blade underneath so you won’t cut into your workbench.
- Next, measure the distance between the edge of your circular saw’s base plate and the saw blade. (See photo.) Add that dimension to the perimeter lines you’ll cut.
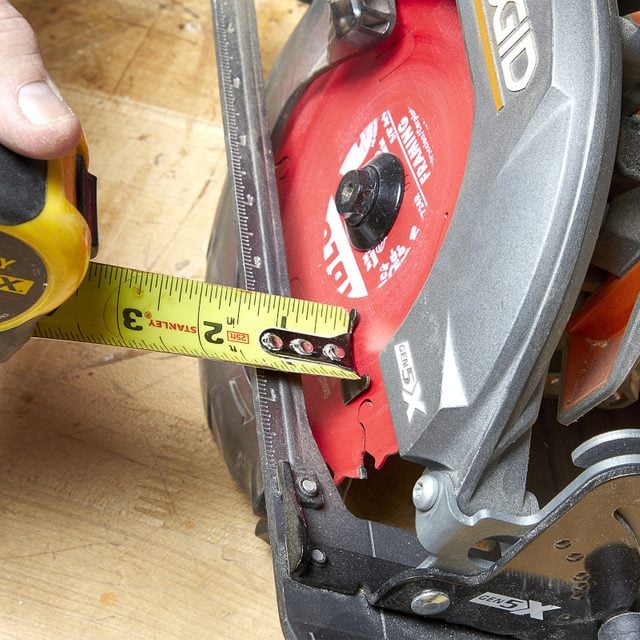
- Lay a straight edge or piece of plywood as a saw guide on top of the wood slab at the line you just made. Using clamps, secure all the pieces to your work surface.
Step 3
Cut 90-Degree Angles
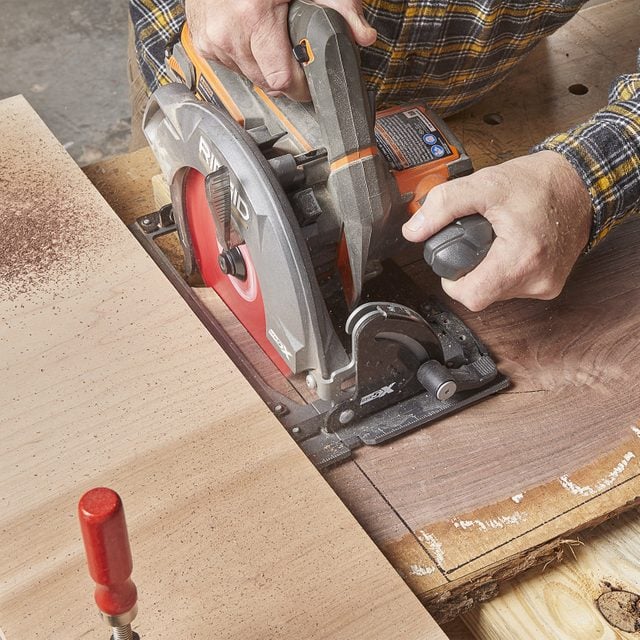
- Set the depth of your saw blade so it’s slightly deeper than the thickness of your wood slab. Make all your 90-degree cuts first.
Step 4
Cut 45-Degree Angles On Waterfall
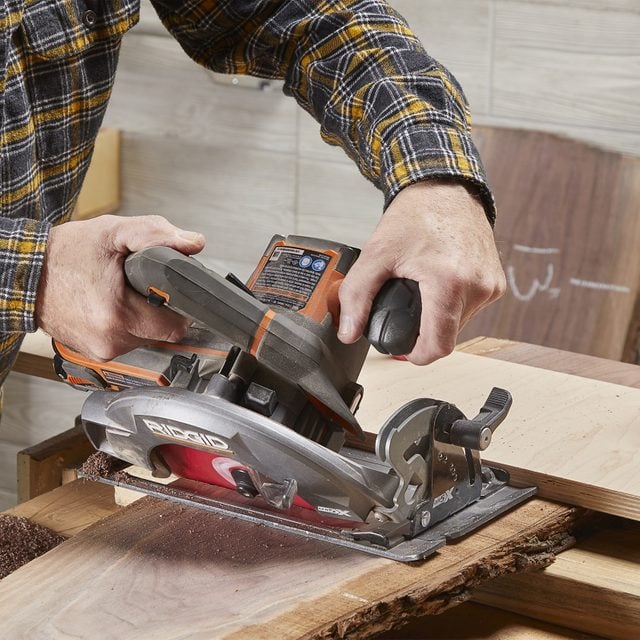
- Next, set your saw blade back to full depth and tilt the circular saw base plate to a 45-degree angle.
- Make your first 45-degree angle cut. The long point of the 45-degree angle should be the front edge of your waterfall.
Step 5
Cut 45-Degree Angles On Tabletop
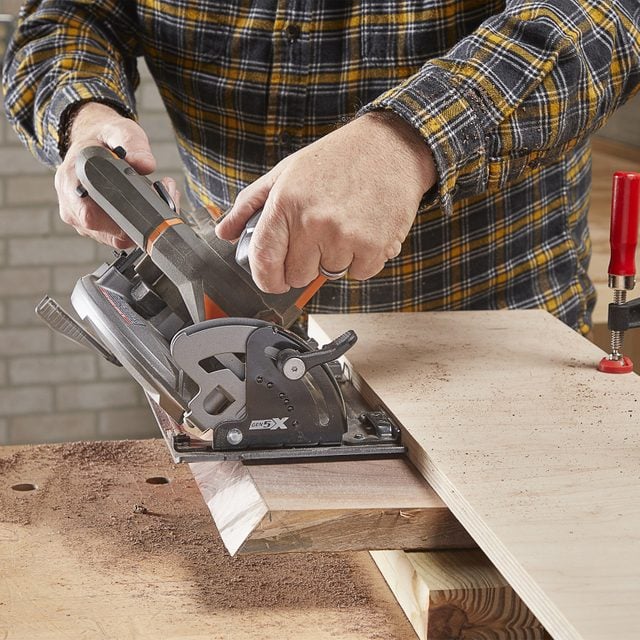
- To cut the angle on the tabletop, move your plywood saw guide to accommodate the next cut, clamping it to your work surface.
- Cut another 45-degree angle in the opposite direction along the line of the short point of the 45-degree angle.
Step 6
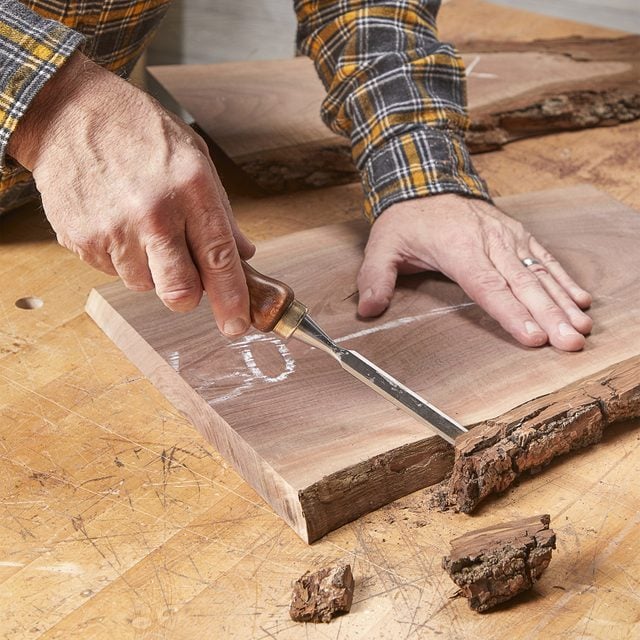
Expose the Live Edge
-
Using a chisel or multi-tool, carefully remove the bark to expose the natural edge. In some cases, the bark will pull off easily. Of course, you can always leave on some of the bark for a natural, rustic look.
Step 7
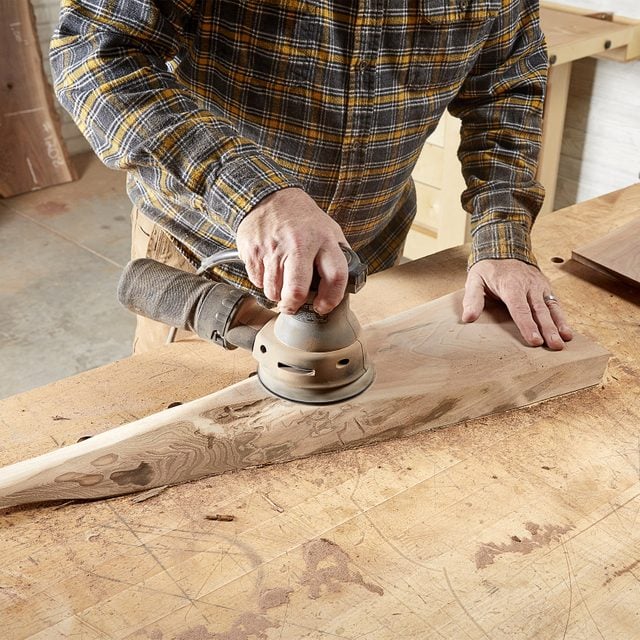
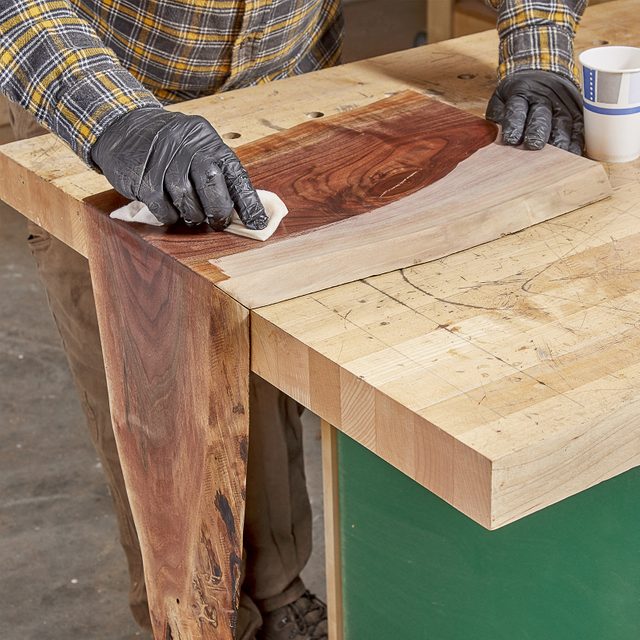
Sanding
-
Once you’ve removed the bark, use an orbital sander with 150-grit sandpaper to smooth the surface and knock off any sharp edges. Always wear a dust mask when sanding.
Step 8
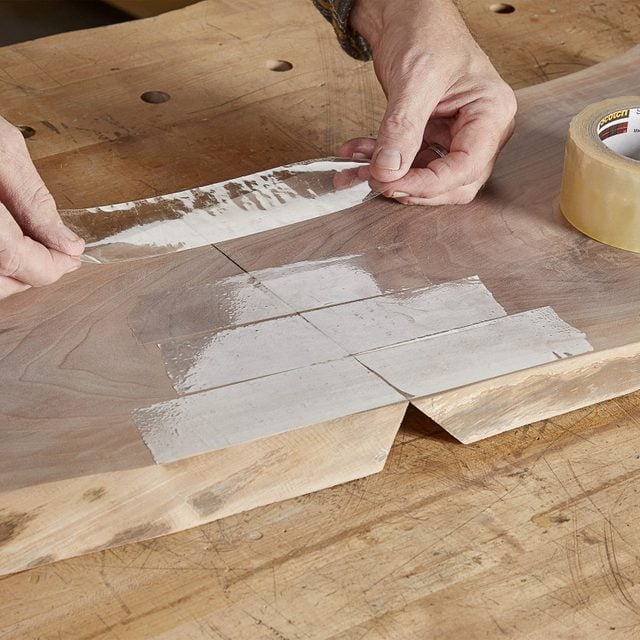
Tape the Top
-
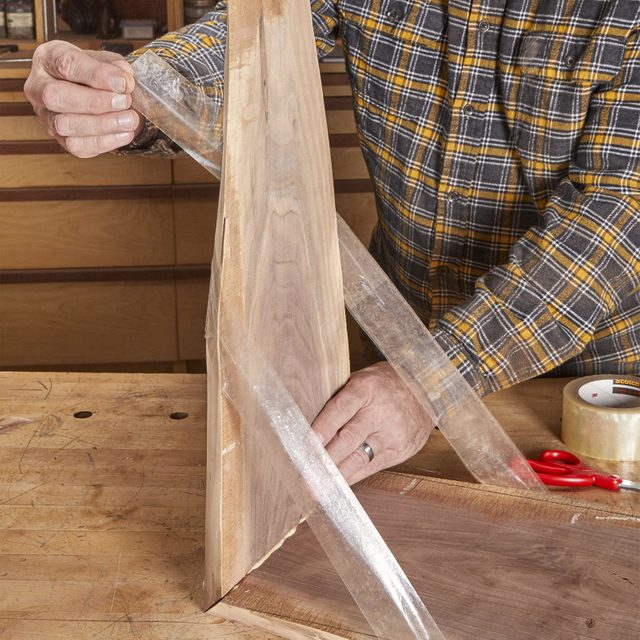
To glue the tabletop and waterfall pieces together, position them so the long points of both 45-degree angles face each other. Next, stick three or four strips of clear packing tape across the seam to join the two pieces.
Step 9
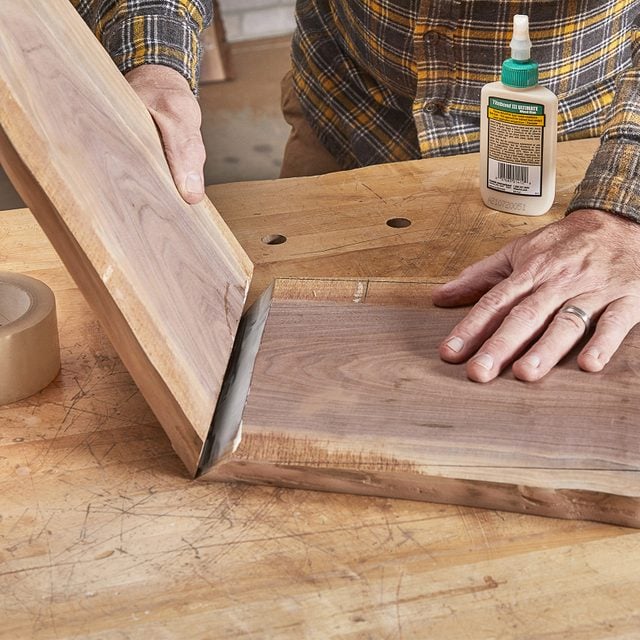
Apply Glue
- Carefully turn both pieces over and apply wood glue to both 45-degree angles. Lift the waterfall piece to close the gap between the two 45-degree angles and create a 90-degree angle.
Step 10
Glue Up the Top
- Hold the joint together and stretch packing tape from the waterfall piece to the tabletop. Use a damp cloth to wipe away any glue that squeezes out.
Step 11
No-Weld Metal Table Frame
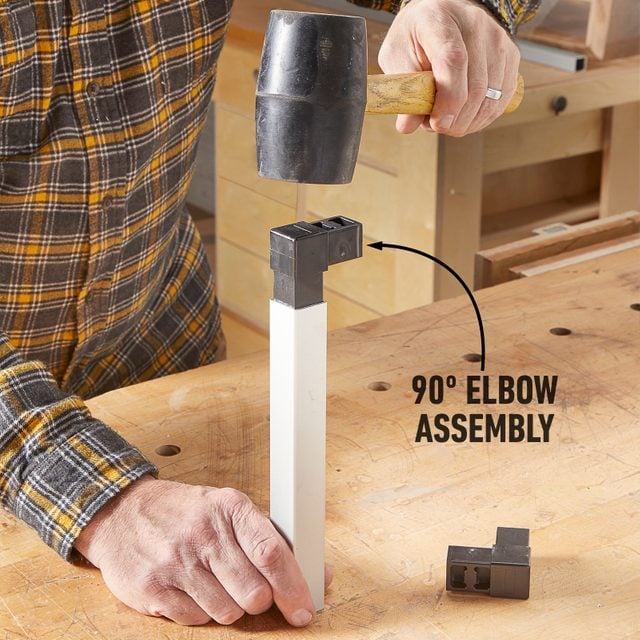
We built our table frame using one-inch square aluminum tubing and press-fit framing connectors from grainger.com. Yes, we were originally eager to weld some steel for this, but then we found these materials. They’re affordable, easy and strong.
Cut all the square tubing to length and assemble the table legs with nothing more than a rubber mallet. Note: The size of your frame depends on the size of your tabletop.
Overall dimensions: 10-in. W x 16-in. D x 25-in. H
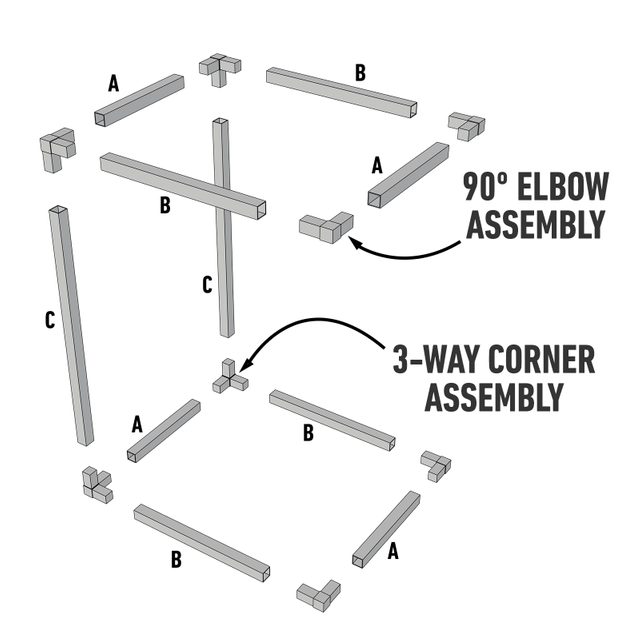
Cutting List
| KEY | QTY. | DIMENSIONS | PART |
| A | 4 | 1″ x 8″ | Front and back |
| B | 4 | 1″ x 14″ | Sides |
| C | 2 | 1″ x 23″ | Uprights |
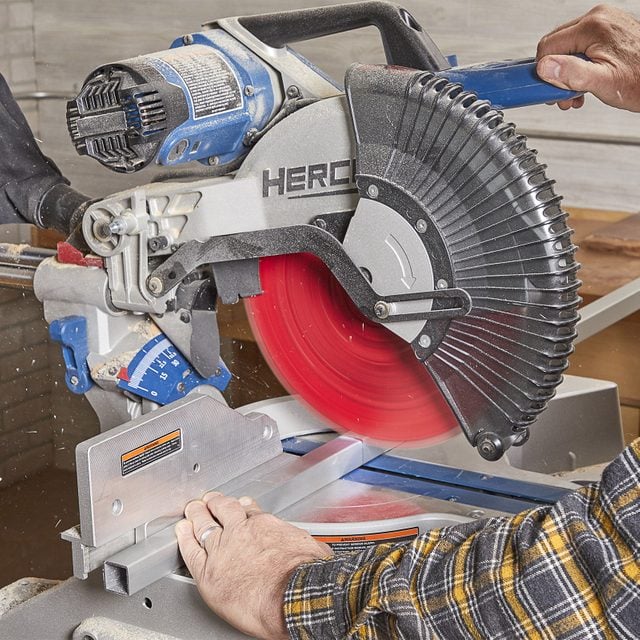
Cut the Square Tubing
- Cut the square tubing according to the cutting list using a miter saw with a carbide tip blade.
- Note: Wear proper eye protection.
Step 12
Assemble the Table Frame
-
The frame of this table goes together easily. Start by constructing two rectangle frames using Parts A and B, the 90-degree elbows and the three-way corner connectors. Then connect the two frames with the two uprights (C).
Step 13
Apply a Finish
- Once the glue sets, make another pass over the whole piece with the orbital sander. Apply three to four coats of wipe-on polyurethane to seal all the surfaces of the wood, including the bark if you left it on.
- Sand between coats with 400-grit sandpaper.
- Finish the table frame by spraying primer and paint on all sides in the color of your choice.
Step 14
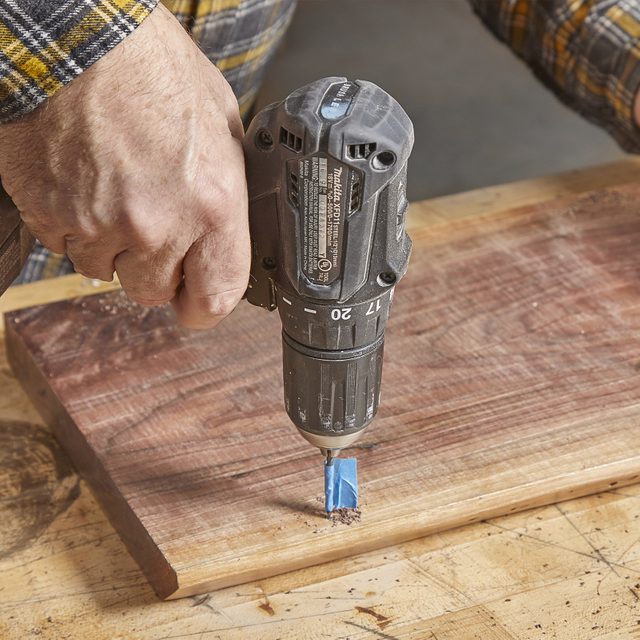
Assemble the Table
- To attach the top to the frame, drill two 1/4-in. holes into each of the two 14-in. square tubes (B) on the upper assembly, three inches from each end.
- Lay the tabletop upside down so the waterfall points up. Set the table frame on the underside of the top so the back of the waterfall aligns with the 23-in. uprights (C).
- Drill a 3/32-in. pilot hole into the underside of the top at each of the four 1/4-in. predrilled holes in the frame.
Step 15
Attach the Frame
- Attach the frame to the top with No. 8 1-1/2-in. wood screws in the four predrilled holes.
-
- Pro tip: Set the depth of your drill bit or use a piece of tape as a stop so you don’t drill through the top. Also, double-check the length of your screws so they’re not too long.

- Lastly, protect your floors by sticking four felt pads to the bottom frame assembly.

Originally Published: February 02, 2022