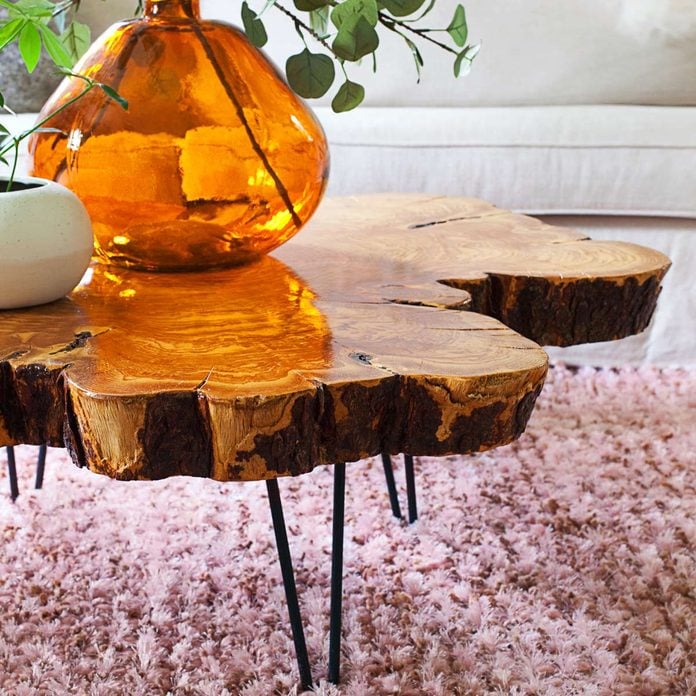
Live Edge Table
A live edge table incorporates the natural edges of the wood into the design. Find the right piece of wood and you can create a stunning one-of-a-kind DIY end table. This gorgeous table started out as a slab of wood for sale on Craigslist!
Photo: Courtesy of A Beautiful Mess
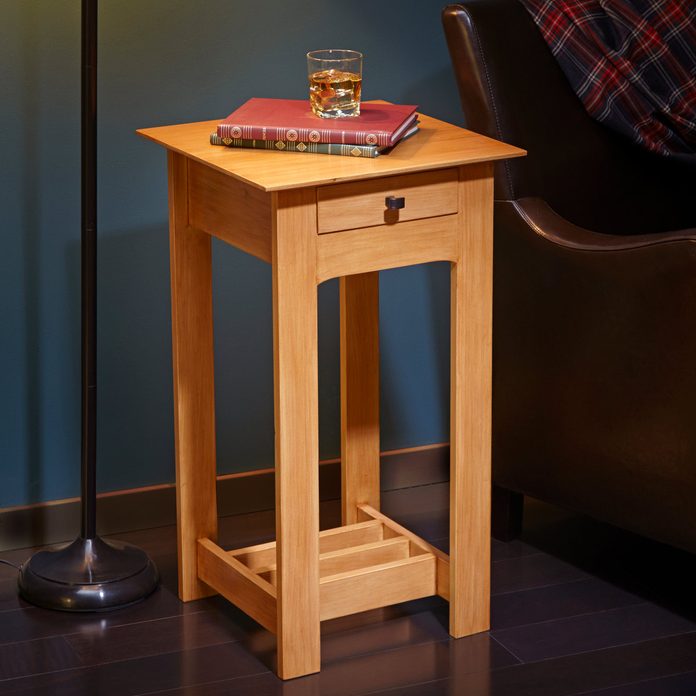
Rennie Mackintosh End Table
A Rennie Mackintosh table is a great DIY end table project if you want to build something classic. With the right tools and a little woodworking experience, you can build one of these tiny tables in a weekend. Our guide takes you through all of the steps!
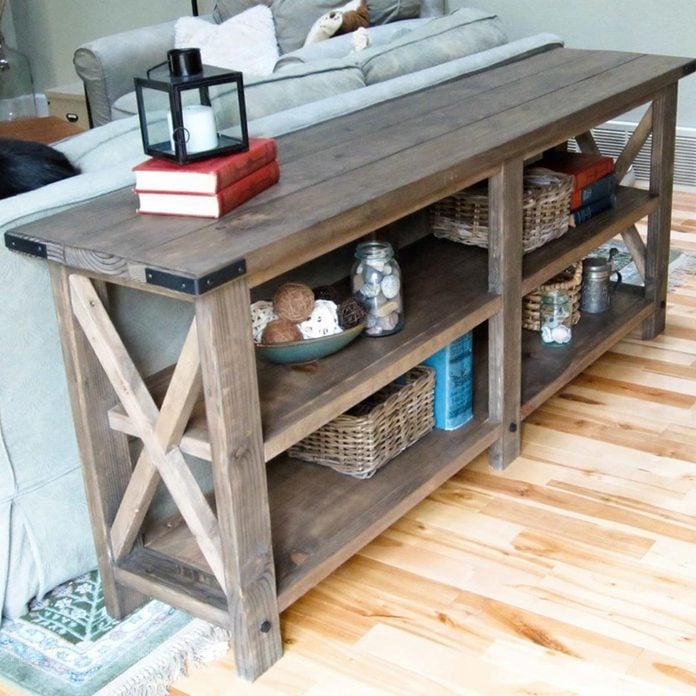
X-Based End Table
This X-based DIY end table is very popular. It’s sturdy, simple to build, and uses inexpensive or reclaimed lumber. This project is one of our favorites because of the beautiful corner brackets.
Photo: Courtesy of Ana White
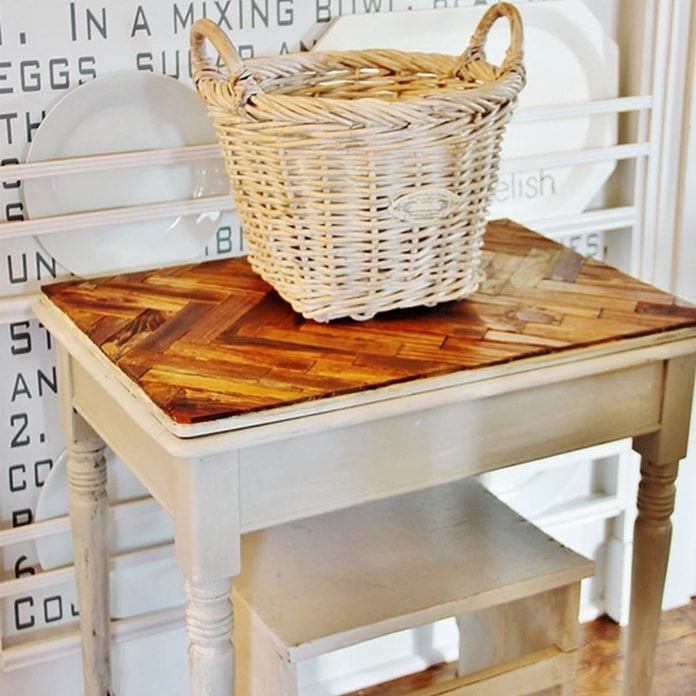
Paint Stick Table Top Project
Do you have an end table that is the right size, but the tabletop is ugly and/or damaged? This brilliant DIY project uses stained wooden paint sticks (free where you buy paint!) to create a herringbone pattern. This simple end table is ideal if you want to give an end table an upgrade rather than replace it.
Photo: Courtesy of Thistlewood Farms
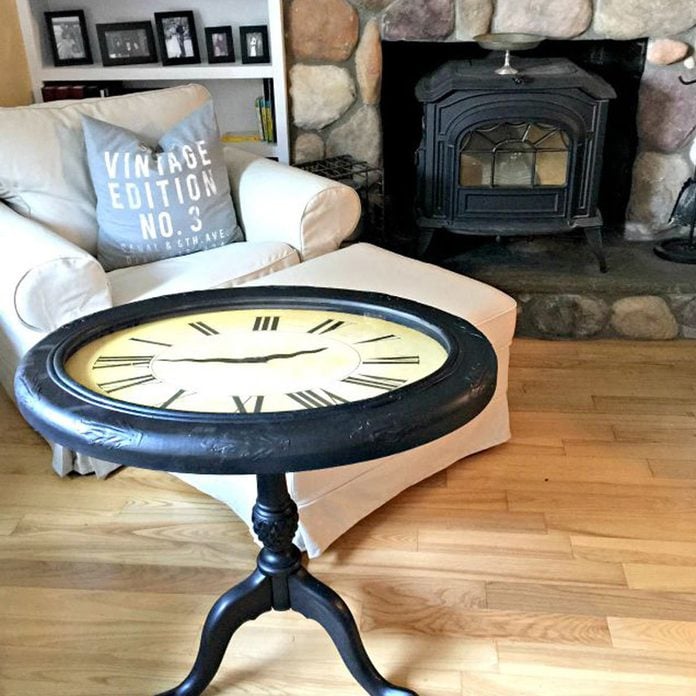
Time for a New End Table
One trend in DIY end tables is to start with a large old clock. This DIY end table started out as an old clock and an end table with a battered top.
Photo: Courtesy of Home Road
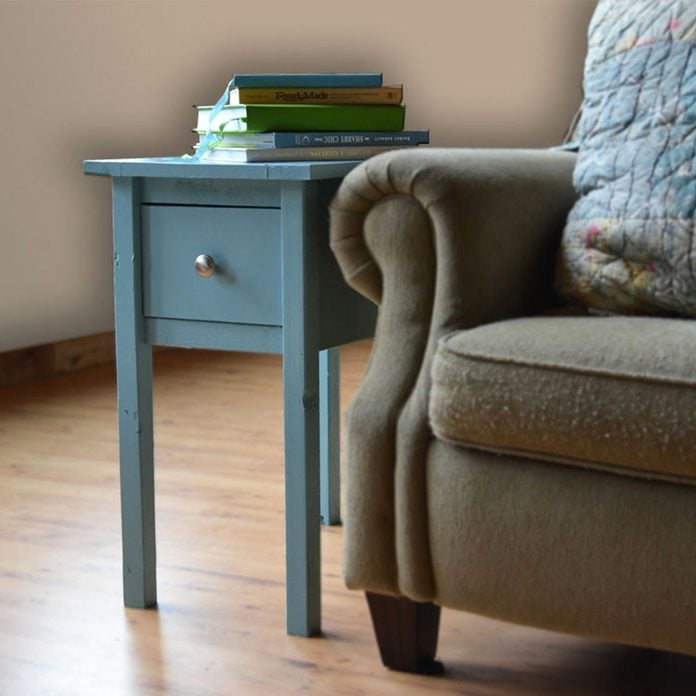
Narrow End Table with Drawer
The simple design and clean lines of this narrow DIY end table project make it suitable for many different living rooms, although it works especially well with cabin and farmhouse styles. Plus, it has a handy drawer for storage.
Photo: Courtesy of Ana White
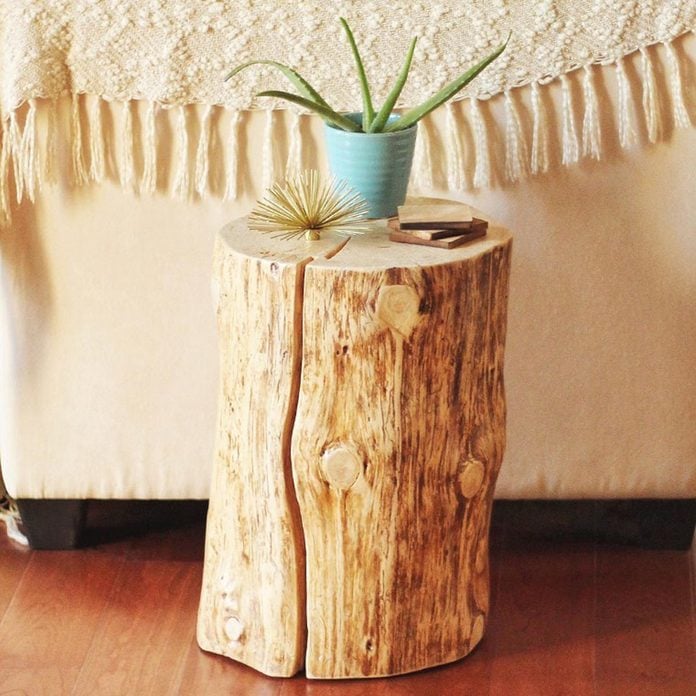
Natural Tree Stump Table
If you can find a beautiful tree stump, you can turn it into a DIY end table! The project requires some in-depth work including careful bark removal, sanding the wood and preservation, but the result is unique and eye-catching.
Photo: Courtesy of Justine Celina
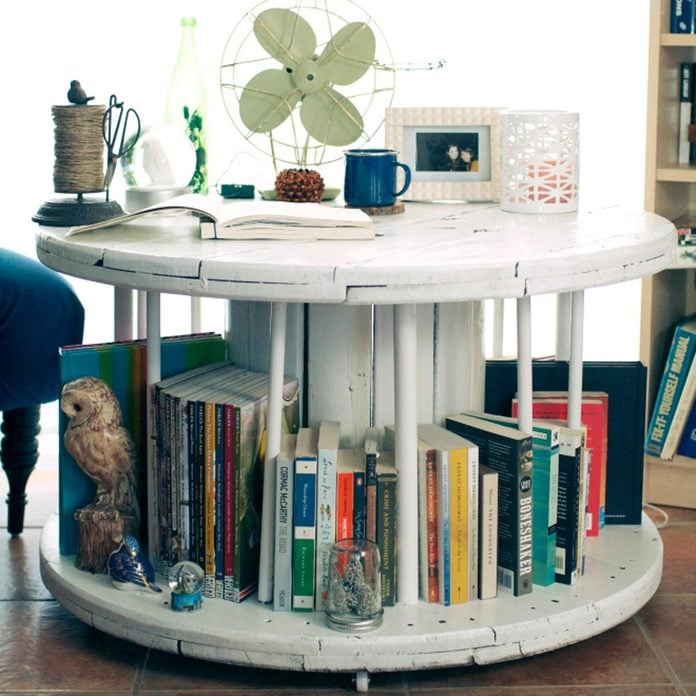
Reclaimed Wooden Spools
Another option for DIY furniture projects is converting large wooden spools (usually used for electrical wire) into end tables. These wooden spools are often available online after they’ve served their original purpose. We especially like this mobile table that functions as a bookshelf and table combined. Also, you can cut the spools in half for two smaller tables.
Photo: Courtesy of The Crafters Cottage
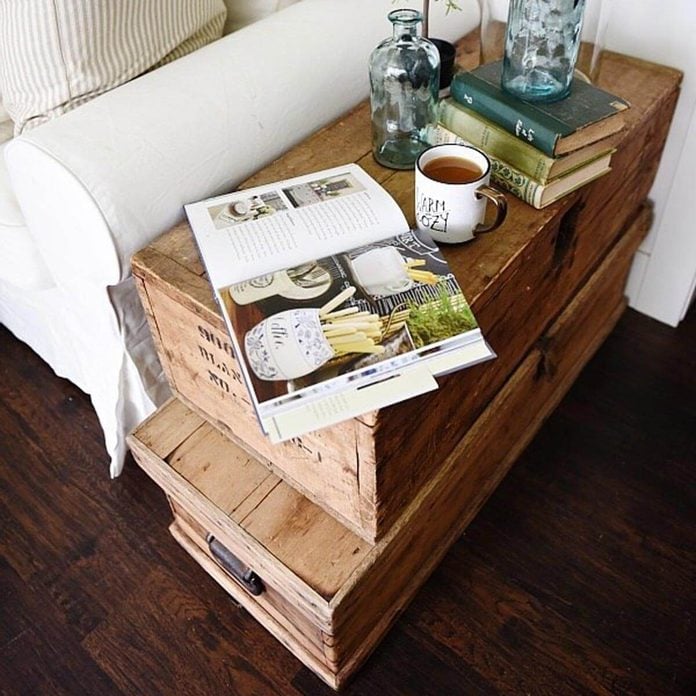
Stack a Couple Crates or Trunks
For an ultra-simple but highly effective DIY end table, stack a couple wooden crates or trunks. Attractive, inexpensive and super easy. And, a little extra storage space is always a plus.
Photo: Courtesy of Liz Marie Blog
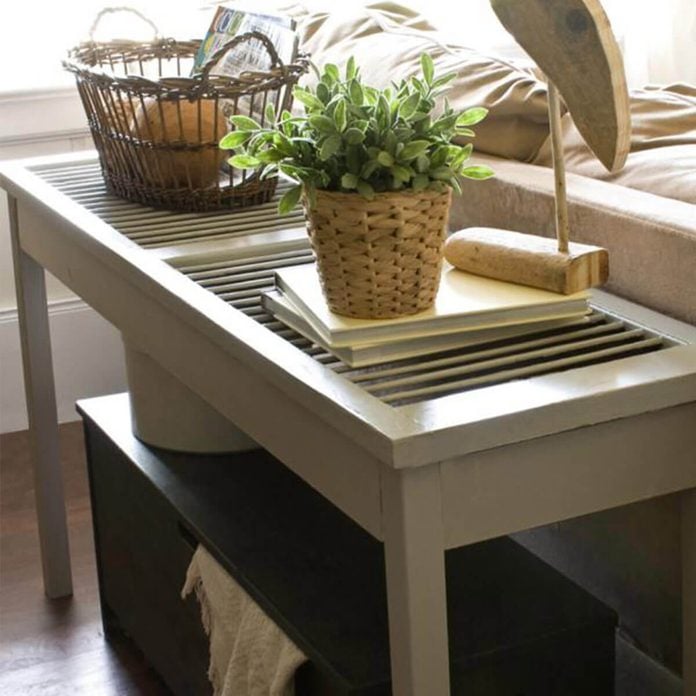
Turn Shutters Into a Console Table
You can also use an old shutter to build a simple DIY end table. This project works best with sturdy, large shutters that can be reclaimed, cleaned up and painted. You can also make a coffee table with reclaimed wood.
Photo: Courtesy of HGTV

Affordable DIY Pallet End Table
If you can get your hands on a pallet or two, you can transform them into DIY pallet end tables (and so much more). You have to disassemble the pallets, cut the boards and then assembly takes just a couple of hours for some DIY rustic end tables.
Photo: Courtesy of Little Things
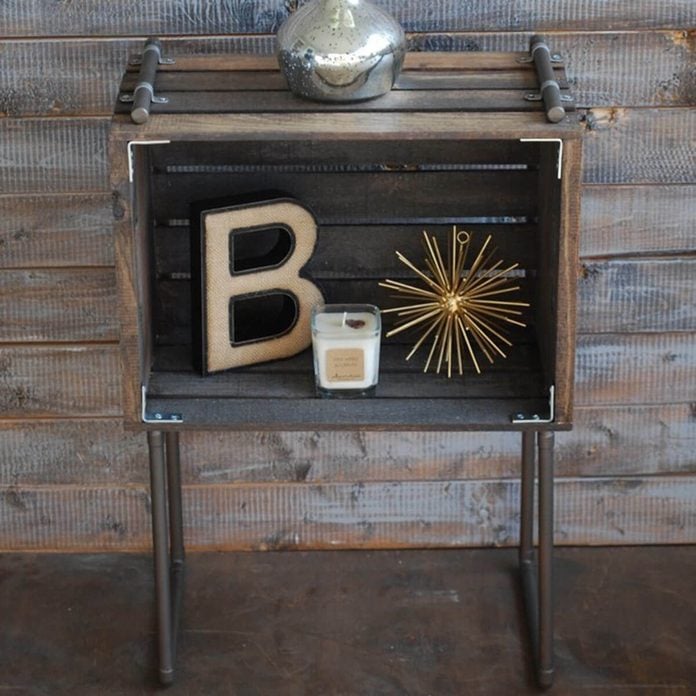
Industrial-Style End Table with Pipe Frame
Looking for a more creative, industrial-style DIY end table? Check out this one made from a reclaimed crate and a metal pipe framework.
Photo: Courtesy of Bre Purposed