
We dug up some great installation tips to help you spray safely and get the most bang for your precious buck.
Everything to Know About DIY Spray Foam Insulation Kits
1
/
18
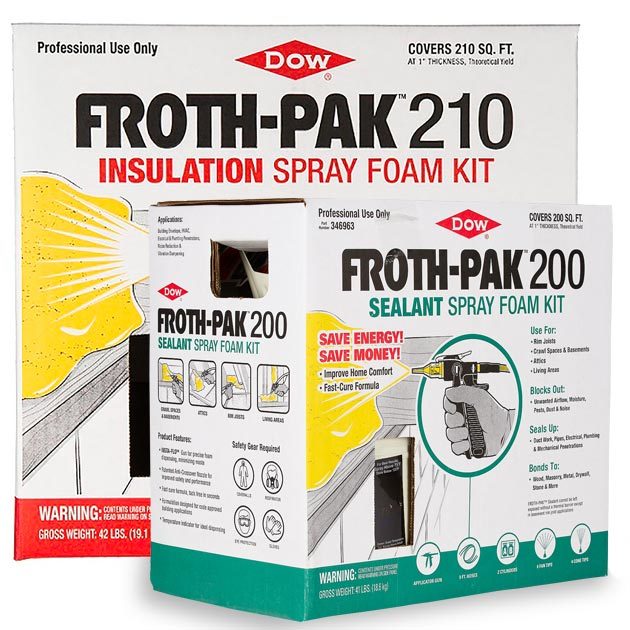
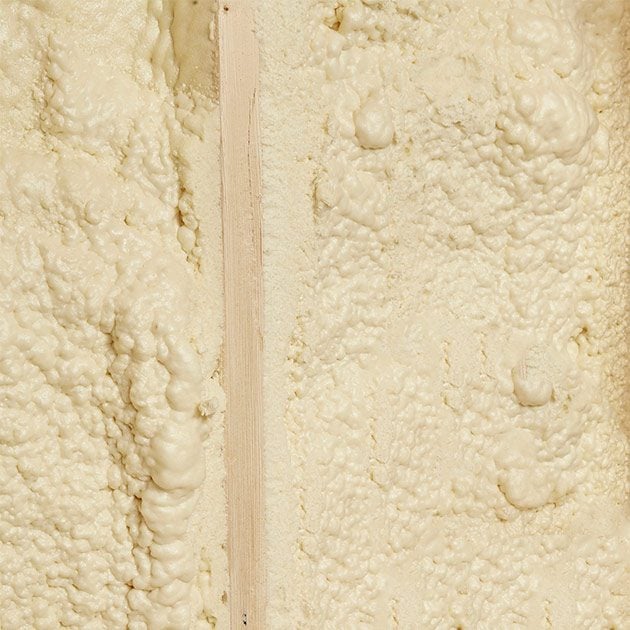
Sealant vs. Insulation
Closed-cell spray foam sealant looks just like foam insulation, but it’s not the same thing. Sealant is formulated to seal cracks and voids, or the perimeter of stud spaces, before you install fiberglass insulation. Sealant should not be used to fill larger cavities because it loses its fire-retardant properties when applied in thick layers. Here’s what you need to know about fire retardant coating.
2
/
18
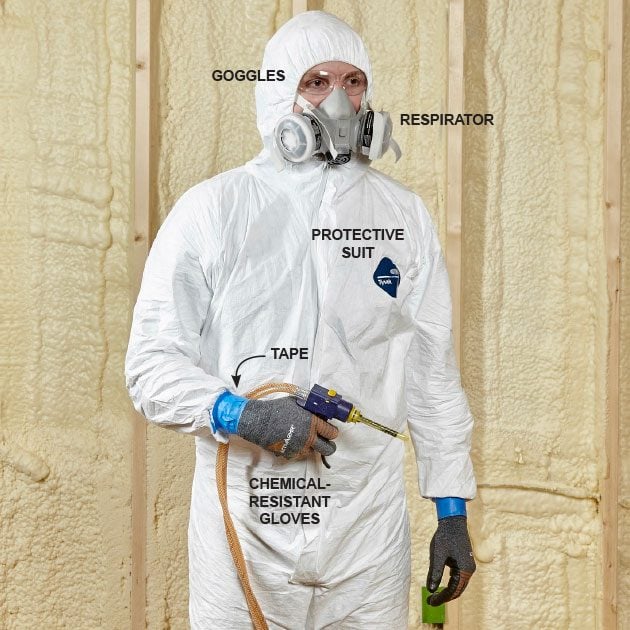
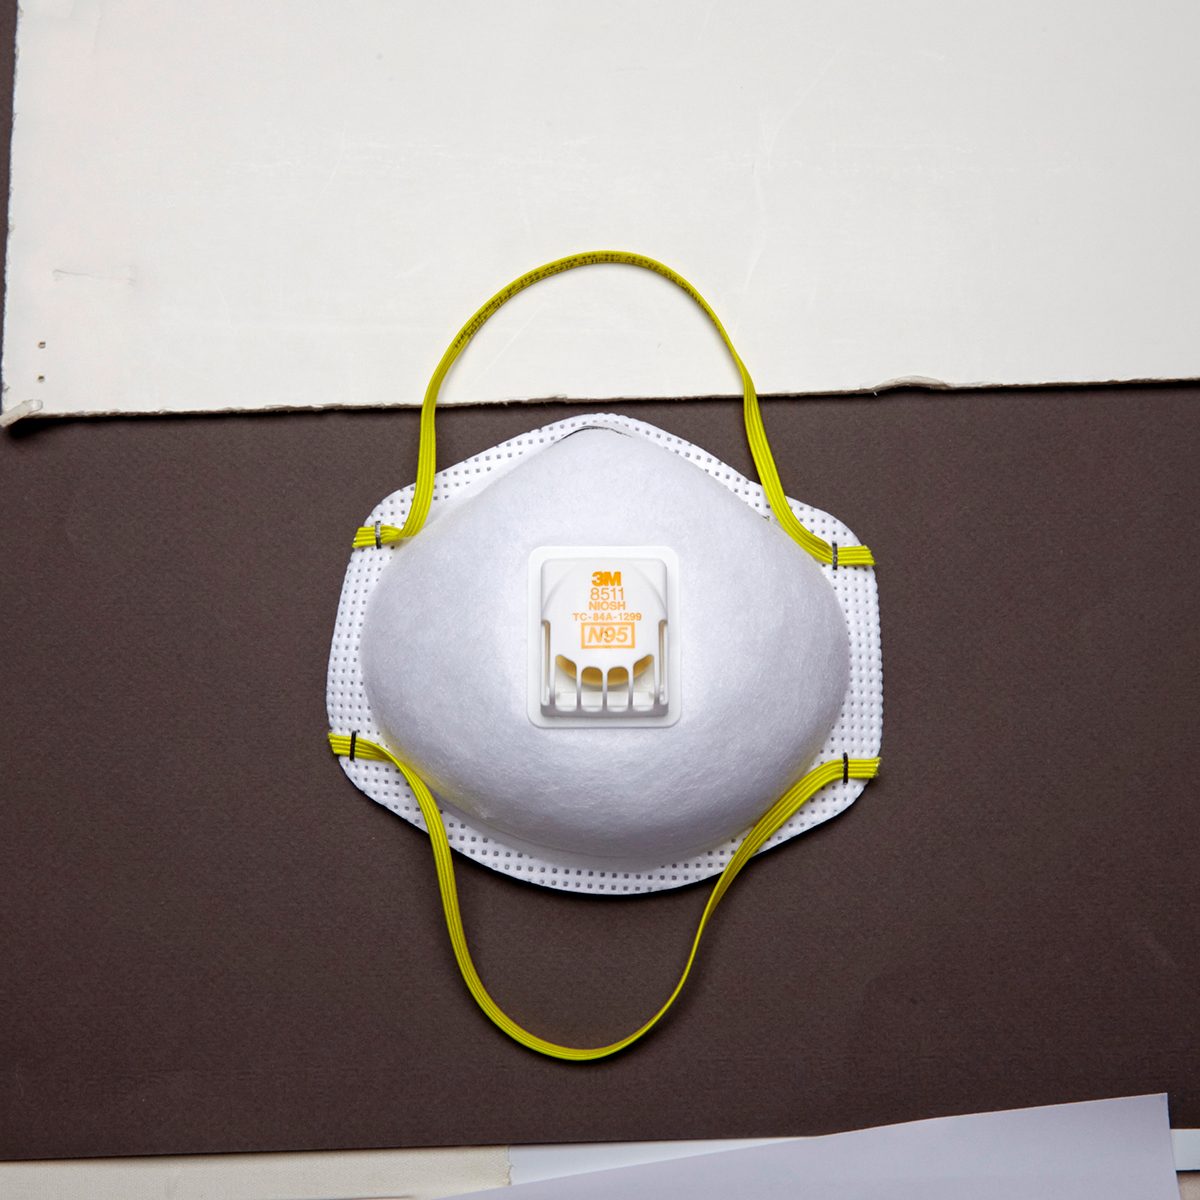
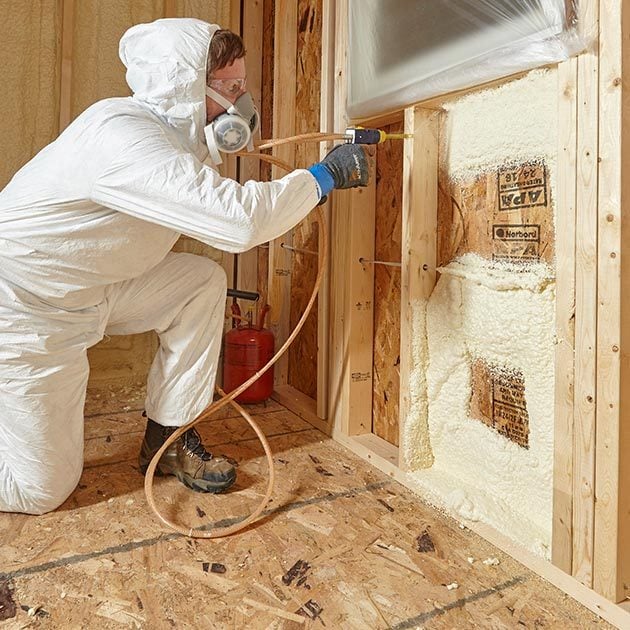
Wear the Proper Gear
Protect your lungs with a respirator, and be sure to wear a full protective suit, chemical-resistant gloves and wrap-around goggles. Tape your gloves to your sleeves and wear your junkiest shoes. Acetone will dissolve fresh foam right away, but once this stuff cures, it has to be physically scraped off. In general, if you don’t want it covered with foam spatter, keep it away from the action.
3
/
18
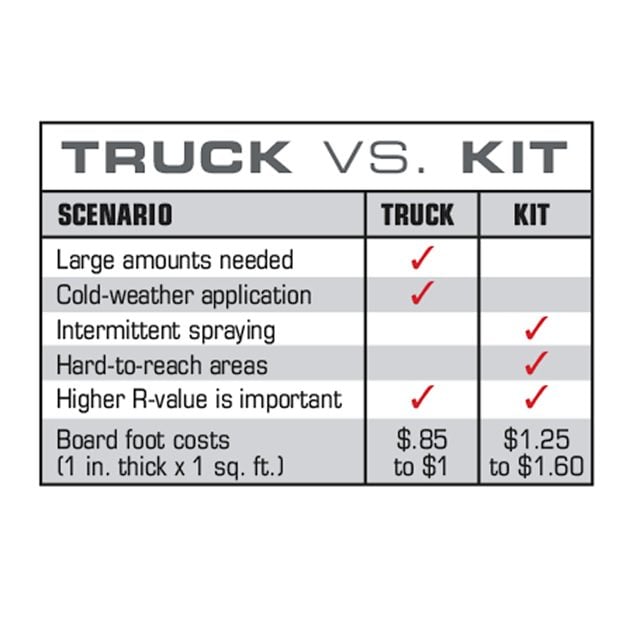
Truck vs. Kit
Most insulating pros with truck-mounted units have a minimum charge of $500 to $700. So buying a spray foam kit makes sense for small jobs, and for those jobs where you need to insulate in stages over the course of a few days or weeks. Kits are also handy for insulating jobs in remote locations where the nearest spray foam company is 100 miles away.
You can buy kits that produce foam with the same R-value as the foam sprayed from truck-mounted units (just under R-7). But if you have a large area to insulate, it makes sense to hire a pro because the cost will be considerably less than if you use a kit yourself.
You’ll also want to call in a pro if the weather is cold. Truck-mounted units have built-in heaters, which can spray foam at close to freezing temperatures, but most kits require tank temps, air temps and surface temps above 65 degrees F. Keep in mind that a house will have to be vacated for up to 24 hours if a truck is called in, but many of the kit products allow you to inhabit the house immediately after spraying.
4
/
18
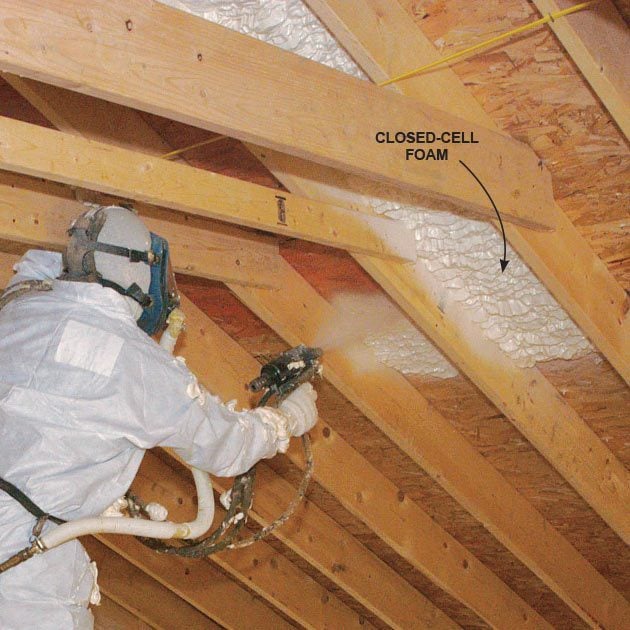
Open Cell vs. Closed Cell
There are two kinds of spray foam on the market: open and closed. Closed-cell foam costs more than open-cell, but its properties make it more popular. Closed-cell is more resistant to water and can provide an air and vapor barrier (depending on the thickness). It provides almost double the R-value per inch. The one superior property that open-cell insulation has is that it works as a great sound barrier/deadener. It’s often used under stairs and between walls and floors for that reason.
5
/
18
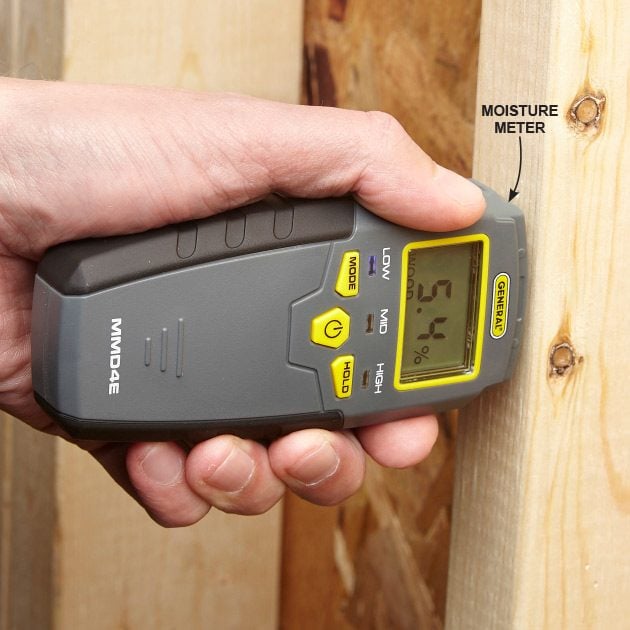
Never Spray a Wet Surface
Never spray foam on a surface with a moisture level of more than 20 percent—the foam won’t stick. If the surface you’re spraying hasn’t been exposed to water for a few weeks, it should be OK to spray. But if you’re patching a wall that recently sustained water damage, or was just assembled with new, wet lumber, you may want to test the moisture level before you spray.
6
/
18
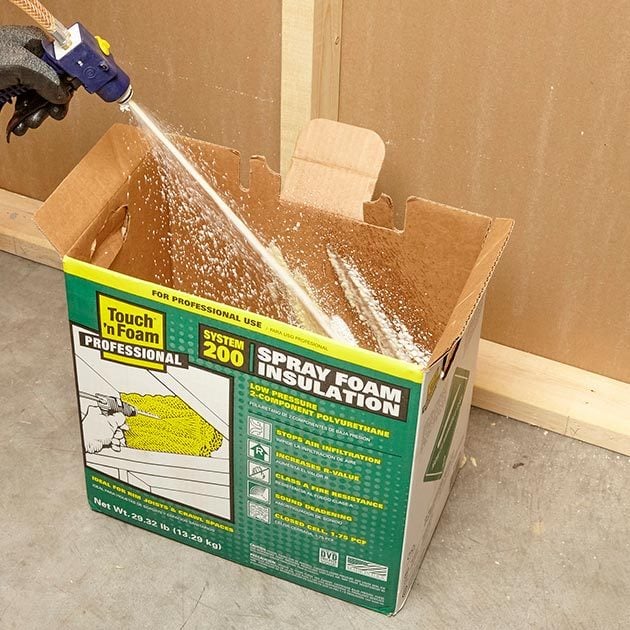
Make a Plan Before You Pull the Trigger
Before installing the first tip/mixing nozzle, point the gun into a garbage bag or empty box, and pull the trigger until both chemicals are flowing evenly. But long before you do that, plan your work.
You’ll have to install a new tip every time you stop spraying for more than 30 seconds because the foam will set inside the nozzle and clog it. Spray foam kits come with extra tips, but it’s still important to (1) clear the room of everything that could get in the way, (2) decide which areas you’ll spray first, (3) put ladders wherever you need them and (4) set up a fan or two to vent the fumes outdoors.
Before you start, shake the cans to mix the contents, and then shake every few minutes after that.
7
/
18
Consider Smaller Kits
Three “200” (board-foot) kits will definitely cost more than one “600” board-foot kit, but the “600” kit will have two large tanks that require two hands to move them around. And that’s not easy to do if you’re working alone.
8
/
18
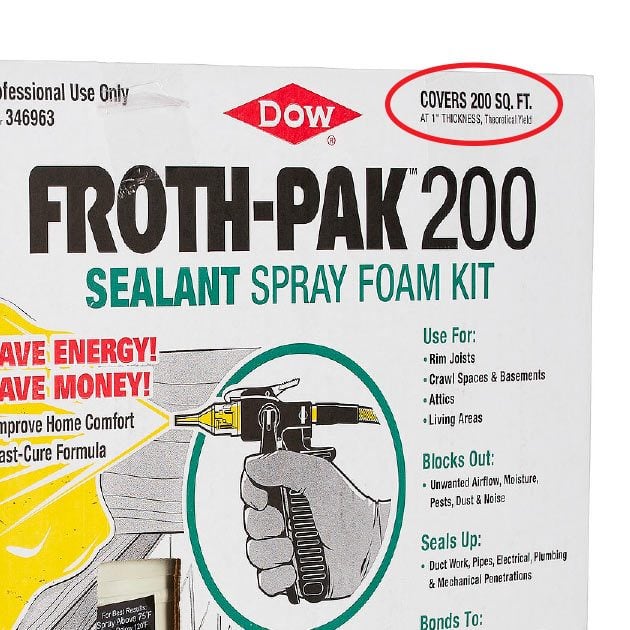
Foam is Measured in Board Feet
Most two-part spray foam kits have a number assigned to them: 120, 200, 210, 600, etc. That number usually indicates how many board feet the foam will cover. So a “200” kit will cover 200 sq. ft., 1 in. thick.
9
/
18
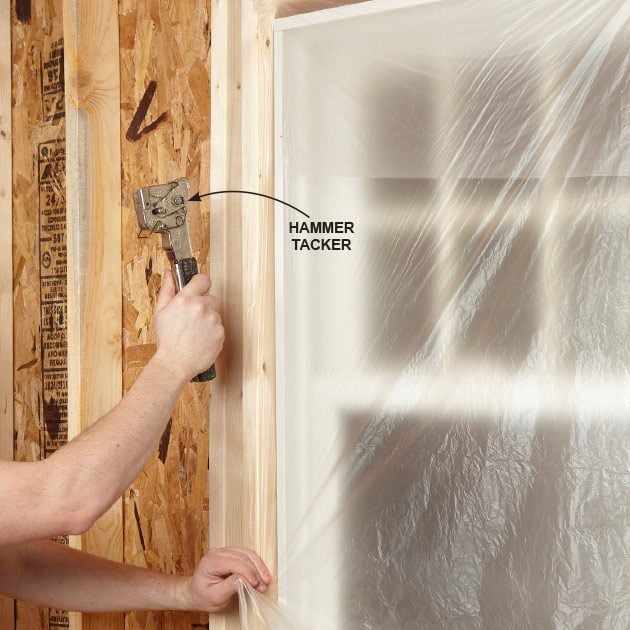
Cover Windows with Plastic
Staple plastic to the framing around the windows (and doors). Don’t worry about covering the gap between the window and the framing because you’ll want to fill those with low-expanding canned foam specifically designed for windows. Cover all the switch and outlet boxes with masking tape so you don’t fill them with foam. You don’t need to use gasketed electrical boxes when you insulate exterior walls like you would if you were using fiberglass—the foam will air-seal around the boxes.
10
/
18
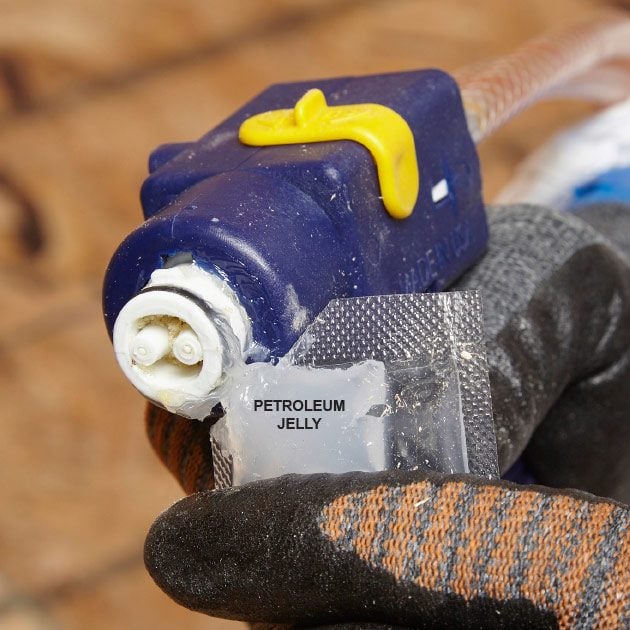
Lube the Gun Every Tip Change
The end of the gun needs to be lubricated before the first tip is installed, and again before the tanks are stored after use. Many pros prefer to lube the tip of the gun every time they install a new tip. Kits will come with some lubricant (petroleum jelly). Always follow the manufacturer’s instructions on operation, tip changes, storage and disposal.
11
/
18
Don’t Leave Foam Insulation Exposed in Living Areas
To comply with building codes, spray foam insulation cannot be left exposed in living areas. It needs to be protected by a thermal barrier such as drywall. Rim joist cavities are one exception. Rim joist cavities can be sprayed with foam and left exposed if the foam is less than 2 in. and has a Class A (fire resistant) fire rating.
Foam can be left exposed in nonliving areas like attics and crawl spaces that are not being used for storage, but the spray foam must either have a Class A rating (fire resistant) or be covered by an ignition barrier (such as drywall, mineral fiber insulation or specially formulated spray-on coatings). Fire and smoke specs differ among manufacturers, so always consult with your local building official to confirm which foam you can use where.
12
/
18
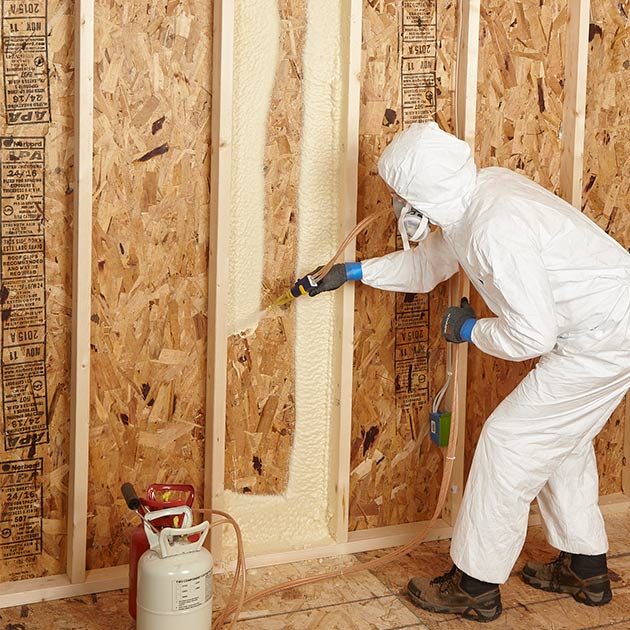
Picture-Frame First
Before filling the wall cavity, spray the perimeter with a 1/2-in. layer, which will expand to a 1-in. layer. These layers are called “lifts.” This will ensure that the foam penetrates any voids where the studs meet the sheathing. This also reduces the risk of bulges in the sheathing. If foam is sprayed into a large gap between the stud and the sheathing and is immediately covered by a thick layer, the pressure of the expanding foam can actually push out any sheathing that isn’t securely fastened. Wait a few minutes after picture-framing the cavity before you go back and lay down the first layer in the center of the wall.
13
/
18
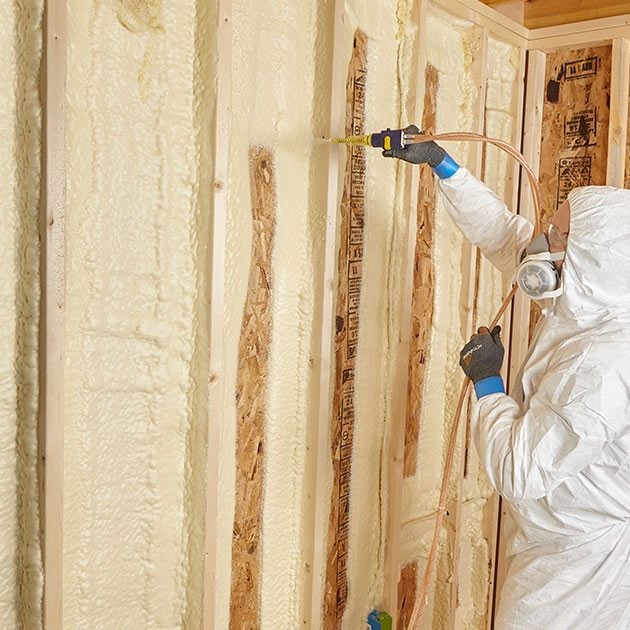
Spray 2-in. Lifts and Wait
Always wait a few minutes before spraying additional lifts, and never spray a lift more than 2 in. thick. The foam needs time to cure before being covered with another lift. Uncured foam results in reduced R-values. The allowable thickness of lifts varies by manufacturer, but all have a limit. The two most common spray foam installation mistakes are:
- Failing to wait for lifts to cure
- Spraying lifts that are too thick
14
/
18
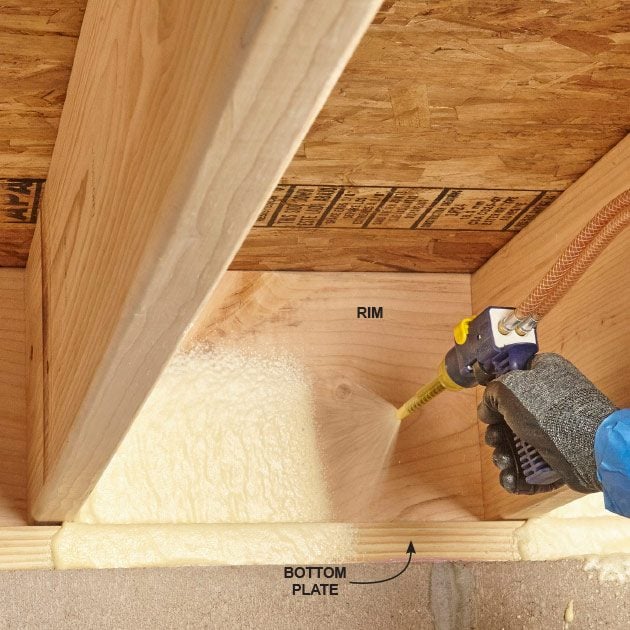
Spray the Rim and the Bottom Plate
There should be a foam sill sealer between the bottom plate and the concrete foundation wall. But voids in the wood or concrete, or tears in the sill sealer, can create gaps where air and insects can penetrate. While you’re sealing the rim board, cover the bottom plate and top off the concrete as well. There’s no need to picture-frame the joist spaces before filling them, but don’t spray a lift more than 2 in. thick.
15
/
18
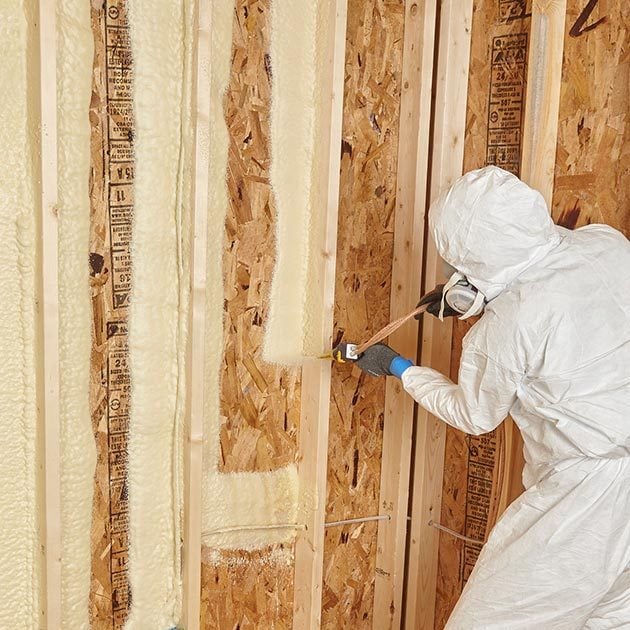
Start and Stop at Cables and Pipes
Don’t blast over pipes and cables on the first lift. Instead, shoot some foam underneath them at the same time you’re picture-framing the stud cavities. This will ensure that the foam doesn’t wrap over the cable and leave an uninsulated void behind the pipe or cable.
16
/
18
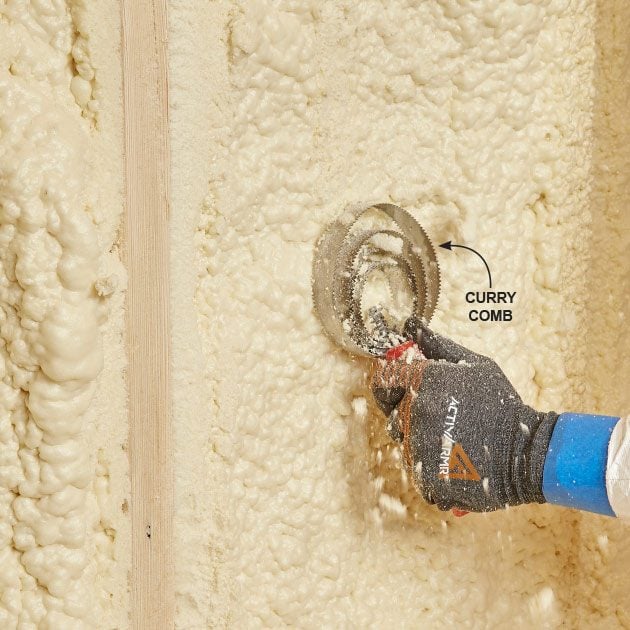
Scrape Overspray with a Curry Comb
Run a straightedge along the outside of the studs and scrape down any high spots with a curry comb. Remove large chunks of foam with a handsaw.
17
/
18
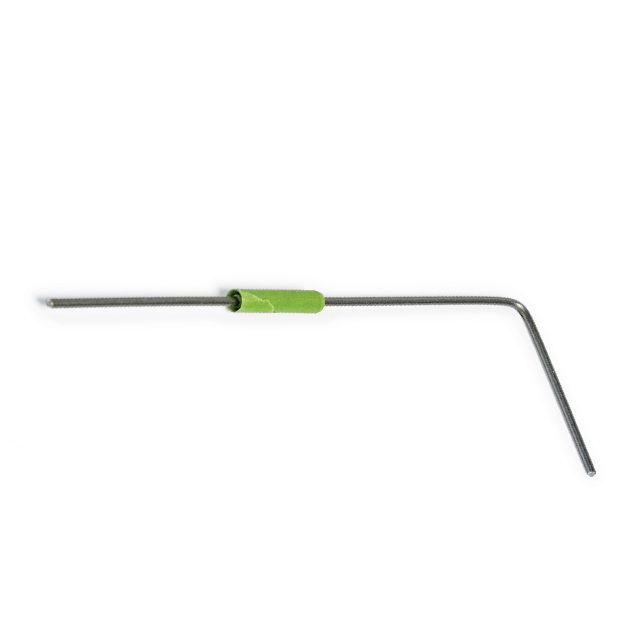
Test the Depth with a Hanger
It’s important to know how thick the foam is, but it’s often difficult to judge, especially in rim joist spaces. You could buy a fancy pin depth gauge (not shown), or you could just wrap a piece of tape around a section of wire hanger at your desired depth and test it.
18
/
18
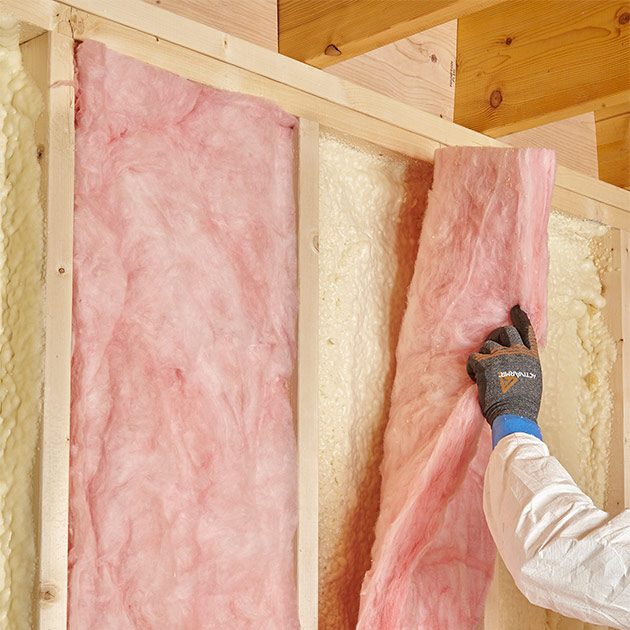
Combine Foam with Fiberglass
Fiberglass insulation can be used in conjunction with spray foam. The process is called “flash and batt.” Just picture-frame the wall cavities, lay down one lift and then fill the rest of the cavity with fiberglass insulation. This is a popular way to save money but still take advantage of the outstanding air-sealing properties of foam.
For 2×4 stud walls, the fiberglass insulation will have to be split to fit. In this case, we sprayed just under 2 in. of foam (R-10.8), and split 3-1/2-in. R-13 batts in half (R-6.5) to achieve an R-17.3 insulation value. Never cram oversize batts into a wall cavity because fiberglass insulation loses R-value when it’s compressed. You could save money by spraying 1 in. of foam and adding more fiberglass, but don’t spray less than 1 in.—the foam will no longer serve as an air barrier. This particular foam creates its own vapor barrier if sprayed 2 in. thick.