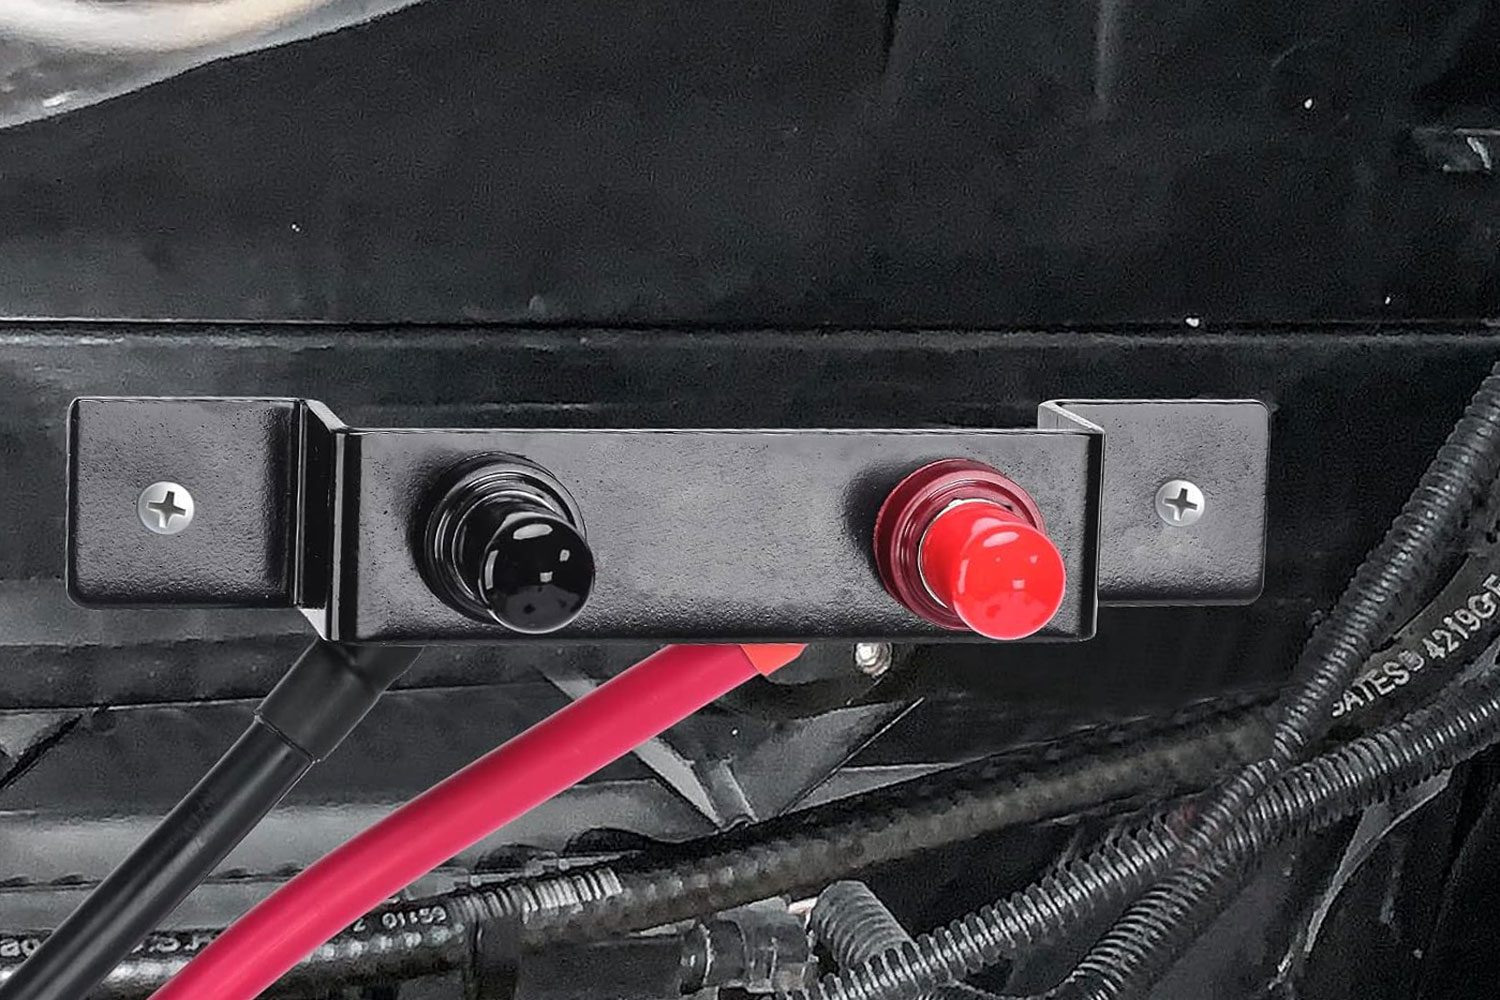
Does your vehicle come with remote battery terminals? Find out why and where they are so you can access them in an emergency.
Our editors and experts handpick every product we feature. We may earn a commission from your purchases.Learn more.


Does your vehicle come with remote battery terminals? Find out why and where they are so you can access them in an emergency.
Our editors and experts handpick every product we feature. We may earn a commission from your purchases.Learn more.
As engine compartments become more compact in cars and trucks, manufacturers are placing batteries in remote spots. This makes accessing them difficult. To rectify this, auto companies install remote jumper battery terminals so you can more easily connect jumper cables in an emergency.
Here, we’ll explain where yours might be and how to safely access them.
On This Page

Typically, remote battery terminals are deliberately placed away from the battery. If your vehicle comes with negative (-) and positive (+) remote terminals, they’re generally close to each other, in these locations:
Your owner’s manual can tell you where to find your battery and remote terminals.
They look like traditional battery terminals, only beefier.
Negative terminals feature the industry standard negative (-) symbol, and the letters “GRN” for ground. They may resemble a standard hex bolt with a thick wire connected to it, or a six-sided two-inch-long hexagon shaped bolt head with a two-inch-diameter base screwed onto a fender, firewall or strut tower. They also may have a cover.
The positive (+) remote battery terminals will have a red plastic cover, with a large embossed (+) symbol. Never connect jumper cables to any other connectors.
Remote battery terminals require minimal maintenance, but you should check them as part of your annual maintenance service.
Follow these steps when jump-starting a vehicle with a dead battery. Always use a quality set of jumper cables or a spark-proof portable jump starter with reverse polarity protection.
Caution: Always wear gloves and eye protection. Never attempt to jump-start a frozen battery and never smoke when working near a battery. Sparks can cause a frozen battery to explode. If you come into contact with battery acid, flush with plenty of water and get medical attention immediately.
It’s absolutely critical to remove the cables in the exact reverse sequence: