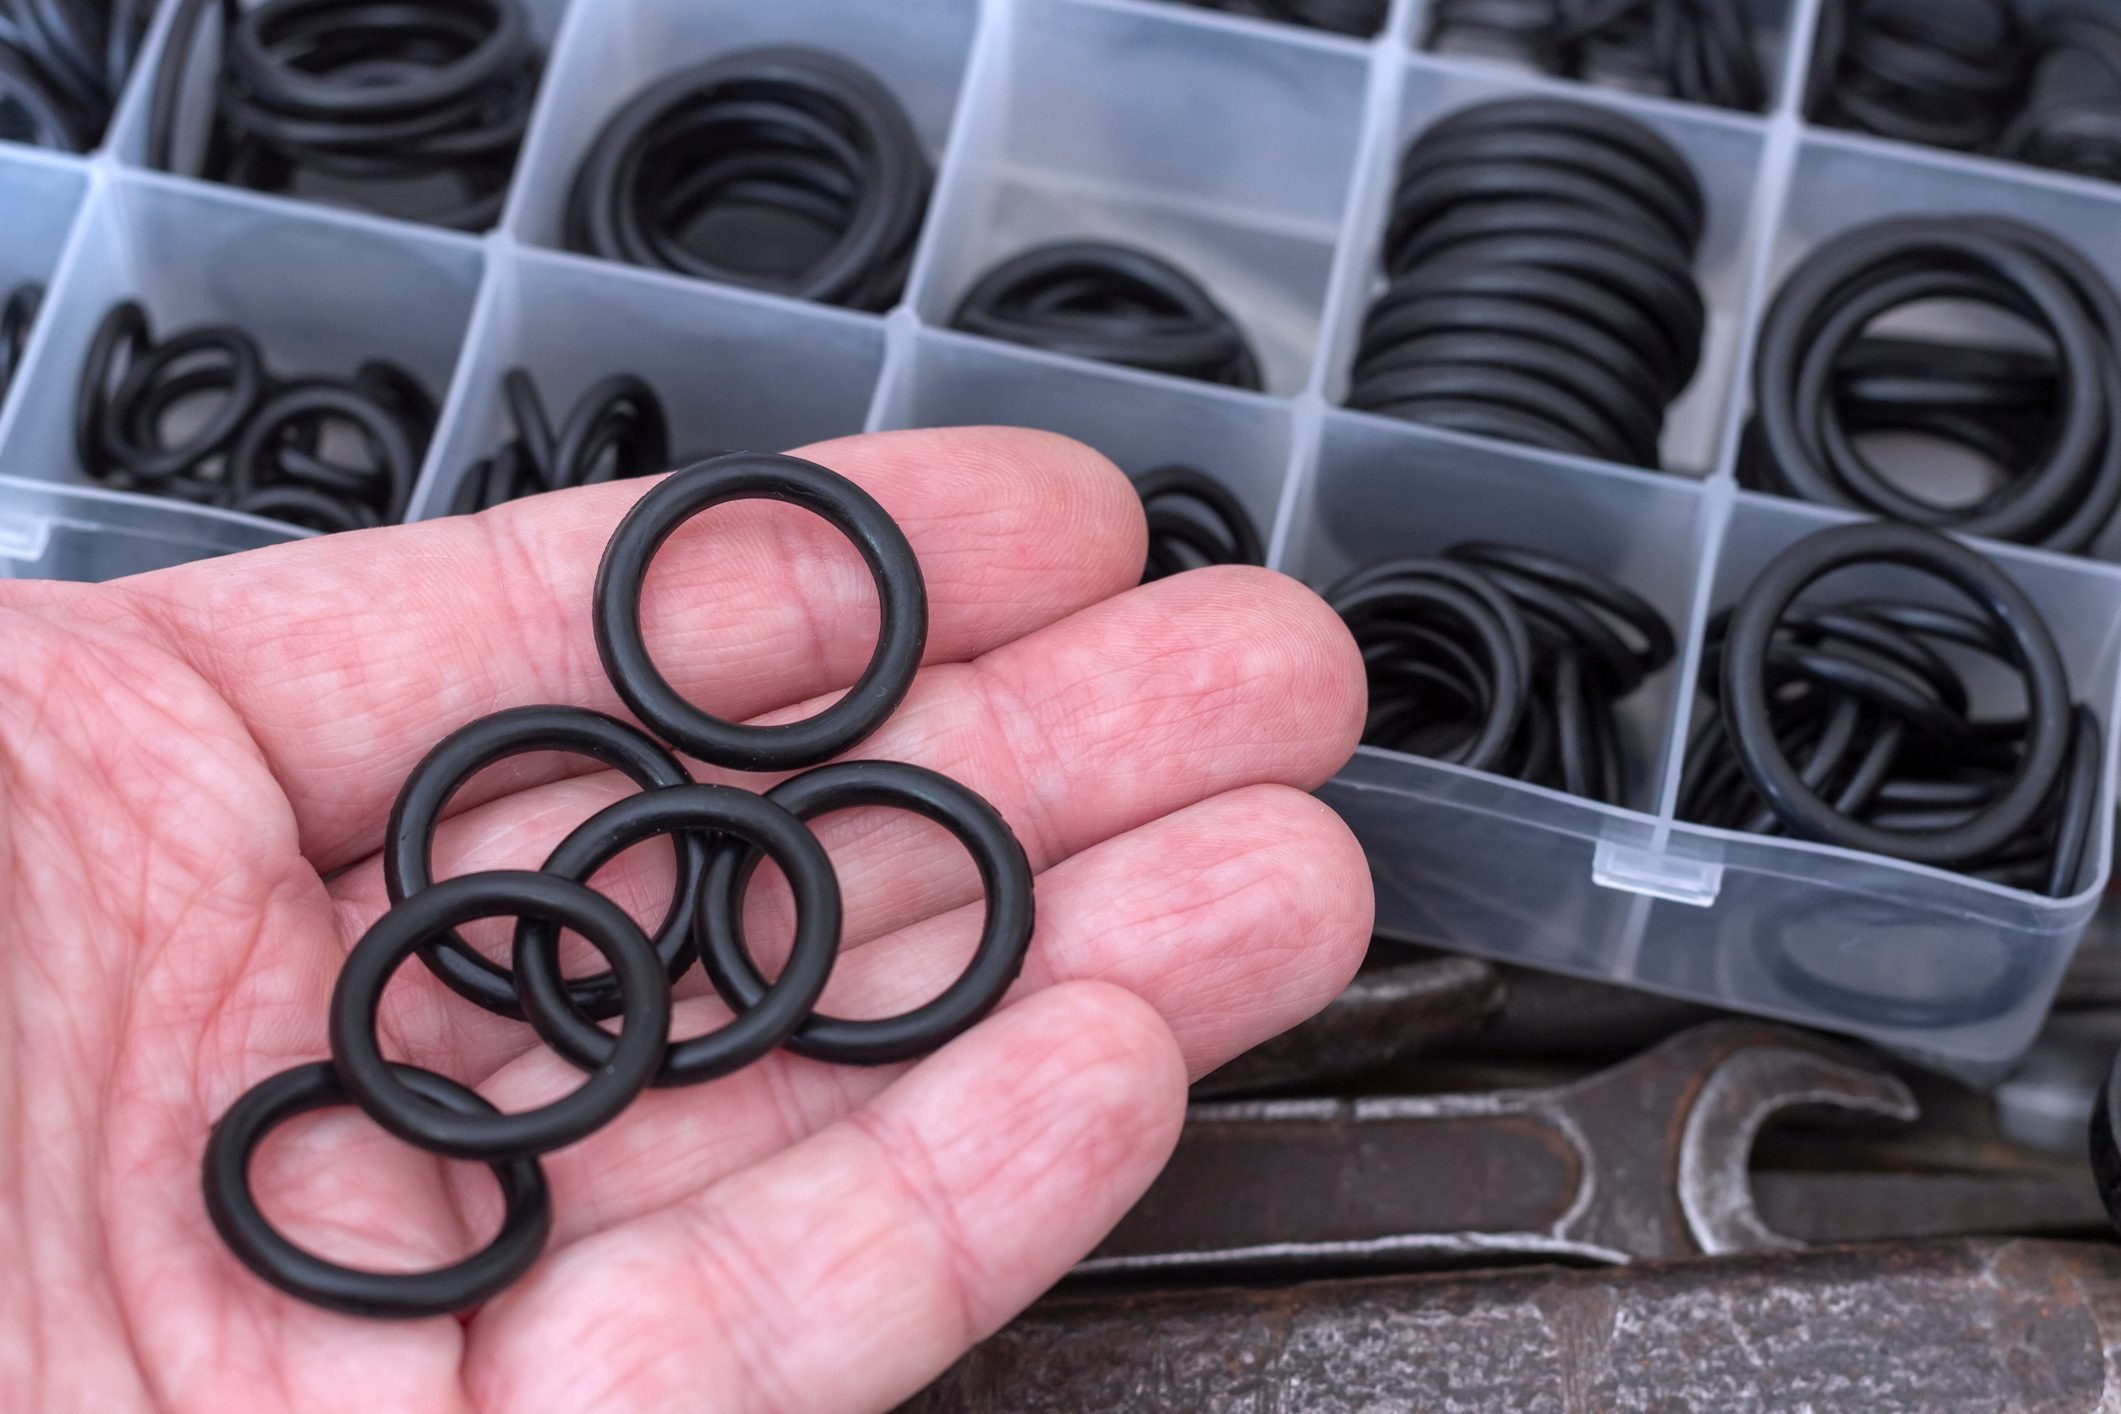
Does your pressure washer leak during use? Bad O-rings could be why. Here's how to check and change those important little rings.

How To Check Pressure Washer O-Rings

Pressure washers are incredibly useful cleaning machines, which is one reason I’ve owned and regularly used one for the past decade. They work by pressurizing water from an external source and forcing it through a handheld wand nozzle, blasting away dirt and grime from various surfaces.
Like all great machines, pressure washers occasionally need a little TLC to continue working properly. One important maintenance task: Checking and changing the various rubber O-rings. These keep the water where it belongs — sealed inside.
The average pressure washer comes with a handful of these rings in various places. O-rings wear out, dry and crack over time. When this happens, your pressure washer will start leaking. That’s when it’s time to find and replace the defective O-ring with a new one of the same size.
Here I’ll tell you where to find O-rings on your pressure washer, and how to check and change them. Before we start, it’s worth mentioning O-rings don’t need to be replaced very often. In the 10 years I’ve owned my pressure washer, I’ve only replaced one O-ring. Still, when it happens, it’s worth knowing how to do.
To check and change your O-rings, you’ll need the following tools and materials:
- Set of assorted high-pressure O-rings;
- Flashlight;
- Penetrating oil;
- Paper towels;
- O-ring pick set;
- Silicone plumber’s grease;
- Wrench set.
On This Page
Check the Quick-Release Wand Fitting O-Ring
- Examine the brass quick-release fitting at the end of your spray wand during use. Is there any non-pressurized water dribbling out? If so, a bad O-ring is likely why.
- Shut down your machine and disconnect the spark plug wire. Retract the fitting, then shine a flashlight inside and take a close look at the O-ring. If you see any cracks or tearing, the O-ring needs replacement. Even if it looks OK but your wand leaks, replacing it makes sense.
- Remove the old O-ring with an O-ring pick.
- Squirt some penetrating oil inside the fitting. Let it sit for a minute or two, then ball up a clean paper towel and stick it in the fitting. Rotate it several times to remove any built-up gunk.
- Use your old O-ring as a reference to select a new one of the same size from your kit.
- Dab a little silicone plumber’s grease onto the new O-ring and slide it into the fitting. Push it all the way down with a 90-degree O-ring pick. Be sure not to damage the new ring.
Check the Outlet Fitting O-Ring
- Locate the fitting that connects your wand hose to the machine during use. If it’s leaking, a new O-ring will probably fix it.
- Shut down the machine, then disconnect the wand hose.
- Find the right sized wrench to loosen the fitting. Unthread and remove it.
- Look for a skinny O-ring at the base of the male threaded section of the fitting.
- Remove the old O-ring with the pick, whether it looks bad or not.
- Spray some penetrating oil on the threads, then wipe them clean with a fresh paper towel.
- Select a new O-ring the same size as the old one, then dab some silicone plumber’s grease onto the new ring. Thread the fitting back into place and tighten with your wrench.
Check the Unloader Valve O-Rings
- Look for a small cylindrical object protruding from the pump, near the outlet fitting. Take note of whether water leaks from around the base of this object when in use.
- If you notice leaking, shut down the pressure washer and remove the unloader valve. Some valves need to be removed with a wrench; others are spring-loaded with a release pin.
- Remove the two O-rings on the threaded body of the unloader valve. Find replacements of the same sizes.
- Spray the body of the unloader valve with penetrating oil. After a minute or so, wipe it clean.
- Apply some silicone lubricant to the new rings. Install them on the valve, then thread or push the valve back into place.
Check the Check Valve O-Rings
- Locate six identical hexagonal objects on the brass or aluminum pump casing of your pressure washer, resembling the heads of large hex bolts. These are check valve caps.
- Examine these caps for leaking during pressure washer use. Also see if your machine has trouble reaching full pressure. If you detect either of these, shut down the washer and use a wrench to remove the caps.
- Examine the O-rings on the threaded section of each cap. Remove any obviously damaged using an O-ring pick. Even if none of the old rings appear defective, you might as well replace them because you’ve removed the check valve caps.
- Clean the cap threads with penetrating oil and a paper towel.
- Select and install new O-rings of the same size, using a little silicone lubricant on each. If it still doesn’t work, then check the pressure washer muffler as well.


