 Jon Rehg/Shutterstock
Allow a The Home Depot design consultant to help you choose the best door styles, colors, finishes, and hardware for your kitchen. Learn More
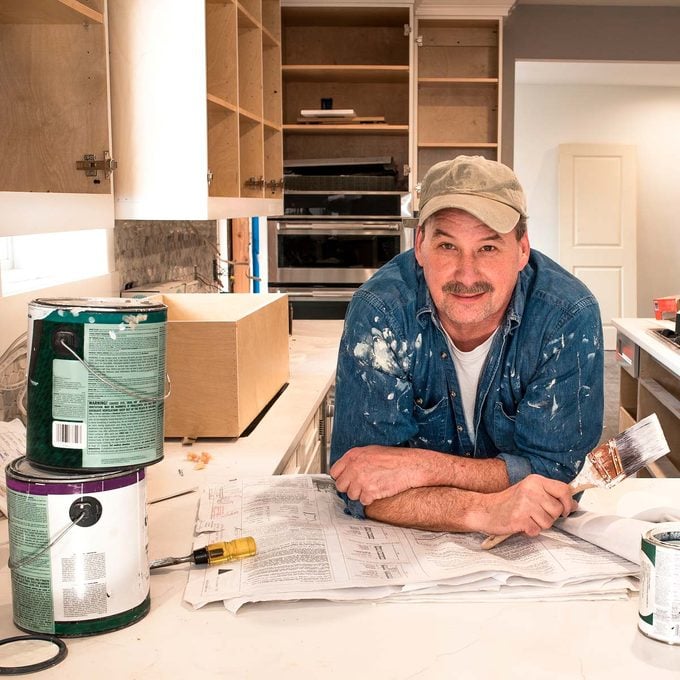
Painting laminate cabinets offers an inexpensive way to update the appearance of your kitchen in a short amount of time. With a minimal financial investment, a little time and some elbow grease, your kitchen can have a richer, more customized look.
See 12 amazing DIY bathroom makeovers.
As the price of custom cabinetry has increased, the use of laminates has proliferated. Melamine, Formica and wood laminates applied to engineered cores provide affordable variety in design, but create challenges when it comes time to change things up.
Fortunately, paint companies have responded to the challenge with formulations that take painting laminate cabinets from impractical too DIYable. Here’s what you need to know to give your laminate kitchen cabinets the makeover they deserve.
Our best tips for painting almost anything.
How Can I Paint Laminate Cabinets Without Sanding?
In short, you can’t. Sanding the laminate surfaces to “scuff” the finish and provide a surface for the primer to adhere to is a critical step in the process. But first, remove the doors, drawers and hardware. Then, take time to look over the cabinets and repair any spots where the laminate is coming loose. Failing adhesion will ruin your new paint job in a hurry. Use a good-quality wood glue and a clamp or weight to hold the laminate against the core while the glue sets.
After thoroughly scrubbing away any grease, grime or cleaner buildup from the surface of the cabinets with a good laminate cleaner/degreaser (trisodium phosphate, or a TSP substitute, but follow directions carefully), take the gloss off the laminate with 180-grit sandpaper. The touchiest part of this whole process occurs in this step: Laminates are thin; many as thin as paper. You need to roughen the surface, but care must be taken to avoid sanding through the laminate. Light pressure with an orbital sander achieves this nicely—just watch the pressure and avoid making too many passes over one spot.
How to remove permanent marker stains on laminate.
After sanding, make sure all the dust is removed from the surface. Brush the surface with a shop vacuum and then wipe it down with a tack cloth.
Choosing the Best Primer and Paint for Laminate Cabinets
With surface preparation completed, it’s time to choose your paint. Although choosing the top coat merits care, selecting the right primer affects painting laminate cabinets more than the top coat. Virtually every brand now has a high-adhesion product in its line. Choose a reputable brand that you feel comfortable with.
Kilz Adhesion
Zinsser Bondz
Behr Kitchen, Bath & Trim
Sherwin-Williams Extreme Bond
Valspar Bonding Primer and Sealer
Benjamin Moore Sure Seal
For the top coat, three considerations come into play. First, the topcoat needs to be compatible with the primer that was applied. Read the primer label carefully to determine whether acrylic or oil-based paint must be used with that particular primer. Second, choose an enamel topcoat that will stand up to the abuse kitchen cabinets take, preferably an oil-based paint that will cure a bit harder and go on a little smoother. Last, a finish with a little luster enhances the richness of the paint, but avoid glossy finishes or every imperfection will show. Typically, a satin finish is your best bet.
Surprising tips for painting kitchen cabinets.
ⓘ
Finish the Job
Apply the primer and allow it to dry completely. This often means longer than you may typically be used to waiting. The glossy surfaces need more time to adhere and moving too quickly could force you to back up to fix peeled or chipped paint. Once dry, sand it lightly to smooth the primer. Carefully vacuum with a brush attachment and then wipe with a tack cloth. Apply two layers of topcoat using the best applicator (brush, roller, sprayer) for your paint choice and skill level. Allow extra drying time between coats and incorporate a light sanding with a thorough cleanup. Give the final coat plenty of time to cure, a week if you can, before reassembling and subjecting the cabinets to everyday wear and tear.
With the proper preparation, paint selection, and patience, you can transform your laminate cabinets to headline a beautiful, trend-forward kitchen.