


It lights easier, burns hotter and lasts longer. Here's why you should be using kiln-dried firewood.
Our editors and experts handpick every product we feature. We may earn a commission from your purchases.Learn more.


Updated Mar. 30, 2023
It lights easier, burns hotter and lasts longer. Here's why you should be using kiln-dried firewood.
Our editors and experts handpick every product we feature. We may earn a commission from your purchases.Learn more.
The kindling had barely caught fire when the surrounding wood suddenly began to catch and burn as well. I’ve been an avid outdoorsman for decades, and this was by far the easiest campfire I’d ever started. I didn’t even need a fire-starter kit. Maybe there was something to this kiln-dried firewood after all.
My late father liked to burn kiln-dried wood in the fireplace of his Indianapolis home. He only built fires on special occasions, and preferred kiln-dried firewood because it was simple to start and he needed less of it for an impressive fire. After he passed away, I took his remaining bundles of firewood camping with me. It turns out, like with most things, he was right.
On This Page
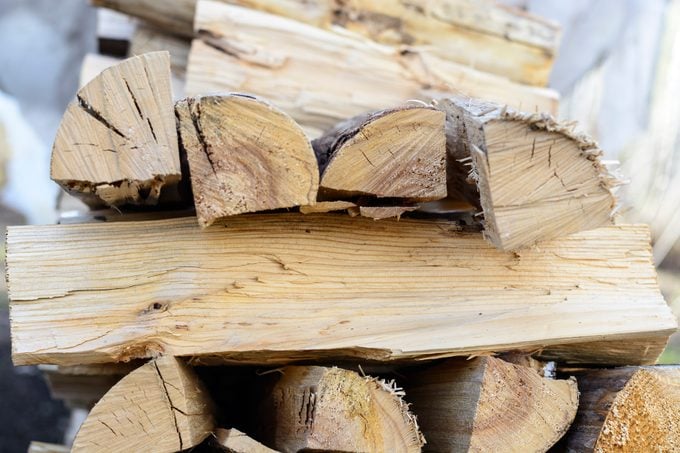
With kiln-dried firewood, there’s no wondering how long you should dry firewood before it’s ready to use. After a tree is felled and the wood split, it needs to dry out (or season) for up to 18 months to be useful firewood. The main difference between seasoned vs. kiln-dried firewood is time. Kiln-drying speeds up that process.
Placed in a climate-controlled kiln, the wood bakes between 120 to 220 F with low humidity, typically for about three to six days. By then, its moisture content has fallen below 20 percent, perfect for burning. For comparison, freshly cut wood has a moisture level around 60 percent, while naturally seasoned firewood typically holds 30 percent.
Skeptical? Here are some compelling attributes of kiln-dried firewood:
Expect to pay more than seasoned firewood, perhaps as much as 10 to 30 percent more per bundle or cord. For many converts, the advantages of kiln-dried wood more than make up for the additional cost.
You can buy bundles of kiln-dried firewood at home improvement stores such as Lowe’s and The Home Depot. Be sure to look for “kiln-dried” on the label.
Buying a rick or cord may be more difficult depending on where you live. A quick Google search should tell you if any local providers offer kiln-dried wood. The national average for a kiln-dried cord is slightly more than $500.
After the cord is delivered, stack the wood loosely off the ground to prevent moisture. Keep it at least two feet from any walls for better air circulation. And cover the wood pile to protect it from rain and snow.
Several companies sell complete industrial kiln dryers that cost many thousands of dollars. If you don’t plan on going into business selling premium firewood, it’s not a reasonable option. Luckily most competent DIYers can build a workable version of a kiln.
There are plenty of YouTube videos of folks making their own, including a few who modified non-working refrigerators and freezers into small kilns using incandescent lightbulbs or heat lamps. To create your kiln, we recommend building or repurposing an enclosed and insulated box or shed, preferably with a concrete or wood floor. (No bare earth.)
Set up a series of heat lamps throughout the box. The larger the box, the more lamps you’ll need. If you have some wiring skills, you can wire the lamps into a thermostat, allowing you even greater control of the temperature. Be sure to add some small fans to aid air circulation, as well as a dehumidifier.
How will you know when the drying process is complete? Test the moisture level with a wood moisture meter. When it’s 20 percent or below, you’re ready to use the wood and start drying the next batch.
The whole project should cost less than $500. Depending on how much wood you use in a year, it may be a worthwhile investment.
Originally Published: September 02, 2021