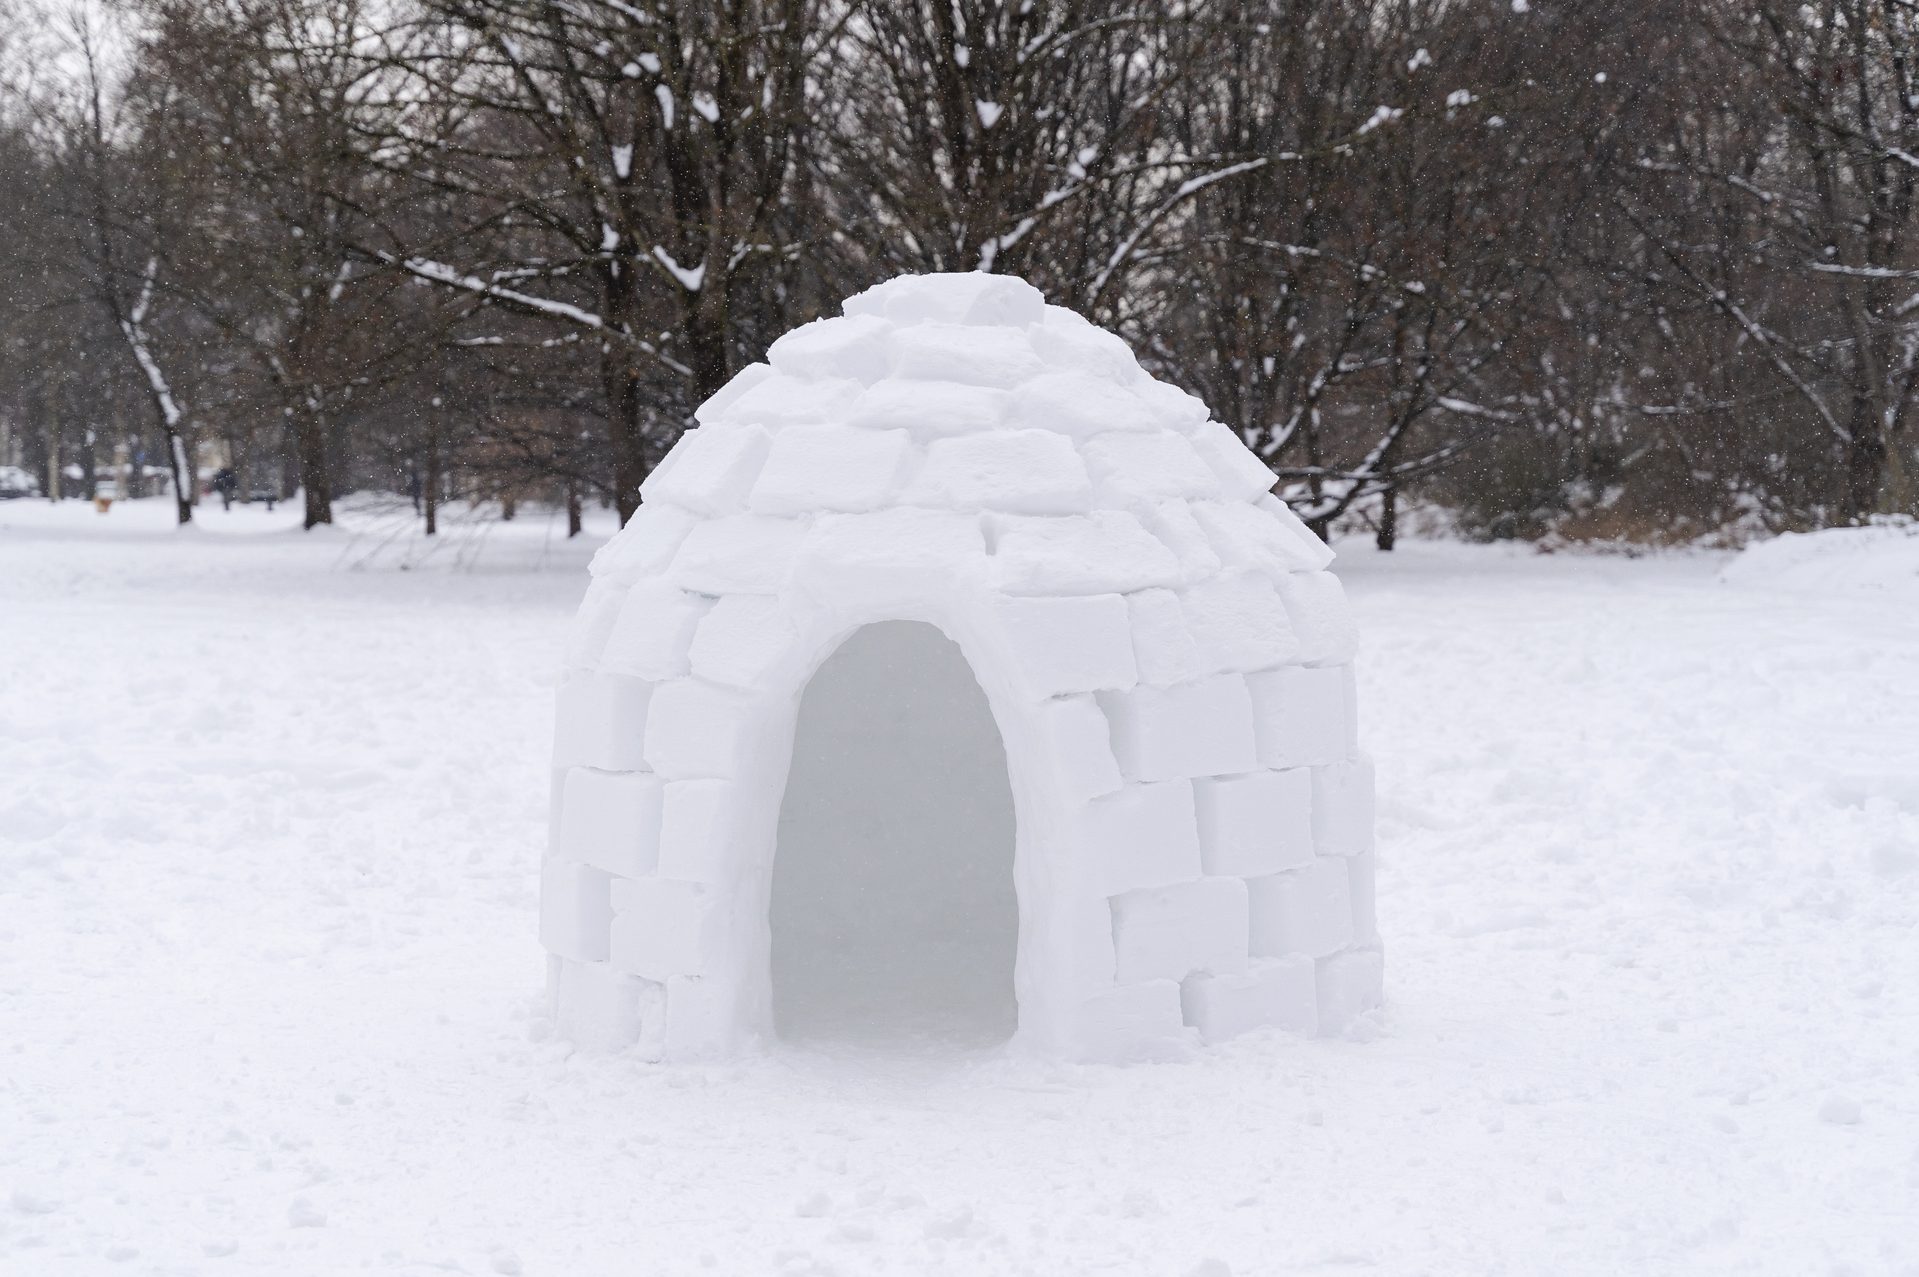
Take advantage of winter weather by building an igloo right in your own yard.

Everything You Need to Build an Igloo

Want to build the best and biggest snow fort on the block? Then study up on some igloo building techniques.
The Inuit people of the Arctic and sub-Arctic (Alaska, Canada and Greenland) invented igloos, creating shelters out of their most abundant natural resource — snow. Well-constructed igloos provide warmth and safety.
While it’s unlikely you’ll need an igloo for survival, learning how to build one can be an informative and fun activity that will take your snow fort creations to the next level.
Best Tools for Igloo Building
You can find “igloo brick molds” online, but they’re not the best tools for igloo building. An ideal igloo brick mold will create large, consistently-shaped rectangular blocks of snow, but these molds are small and irregularly shaped. You can make a better mold by buying a wooden box like this one or building a box yourself.
Traditionally, igloo blocks are as large as three feet long, 15 inches high and eight inches thick, but smaller bricks work fine in most cases. Tightly packing snow into a box creates reliable building blocks that will give your igloo structural integrity and insulate its interior from the elements.
You’ll also need a knife, a shovel, and (potentially) a garden hose. And snow, of course. Lots and lot of snow.
How Much Snow Do You Need For An Igloo?
One thing people tend to underestimate is how much snow is required for the project. To build a solid, structurally sound igloo that a person can sit comfortably inside, you’ll need at least a foot of snow on the ground in your yard. And there’s a chance you’ll use all of it.
How to Build an Igloo
- Make enough snow bricks to start on building your base. Building an igloo is easiest with two people — one to make the bricks, and one to put them together.
- Drawn a circular outline of the base of your igloo in the snow. Try to keep the diameter of your igloo under seven feet, especially if it’s your first time building one.
- Begin building the base by stacking your snow blocks around the outline. Make sure the snow blocks are packed as tightly together as possible. Use extra snow to pack in the cracks, like cement.
- Once the base has been laid, start building up the walls. As you go, cut a slight incline on the top of each brick. This will make it so that the next layer of bricks will tilt further in towards the center of the igloo, creating that classic domed look.
- Once your dome is fully rounded out, cut out a door in one side of the igloo. Make sure the door is only as big as it has to be. Also, cut at least one or two vents in the roof to ensure proper air circulation.
- To make your igloo to last longer, lightly spray down the exterior with a garden hose to create an outer crust of ice on the surface.


