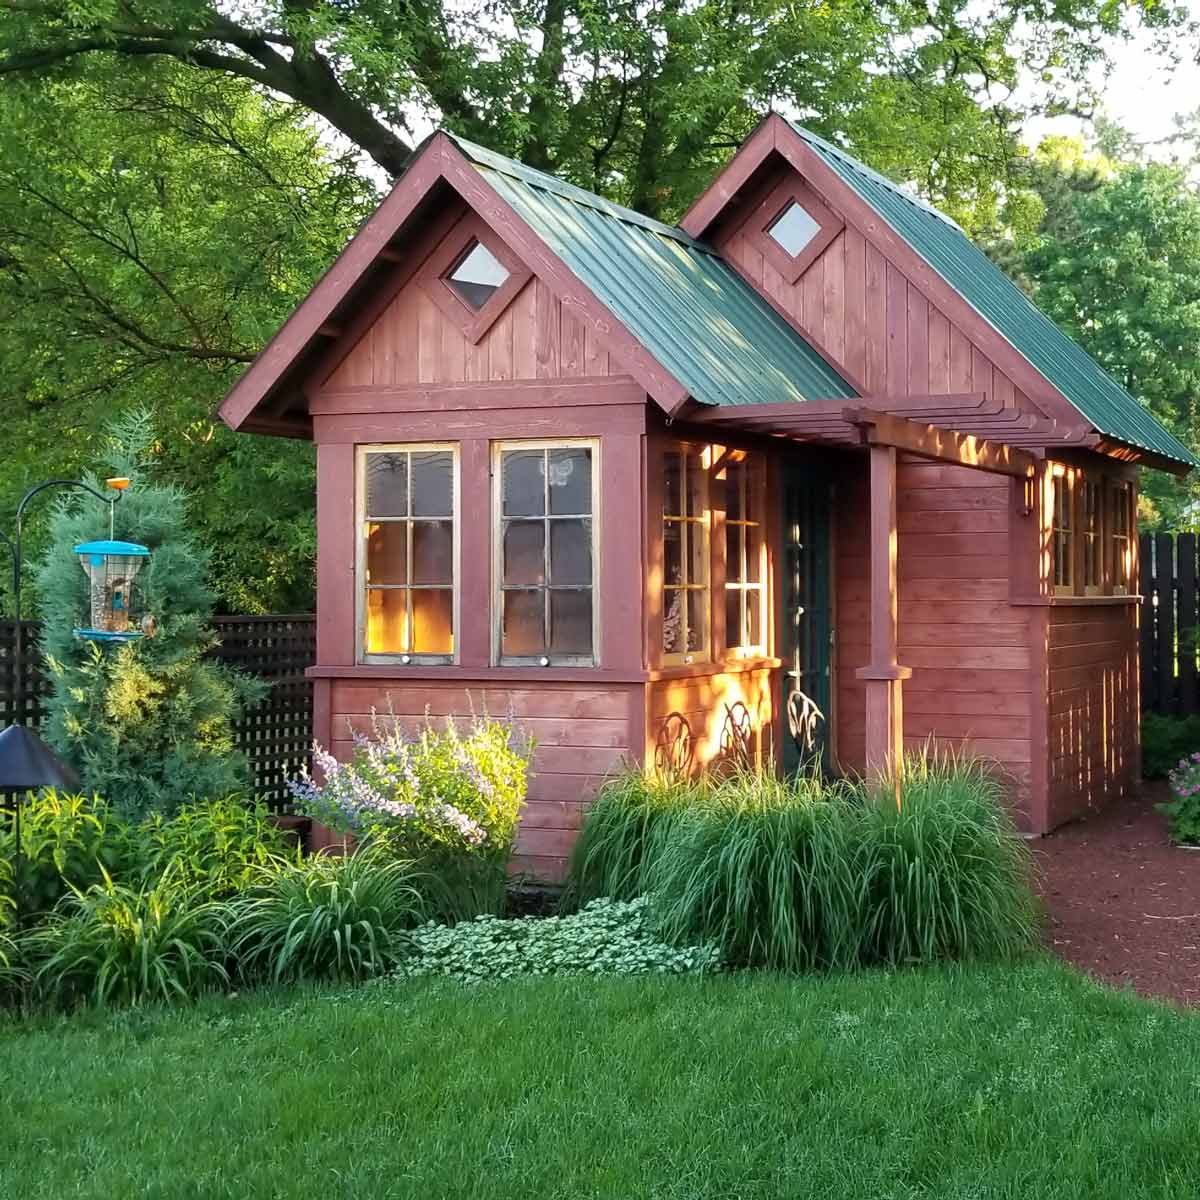
Bring light to your dark shed or greenhouse with an eco-friendly, low-maintenance solar kit.

Tips and Methods for Adding Solar Power to a Shed

Do you have a shed or other outbuilding that could use some lighting? Are you sick of stubbing your toe on the lawn mower and knocking over shovels and rakes every time you walk into your shed? It’s time to stop fumbling for a flashlight and look into installing some power.
If this sounds easier said than done, don’t worry. Adding solar power to a shed is a great DIY project, and you don’t have to be a licensed electrician like me to take it on. Below, I’ll explain the basic concepts and options, and you can do the rest!
On This Page
Getting Power to a Shed
If you’re trying to power your shed on the cheap, running an underground cable from your house to the outbuilding is the way to go. One hundred feet of 12/2 underground feeder (UF) cable costs less than $100, but digging a trench is a lot of work. You’ll need to rent a trencher or grab a shovel, and believe me, your back won’t like the latter option.
You also have to worry about how much power your shed will draw. If you just want to power a few lights and receptacles for charging batteries and putting away lawn tools, adding a 20-amp GFCI-protected circuit will suffice. But if you plan to run large tools and appliances, you’ll need larger wire and a larger breaker. If your main panel is full, you may need a subpanel. Both add cost and complexity.
If that all sounds like a lot of hassle, consider a solar-powered system instead.
Why Solar Power Is a Good Choice for Sheds
Sheds and solar power are a natural fit. Solar power is environmentally friendly, quiet and requires little maintenance once installed. Solar panels have no moving parts, so there’s nothing to break (on that component, anyway). Reputable solar kits also come with warranties for the products and power distribution, sometimes as long as 25 years. They might last longer than your shed!
Once you’ve put solar panels on the shed roof, or next to the shed if your yard is sunny enough, all you’ll need to do is clean them off a couple of times a year. And it’s easy! Just spray them with a garden hose. Clear off snow and ice to maintain their efficiency during the winter.
Choosing a Solar Kit
There are a few ways to convert energy from the sun into usable energy for your shed, but one of the easiest is to buy a solar kit. Sure, you can cobble together a solar system from individual parts, and that’s a good option if you’re looking to customize, or you want to design your own system. But kits are all-inclusive, and a lot easier for a novice.
Here are the basic components. Depending on your setup, all of these may not be included or needed:
- Solar panels. Also called photovoltaic (PV) panels, solar panels collect energy from sunlight and convert it into electrical energy.
- Storage battery. Batteries store energy for later use.
- Charge controller. A controller regulates the amount of electrical current sent to the battery. Overcharging or discharging a battery too much can damage it and shorten its life.
- Inverter. Converts the energy stored in batteries from direct current (DC) to alternating current (AC). Some off-grid lights can run off DC, but tools, appliances, electronics, and regular household lighting require AC power.
- Cables, connectors and accessories. Connect your kit together with these needed components.
Portable power station
Another option for solar power is a solar generator, also called a portable power station. A solar generator uses solar panels to charge a compact, portable cube that you then plug your tools and lights into. These can be less expensive than a full-on solar kit, but they’re a little more hands-on since they don’t hold a charge indefinitely. Choose one with a single battery or multiple, for longer life between charges.
Installing a Solar Kit in Your Shed
Installing a solar kit is a DIY-able task, but make sure you follow the instructions that came with the kit. The manufacturer may have videos and how-tos to help, too. If you run into trouble, call a licensed electrician, and always check to see if your city requires a permit.
The basic steps are below:
- Decide where you want the power distribution center (inverter, battery and controller).
- Mount the components to the wall, and build or buy a simple shelf for the battery to sit.
- Wire the shed with lights and receptacles (if adding).
- Install the solar panels on the roof or in the yard.
- Drill a hole and add a waterproof connector called an entry panel, which protects the cables between the solar panel and the power center.
- Make the connections between the components.
- Let the batteries charge, and enjoy your solar-powered shed!
Sources:
Satpathy, R., & Pamuru, V. (2021). Solar PV Power: Design, Manufacturing and Applications from Sand to Systems.


