1
/
13
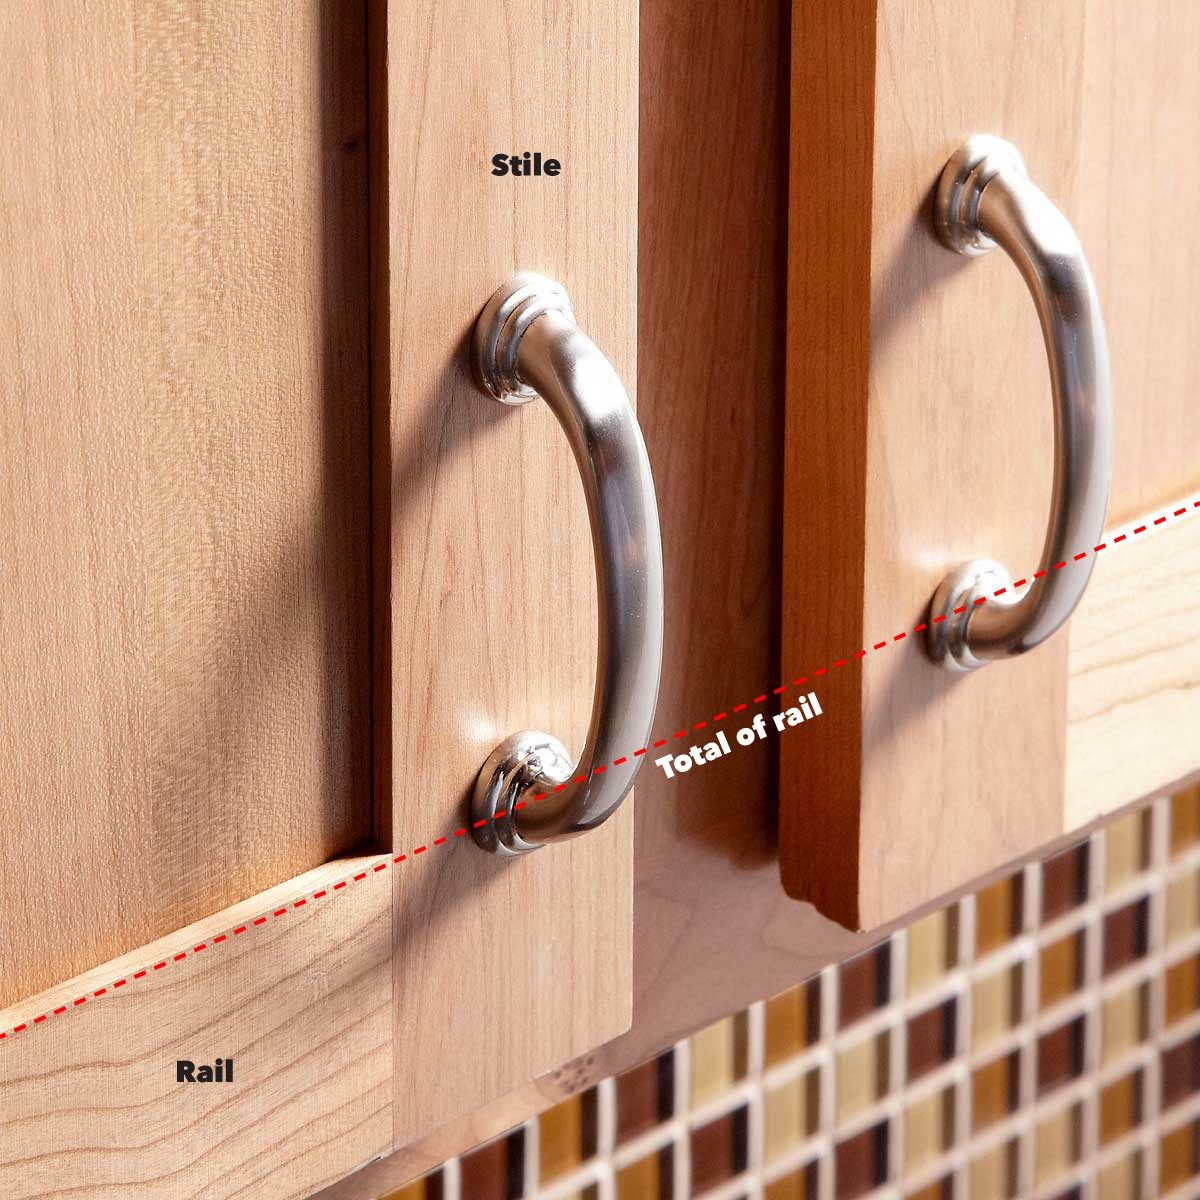
Use the Door Rail as a Guide
The location of knobs and pulls isn't written in stone, but there are some standard practices. One good rule of thumb is to line up a knob with the top of the bottom door rail. If you're installing door pulls, line up the bottom of the pull with the top of the door rail. Always center them on the door stile.
2
/
13
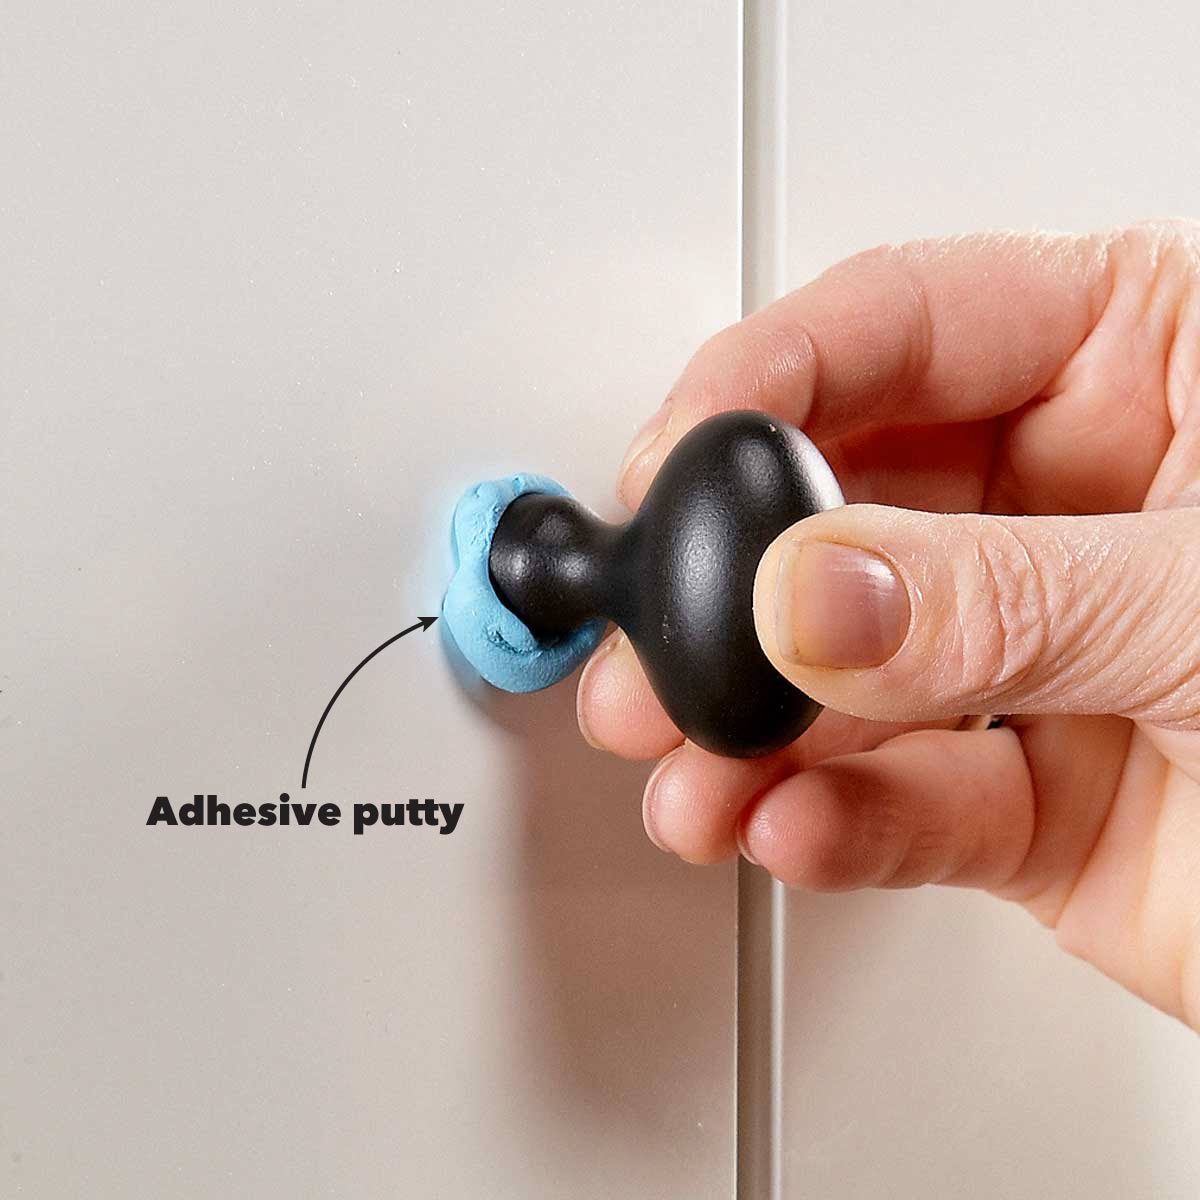
Temporarily Attach the Hardware
If you're not sure about where the knobs and pulls are to be installed, stick a piece of reusable putty adhesive to the hardware and try out different spots. Mark the one you like with a pencil and install the rest of the hardware accordingly. Reusable adhesive is available at hardware and art supply stores.
3
/
13
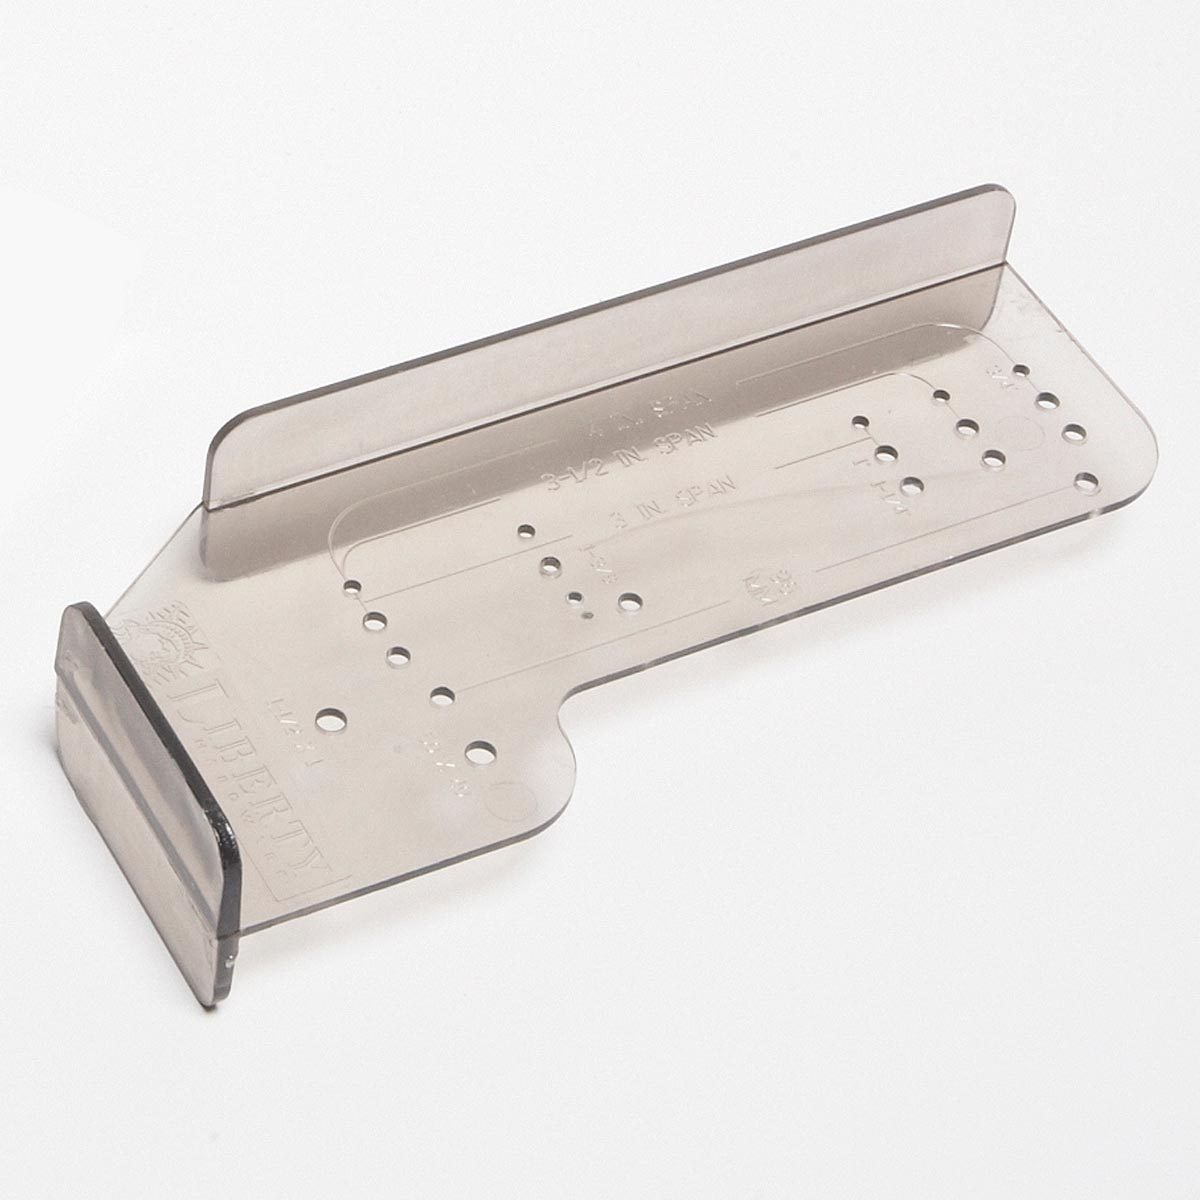
Templates Make the Job Easier
If you have more than a few knobs or pulls to install, use a template when you install cabinet hardware. A template makes the job go faster, increases uniformity and reduces the chance for mistakes across the cabinet set. The template shown here costs under $5 at on Amazon. They are also available at any home center.
4
/
13
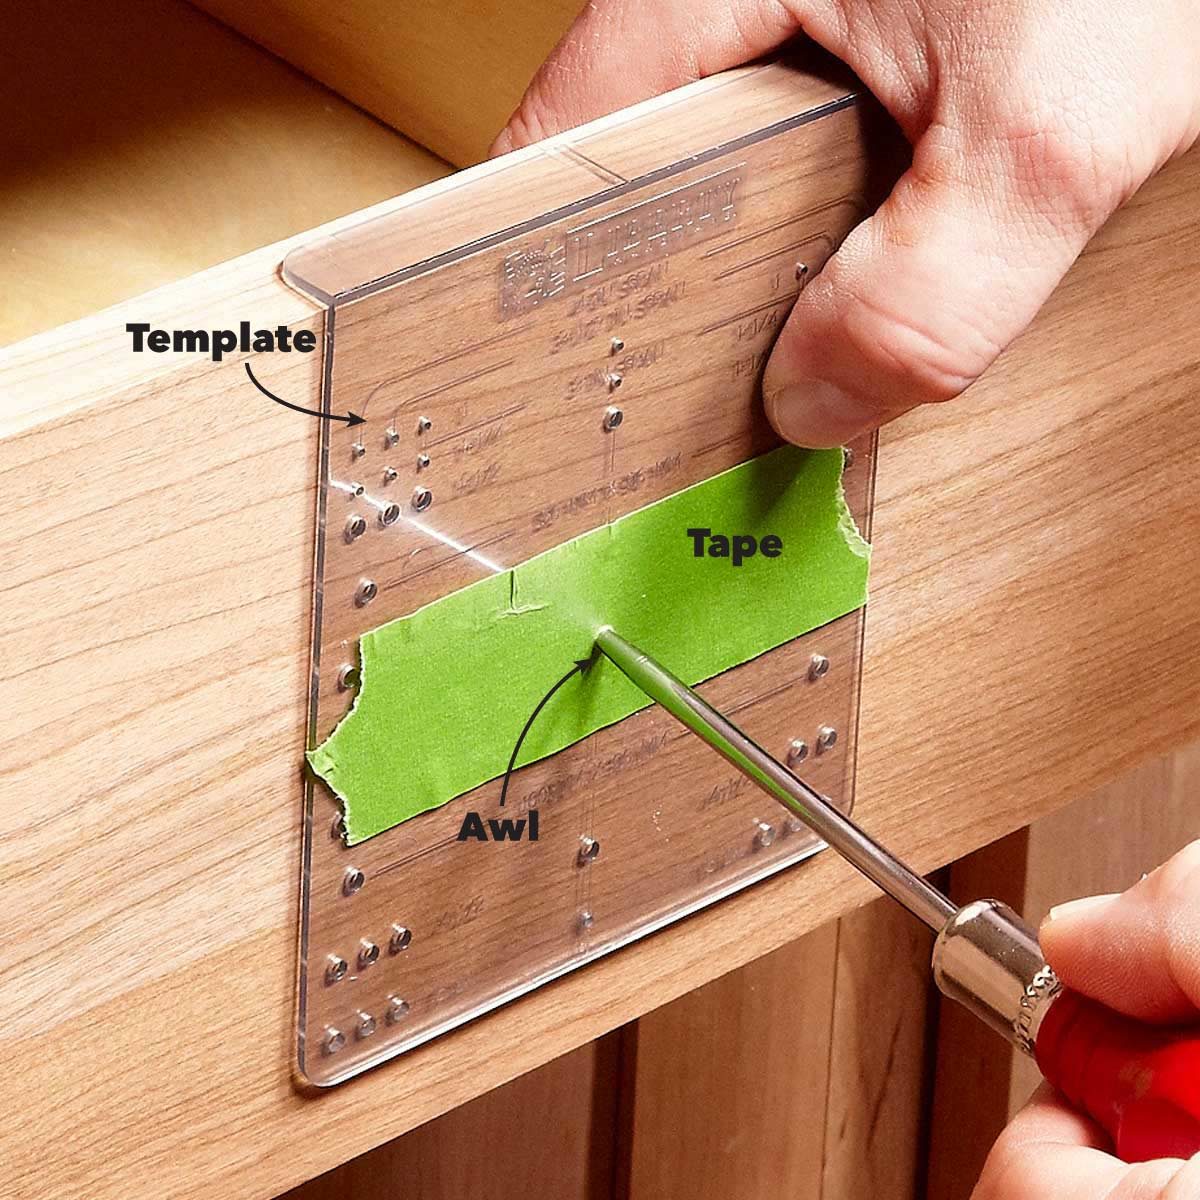
Cover Unused Holes With Tape
Store-bought templates and well-used homemade templates have a bunch of holes you won't use on every job. Avoid using the wrong hole by sticking masking tape over the template and poking through only the holes you need. Instead of using a pencil to mark the location of the hole on the cabinet, use an awl. That way your drill bit won't skate off in the wrong direction when you drill the hole. Buy this wood awl from Amazon that will last 10+ years.
5
/
13
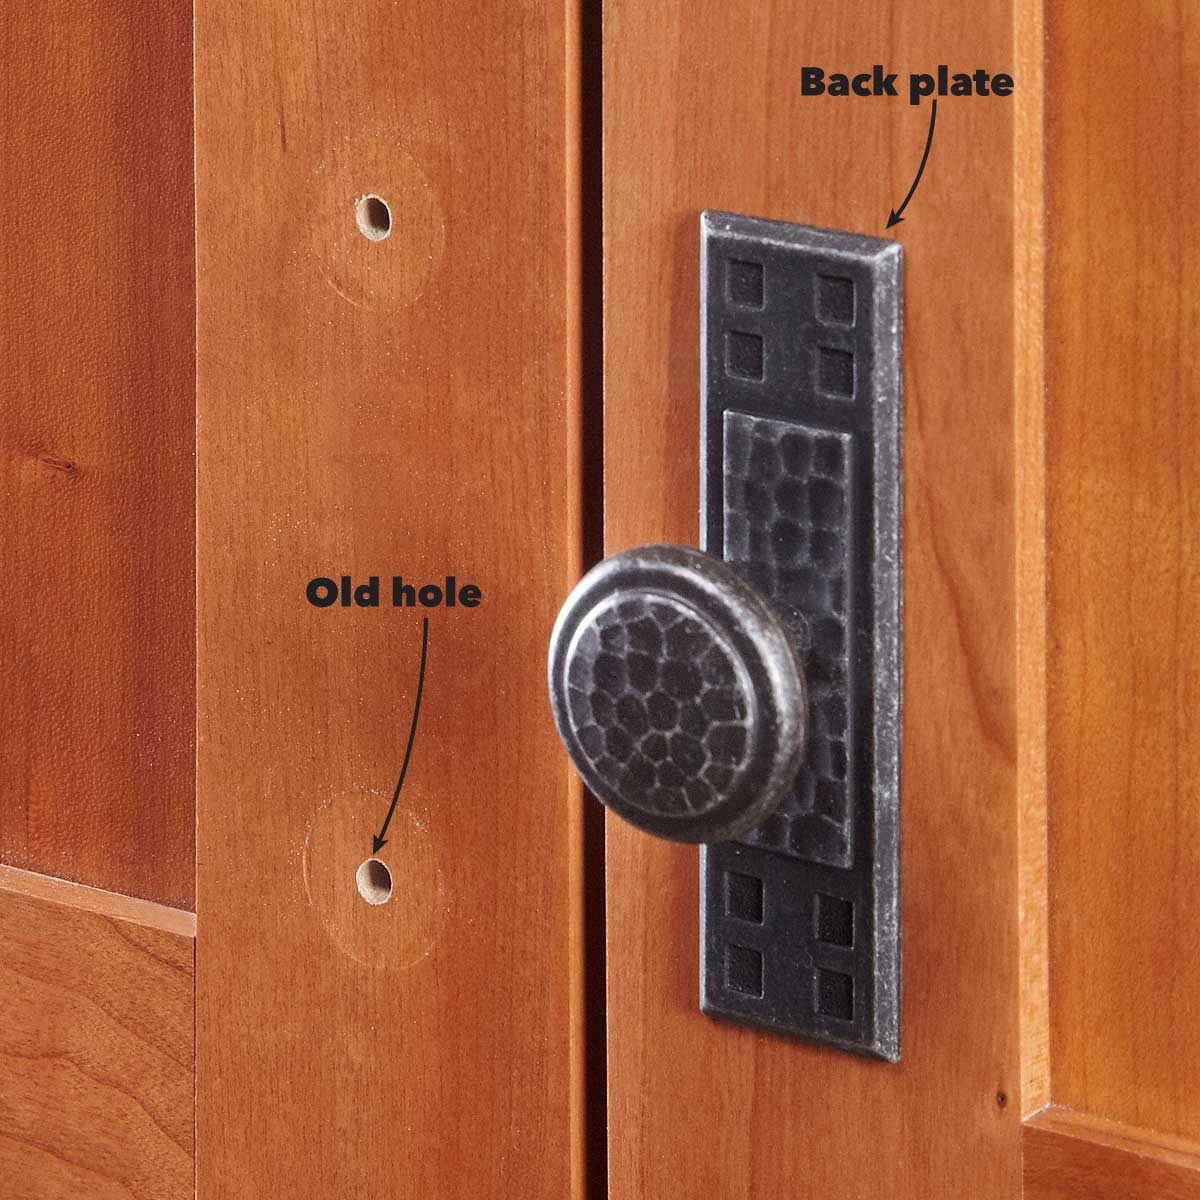
Hide Old Holes With Back Plates
If you're switching from a pull to a knob or you'd prefer to select pulls with a different hole pattern for your cabinets, you can cover the old holes or hide damaged surfaces with back plates. Home centers don't have a huge selection, so consider buying from an online source. You'll find hundreds to choose from.
6
/
13
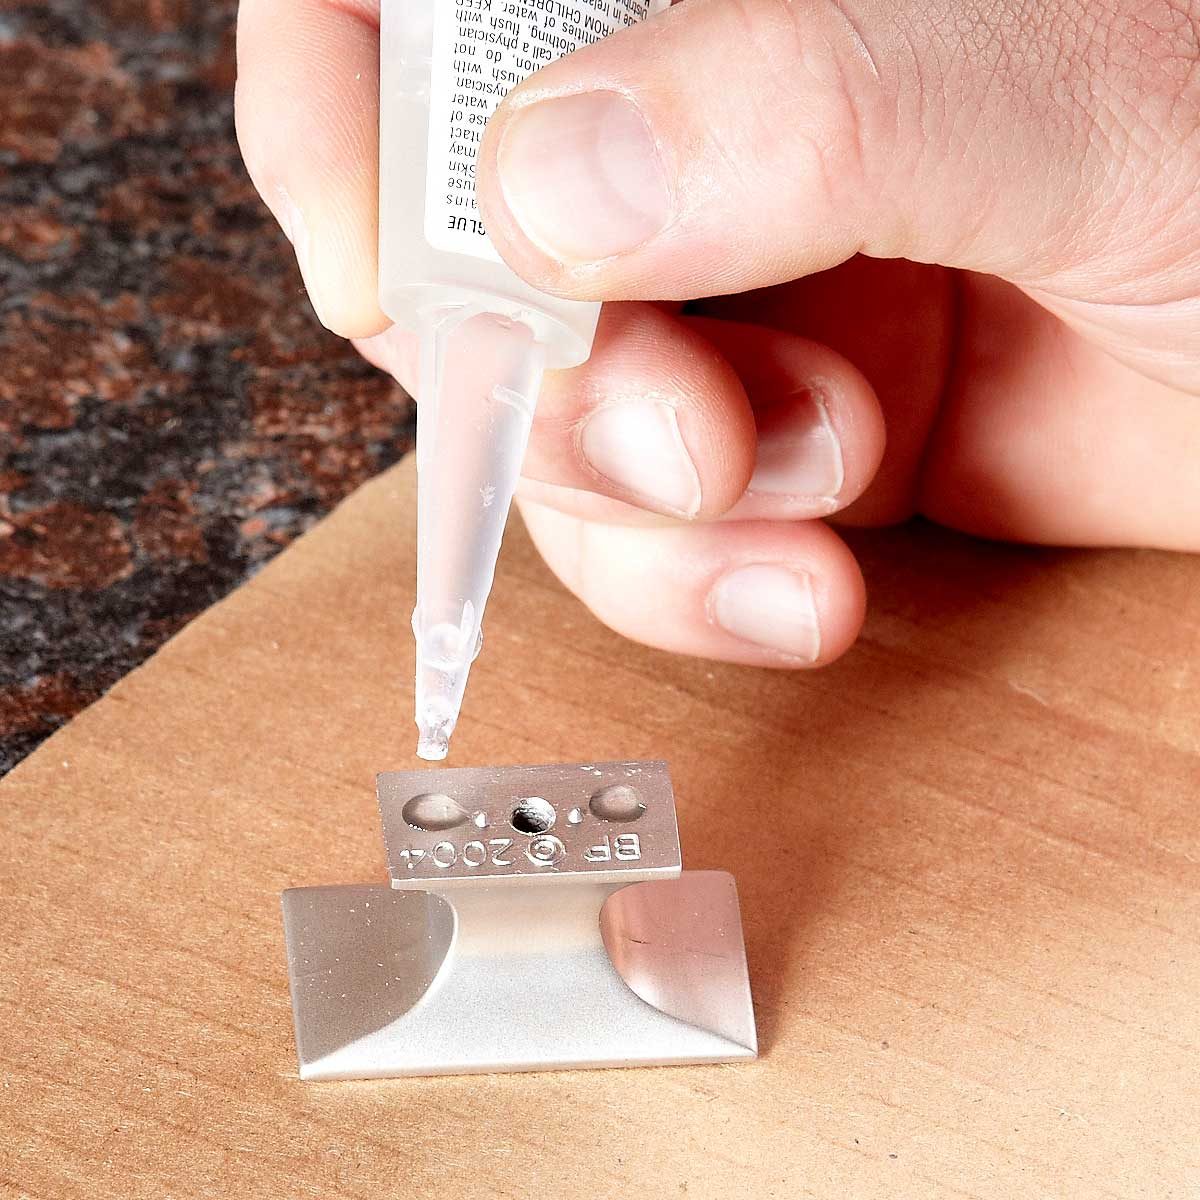
Superglue the Knob
Oblong and rectangular knobs that fasten with a single screw are notorious for twisting over time. Thread sealant will keep a screw from coming loose from the knob, but it won't necessarily stop the knob from twisting. To solve the problem, add a drop of superglue to the back of these types of knobs before you install them.
7
/
13
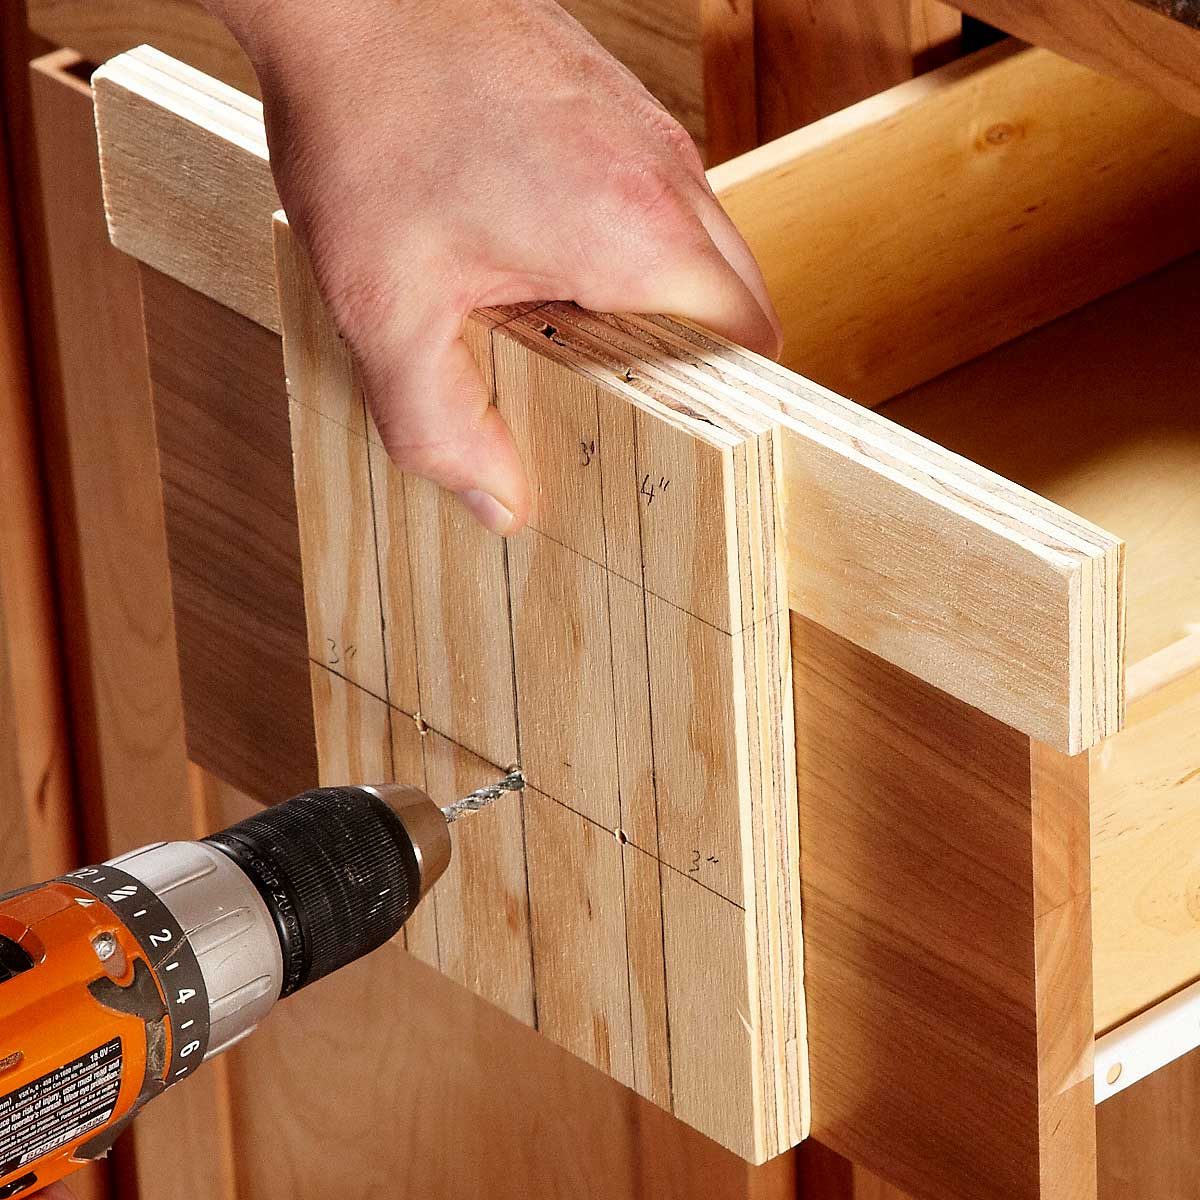
Make a Simple Drawer Template
If you don't have a template, make one. This simple template consists of two pieces of wood and takes only a few minutes to make. This same template can be used for almost any size door and most hardware sizes.
8
/
13
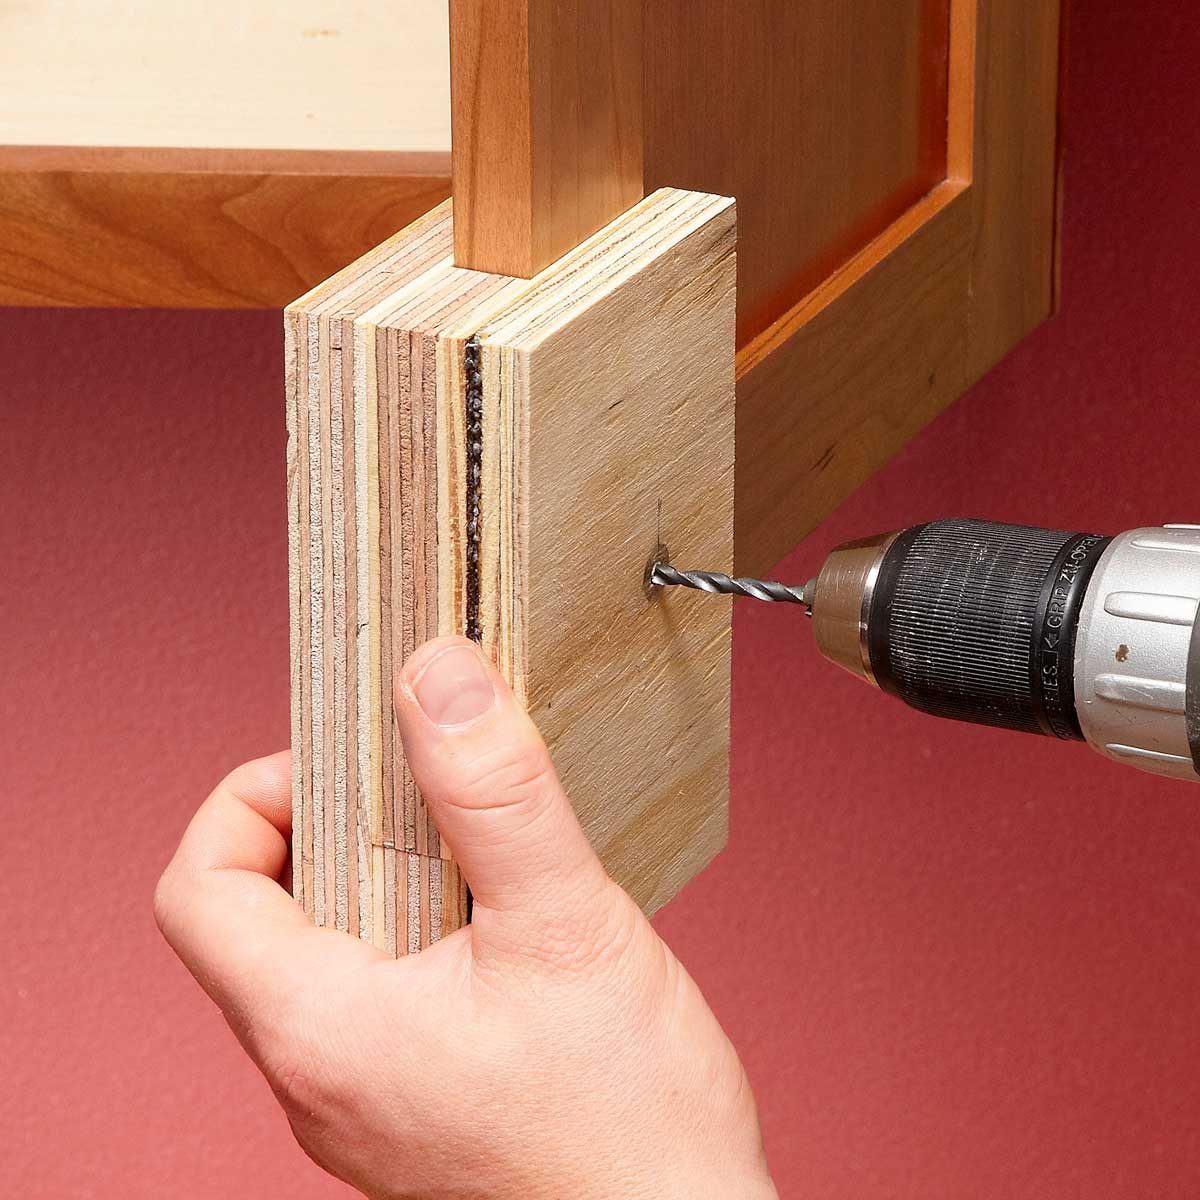
Two-Sided Templates Prevent Tear-Out
If you're having problems with the wood on the back of the cabinet doors tearing out every time you drill a hole, make a two-sided template. Make sure the spacer wood is close to the same size as the cabinet doors. The tighter the fit, the less chance of tear-out.
9
/
13
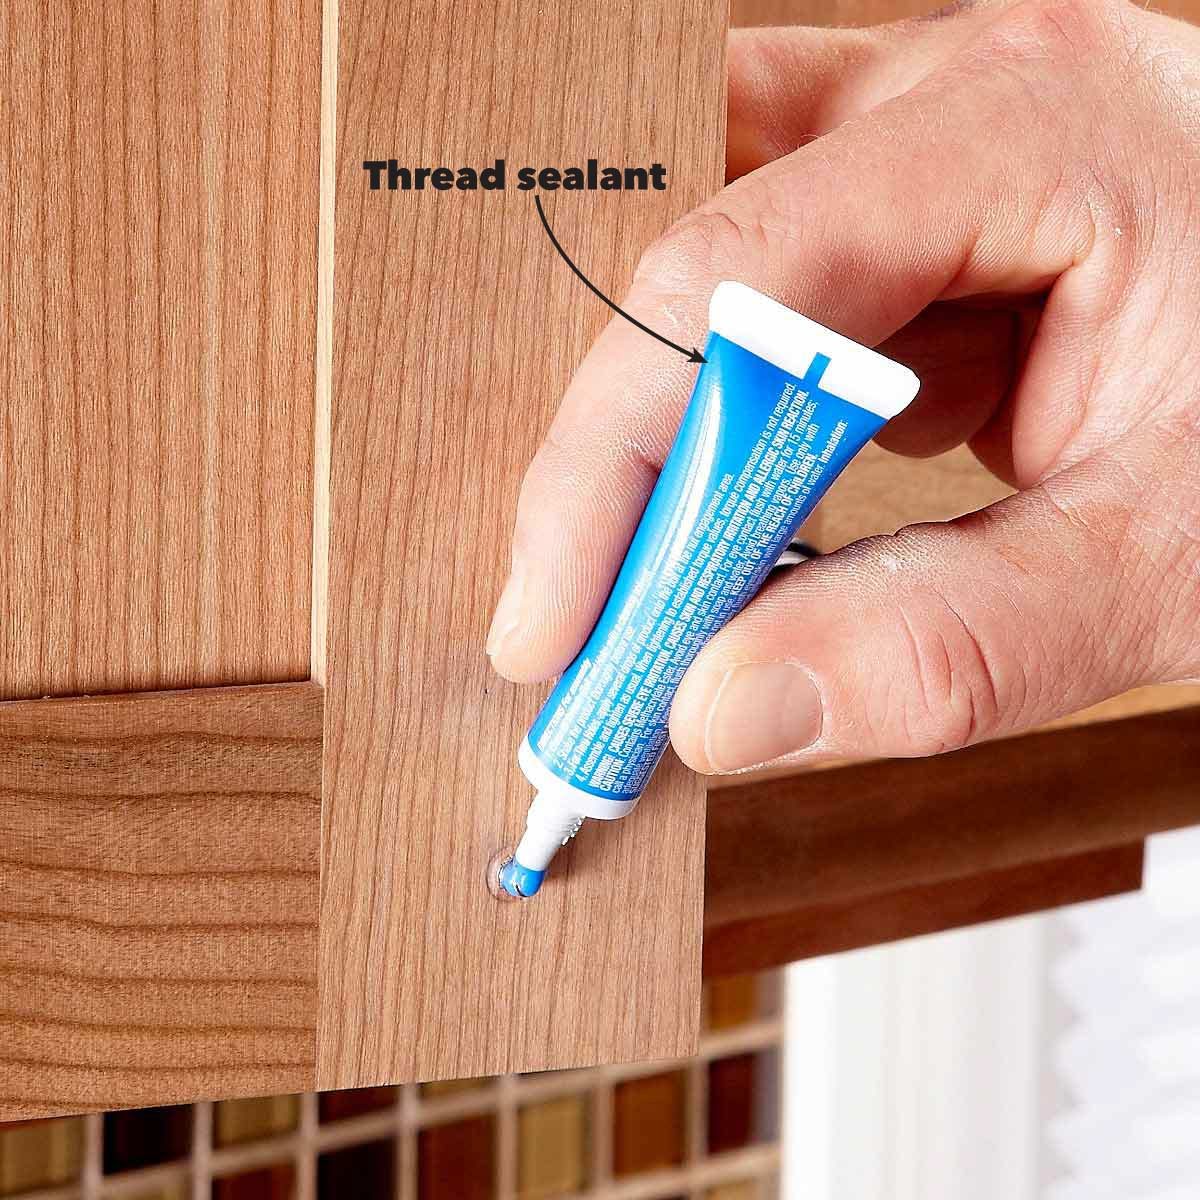
Use Thread Sealant to Keep the Screws Tight
Every time the screw in a knob works itself loose, the owners of those cabinets are going to think unflattering thoughts about whoever put them in. Avoid the problem by adding a dab of thread sealant to every screw you install. Loctite is one brand. Buy it from Amazon here.
10
/
13
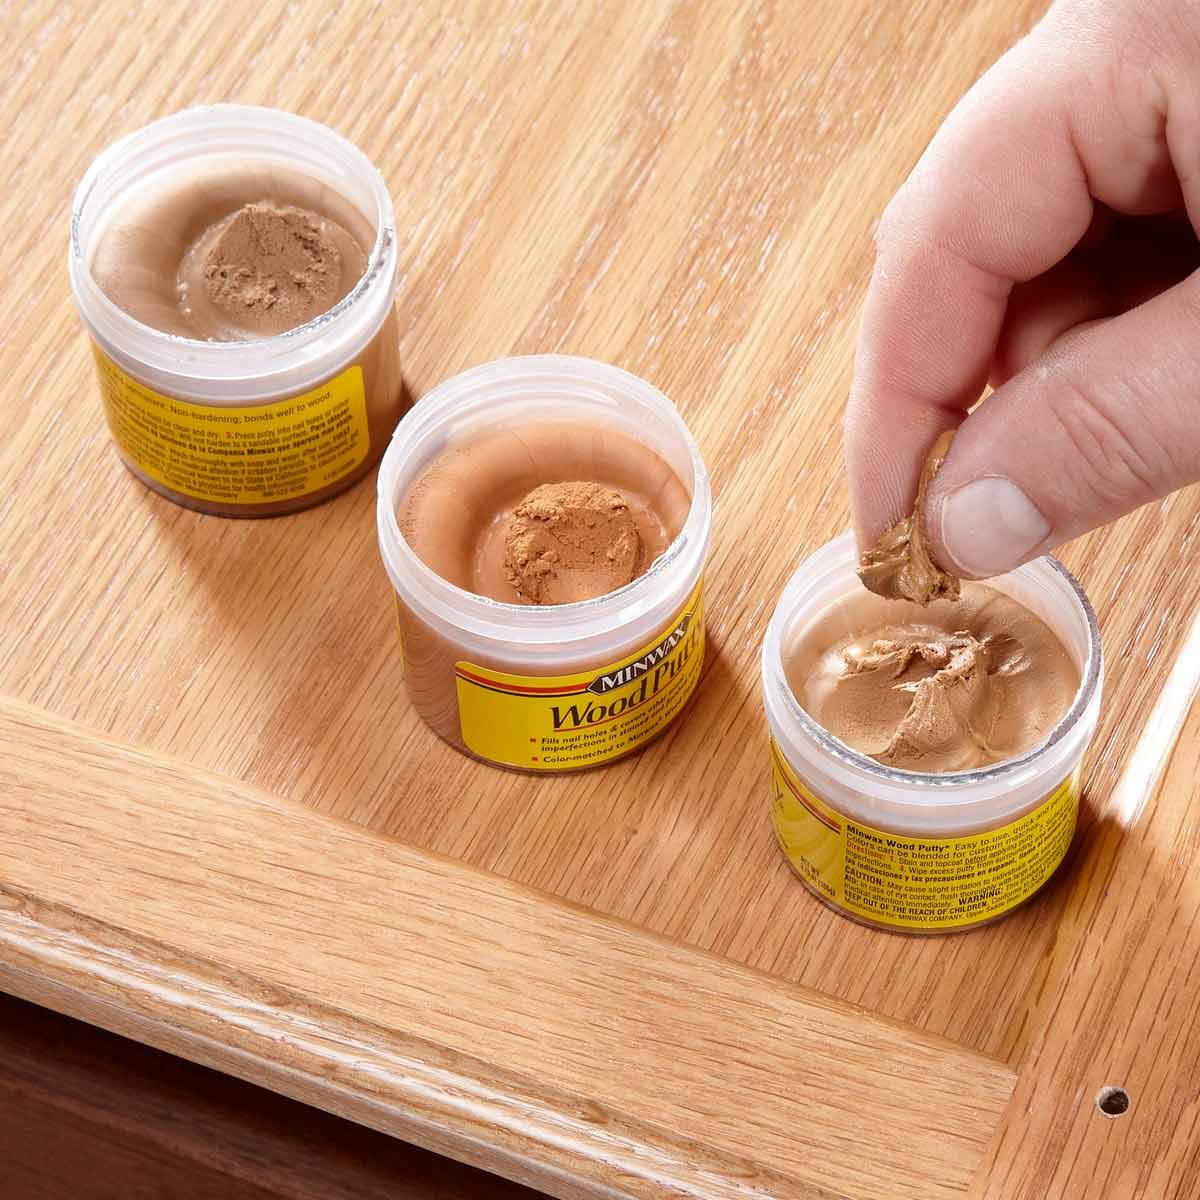
Mix Putty to Match
If back plates won't cover the old holes, use putty to fill them. The wood grain on cabinet doors and fronts usually varies in color, so take one of the doors to a hardware store or home center, and buy three different colors of putty. Buy one that matches the darkest grain, one that matches the lightest grain and one halfway between. Use the three to mix a custom color to fill the holes.
11
/
13
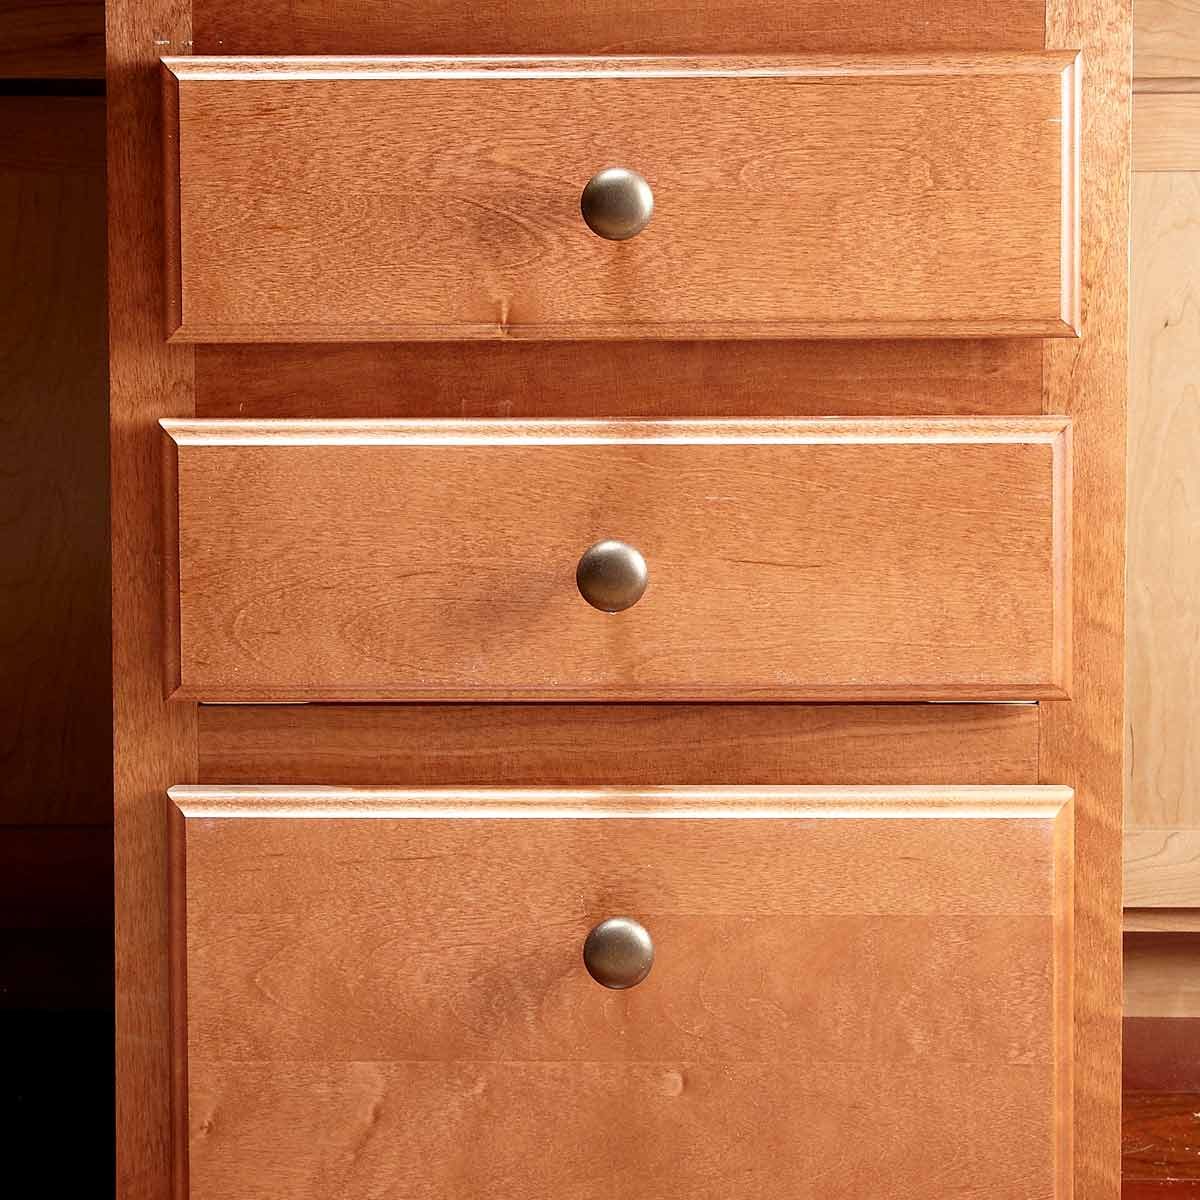
Install Hardware Higher on the Lowest Drawer
Most drawer pulls are centered on the drawer fronts, but if the cabinet you're working on has two or three drawers the same size and one larger one at the bottom, install the bottom knob (or pull) higher than the center of that drawer front. Install it so all the knobs on the cabinet are spaced evenly. This configuration is pleasing to the eye, and you won't have to bend over as far to open the bottom drawer.
12
/
13
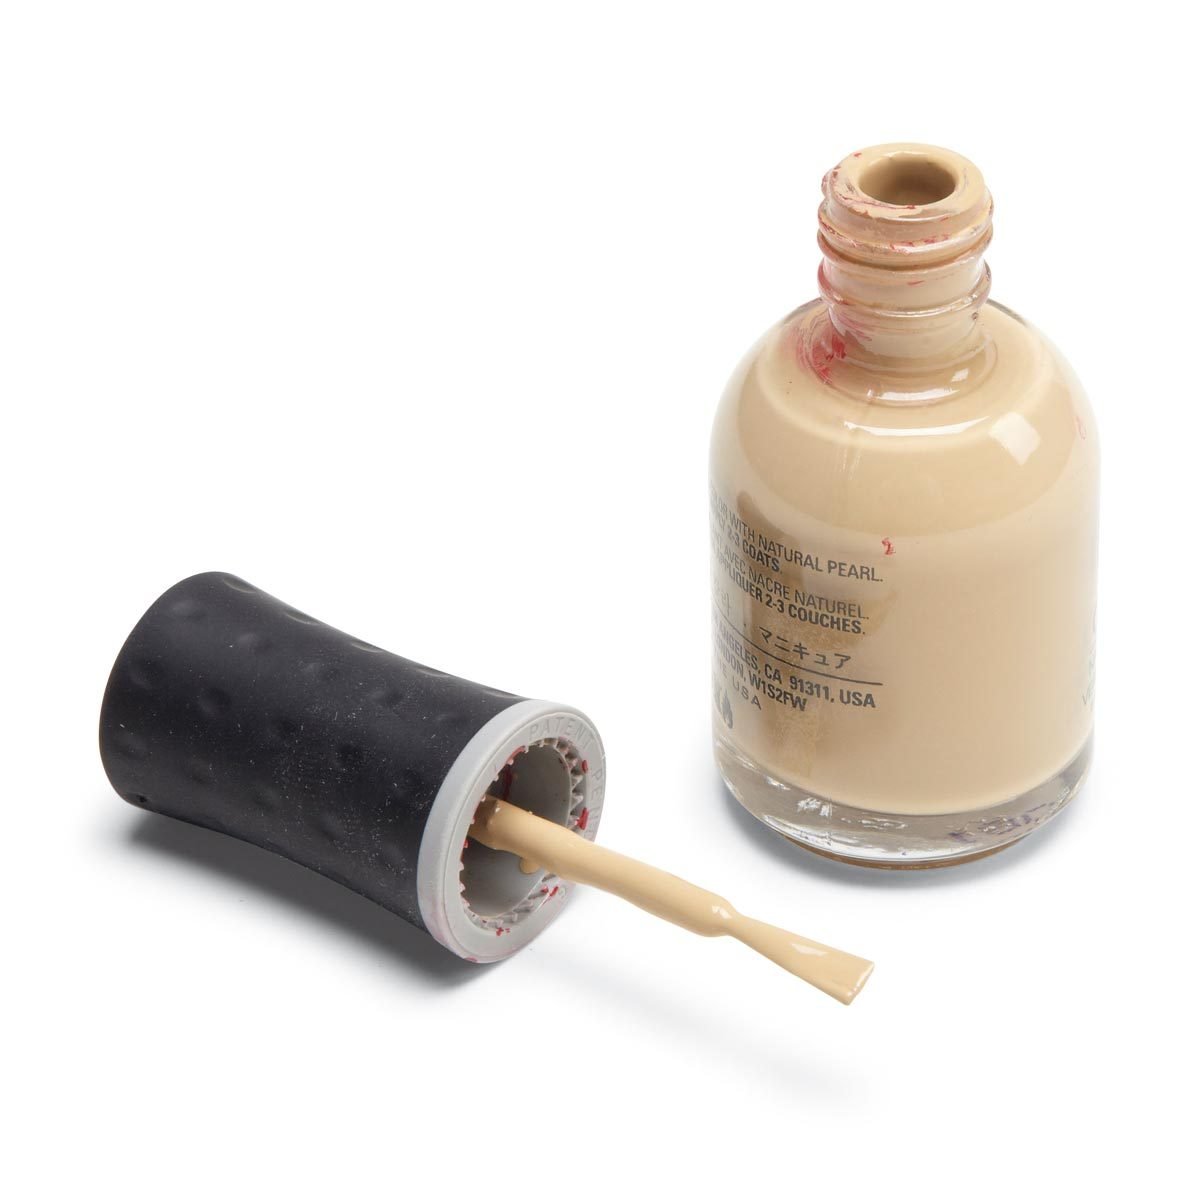
Perfect Finish Touch-Ups
After you finish installing cabinet knobs, set aside a small container of the paint or finish used on the cabinets for future touch-ups. If the cabinet manufacturer didn't include one with the cabinets, you can make one by cleaning out an old bottle of nail polish with nail polish remover and filling it with your paint or finish.
13
/
13
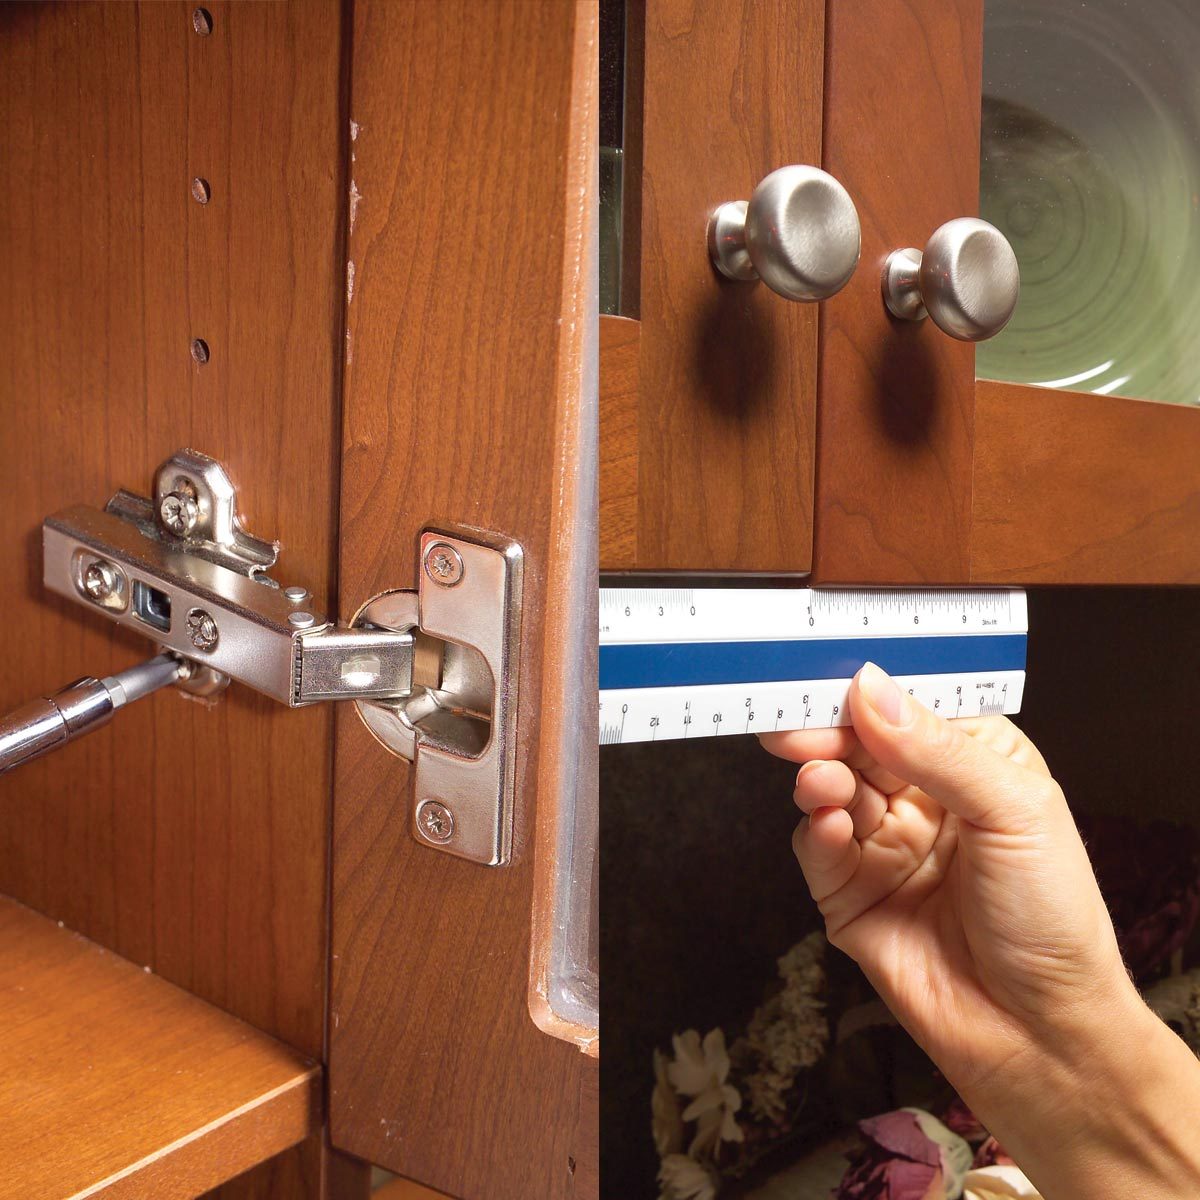
Adjust Hinges on Misaligned Doors
If your cabinet doors are out of whack and you have European-style hinges, you're in luck. Euro hinges are designed for easy adjustment. Don't let their complex look scare you; all you have to do is turn a few screws, and any mistakes you make are easy to correct. The Euro hinge shown here adjusts in three directions. Others adjust in two directions. Either way, it's a trial-and-error process: You make adjustments, close the door to check the fit, then adjust again until it's right.
First, if the door isn't flush with the doors next to it, adjust the depth screw. This screw moves the door in or out. Some depth screws move the door as you turn them. But with most, you have to loosen the screw, nudge the door in or out and then tighten the screw. If your hinges don't have depth screws, start with the side screws.
Second, if the door is crooked—not standing parallel to adjacent doors or square with the cabinet—adjust the side screw. This moves the door from side to side. In some cases, you have to loosen the depth screw slightly to adjust the side screw.
Third, if the door is flush and parallel with other doors but too high or low, use the mounting screws to raise or lower the mounting plates. Loosen the screws at both hinges, slide the door up or down and tighten the screws. Some mounting plates adjust by turning a single screw.