How To Repair Cracks and Chips in Your Windshield
Updated: Sep. 27, 2023
Fixing a small windshield crack or chip is an easy project that can save real money.
A few hours
Beginner
Less than $15
Introduction
Maybe you've heard the wince-inducing ping of a rock hitting your windshield the wrong way, or maybe you bought a used vehicle already knowing it had a cracked or chipped windshield. No matter the source, these damaged surfaces should be repaired. They can be distracting for drivers. If ignored, they can spread and widen, turning a simple repair into a complete windshield replacement.
A professional windshield repair can run from $35 to $120 and leaves your schedule at the whims of the repair company. An alternative, DIY windshield repair kits, cost less than $15, can often be used more than once and give you the freedom to do the work at your leisure.
I've seen how well these kits can work, but I wanted to make things a little more interesting for this project. The instructions in these kits often stress the importance of treating the windshield as quickly as possible after damage occurs. So I got my hands on a vehicle with a 10-year-old 'spider' chip, and decided to find out if a little DIY work could make that damage disappear!
Tools Required
- Shop vacuum (optional)
- Windshield repair kit
Materials Required
- Paper towels or rags
Project step-by-step (10)
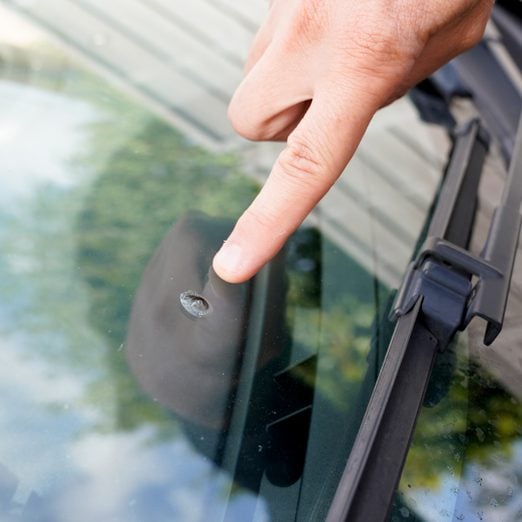
Identify the damage
Types include:
- Chip: A simple divot without any radiating cracks.
- Bull’s eye: Essentially, a divot with a small crater around it.
- Spider: A divot or bull’s eye with small cracks radiating outward.
- Crack: A long thin split that may include a visible chip that started it.
- In general, repairs for chips, bull’s eyes and spiders are the same, while cracks require a slightly different approach.
- The damage I repaired was a spider chip, but the steps are similar to most other chips and crack repair kits. Modify as needed for your specific damage or kit.
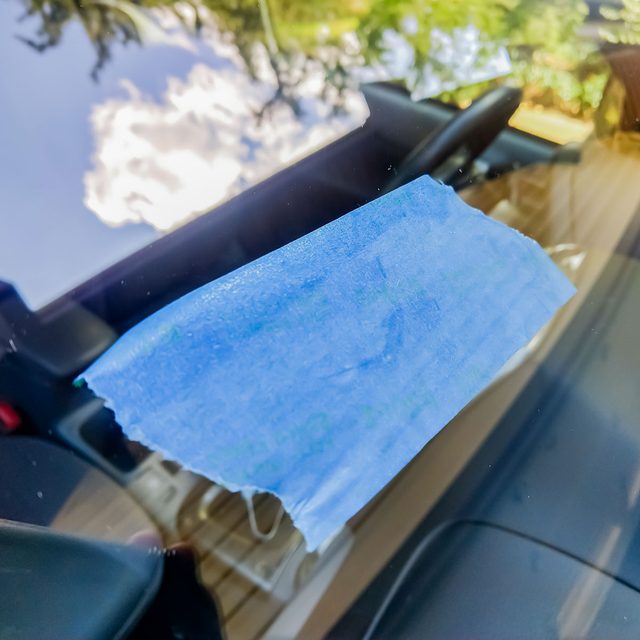
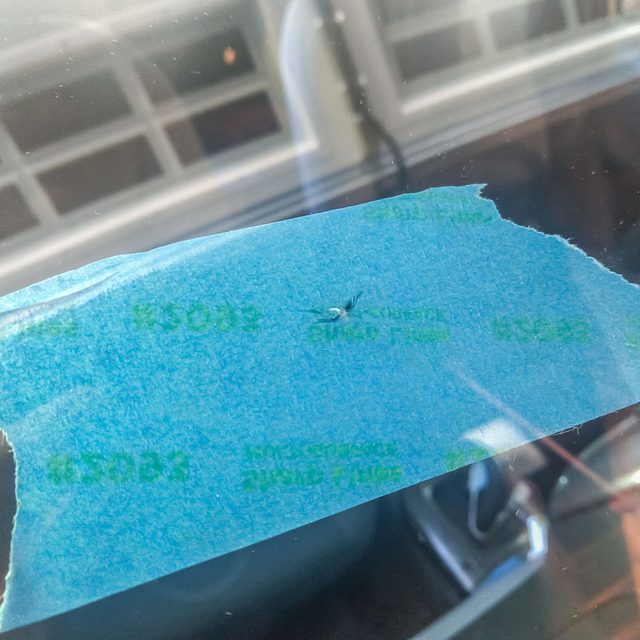
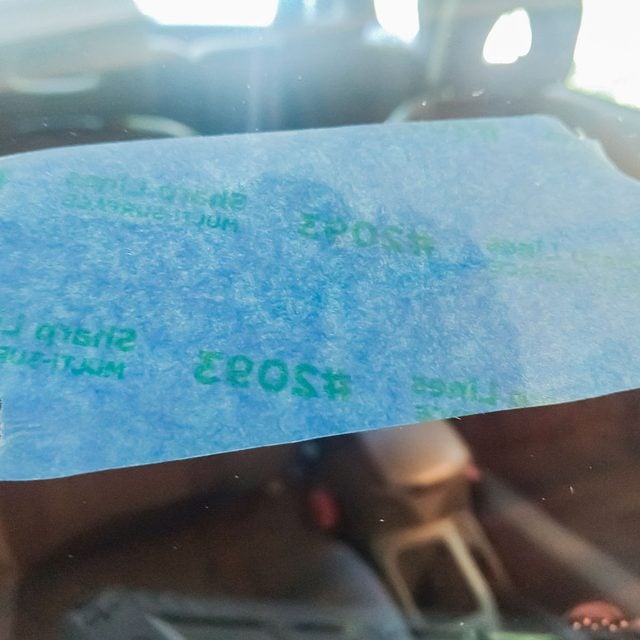
- The painter’s tape on the inside of the windshield is there for photographic clarity. You don’t need that tape on your own repair.
Clean out the damaged area
- Remove any debris in the crack to allow the repair resin to set up properly.
- This is one reason manufacturers encourage making the repair as quickly as possible.
- Use the razor blade that came with the kit to pull any debris or loose glass out of the crack or chip.
- Wipe down the area around the damage immediately with a rag or paper towel.
- A few inches on either side of the damage should be sufficient.
- Do NOT use a commercial glass cleaner. Any cleaner that gets into the crack can be trapped, making it more difficult for the resin to seal properly.
- Although the kit didn’t call for it, I used a shop vacuum for extra help cleaning debris out of the chip.
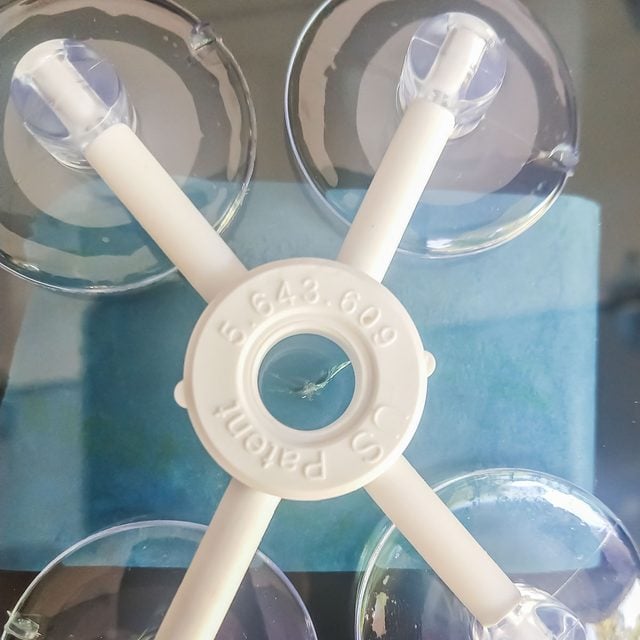
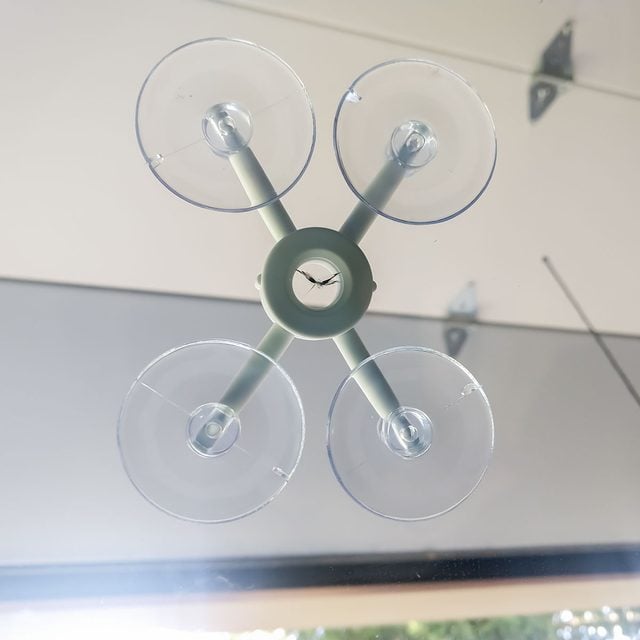
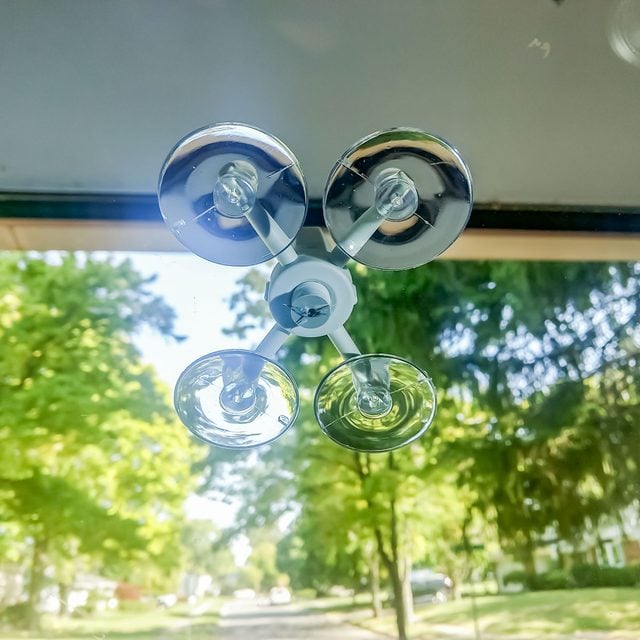
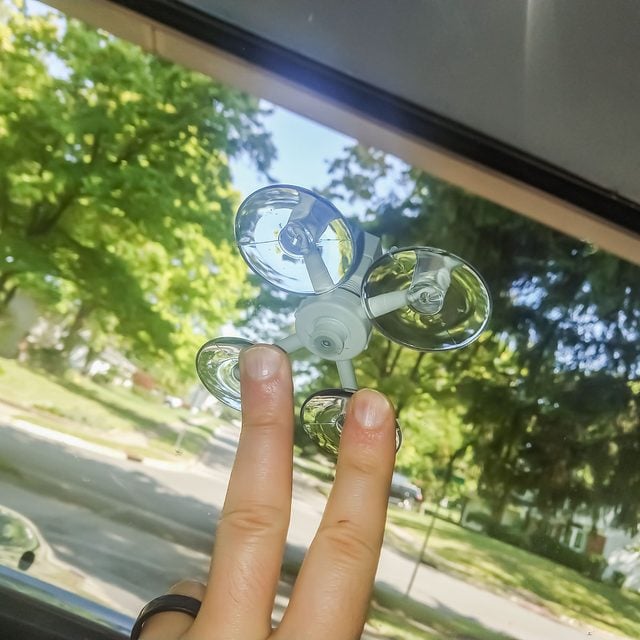
Set up the base
The setup will vary depending on the type of damage and the specific repair kit. The RainX kit I used came with a suction cup base, perfect for repairing a chip.
- Center the base on the primary chip damage.
- Check the alignment from the inside and outside of the vehicle.
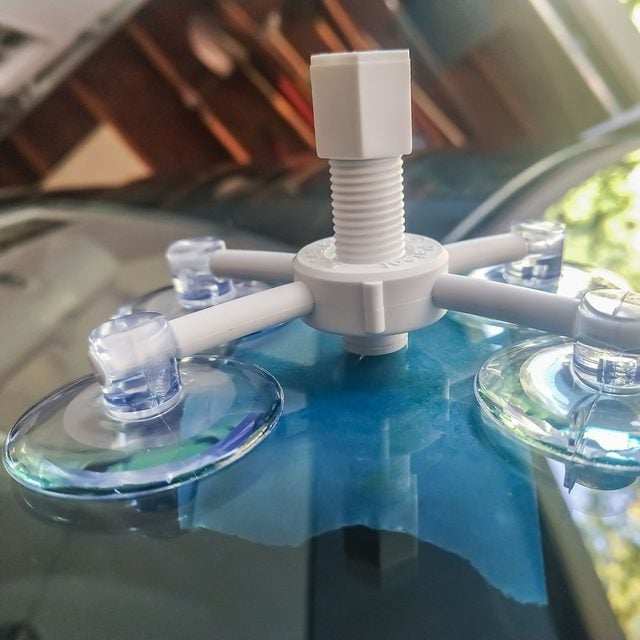
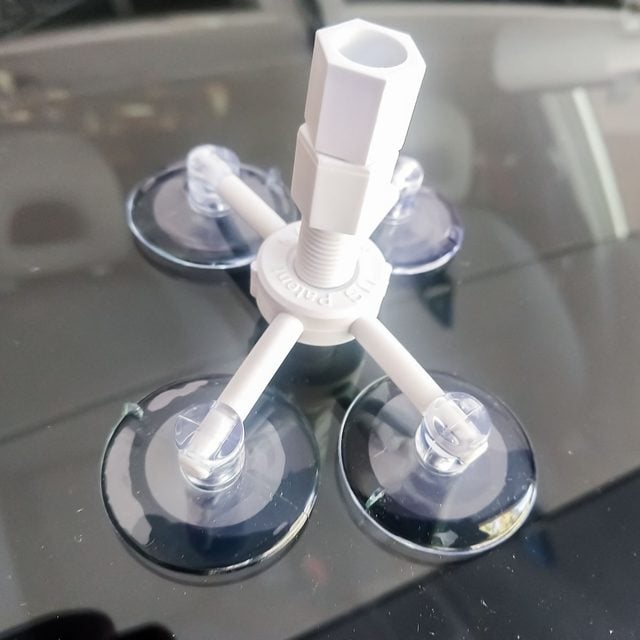
Install the resin chamber
- Screw the lower section (the resin chamber) of the included tube into place.
- This creates a seal around the chip’s impact point, holding the resin that will be forced into the damaged area.
- Tighten far enough to push the rubber washer flat, but don’t go any farther than that.
- Tightening too far can put pressure on the chip, causing misalignment or even spreading the damage.
Add the first drops of resin
- Verify you’re in a shady spot before adding the resin.
- The resin cures with UV light. If you put in the initial dose while the sun beats down on it, it will begin to cure before it’s fully filled the damaged area.
- Add a few drops of resin to the resin chamber.
- Insert the top half of the included tube (the plunger) and tighten almost, but not quite, all the way.
- This pressure, along with the tight seal you established in the last step, forces resin deep into the cracks.

Ensure good resin penetration
- Wait five to 10 minutes for the resin to seep into place.
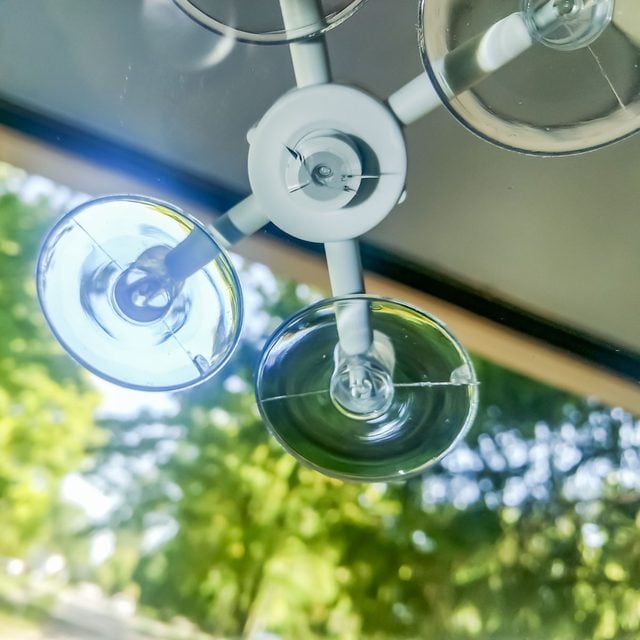
- Examine the damaged area from outside and inside the vehicle.
-
- The chip and crack should be much harder to see now.
- If there are air bubbles, gently press against the windshield with your fingers.
- If cracks are still visible, unscrew the plunger, add a few more drops and re-tighten the plunger.
- I had one crack that still didn’t get any resin, so I reseated the base to be centered on that specific crack, then repeated the previous steps.
Place curing strip and move to sunlit area
- Remove the whole base apparatus.
- Wipe away excess resin that dribbles down the windshield, but do NOT wipe resin off of the chip or crack itself.
- Place the plastic curing strips over the resin-filled crack.
- The strips will self-adhere to the resin, so you don’t need to apply significant pressure.
- Pull the vehicle out into direct sunlight. Leave it there as long as the manufacturer recommends.
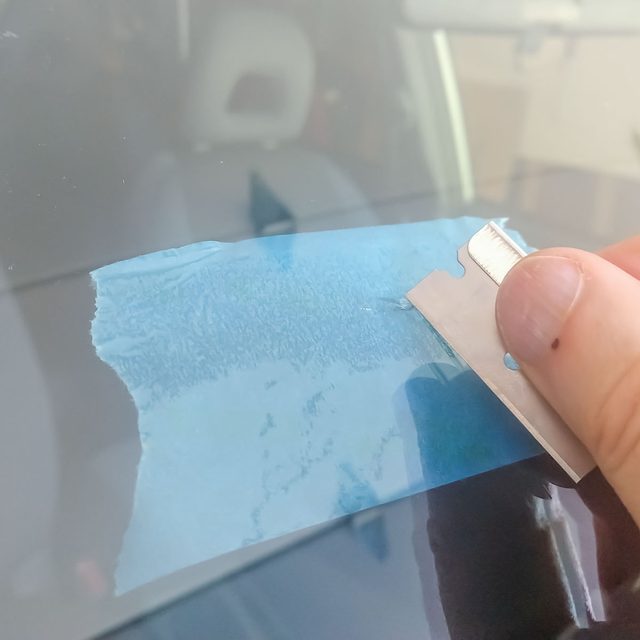
Remove the strip and excess resin
- Once the resin cures, remove the curing strip.
- I pulled the car back into the shade to escape the heat, but you don’t need to at this point.
- Scrape the excess resin away with a razor blade.
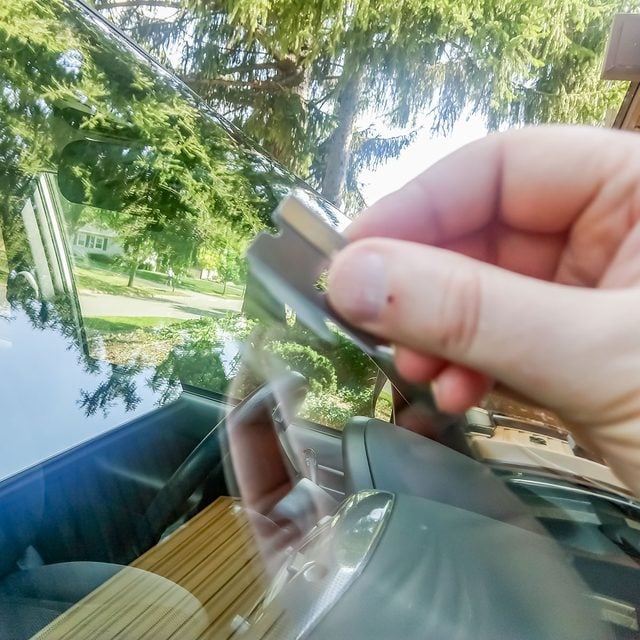
-
- Note the blade should be held at a right angle to the windshield. This is a little counterintuitive and does create a nails-on-a-chalkboard screeching sound, but this technique ensures you don’t accidentally cut too deeply into the newly formed resin.
- Examine the damaged area. If there’s a visible divot on the damaged area, top off with resin, apply a curing strip and move the car back into the sun to cure once more.
Repairing a crack instead of a chip
The process is similar for cracks. But instead of using the base applicator, you’ll apply the resin to the top of the crack and let gravity pull it into the center of the crack. You or a helper can gently apply pressure on either side of the crack from inside, helping it open up and suck in more resin.
Apply curing strips all along the resin-soaked crack, then cure and remove excess resin as described above.
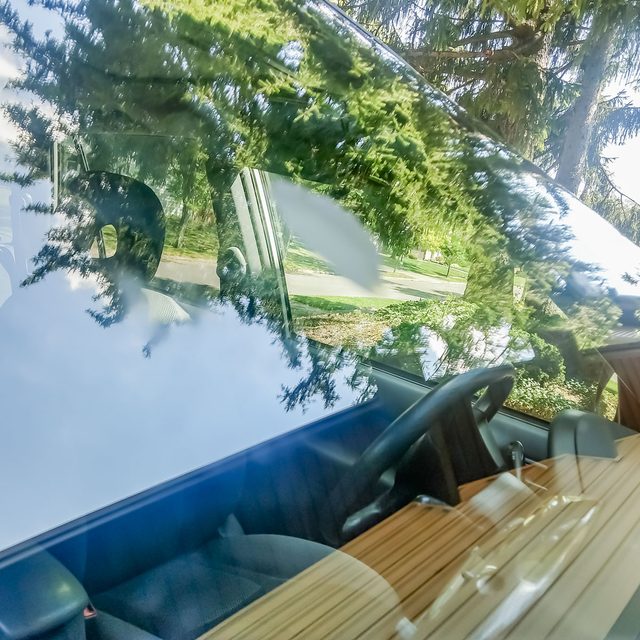
Final product
In the end, I was extremely satisfied with the repair.
You can still see traces of the cracks if you’re in the passenger seat and look from the right angle. But from the exterior or the driver’s seat, it’s essentially invisible. (I think the elements still visible stem from waiting a decade to make the repair.)