
How to Shorten Blinds

Updated: Nov. 27, 2023
Blinds that are too lengthy look bad and create a safety issue for young children. It's easy to fix this yourself.
20 to 30 minutes
Beginner
Free
Introduction
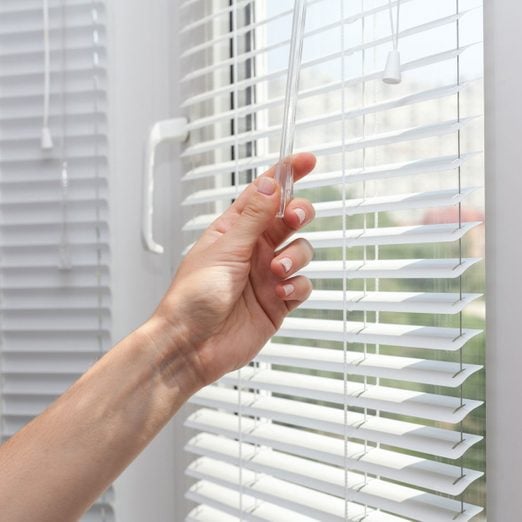
Window blinds too long? Fortunately, shortening them is a quick and easy DIY project. All you need are scissors and a screwdriver.
Tools Required
- 4-in-1 screwdriver
- Scissors
Even if you properly measure a window for blinds, they can still end up being longer than you want.
Horizontal mini blind slats that hang below the windowsill are unsightly and a strangulation hazard for young children. Believe me, when my kids were younger they loved playing with our blinds. So the only solution was shorting them. Here’s how to do it.
Project step-by-step (9)
Lower the blinds
Lower blinds to full length and turn open the slats.
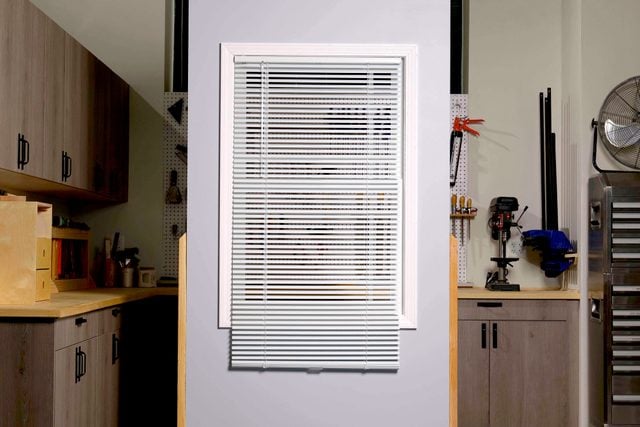
Determine the desired length
Take note of the desired length and cut and remove all slats below that line. In most cases, this is flush with the bottom sill for inside mounted blinds, or level with the bottom window trim for outside mounted blinds.
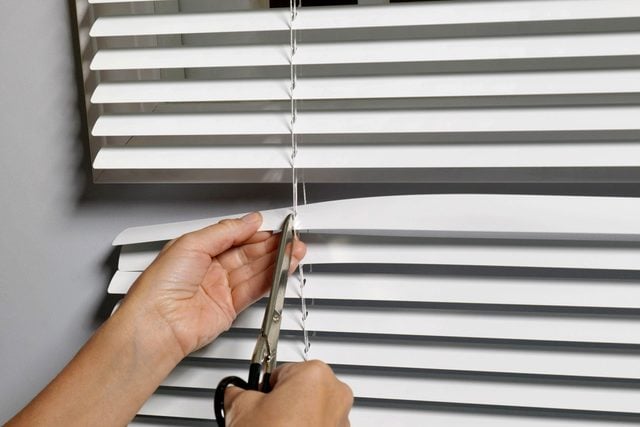
Cut the ladder cords
Cut the horizontal ladder cords from the slats you removed. Make sure to not cut the middle lift cord. This creates the tension that pulls the blinds up and down.
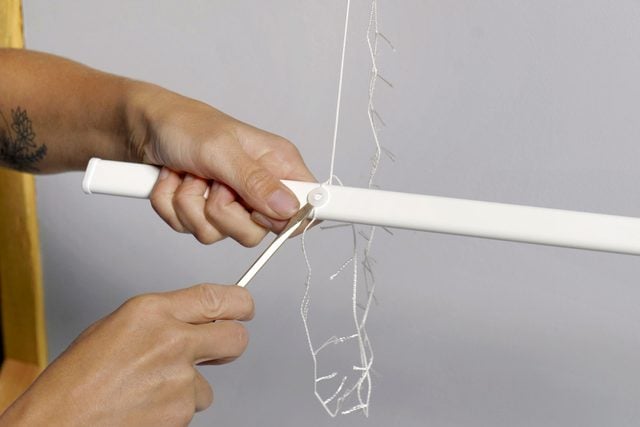
Remove the plugs
Remove the plugs from the horizontal window blinds by gently prying them out with a flathead screwdriver. Be sure to keep them attached to their cords.
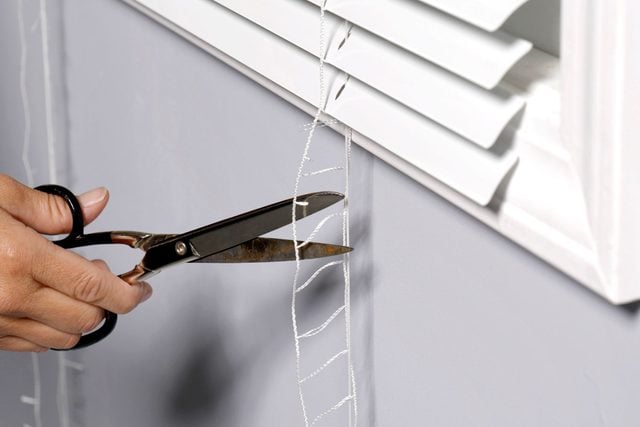
Reposition the bottom rail
Lift the bottom rail to the remaining slate, which should be at the desired length. The leftover ladder cords should dangle past the bottom rail.
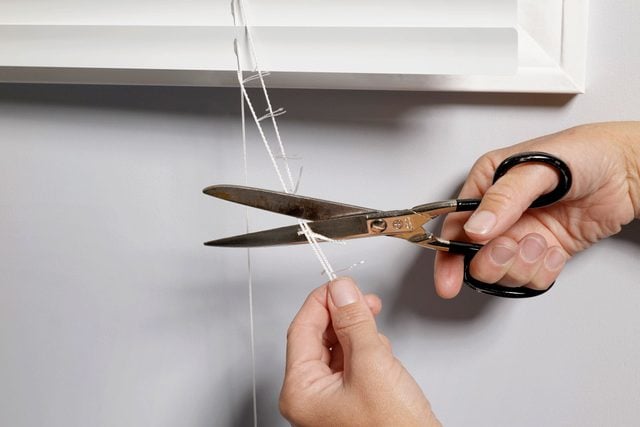
Cut the ladder cords to length
Cut the dangling ladder cords but leave about two inches below the bottom rail.
Twist the ladder cords
Twist the remaining ladder cords around the bottom rail and push them into the plug holes.

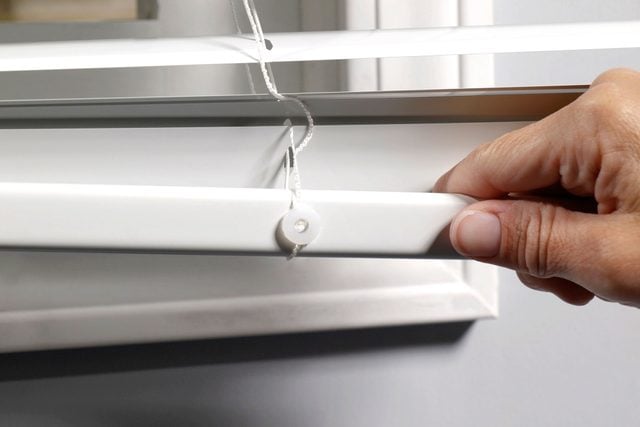
Replace the plugs
Place the plugs back into the hole therefore securing the ladder cords and finishing the blinds.
FAQs:
How do I shorten blinds with pull cords?
It’s slightly different than the process described above. Here’s how it’s done:
- Pry the plugs out of the bottom rail with a flathead screwdriver. Set the plugs aside for reuse later. If the pull cords are threaded through the plugs, cut them off close to the plug. If the pull cords are knotted inside the bottom rail, cut them above the rail to free it. Slide the rail out from the ladder cords and set it aside.
- Remove the pull cord.
- Extract the pull cord from the center of the ladder cords, hold it away and cut both ladder cords about two inches longer than the final length. Allow the excess slats to drop away.
- Restring pull cord on the horizontal window blind.
- Slide the bottom rail back between the ladder cords. String the pull cords through the bottom rail and knot the ends. Tuck any loose cord ends into the holes before replacing the plugs on the horizontal window blinds.
Can a hardware store shorten blinds for you?
Yes. Many hardware stores and companies can do this for you, and some might even do it for free.
If you already know you need them shortened, inquire at the place of purchase if they can shorten them for you. That way when you install your window blinds, they’ll already be the correct length.
Originally Published: June 24, 2019