


Learn before you burn.
An hour or less
Beginner
Free
Introduction
Inspect your fireplace each year to be sure it is safe and sound and ready for the burning season. Here you'll find what to look for and the tools you’ll need for the inspection.
Tools Required
- Camera or smart phone
- Extension ladder
- Flashlight
- Mirror
- Vacuum
Project step-by-step (8)
Step 1
Glass & Screen
- Check the glass doors for cracks or defects, assuring they operate smoothly and are clear of soot.
- Be sure spark screens move in their track smoothly and are tangle-free.

Step 2
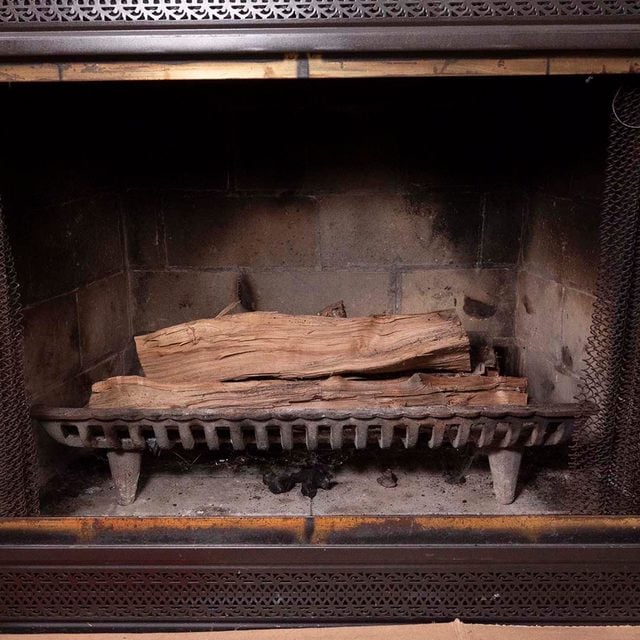
The Hearth
- The hearth includes the floor of the fireplace and the area in front of the fireplace.
- The hearth should be made of non-flammable material and should extend a minimum of 16 inches from the front of the fireplace out to any combustible material (carpet, wood floor, etc.).
- Clean out the ashtray and vacuum the hearth.
- Inspect the firebrick for cracks and defects on the floor of the hearth and on the walls of the firebox.


Step 3
Log Grate
- Be sure your fireplace has a grate for the logs to sit on.
- Proper airflow around the logs will enable the logs to burn efficiently.
Step 4
Creosote Buildup
- Creosote is the black tar-like natural byproduct of burning wood.
- Creosote can build up inside the flue, on the damper or inside the firebox, causing chimney fires.

Step 5
The Damper
- Use a mirror and light to inspect the damper door located just above the firebox. Be sure it opens easily and closes completely.
- Look for creosote buildup.

Step 6
The Flue
- The flue is the passageway in a chimney that conveys flame and smoke to the outer air.
- A flue liner protects the inside of the chimney from collecting creosote. It has a smooth, easy-to-clean surface, enabling the fire to draft properly.
- Again, use a mirror and light to inspect the chimney flue for any creosote buildup or defects. If available, use a snake inspection camera to get a closer look down the flue.
If no flue is present, do not use the fireplace! Stop and get advice from an expert.

Step 7
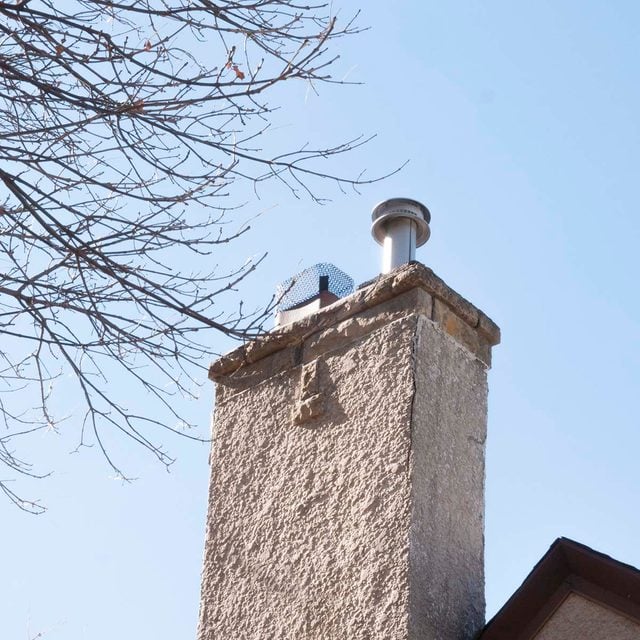
The Chimney Structure
- Go outside and inspect the integrity and soundness of the chimney structure. If you’re comfortable, use a ladder to get on top of your roof.
- Look for missing bricks and cracks in the grout between the bricks.
- Make sure the flashing around the chimney is intact and installed properly.
- Be sure the chimney cap and grate are clear of debris.
- Look for black residue between the chimney bricks.
- Note: This means creosote could be seeping through.
- Look to see if your chimney sways or has a bow
- Note: This means it could be structurally unstable.

Step 8
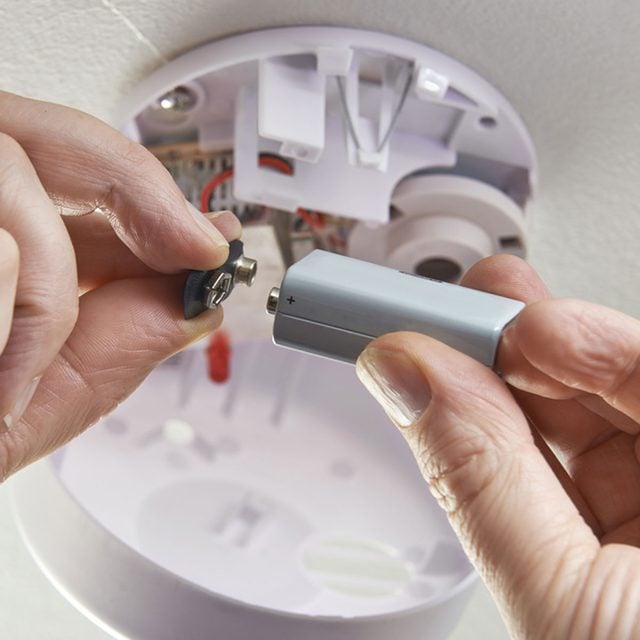
Be on the Safe Side
- Replace batteries in carbon monoxide and smoke detectors.
- Be sure your fire extinguishers are fully charged and easily accessible.
- Pro tip: To find a certified chimney sweep, go to the Chimney Safety Institute of America web site and click on Homeowner Resources.

Originally Published: October 19, 2020