GFCIs save lives. Learn how to test your GFCIs two ways, with these instructions.
Our editors and experts handpick every product we feature. We may earn a commission from your purchases.Learn more.


GFCIs save lives. Learn how to test your GFCIs two ways, with these instructions.
Our editors and experts handpick every product we feature. We may earn a commission from your purchases.Learn more.
Ground-fault circuit interrupter (GFCI) receptacles — often called GFCI outlets — protect people from electrical shock. This protection is required by the National Electric Code (NEC) when the likelihood of electrical shock is greater than usual. Generally, this is in bathrooms, kitchens, basements and other places where water could be present.
GFCI protection works by monitoring the current that flows through the receptacle. In a normal scenario, current coming into and leaving the receptacle is equal. Deviation by as little as 4 to 6 milliamps can indicate a dangerous situation called a ground fault. When this happens, the GFCI immediately shuts off power to the receptacle.
The NEC requires GFCI receptacles be listed (approved) by a laboratory such as UL. According to current standards, GFCI receptacles must have an internal monitoring system that checks GFCI effectiveness. Before 2015, consumers had to physically push the TEST button on the device to know if it still provided protection. Not many people actually do this, so today's GFCI receptacles have a light to alert you if they ever fail the internal testing. They also deny power to the device at the end of its life, indicated by a different colored light.
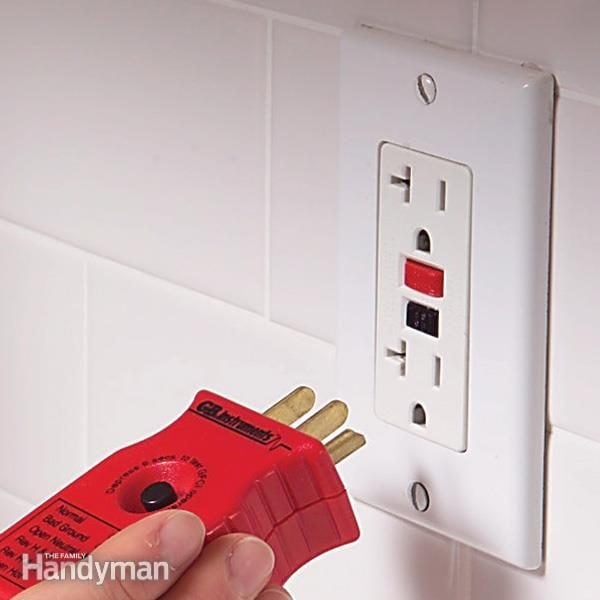
Even with these safety updates, you should still test your GFCI periodically to ensure the mechanical tripping mechanism works. Models without an indicator light should be tested with a special tester, available at any home improvement center. Post-2015 models can be tested with the TEST button alone. Here's how to do it.