How to Clean Vinyl Records

Cleanliness is a key part of maintaining your records. Keep your records clean so your jam session is top-notch! Here we'll walk you through how to clean vinyl records the best way.

Next Project
Time

An hour or less

Complexity

Beginner

Introduction

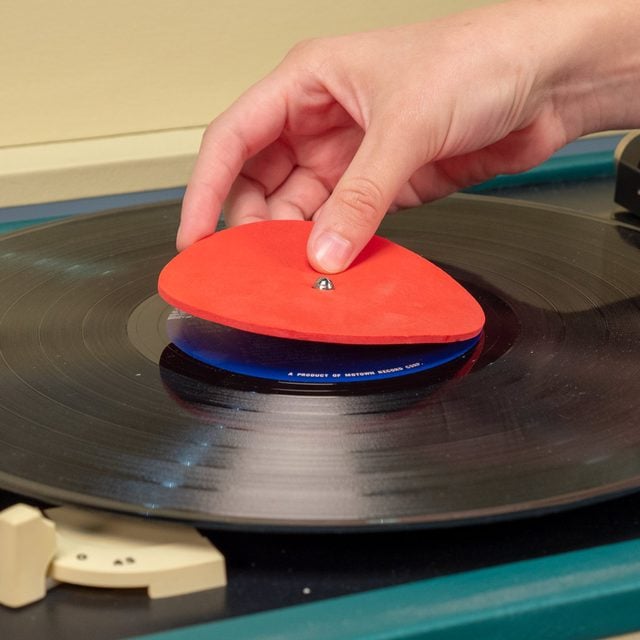
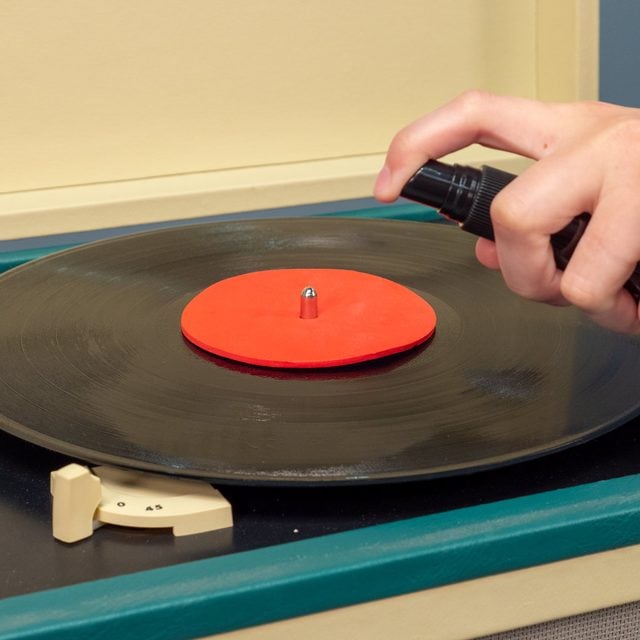
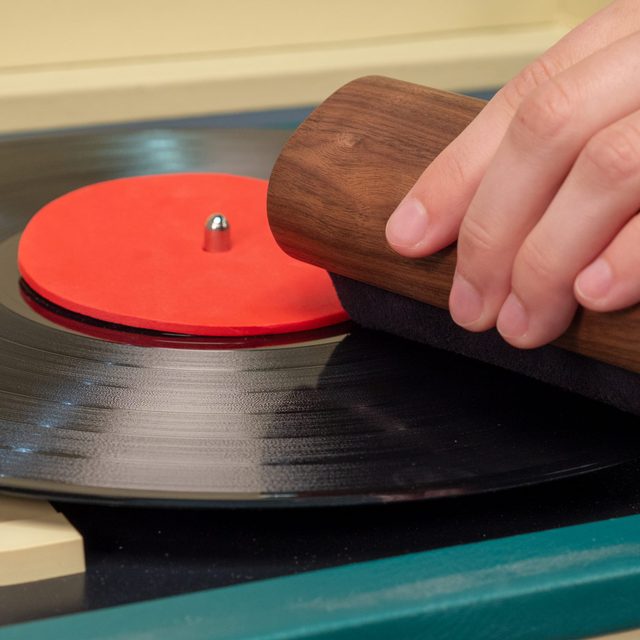
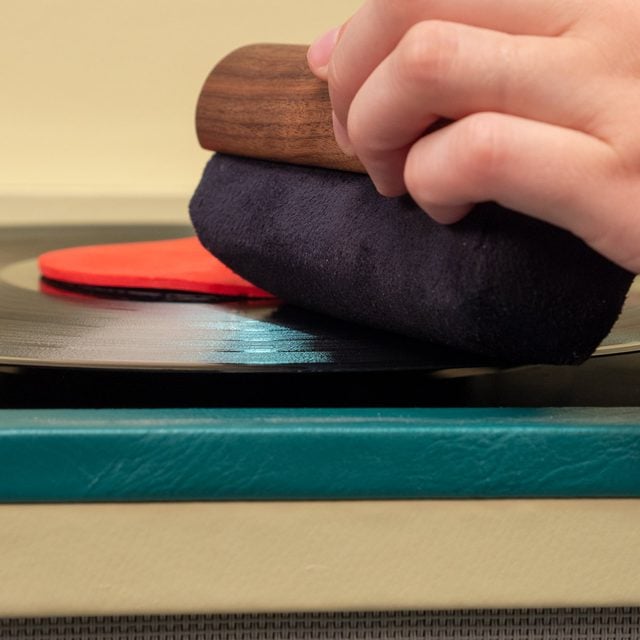
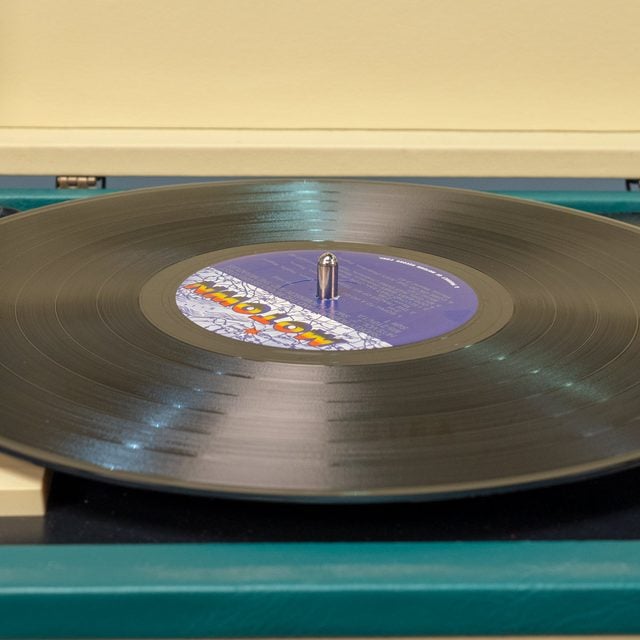
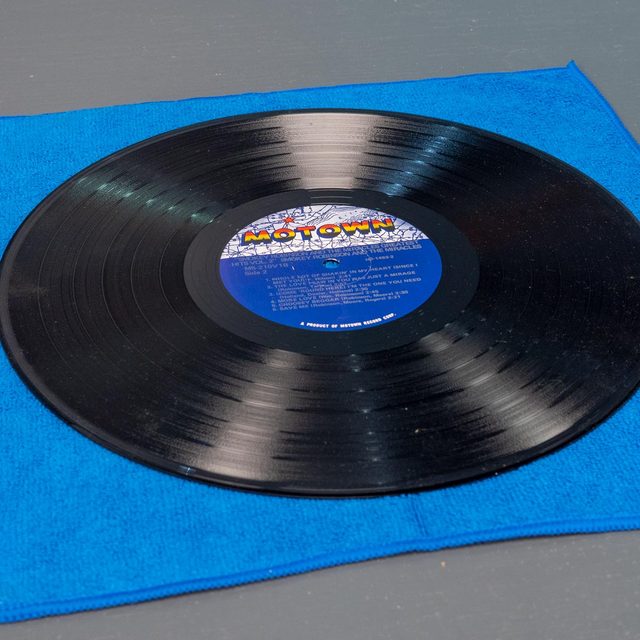
Vinyl records have a tendency to attract dust and grime. Keep your records clean with this simple how-to guide.

Tools Required

  • Microfiber towels

Materials Required

  • Label protector
  • Record cleaning pad
  • Record cleaning solution

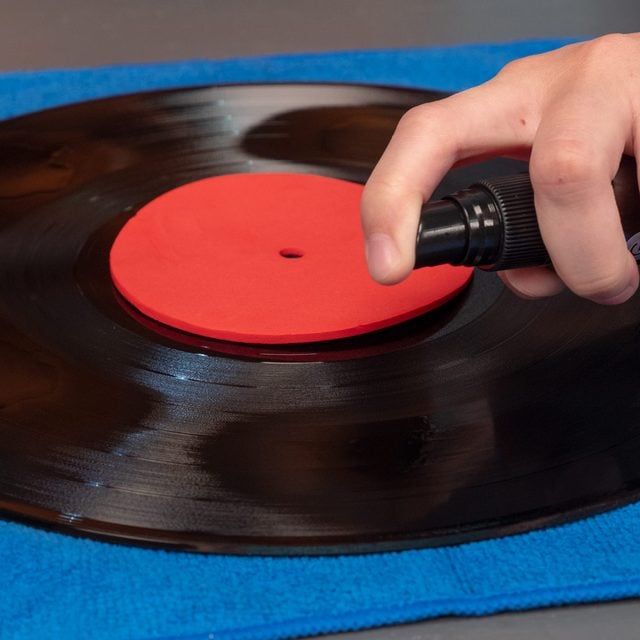
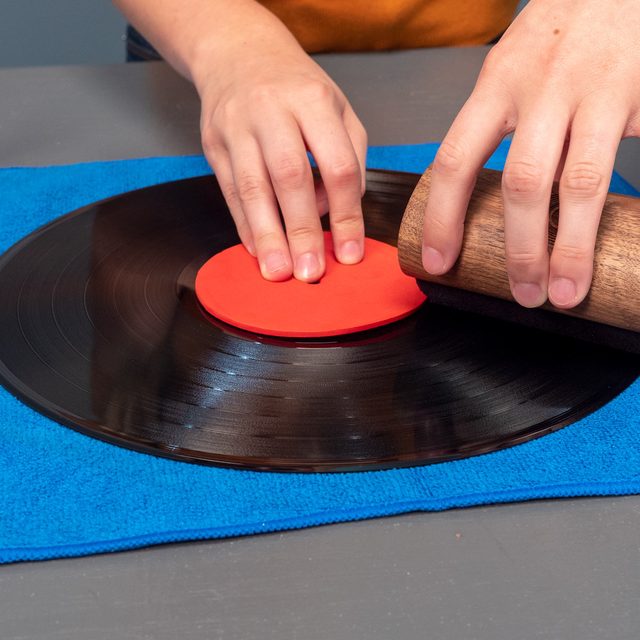
The condition of vinyl records has a direct impact on their sound quality. To maintain the condition and longevity of your records, we recommend cleaning before every play. Check out these things in your home that could be worth loads of money. Watch the video tutorial above for how to clean vinyl records.

Remember to never use household cleaning solutions like Windex, vinegar and soap and water on records as they can actually cause more harm than good.  Plus, check out our secret cleaning tips from the pros.

Project step-by-step (9)

Step 1

Clean Record on the Turntable

record label protector Family Handyman

Place your record on the turntable and apply a label protector disc. A label protector disc protects the artwork on your record. Turn on the turntable or turn it with your fingers with the turntable in neutral.

Step 2

Apply Record Cleaning Solution

record cleaning solutionFamily Handyman

The next step in how to clean old vinyl records is to lightly mist a record cleaner three to four times over the record. Wait a couple of seconds, allowing it to spread into the grooves. The G2 fluid we used eliminates static charges on the record which also helps to reduce dust that is otherwise attracted to records.

Get this record cleaner on Amazon.

Step 3

Use a Record Cleaning Pad or Brush

clean record with pad toolsFamily Handyman

Set a record cleaning pad or brush onto the record. Lightly apply one edge of the pad to the record. With the pad in a stationary position rotate the turntable for at least 3 revolutions, spreading the fluid around the records entire surface. You can also make gentle sweeping motions from the inner to outer rings of the record.

Get this record cleaning pad on Amazon.

Step 4

Remove Excess Fluid

clean and dry recordFamily Handyman

Next, with a rolling motion, use the pad to remove the excess fluid and clean the record’s surface.

Step 5

Air Dry the Record

air dry record playerFamily HandymanFamily Handyman

Allow the record to completely air dry for 15 to 30 seconds. This will reduce the buildup of static electric charges. When the record is dry, cue the stylus and enjoy.

Step 6

Cleaning a Record off the Turntable

clean record on microfiber clothFamily Handyman

If you are worried about using liquids on top of your turntable, then a microfiber cloth is a good idea. If you don’t have a microfiber cloth you can also use a soft clean cloth or towel. And place a record label protector disk on the record label. Microfiber cloths make cleaning a breeze.

Here’s why you should clean with microfiber cloths around your home.

Step 7

Apply Cleaning Solution

record cleaning solutionFamily Handyman

For this option for how to clean vinyl records, first mist a record cleaning solution five to six times over the record. Completely covering the record’s surface. Wait 10 seconds or more.

Step 8

Clean with a Record Cleaning Pad

clean record with cleaning padFamily Handyman

Lightly apply one edge of the pad to the record and wipe in circular arcs—wiping with the grooves, not across. Wipe the entire record at least three times with moderate pressure.

If your record has a particular problem area, spray the cleaning solution again and wait a few seconds. Use the pad to gently scrub the area, but only in the direction of the grooves. Really dirty records may require two or three cleanings.

Step 9

Keep Your Records Dry

air dry record playerFamily HandymanFamily Handyman

Allow the record to completely air dry before playing. Never play or store a damp record. It can seriously damage the grooves.

These ingenious tips, tricks and solutions to common problems are simple, smart, straightforward and will make you think, “why didn’t I think of that?