If you notice your gears skipping during a bike ride, it may be time to learn how to change your bike cassette.
Our editors and experts handpick every product we feature. We may earn a commission from your purchases.Learn more.


Updated May 18, 2023
If you notice your gears skipping during a bike ride, it may be time to learn how to change your bike cassette.
Our editors and experts handpick every product we feature. We may earn a commission from your purchases.Learn more.
An hour or less
Beginner
Less than $100
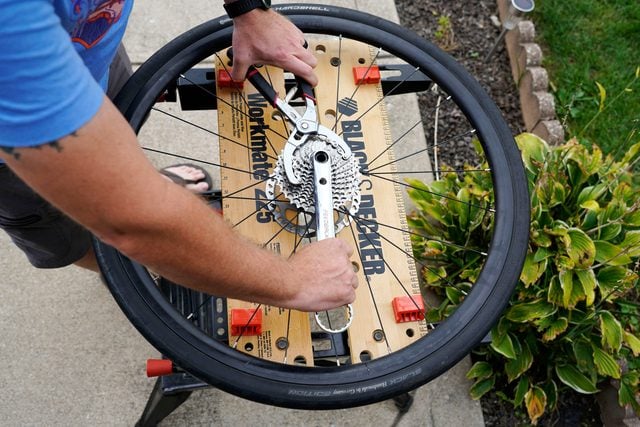
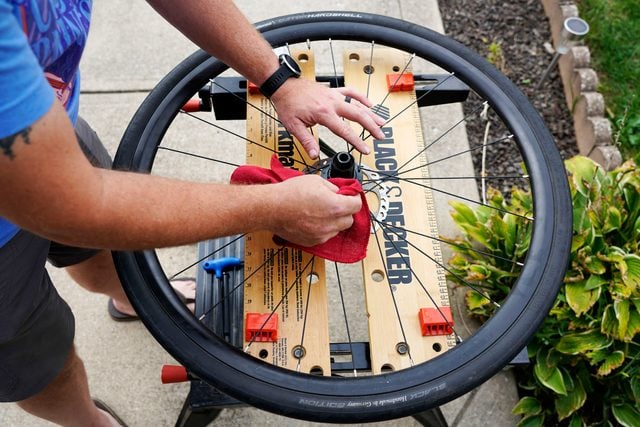
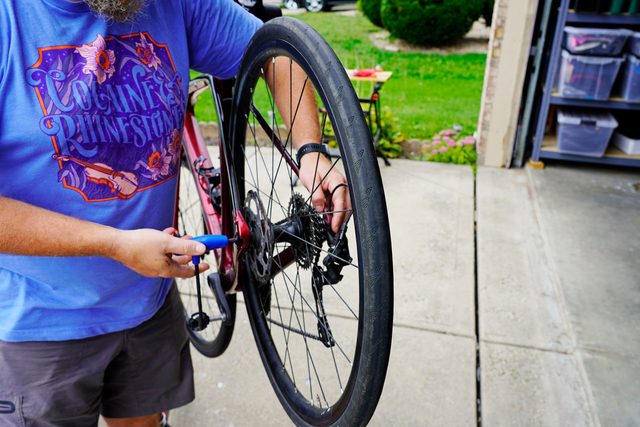
Changing your bike cassette is one of the most common maintenance tasks you can do, and it's also one of the easiest.
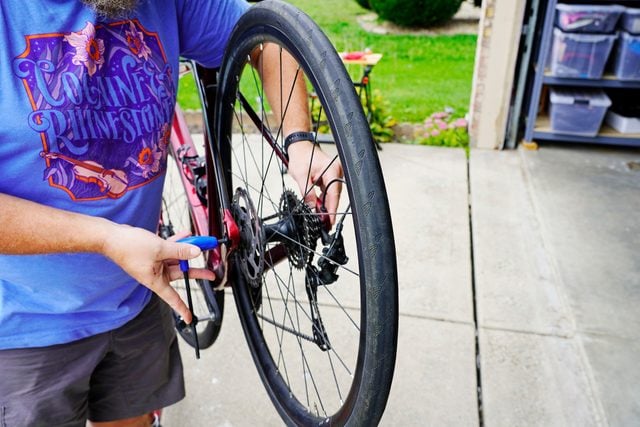
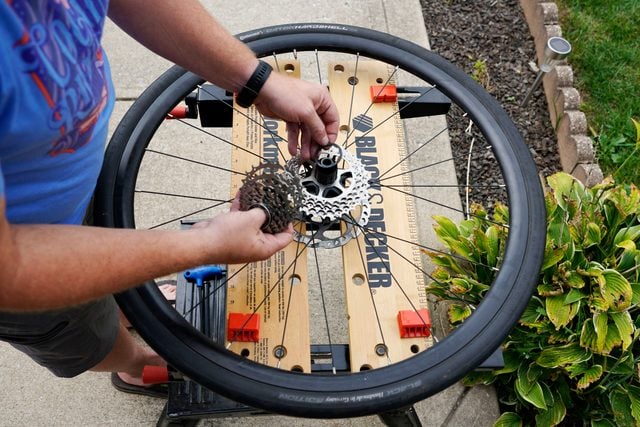
For those new to cycling, a bike cassette is the group of cogs on your rear wheel. It sits on a freehub (the ratcheting cylinder attached to the hub), and a removable lockring holds it in place. When you pedal your bike, the chain latches onto one of the cogs, pulling it forward and moving you one pedal stroke closer to your destination.
So why would you remove or change your cassette? When the cassette gets really dirty from use, it's better to remove it for a thorough deep cleaning instead of spraying degreaser on it. But the most important reason is wear. When the individual teeth become pointy like a shark's and the gears begin slipping, it's time to replace the cassette.
Most bike mechanics recommend replacing the cassette after 4,000 to 6,000 miles. I typically replace mine every season or every other season, depending on how often and how hard I've been riding that particular bike. Using a ride-tracking app like Strava is a great way to keep track of how many miles you're riding.
Most modern bikes might have a 10-, 11- or even 12-speed cassette, but it might have as few as five or seven. When buying a new cassette, make sure it's compatible. An 11-speed cassette should be replaced with another 11-speed cassette. You can't replace a nine-speed cassette with a six-speed, and so on.
But you can choose a cassette with a different number of gear teeth. More teeth on an 11-32 cassette means you'll have an easier time climbing hills than if you were riding an 11-25. (This all can be really confusing, so if you have questions, ask your local bike shop for help.)
You don't have to replace your cassette every time you put on a new chain, but you should replace the chain every time you put on a new cassette.
Originally Published: September 21, 2021