
DIYers Share 9 Tips for Building the Ultimate Bar At Home

Updated: Mar. 18, 2024
A home bar sounds like a more difficult project than it is. Here we explain the process with the help of DIYers who did it successfully.

Introduction to Home Bars
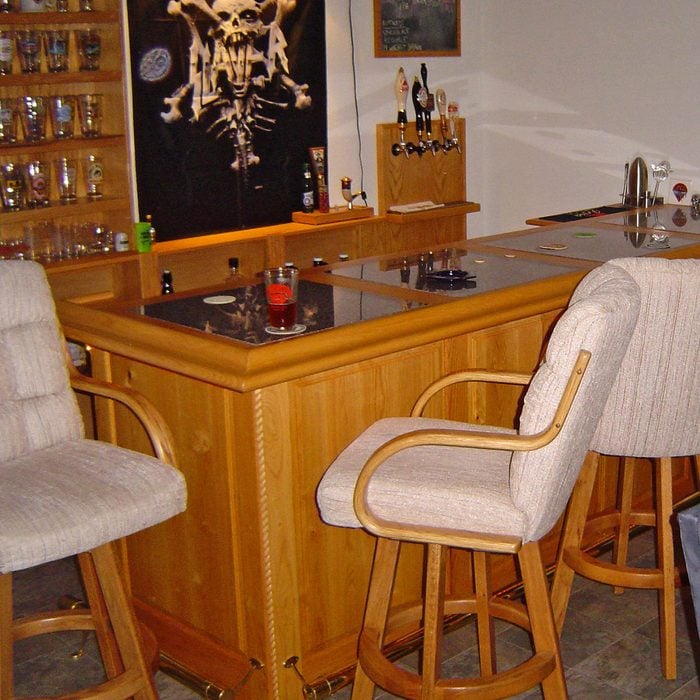
There’s more than one way to build a bar, as DIYers Mike Kinross, Jason Meeks, John Solis, Dean Peacock and Roger Dunning can attest. You can do the job with lots of different materials. I have the good fortune to live in a redwood forest, so my material of choice is redwood.
Slabs cut with a chain saw from downed logs make attractive, durable and moisture-resistant bar-top materials, although sanding one to make a smooth flat surface can take time.
To speed things up, I laid mine flat on the ground and went over it with a floor sander before finishing with a belt, disk and pad sander. I used the best part of the slab for the bar surface and turned the rest of it into the support structure, which I then covered with plywood.
If you don’t have a redwood slab kicking around your property, you have several other material options, including stone, steel and other types of wood. Before you get out your tools, though, you need to make a plan to ensure the bar fits where you want it, and has enough space and height to allow people to gather comfortably and share the good times.
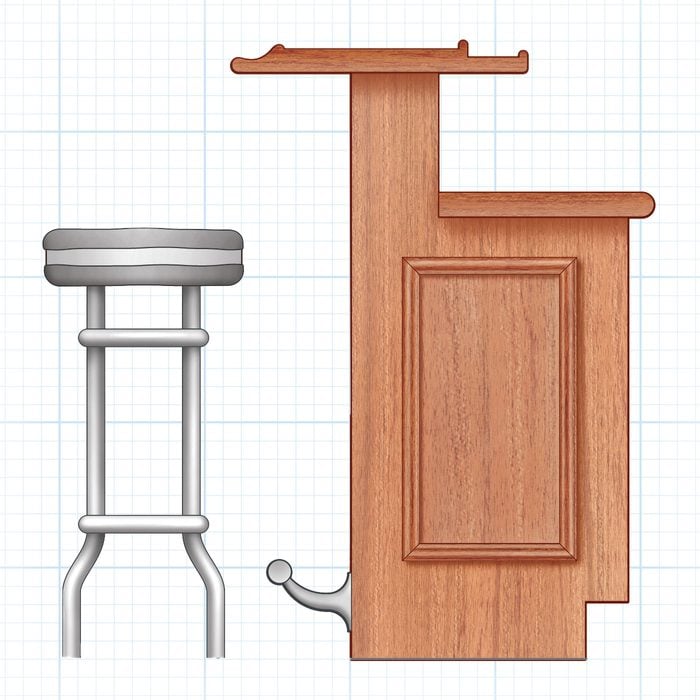
Anatomy of a Bar
A bar has a flat surface like a table, but it isn’t a table. For one thing, it’s built-in. For another, it’s always longer than it is wide. The length can vary according to the situation, but you should follow some height and width standards to make it accessible and affordable.
- Standard bar height is 42 inches. Bar stools will be easier to find if you stick with that height.
- The overhang should be at least eight inches. With knee room, more is better.
- The minimum stool spacing is two feet of bar per seat. That’s plenty of room for small people like me but may feel crowded to larger ones, so go to 30 inches if you can.
- The bar top should be 16 to 20 inches wide, including the molding. More than that wastes space.
- A traditional bar features a drink rail, a flat area about four inches wide on the service side for pouring drinks. This is an optional feature on home bars.
- A drip lip on the service side keeps liquids from running off the bar top. It’s usually a thin strip of protruding wood. I didn’t want to add molding to my bar, so I improvised by creating a shallow trough around the perimeter with a disk sander.
- A lower counter is the perfect place to slice lemons, set bottles or install a bar sink. It adds complexity to the project and eats up a lot of space, so I skipped it, as many home bar builders do.
- The foot rail should be seven to nine inches off the floor. Metal railing is expensive ($300 to $400 for an eight-foot run), so you might want to save by making a simple ledge from wood, as I did.
My bar doesn’t have molding, but most others do. Molding serves three purposes:
-
- It keeps spilled drinks from dribbling off the bar and onto your lap.
- It provides a comfy armrest and lets you properly slouch over your beer.
- It makes your home bar look more like a actual one.
Planning Your Bar
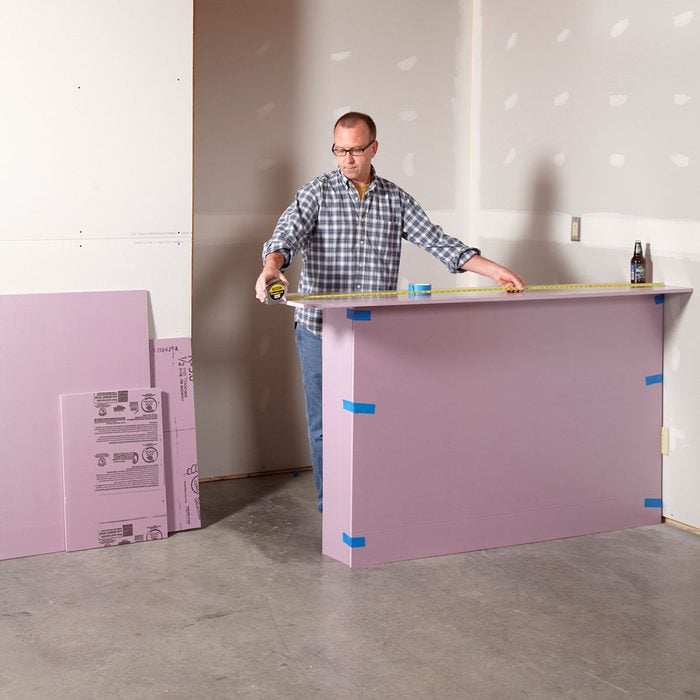
DIY bar builders all agree planning is tough. With so many dimensions and space considerations, pencil and paper drawings just don’t provide a clear preview of the final results.
“A mock-up is the best way to plan, and a lot cheaper than making changes after the bar is built,” says Meeks, from Stevens Point, Wisconsin. He built his bar a few years ago and wants to upgrade the top from wood to concrete.
It pays to take an hour or two to build a model. Scavenge some cardboard or pick up some foam insulation at a home center (about $20 for a 4- by 8-ft. sheet) and use that to build a mock-up. That way you can adjust things in 3D and get everything just how you want it.
When the time comes to work with more expensive materials, you’ll know exactly which cuts to make.
Cultured Stone Bars
Manufacturers make cultured stone by grinding stone fragments and mixing them with resin. Examples include cultured granite, cultured marble and onyx.
Because of the hardness of the resin, cultured stone bar tops are often more durable than real stone ones. And unlike real stone, they’re impervious to stains from spilled drinks.
Kinross, of Liberty Township, Ohio, faced his small basement bar with cultured stone. Though he found his first stone project fussy and time-consuming, Kinross says it wasn’t particularly difficult.

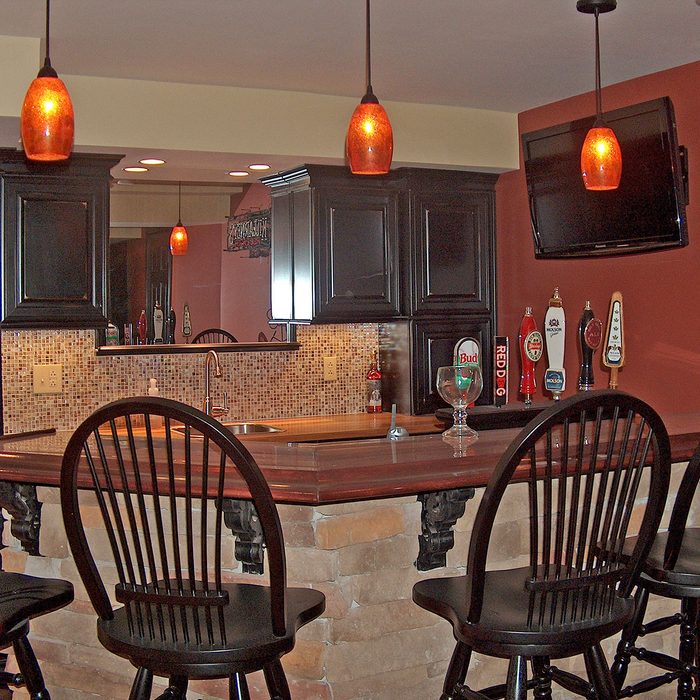
Granite Bars
If you possess carpentry skills like Peacock, of Mishawaka, Indiana, you could frame a slab of real granite with the wood of your choice.
An avowed DIYer, Peacock wanted to complete the project without professional installation. That’s why he avoided cultured stone, solid surface or another manufactured material.
He came across an Italian granite slab at a tile store. Framed in oak, it made a perfect bar top. If you’d like to follow Peacock’s lead, contact a granite countertop fabricator. They often sell smaller leftover slabs at bargain prices.
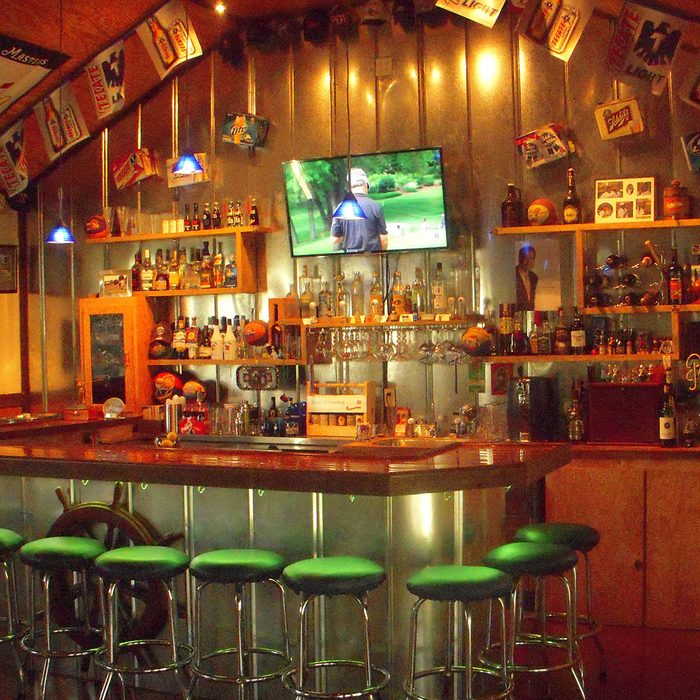
Steel Bars
Stainless steel can make an attractive bar top, but it’s expensive compared to galvanized steel. Solis, of San Antonio, Texas, chose the latter for his home bar. “If I had it to do over, I might do a few things differently,” he says. “But I would definitely use steel again.”
Galvanized steel is maintenance-free, easy to install and doesn’t need painting. It’s also inexpensive. Solis paid less than a dollar per square foot, but that was a few years ago. Current prices are likely around $1.50 to $3.50 per sq. ft.
Wood Bars
If you’re like me with access to 1 1/2-in. or thicker wood slabs, you’ve got the makings for a classic wooden bar top.
Don’t have a slab? You can always laminate planks to get the width you need, or glue hardwood floorboards or something similar to a plywood backing.
A wood slab gives you the option of adding molding or not, since you can work the surface as needed to create spill troughs and leave the edges intact. That’s a real bonus if your slab features attractive live edges like mine does. Finish it off with epoxy resin to create a durable and attractive conversation piece.
Installing a Tap System
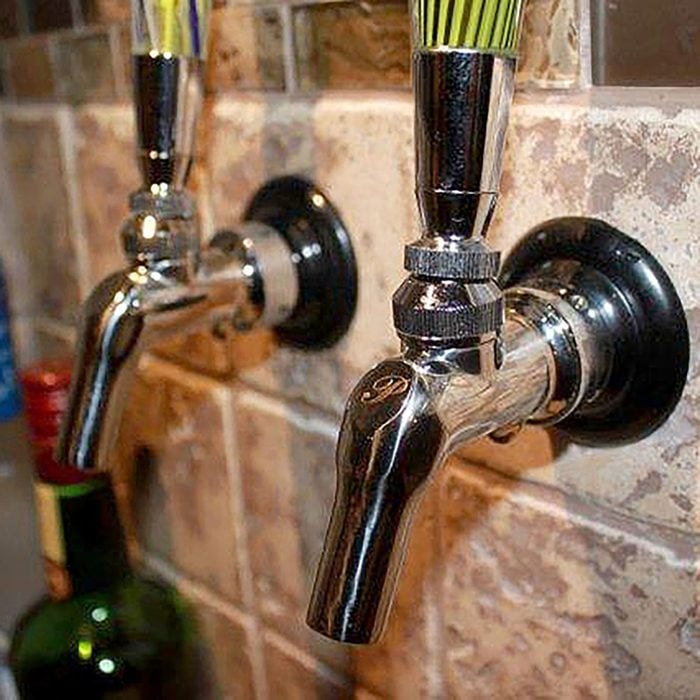
“A tap system sounds complicated,” says Dunning, of Plainfield, Illinois. “But it’s simple — mostly just running and connecting plastic tubing.”
At his bar, beer flows from kegs kept cold by a refrigerator in the next room propelled by CO2 pressure. Aside from the fridge, the system came as a kit that cost about $300.
Dunning recommends buying small kegs — five gallons is usually enough — because any beer you don’t use turns stale after a month or two and must be dumped down the drain. He also advises cleaning and flushing the system every six weeks. “This is mandatory,” he says. “If you’re not willing to do it, stick with bottled beer.”
Another tip: “Insulate the lines with pipe insulation and expanding foam,” Dunning says. “That keeps the beer cold and fully carbonated and prevents condensation from forming on the tubing and dripping inside walls. Also, install one more tap than you think you need. You’ll be glad you did.”
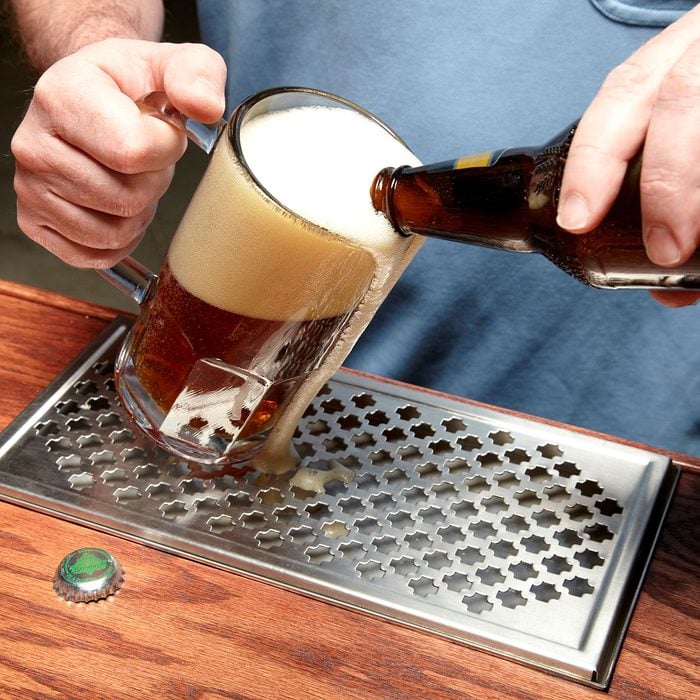
Building in a Drip Tray
If you build in taps, don’t forget the drip tray to catch overflow. You’ll need to make a recess (i.e. a hole) for it in the bar top. That might be challenging if you’re working with cultured or real stone, but it’s doable with a grinder.
If you have a steel countertop, just cut out a section of steel and make the recess in the plywood backing.
Stainless steel drip trays like this one aren’t expensive. They’re easy to find, and they’ll make your bar look that much more official.
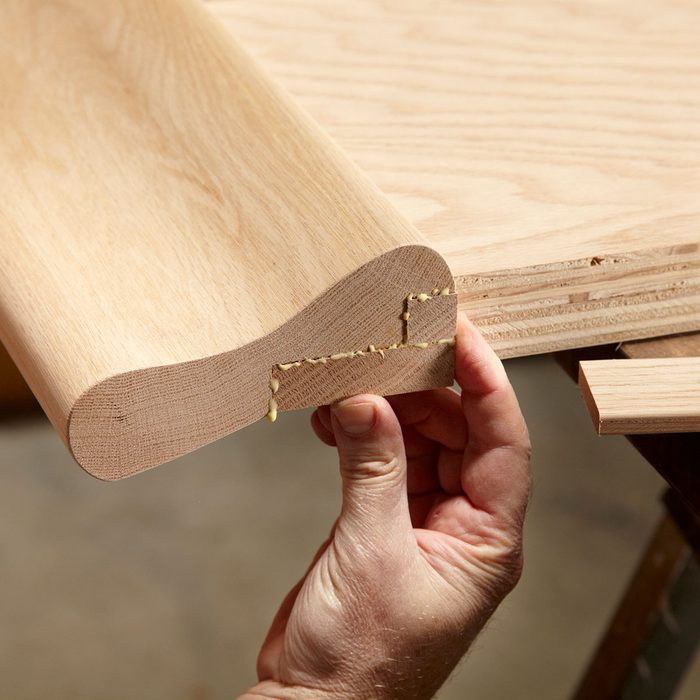
Bar Molding Tips
Bar molding fits over a 1-1/2-inch thick surface. That can be a double layer of 3/4-in. plywood or a single layer of plywood covered with 3/4-in. wood or stone. It ranges from 4-1/4- to 7-in. wide. It isn’t something you’ll typically find at a lumberyard, but it’s available online from a number of sources.
The molding costs $10 to $40 per linear foot, and most suppliers sell it in eight-foot lengths. If your bar has rounded corners, you’ll need rounded molding, which can cost $150 for each corner.
You can miter square corners yourself, which is obviously cheaper. Just remember to support the molding on blocks in your miter saw at the proper tilt to ensure the correct angle.
Installing bar molding can be challenging, because it’s nearly impossible to clamp it. Here’s an effective workaround: Set the molding in place, drive screws from underneath to hold it, then remove the screws and molding. Spread glue, replace the molding and re-drive the screws.
Originally Published: February 05, 2024