
Tips for hassle-free floor sanding
Flawless Floor Sanding
1
/
13
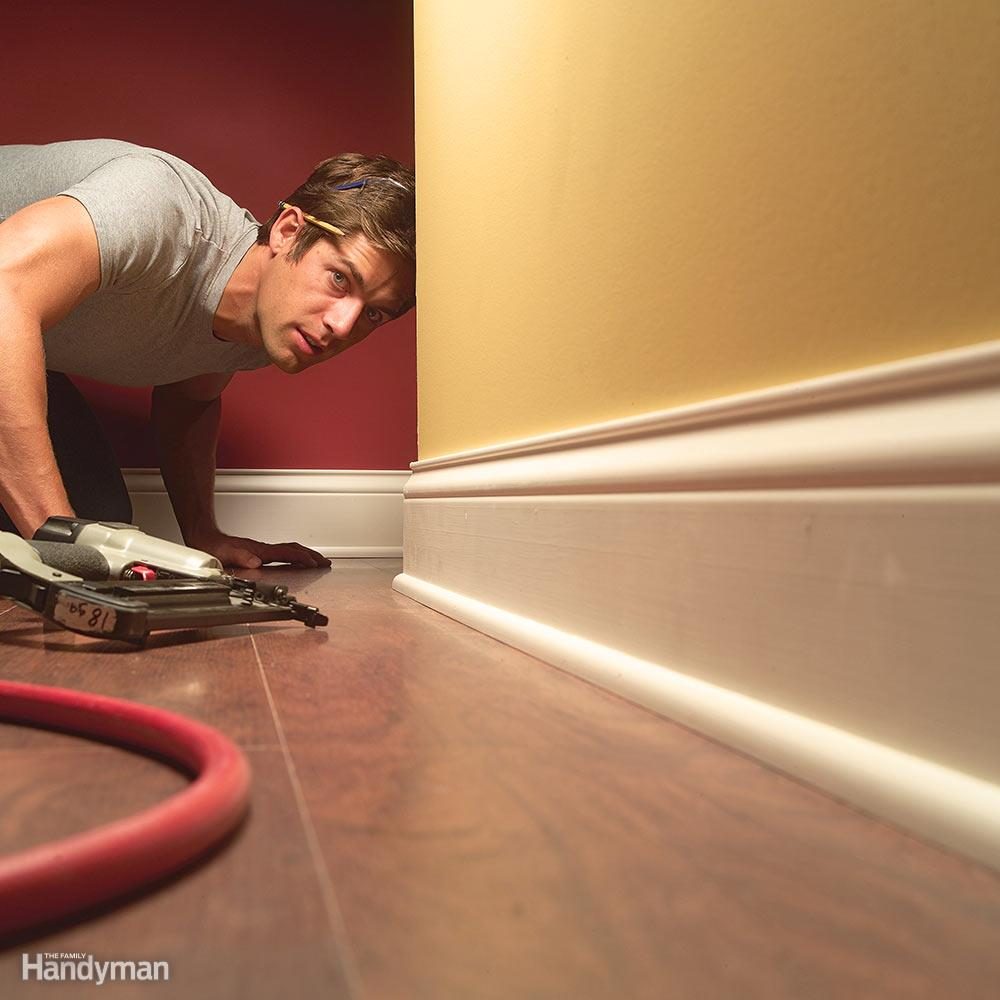
Remove the Base Shoe
If a room has quarter-round molding (aka “base shoe”) at the bottom of baseboards, pry it off and reinstall it later. Here's why: Edge sanding slightly lowers the floor and leaves the baseboard standing on a little plateau. You think you won't notice this, but you will. Edge sanding also scuffs up base shoe, which means touch-up work later. Removing the base shoe sidesteps both problems. Label the base shoe as you remove it to avoid confusion when you reinstall it. Exception: If the base shoe is bonded to the baseboard by decades of paint buildup, leave it in place. If you have newer baseboards and no quarter-round, leave it in place, but expect a lot of touching up.
2
/
13

Pet Stains Are Forever
Water stains usually disappear after a couple of passes of the sander. But stains caused by pet urine often penetrate so deep into the wood that you just can't sand them out. Bleach formulated for wood floors may be worth a try, but the results are often mediocre at best, and at worst, the wood is left pitted and blotched. Often, the only solution is to replace the wood—or finish over the stain and think of it as a permanent memorial to a beloved pet. How do you tell water from pee? Pet stains are darker (deep gray, almost black around the edges) and often look like a map of Indonesia, with big and small islands covering a large area.
3
/
13

Floor Sanding Machine Rental Tips
You'll need two rental machines: a drum sander to sand most of the floor and an edger to sand along baseboards. Rent from a flooring specialty shop rather than a general rental store. You'll get expertise at no extra expense. Measure the room before you go. Knowing the square footage will help the crew at the rental store estimate how many sanding belts and discs you'll need. Prep before you rent. The prep work will take longer than you think. Don't waste money by picking up the sanders before you're ready to use them.
4
/
13
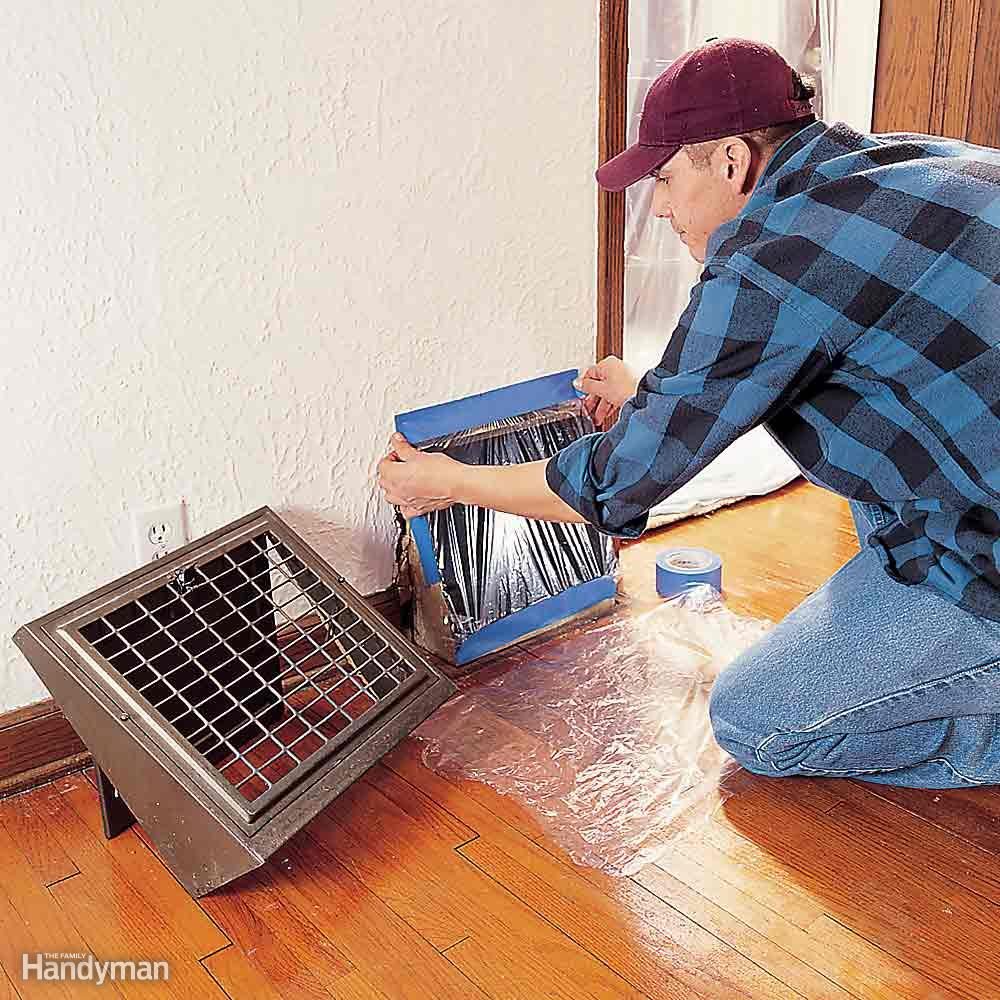
Prep the Room
Some of the prep work is obvious, like removing all the furniture and covering doorways with plastic. Here are some steps DIYers often don't think of:
- Cover or plug air grilles to keep dust out of ducts. Turn off the HVAC system at the thermostat; less air movement means less dust traveling around your house.
- Remove all window coverings and any art on the walls (unless you want to clean them later).
- Remove doors that open into the room. You can't completely sand under doors, even by opening and closing them.
- Raise low-hanging light fixtures; just tie two links of the chain together with wire. Otherwise, you're guaranteed to bump your head. Repeatedly.
- Nail down any loose boards with finish nails.
- When you're sanding, nail heads will rip the sanding belt (which costs you money) or gouge the sanding drum (which costs you more money). So countersink all nails by at least 1/8 in.
- To detect nails, drag a metal snow shovel across the floor (upside down). When it hits a nail, you'll hear it.
5
/
13
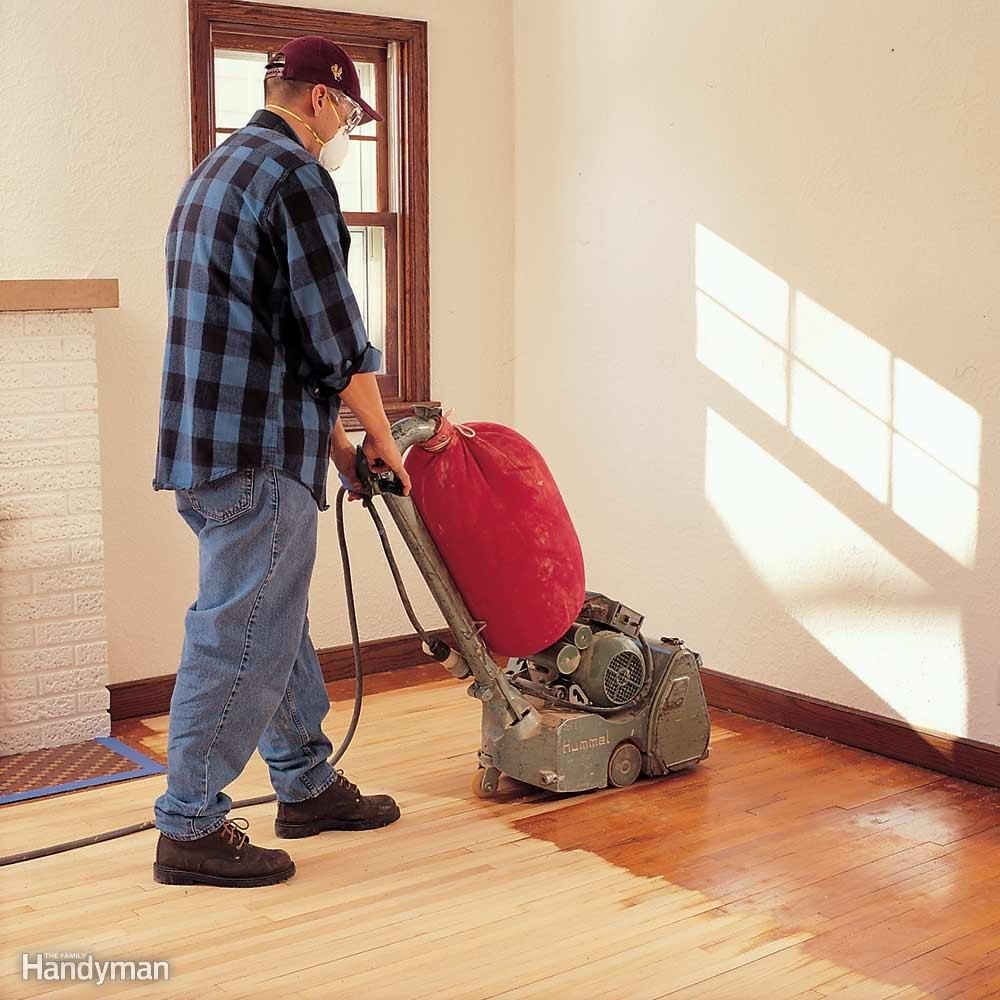
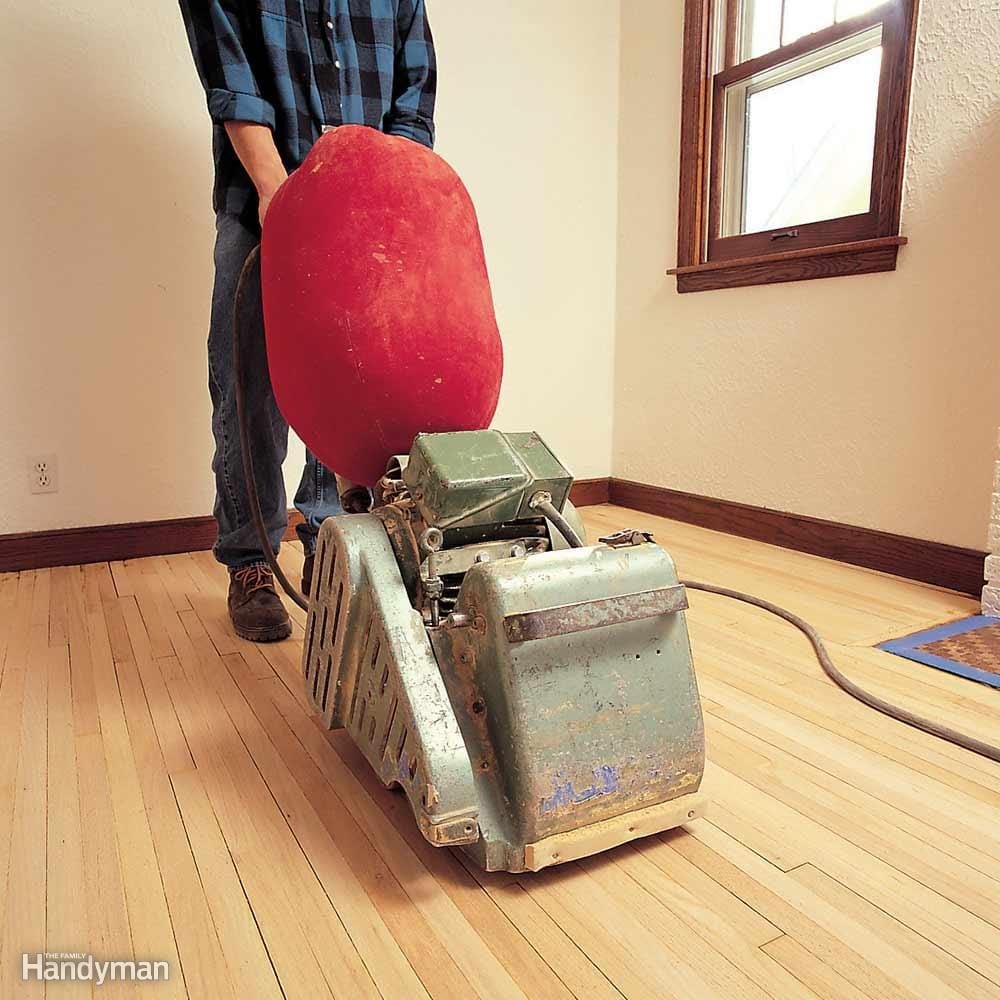
Good Sander Choice: How to Use a Drum Sander
Get a drum sander that uses a continuous belt or sleeve, not one that requires you to wrap a strip of abrasive around the drum. That's tedious and often leads to chatter marks on the floor. Think twice before you rent a flat-pad sander (aka 'orbital' or 'square-buff' sander). Sure, they're easier to use, but they're just not aggressive enough to bite into finishes or hardwoods. Choose a sander that has a lever to raise and lower the sanding drum. That makes graceful stops and starts easier—and reduces gouging.
6
/
13
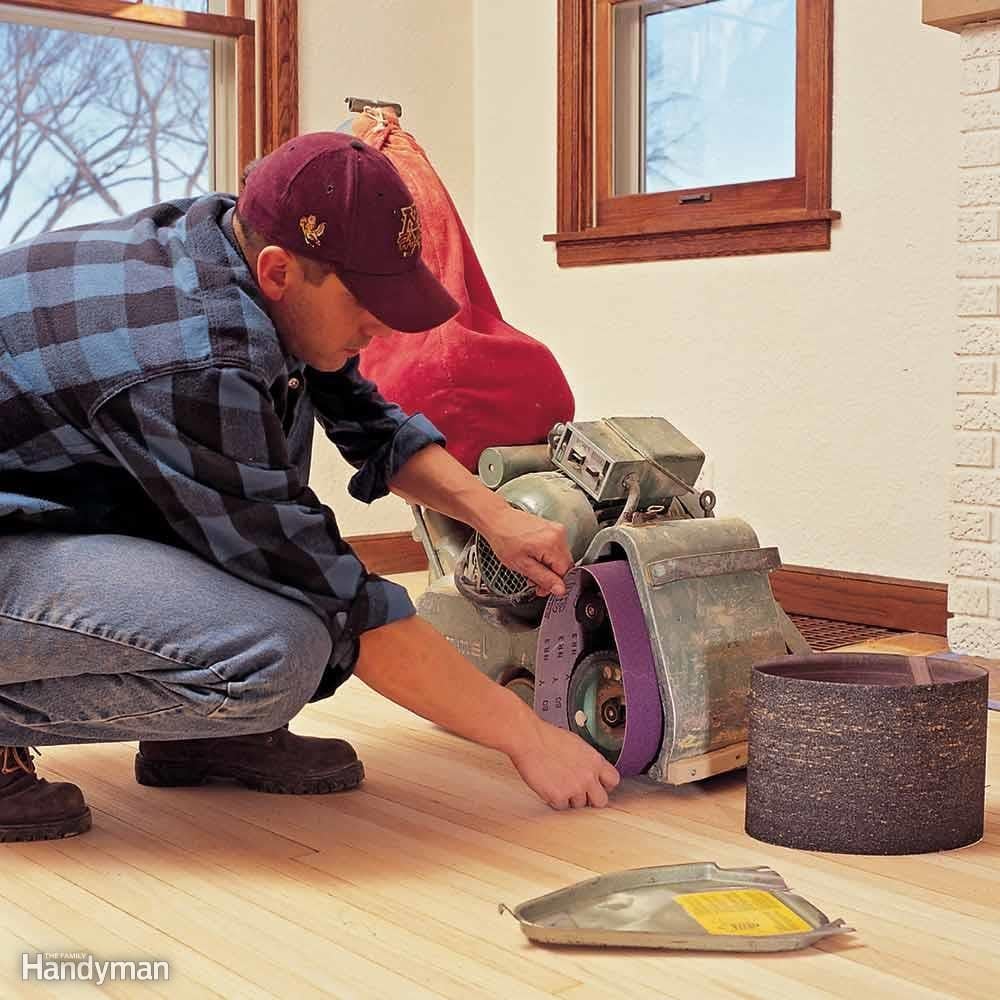
Hardwood Floor Sanding Equipment: Change Belts Often
Using dull belts is a strategy you'll regret. Here's the problem: After the floor finish is gone, you can't see whether the sander is doing its job. So you keep sanding. The machine is raising dust and everything seems fine. But the dull paper isn't cutting deep enough to remove the scratches left by the previous grit. And you may not discover this until you put a finish on the floor. A dull edging disc is even worse, since it won't remove the ugly cross-grain scratches left by the previous disc. Even if paper feels sharp, it may be beyond its prime. So the best way to judge is by square footage covered. A typical belt covers about 250 sq. ft., and edger discs are spent after about 20 sq. ft. That varies, so ask at the rental store.
7
/
13
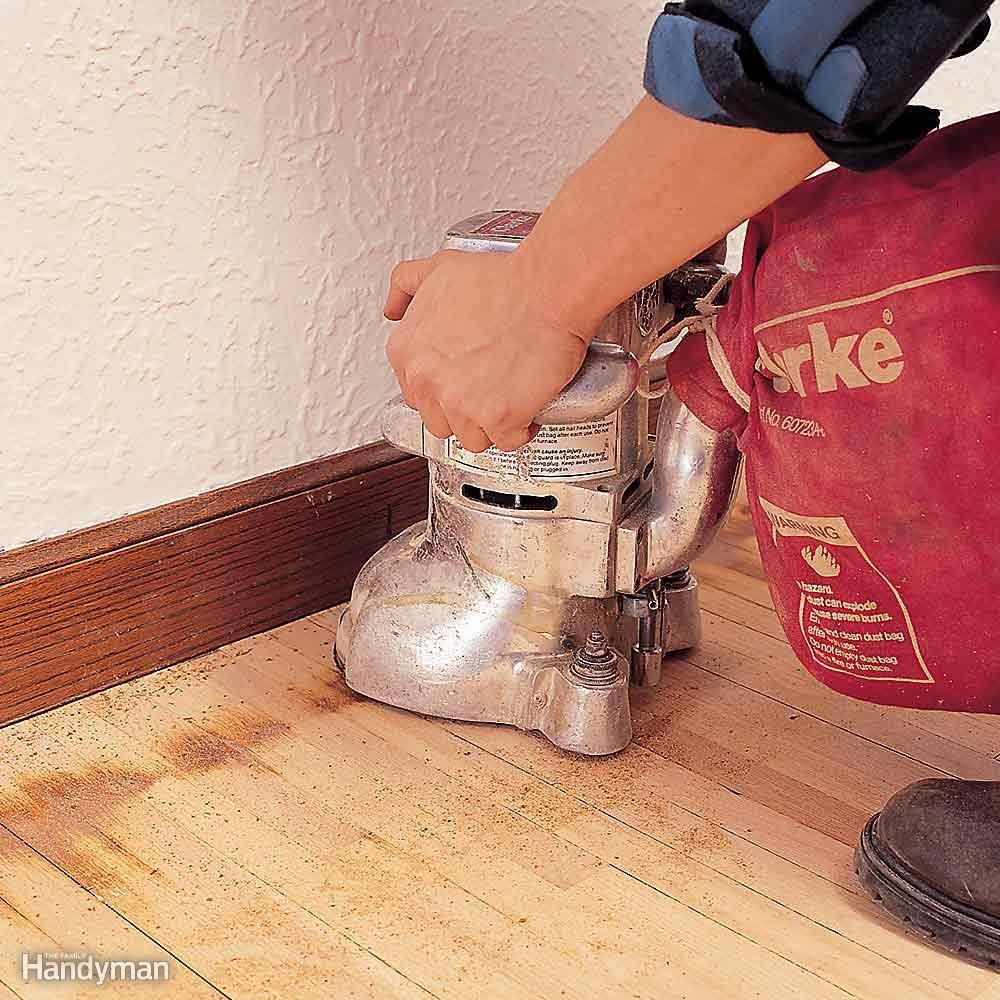
Edger Education
The edger is basically a sanding disc mounted on a big, powerful motor. A simple tool, but not so simple to use. Here are some tips to help you master the edger and minimize the inevitable swirls left by the spinning disc:
- Follow up each phase of drum sanding with edging. After you've drum-sanded at 36-grit, for example, edge with 36-grit.
- Place a nylon pad under the sandpaper. This cushion minimizes gouges and deep swirls. Get pads at the rental store.
- Replace the sandpaper when it's dull. Dull paper won't remove swirls left by the previous grit.
- At the end of the job, lay a flashlight on the floor to highlight any leftover swirls. Then hand-sand them out with 80- or 100-grit paper.
8
/
13
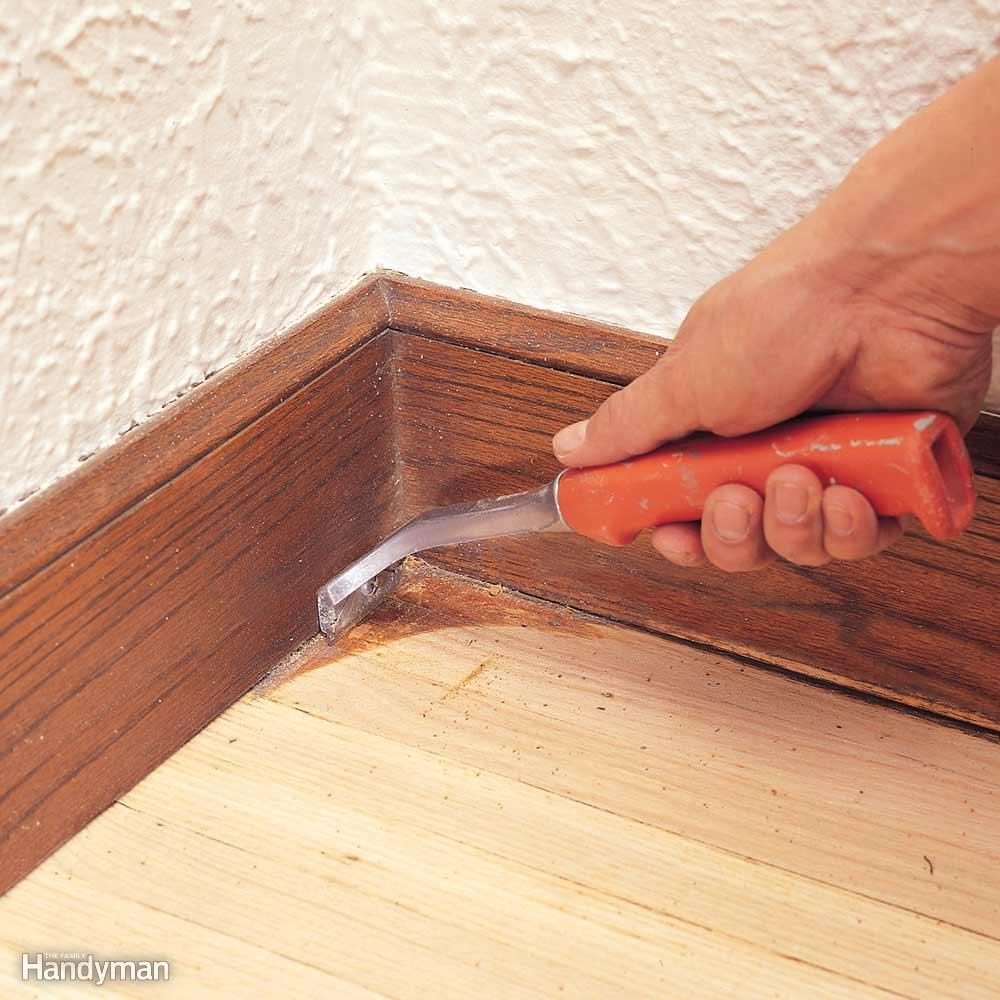
Scrape Out Corners
When the sanding is done, use a carbide paint scraper to attack spots that the machines can't reach. A sharp scraper will leave a super-smooth glazed surface that won't take finish the same as the surrounding wood. So rough up scraped areas with 80- or 100-grit paper.
9
/
13
How to Use a Drum Sander: Don't Skip Grits
The initial coarse grits remove the finish and flatten the wood. But that's not enough. You need to progress through every grit to polish off the scratches left by the previous grit. On most jobs, the sequence is 24-36-60-80 for coarse-grain wood like oak. Scratches are more visible on fine-grain wood like birch or maple, so go to 100-grit.
10
/
13
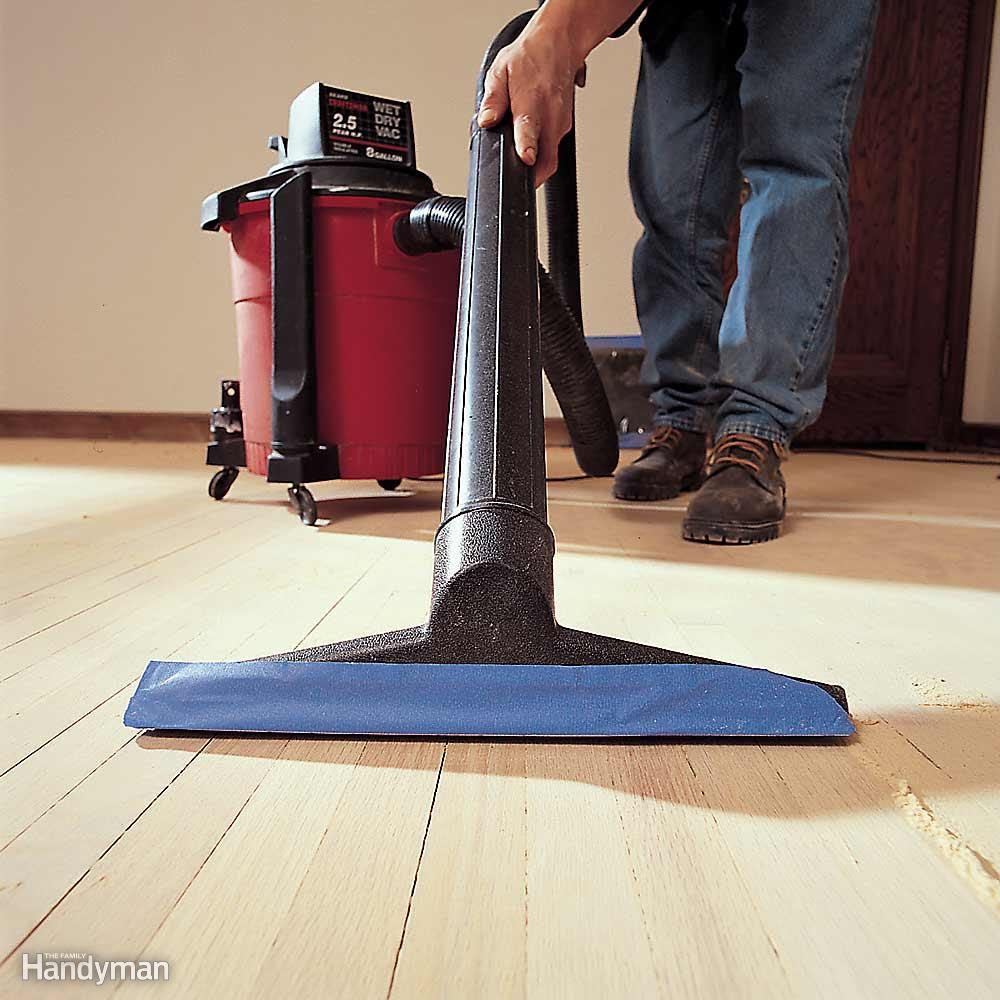
Clean Up Between Grits
Sweep or vacuum the floor before you move up to the next grit. Even the best abrasives throw off a few granules while sanding. And a 36-grit granule caught under a 60-grit belt will leave an ugly gash in the floor. Wrap the vacuum nozzle with tape to avoid marring the floor.
11
/
13
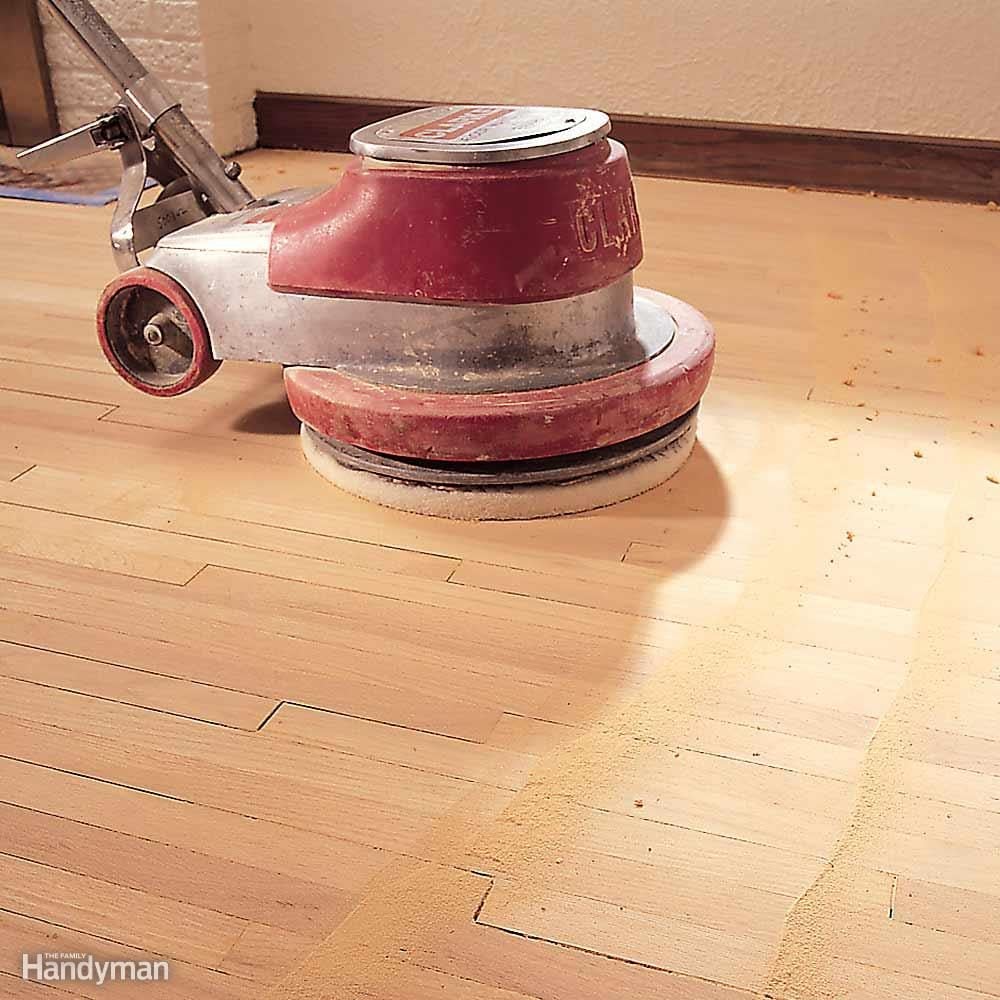
Screen the Floor
After you've finished with the sanders, the floor will look so good that you'll be tempted to skip this step. But don't. “Screening” blends the edge-sanded perimeter with the drum-sanded field and polishes away sanding scratches. You can do it with a rented buffing machine or with a sanding pole (like the one used for sanding drywall). Either way, the abrasive to use is 120- or 150-grit sanding screen.
12
/
13

Swing the Buffer
Buff the floor starting at one wall and moving backward across the room. Slowly swing the buffer left and right as you go. To make the buffer swing to your right, gently lift the handle. To swing left, lower the handle.
13
/
13
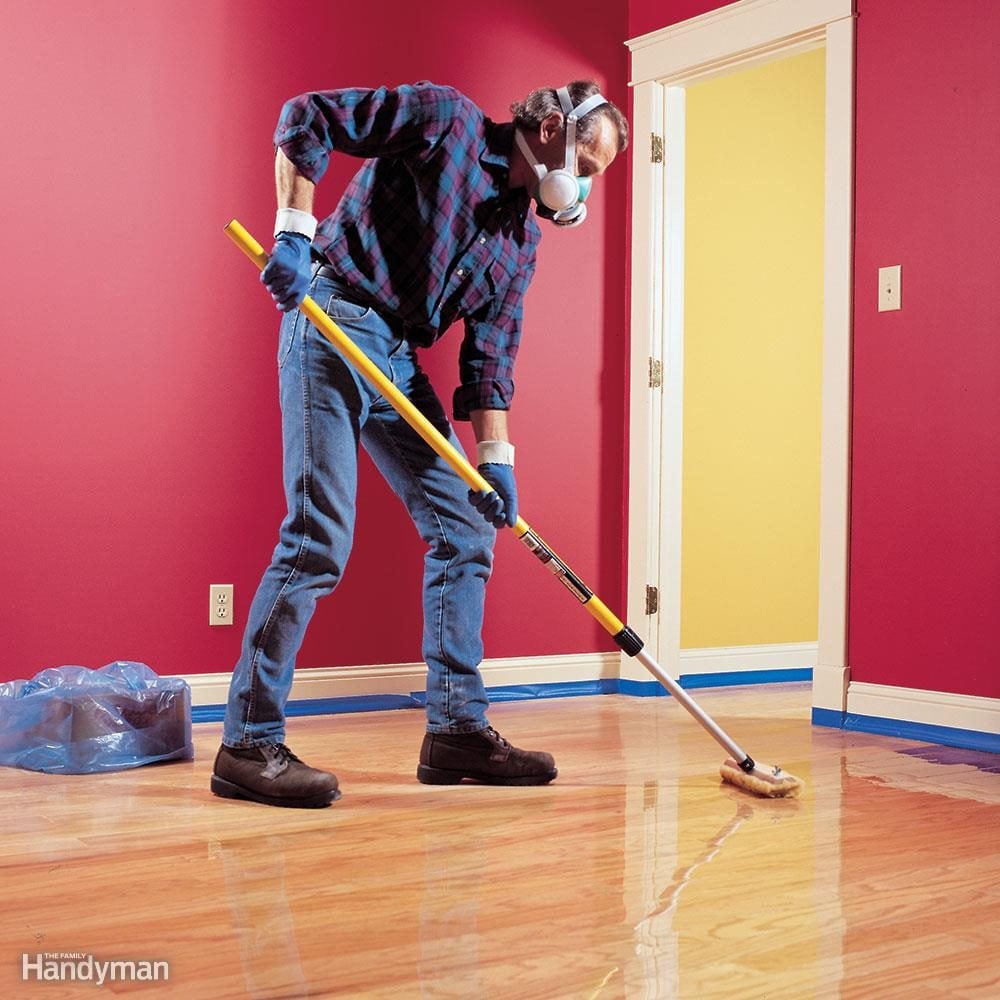
Consider Recoating Instead of Sanding
You may be able to renew the floor by adding a new coat of polyurethane right over the old finish. Recoating takes a lot less time, skill and money than full-scale sanding and refinishing. Recoating works on solid wood, laminated wood and parquet floors alike. But a new coat of polyurethane may not stick to your existing finish. If your floor's finish was applied before the 1970s, it's probably wax, old-fashioned varnish or shellac. No new finish will stick to a wax finish or any other finish that's ever had wax applied to it. Polyurethane might adhere to an old, unwaxed varnish or shellac finish. But these finishes do wear out, and since they're probably more than 30 years old, it's best to sand them off and start over.