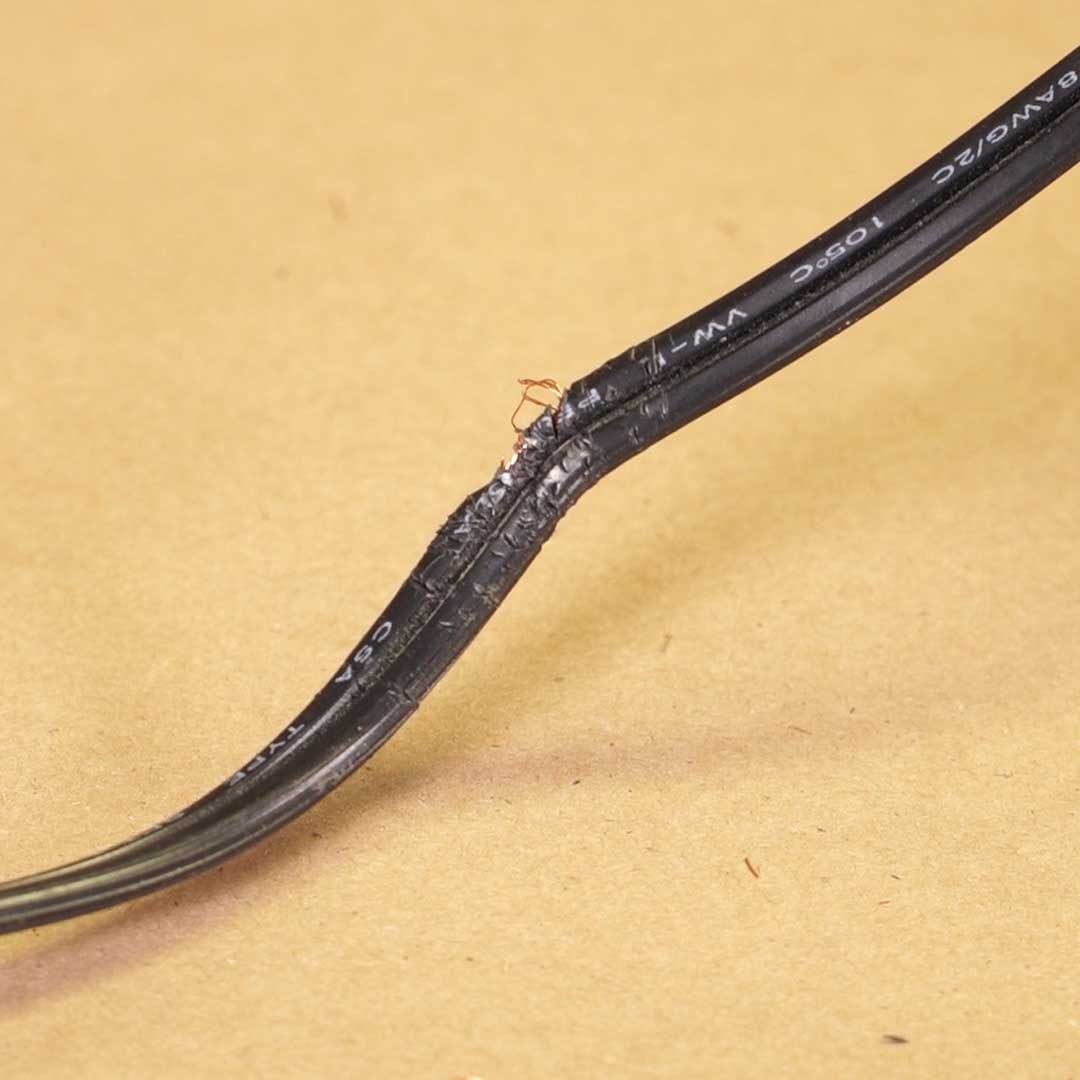
How to Fix an Electrical Cord Chewed by Your Pet

Updated: May 12, 2023

You can repair a chewed cord without calling a pro. Here's how.

Time

An hour or less

Complexity

Beginner

Cost

Less than $20

Introduction

Discovering your family pet chewed through a power cord to an appliance or lamp can be shocking in more ways than one. Here are two easy fixes for a chewed cord.

Tools Required

  • Flat-head screwdriver
  • Heat gun
  • Phillips-head screwdriver
  • Wire stripper/cutter

Materials Required

  • Heat shrinkable tubing
  • Replacement plug
  • Solder Seal Wire Connectors

Project step-by-step (7)

Step 1

Inspect and Plan

Before learning how to fix a chewed cord, you need to determine if it’s better to just replace the whole thing.

  • If the cord is old and brittle and easily cracks, it’s time to replace the whole cord. This may entail taking the appliance apart. If you’re not comfortable with replacing the plug on cord, you may want to get help from a pro.  When you see bare wires, you know it’s time to replace or fix the cord.
  • If your pet chewed near the end of the cord close to the plug, cut the cord. Then you can replace the plug.
  • If your pet chewed in the middle of the cord, cut out the chewed section and splice the two cords together.
  • If the cord is chewed closer to the appliance, replace it with a new cord.
Step 2

Polarized Cord & Plug

  • To identify the neutral wire on your cord, look for a white stripe or writing on one of the wires, with some being ribbed on the side as well.
  • The large prong on a plug is the neutral terminal.

Step 3

Cut, Separate & Strip the Wires

  • Cut the chewed section and plug off the cord using a wire cutter.
  • Separate the wires by pulling them apart about one to two inches down.
  • Strip about one inch off the ends of the two wires using a wire stripper.
  • Twist the ends of the wires so they are tight and no longer frayed.
  • Make a loop on each wire by wrapping it around a screwdriver.

Step 4

Attach the Plug

  • Open the cover of your replacement plug so the prong terminals are accessible. You may need to remove a screw or slide the cover off, every plug is different.
  • Loosen the screw on the large prong of the plug and loop the neutral wire around the screw and tighten the screw.
  • Do the same on the other prong of the plug.
  • Close the cover on the plug and install the screw.

Step 5

Splicing the Cord

  • Start by, cutting the chewed section out of the cord using a wire cutter.
  • Slip a four-inch Heat Shrink Tube over one wire.
  • Separate the wires about two inches down.
  • Strip about one inch off the ends of all four wires using a wire stripper.

Step 6

Solder Seal Wire Connectors

  • Slip a Solder Seal Wire Connector over one of the wires.
  • Twist the two wires together. (Be sure you are twisting two matching wires together)
  • Move the connector so the middle solder ring aligns with the middle of the splice.

Step 7

Heat the Solder Ring

  • Using a heat gun, heat the middle solder ring so it melts first, then heat the other two rings so they melt and shrink. Rotate the connector so the heat is applied evenly.
  • Repeat the previous step on the other wire.

Heat Shrink Tube

  • Again using a heat gun, move the heat shrink tube over the connectors and apply heat to the tube until it shrinks. As before, rotate the cord so the heat is applied evenly.
    • Pro Tip: Use electrical tape instead of a heat shrink tube to cover the connectors.