
14 Ways to Minimize Lead Paint Exposure and Avoid Paint Poisoning in Older Homes
Updated: Apr. 16, 2019
Lead paint is dangerous, especially for small children, who might eat crumbling paint chips or pick up lead dust on their hands, which they might stick in their mouth. Each year, thousands of children test positive for dangerous levels of lead. Lead in children—even small amounts—can cause behavioral issues, a lower IQ, ADD and physical problems. Homes built before 1978 are likely to contain at least some lead paint. If your home is that vintage, it's important to reduce the risk of exposure to you and your family when doing paint prep, repairs or home renovation.

Test for lead paint
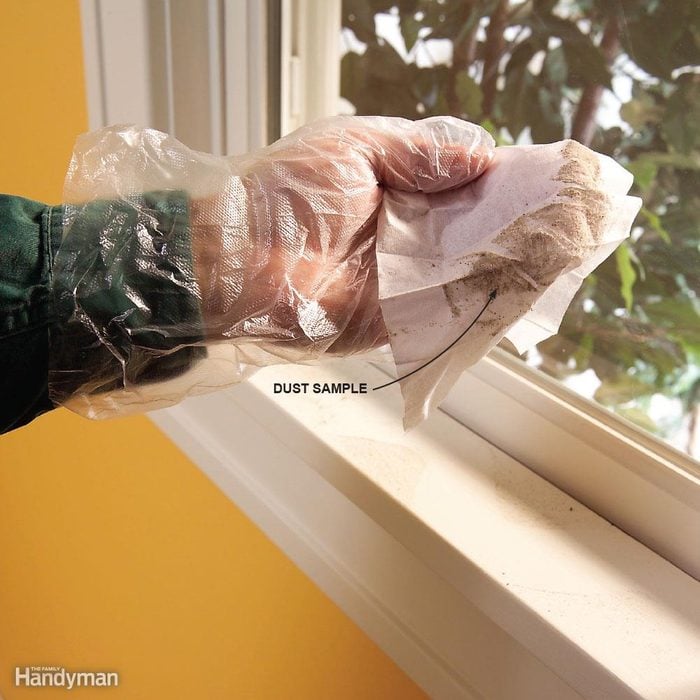
Most lead-paint poisoning results from exposure to lead paint dust. Even if you don’t see any peeling paint, lead paint dust might still be present. Old doors and windows have painted parts that rub together and create dust, or there might be small amounts still present from a previous remodeling project. Testing will determine if you have a lead paint hazard. Various types of test kits are available for about $10. They’re all a little different, so read and follow the directions carefully. Some come with everything you need to collect and send samples to a lab for analysis, for which you pay a separate fee ($15 to $20 per sample). Others, like 3M’s LeadCheck swabs shown above, don’t require lab testing. You just squeeze a swab while rubbing it onto a painted surface. If the tip of the swab turns pink or red, you’ve got lead.
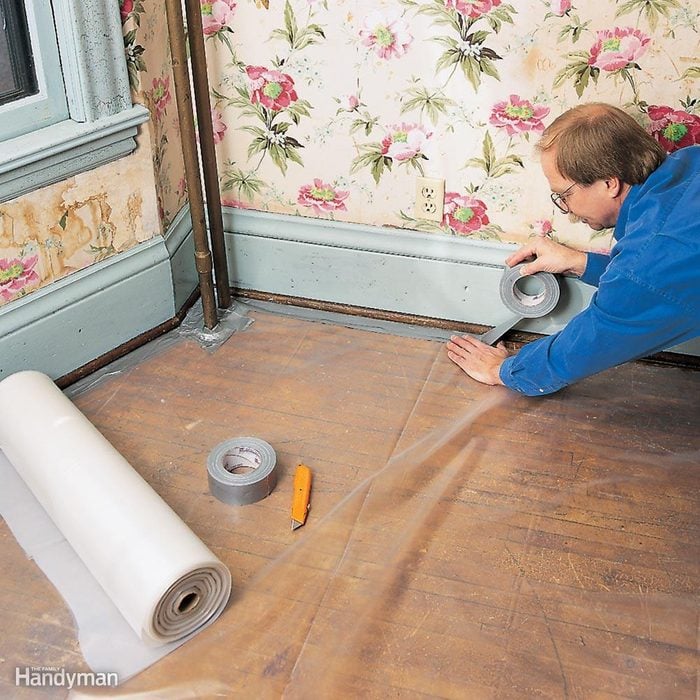
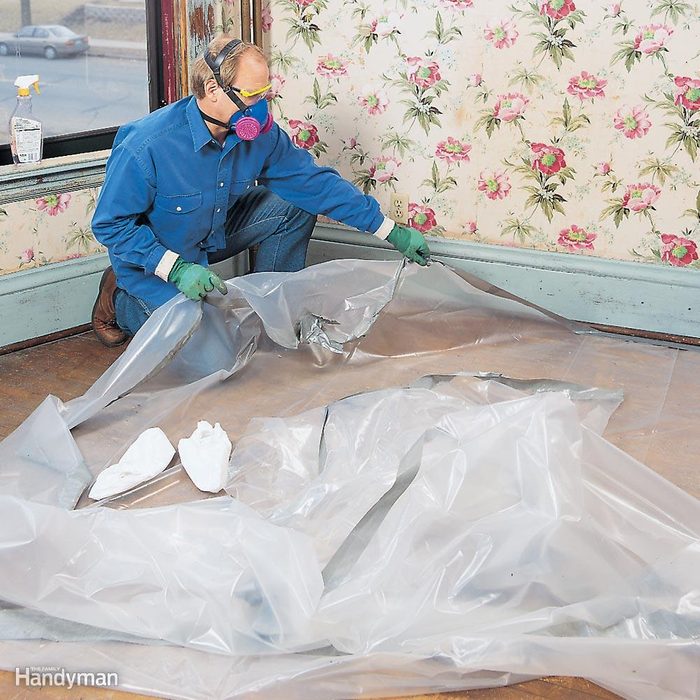
Seal off your work area
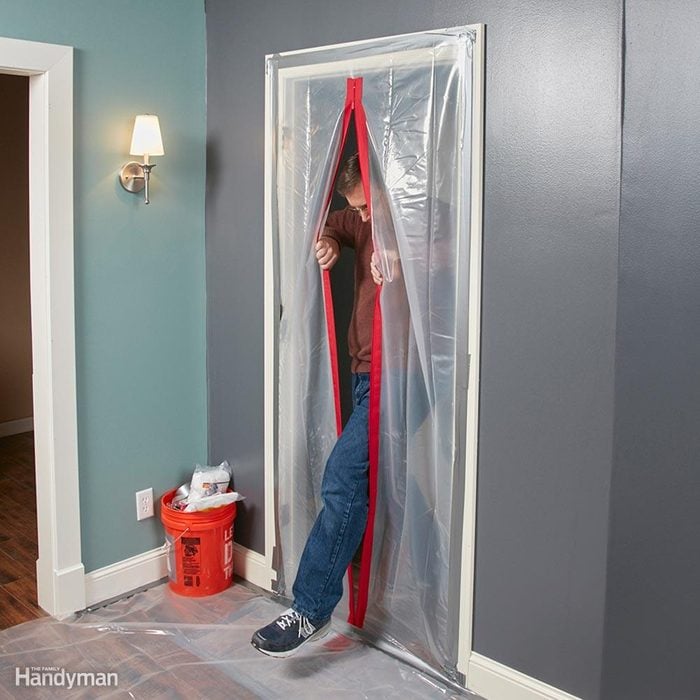
Zip it!
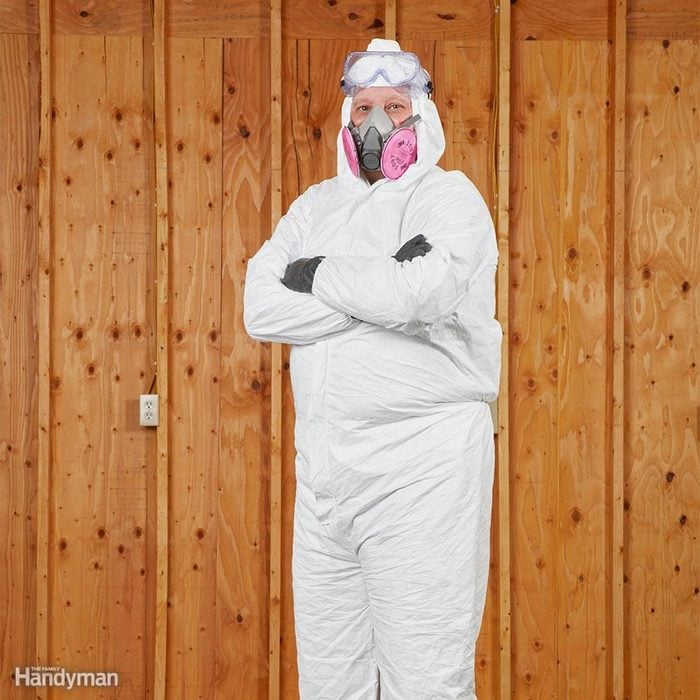
Protect yourself
When working with lead paint wear a Tyvek suit or a long-sleeved shirt, long pants, neoprene gloves and washable shoes. Wash work clothes in a load separate from other laundry. Also, wear safety glasses or goggles to protect your eyes from debris, and a half-mask respirator with P100 filtration to protect your lungs.
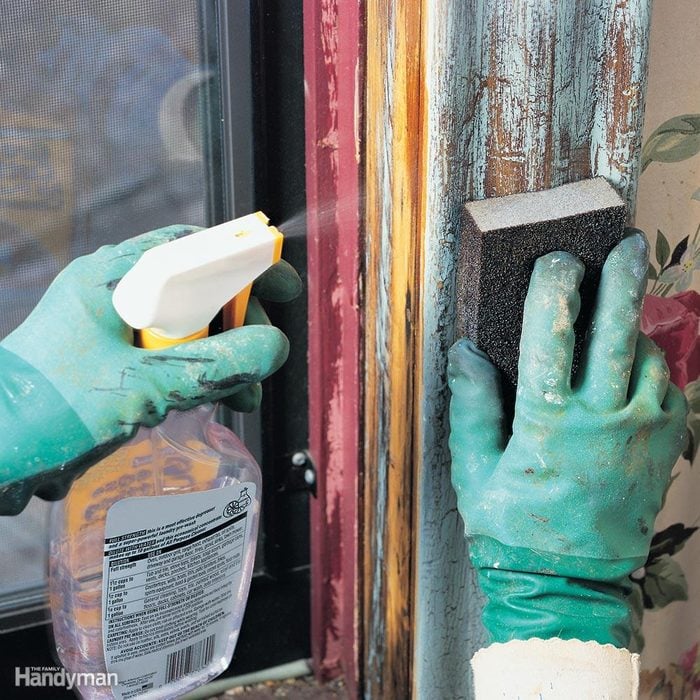
Work wet
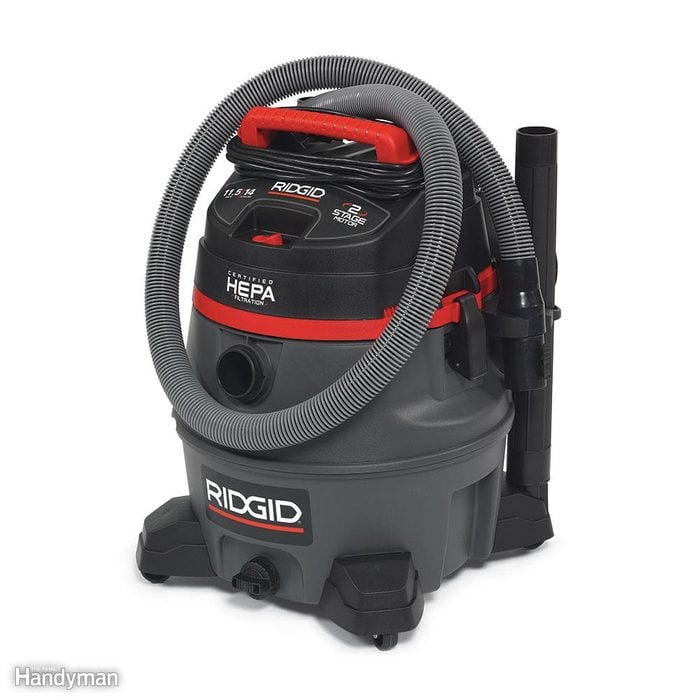
Vacuum the lead paint chips
The most important part of making a room lead-safe is the cleanup. If it’s not done properly, lead paint dust can get left behind—enough to harm a young child. Start by sucking up paint chips with a HEPA vacuum approved for lead paint pickup ($350 to $800). Some aftermarket vacuum filters are labeled as HEPA, but they’re not approved for lead paint.
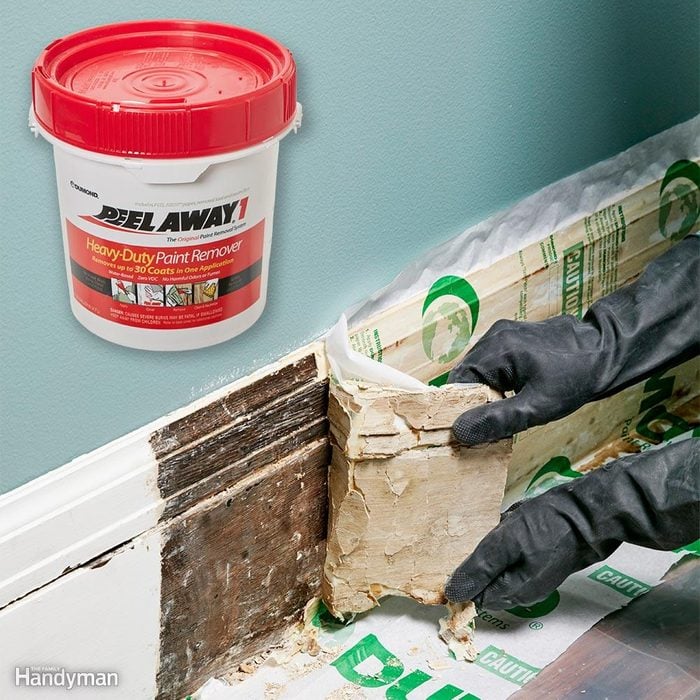
If you must strip…
In cases where complete removal of lead paint is desired, consider using a lead paint stripping product like Peel Away, which loosens and helps contain paint chips. If you’ll be sanding afterward, be sure to wet-sand. Lead paint residue could still be trapped in the fibers of the wood even after it’s been stripped bare.
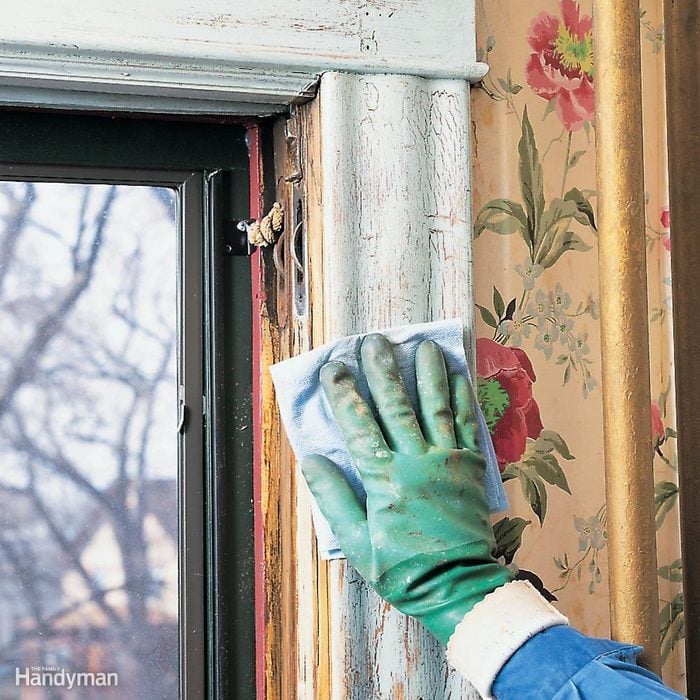
Give it a wipe
Spray all-purpose cleaner mixed with water onto a folded paper towel and wipe in only one direction to avoid recontaminating previously cleaned areas. Use a fresh side of the towel for each wipe. You can also do this with a cloth rag by dunking it in cleaner, wiping the area, and rinsing it out in a separate bucket filled with clean water. Just be sure to change the rinse water often.
Bag the residue
Before doing any repainting, finish cleaning the room and remove all poly sheeting. Seal it in a heavy plastic garbage bag and dispose of it with your regular trash (if allowed). Finally, clean uncarpeted floors with a HEPA vacuum and wash them with all-purpose cleaner.
What is the RRP rule?
In 2008, a federal rule was enacted requiring people or companies being paid to do work that disturbs paint on houses built before 1978 to become lead-certified by the Environmental Protection Agency (EPA).
The EPA’s ‘Renovation, Repair and Painting’ (RRP) rule mandates that these people or companies follow specific work practices to keep children and families safe from lead paint exposure during work or face fines of thousands of dollars for failing to comply.
To get certified, they must complete an eight-hour lead paint training course that covers topics like dust-containment and cleanup and disposal procedures. The RRP Rule does not apply to homeowners working on their own homes. For more information about the RRP Rule, visit epa.gov/lead.
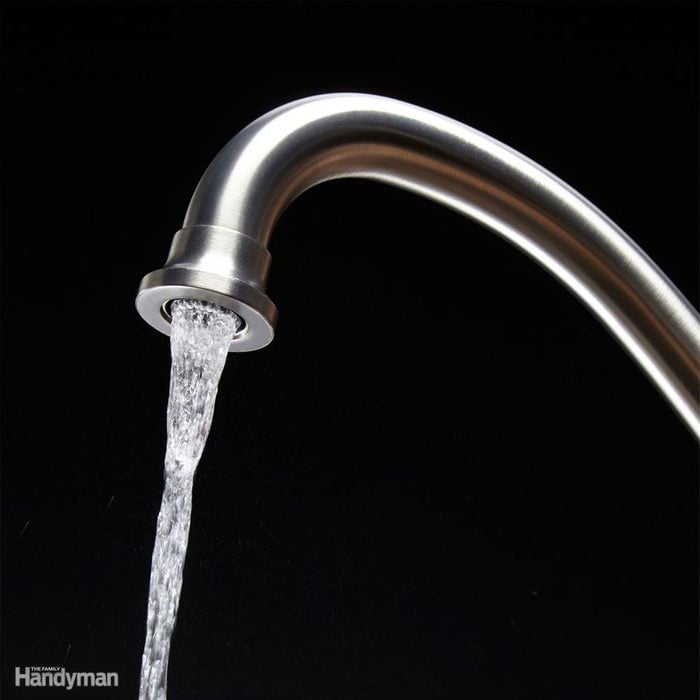
Got old plumbing? You might have lead
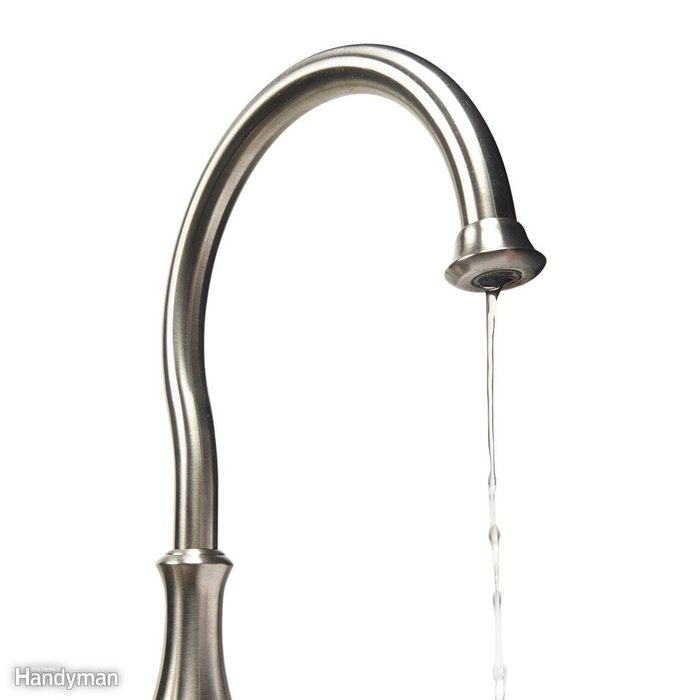
If your home was built before 1986, you might have lead in your tap water. Many houses built through the early 1900s have lead service lines and pipes, and homes built through the late 1980s have copper pipes and fittings joined with lead-based solder. Brass faucets and fittings contain lead, too. When water that’s acidic or low in mineral content sits in older plumbing systems for several hours, lead can leach into the water. However, even if you have lead in your plumbing system, your water might be safe to drink. That’s because, over time, minerals in water coat the insides of pipes, helping to prevent leaching of lead.
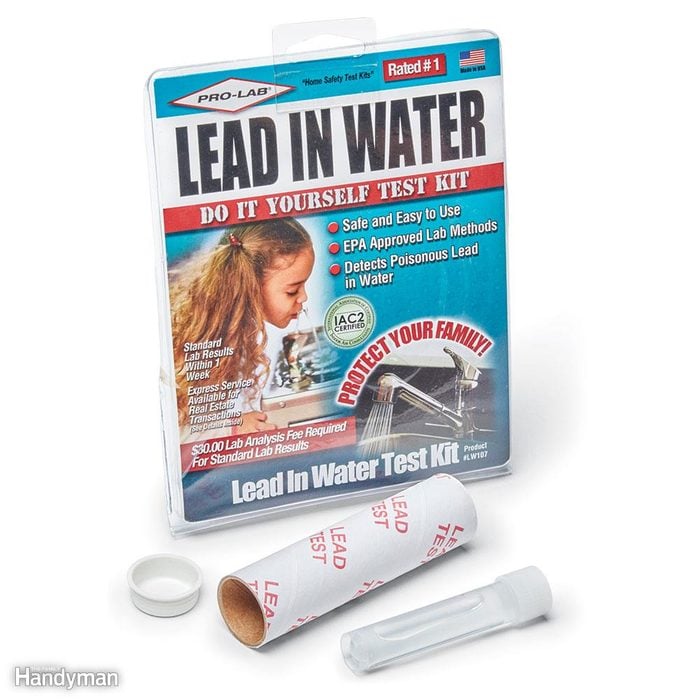
Test your water
First, test your water for lead. Some water suppliers will test your water for free. If yours won’t, or you’re on a private well, you can buy a water lead test kit at your local home center. Expect to spend about $10 for the kit, plus $30 more for lab analysis.
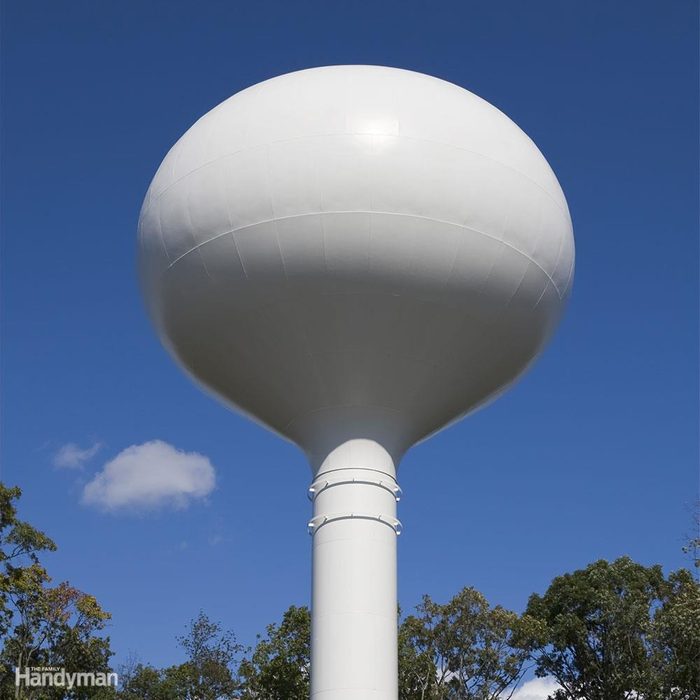
Call your water supplier
If a water test shows unsafe levels of lead, you need to figure out why. Call your municipal water supplier and ask whether the water service pipe at the street has lead in it, and whether your water is corrosive enough to be causing lead to leach from pipes and fittings inside your house.
Get the lead out!
If you have unsafe lead levels in your drinking water and your supplier can’t help you, you’ll have to take action yourself. That might mean replacing some lead plumbing components or installing a home water filtration system approved for lead. As a temporary measure—until you can eliminate the source of the lead—the Centers for Disease Control and Prevention (CDC) recommends turning on faucets for several minutes to flush out water that’s been sitting in your pipes for more than six hours. For more information, go to cdc.gov/nceh/lead/tips/water.htm.