
We talked with a flooring expert to get some installation tips that will help you avoid humps, bumps, gaps and cracks.
Pro Tips and Tricks for Installing Laminate Flooring
1
/
12
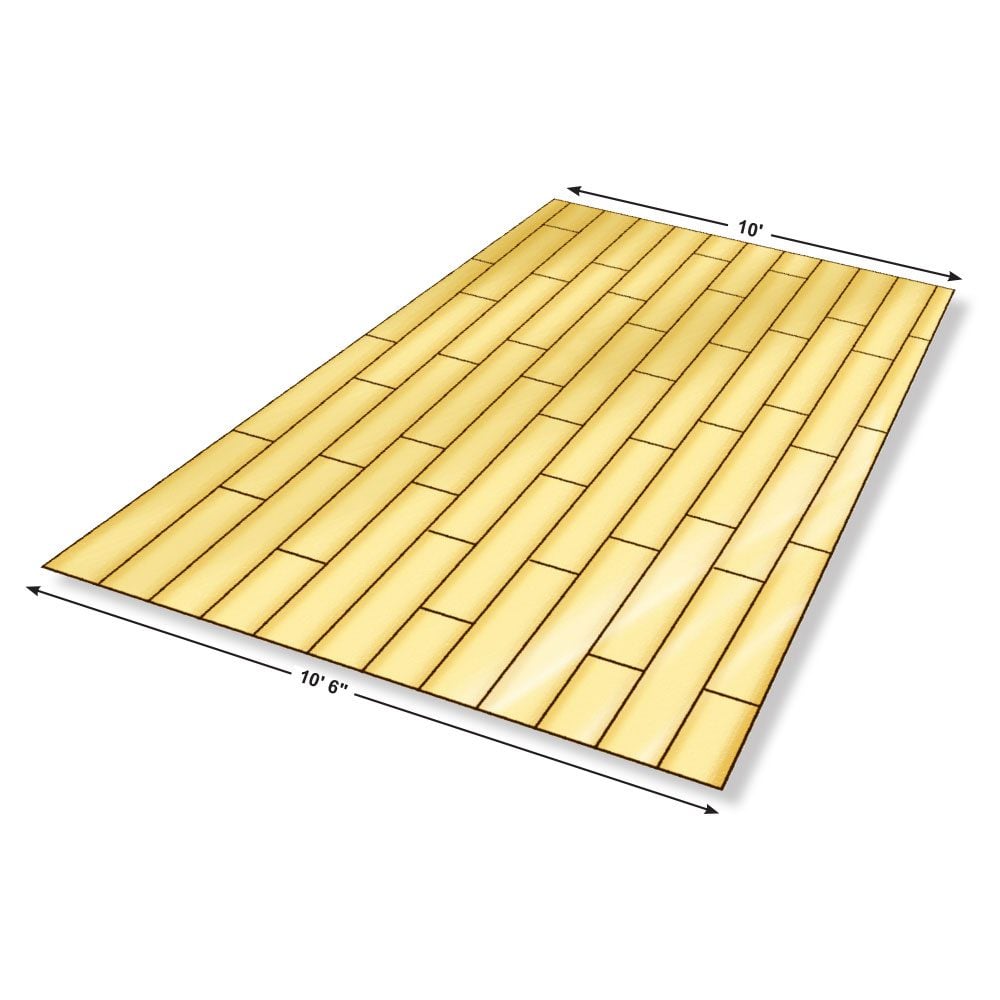
Taper Both Sides of the Room
When you set about figuring out the size of your starter row you also have to make sure the walls are parallel. You may find yourself installing laminate in a room that is 6-in. narrower at one end than at the other. That means you’ll have to rip a severely tapered last row and it’ll look ugly. Unless one side of the room will be forever covered with furniture, you’re better off splitting the difference and tapering both the first and the last rows so neither side will be so noticeable.
2
/
12
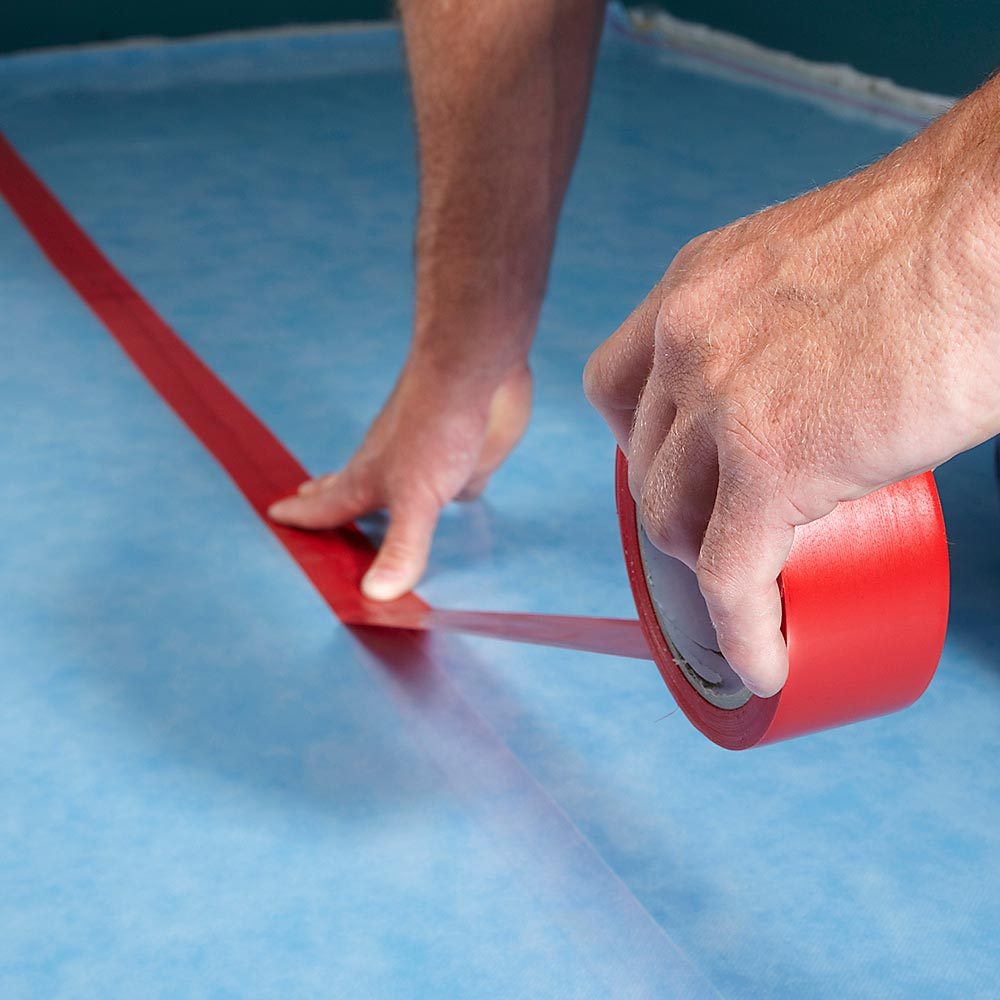
Which Tape Should You Use?
All underlayment seams need to be taped. It’s tempting to use whatever tape you find in the pickup, but don’t do it. Some packing tapes and house wrap tapes are too rigid and may cause an annoying crinkling noise when they’re stepped on. Use whatever tape is recommended by the underlayment manufacturer, or buy an underlayment that has built-in seam tape.
Our flooring pro recommends installing underlayment perpendicular to the way the planks will be installed. The underlayment will be less likely to “bubble” as you lay the flooring. He also suggests installing only a few rows of underlayment at a time to avoid tearing it up with your boots.
3
/
12
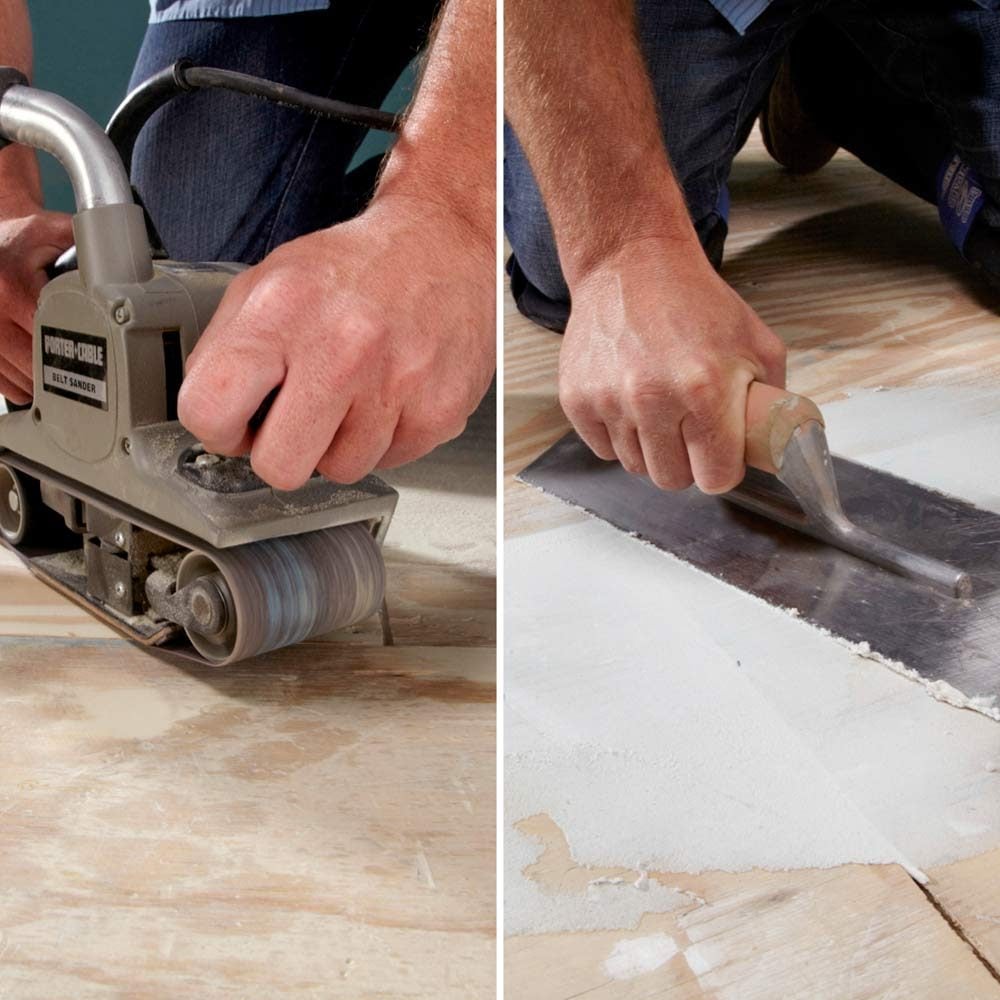
Start With a Smooth Subfloor
Laminate floor systems do not function well on uneven surfaces. Before starting any flooring work, inspect the subfloor. Crawl around with a straightedge to find any areas that are more than 1/8-inch high or low. Subfloor seams are the usual suspects.
A belt sander sporting a coarse-grit belt will knock down seams pretty fast, but you may have to rent a commercial floor sander to grind down severe peaks.
A dip in the floor will cause a soft, spongy section in the laminate floor. Most dips can be taken care of with a trowel and vinyl floor patch. Buy a fast-drying variety if you want to start laying the floor the same day.
“Avoid self-leveling floor compounds, especially on older homes,” says Jay, our flooring pro. “An out-of-level floor could take a whole truckload of self-leveling compound to flatten out. And oh, yeah—this is the time to screw the plywood to the joists anywhere there’s a squeak.”
4
/
12
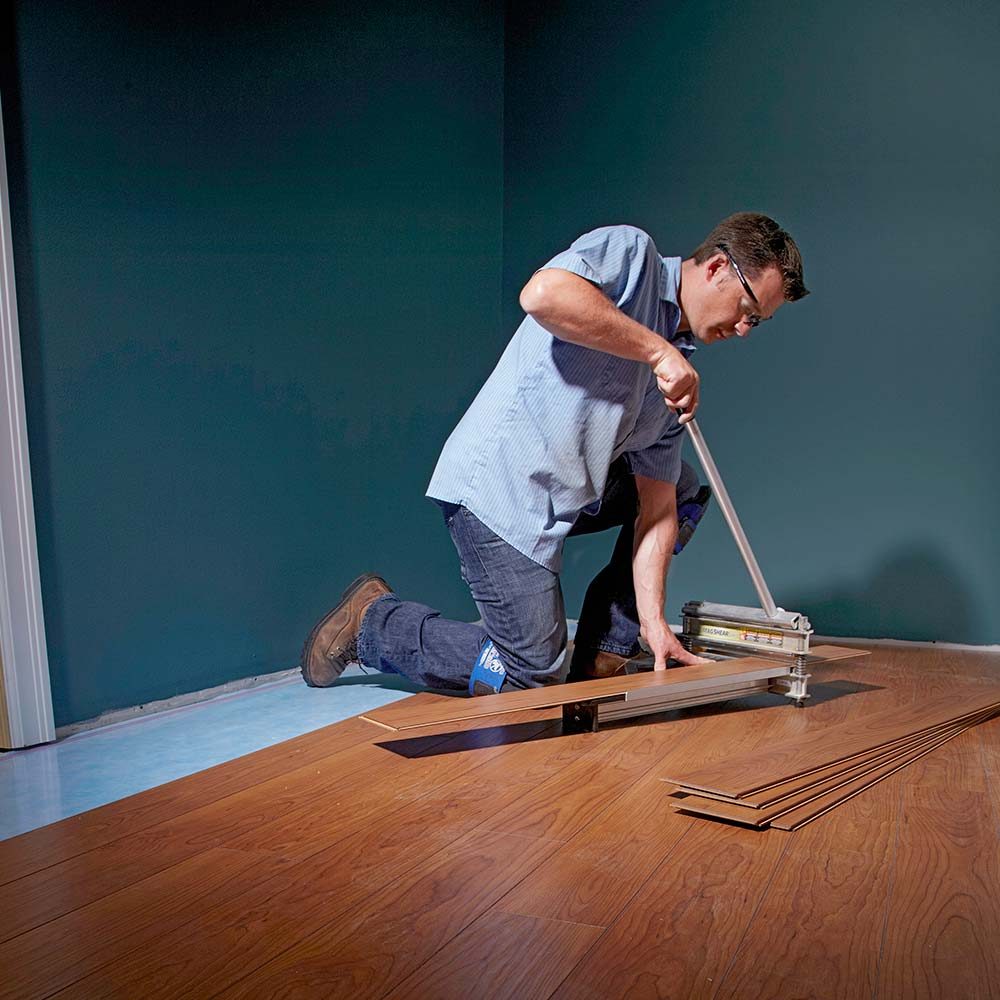
How To Cut Laminate Flooring
Cutting laminate with a miter saw gets pretty noisy and dusty pretty quickly, and walking back and forth to your miter saw isn’t very efficient. Instead, cut the planks with a laminate shear quietly and cleanly right where they’re going to be installed.
5
/
12

Where To Start Floor Installations
Installing flooring around doorways is one of the thorniest issues you’ll deal with. Simplify it by starting on the wall that has the most doorways. Of course, you’ll still have to undercut jambs and trim, but it’s a lot easier starting at a doorway than ending up at one.
6
/
12

Installing Laminate Wood Flooring
It’s tempting to find the longest, straightest wall and start slapping down planks. The problem is that when you get to the opposite wall, you may end up ripping down a sliver-thin row of flooring. That won’t look good and is tough to install.
Plan ahead by snapping together a section of four or five pieces, put it against one wall and make a pencil line on the outside of the connected piece, then slide the section toward the opposite wall, lining it up with the pencil line. Walk your way across the room like this to determine whether you should start with a ripped row and how wide it should be. It’s not an exact science, but it’s a quick way to get a good idea of how wide that last row is going to be without doing a bunch of math.
7
/
12
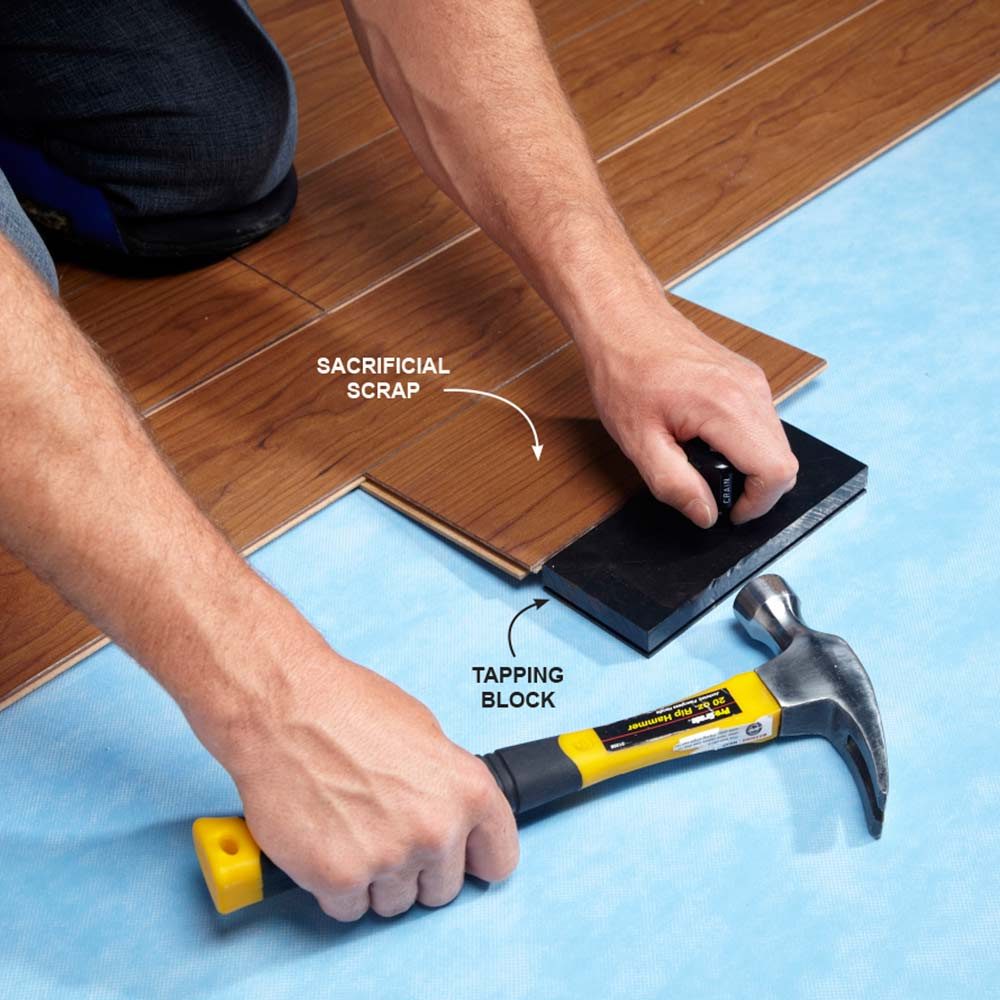
Use a Sacrificial Scrap With a Tapping Block
Occasionally it’ll be necessary to tap a plank into place or snug together an uncooperative one. Yes, you should use a tapping block, but to avoid damaging your brand new floor, snap in a sacrificial scrap, and tap on that to prevent wrecking the edge of the new flooring.
8
/
12
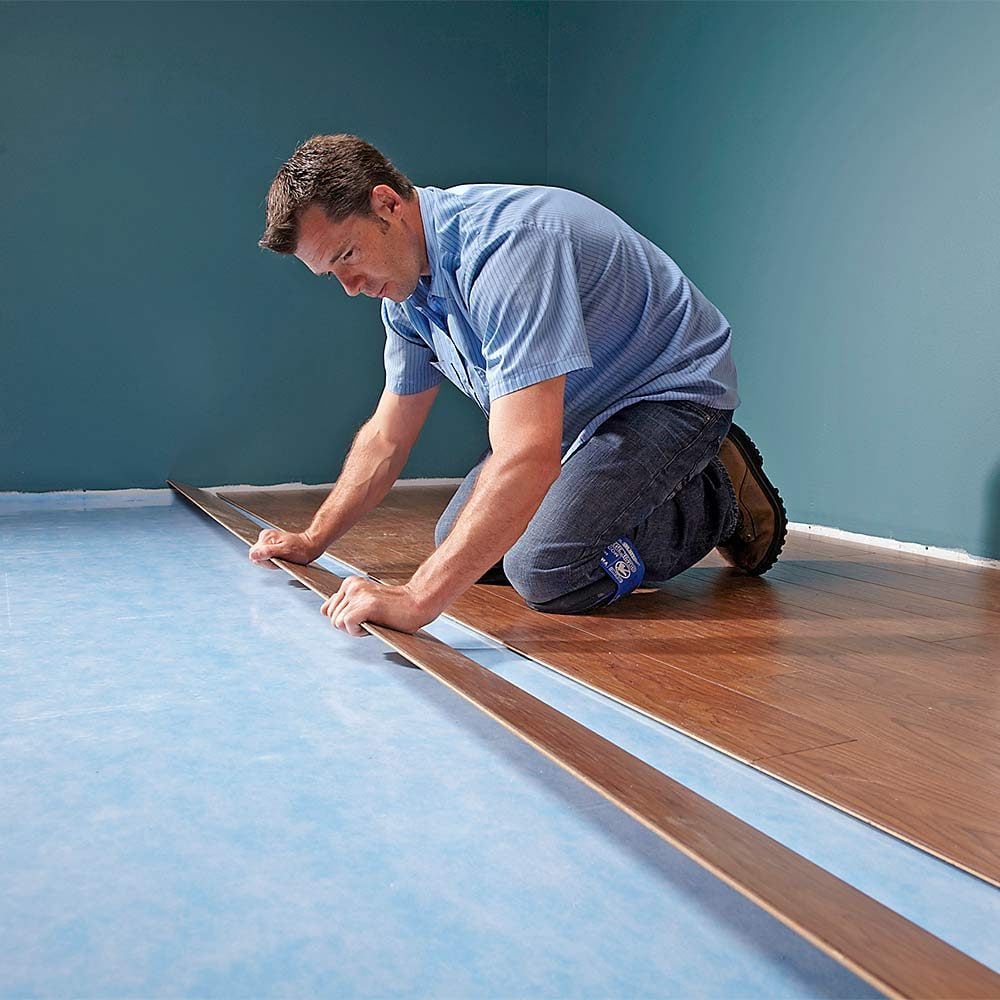
Snap in a Whole Row of Laminate Flooring at Once
If you actually read the instructions on most laminate flooring, the pieces are supposed to be snapped in consecutively. Some flooring (usually the cheap stuff) is almost impossible to install that way without damaging the planks. If you’re having problems, snap the butt ends of a whole row together, then snap it in as if it were one long piece.
9
/
12
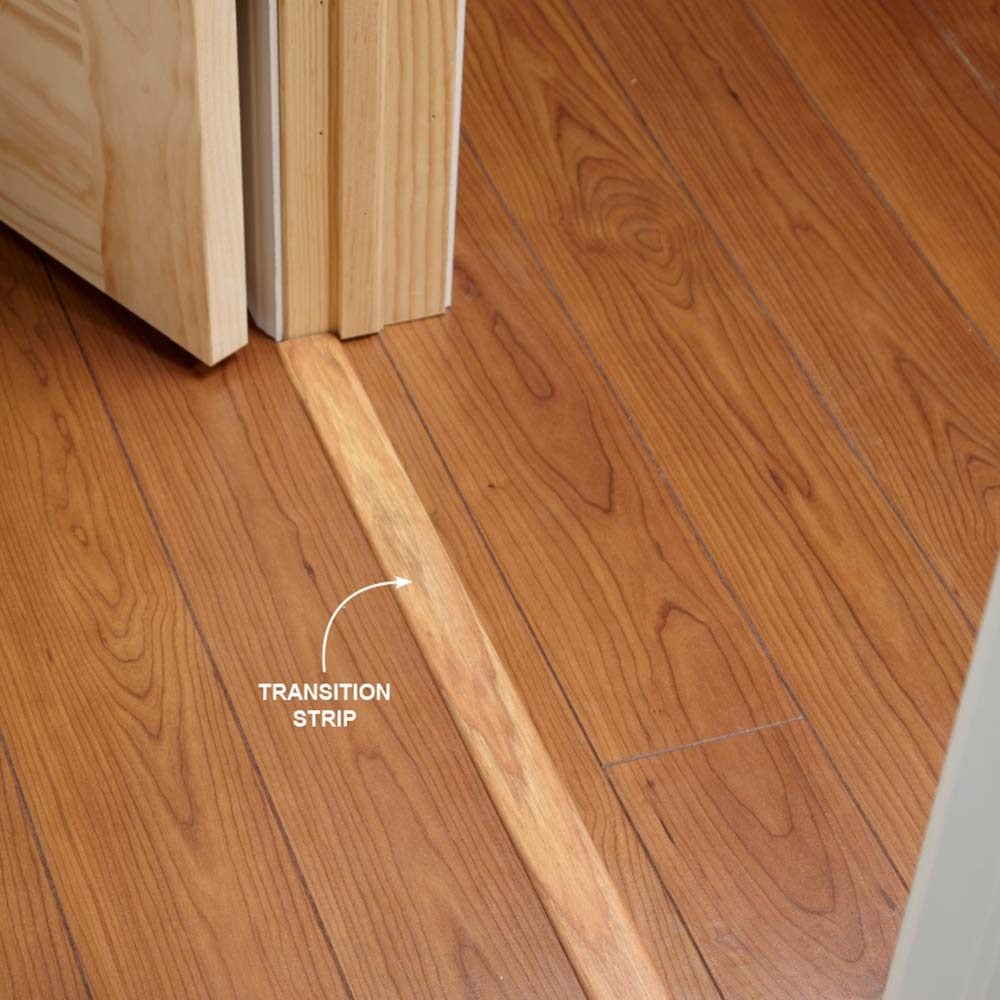
Use Transition Strips Under Doors
If you’re installing flooring that continues through a doorway, you’ll be better off leaving a gap (rather than snapping together the flooring) to receive a transition strip between rows. Position the gap directly under the door so the transition strip will make visual sense. A transition strip lets you treat each room as a separate project. This allows for greater flexibility in your design and layout.
10
/
12

How To End Flooring at a Doorway
Often, there’s no avoiding ending up at a doorway. When that happens, it’s a bit tricky because you have to slide the flooring under both jambs. Here’s how to handle it with just a little bit of trim carpentry:
Step 1. Lift to Fit
Plan on a seam in the middle of the doorway. Notch and cut the first piece to fit and then slide it completely under the jamb. Notch the second piece so it’ll be just short of the doorstop when it’s in place. Lift the flooring to get it around the corner and under the casing, then snap it in.
Step 2. Slide Both Pieces Over
Once the two pieces are connected, slide them both over just far enough so that both jambs cover the flooring ends.
11
/
12
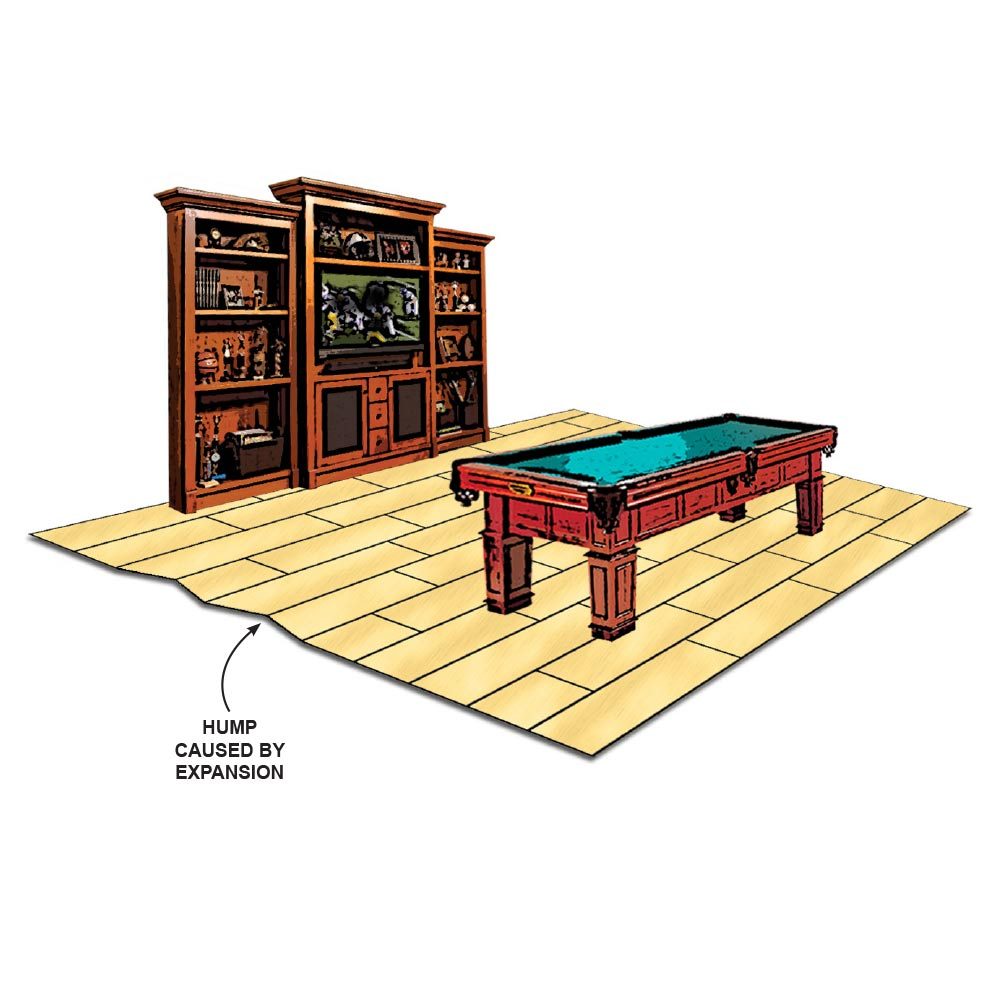
Beware of Heavy Furniture on Laminate Flooring
Laminate floors expand and contract with variations in humidity and temperature. So before starting any laminate job, pay attention to the furniture in the room. Heavy furniture like a pool table or a fully loaded bookshelf can pin down the laminate, causing it to either push up as it expands or separate as it contracts. The trouble really starts when you have two heavy pieces of furniture directly across from each other, which traps the floor. You’ll have to either lose one of the furniture pieces or go with a different flooring material to avoid trouble. How much weight will trap a floor? A good rule of thumb is that a typical laminate floor can still move properly under a fully stocked refrigerator
12
/
12
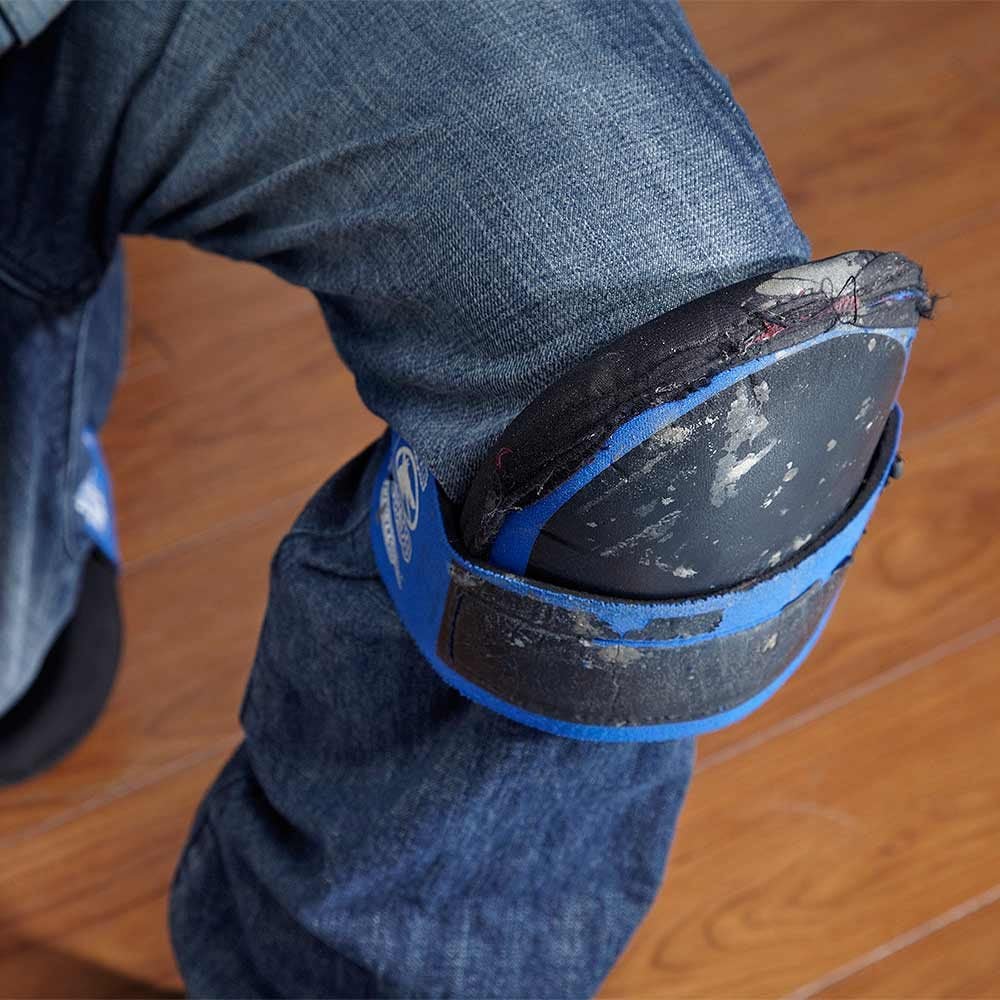
Protect Your Knees During Floor Installation
The hard-shell knee pads you wear for roofing and landscaping are not the knee pads you should wear to install a floor. There’s no question about it: Flooring is hard on the knees and the wrong knee pads will scratch laminate floors. Flooring installation calls for pads that have a cloth, foam or soft rubber material on the business end. Gel-filled pads are the most comfortable because the gel helps distribute the weight.