
Drawing Your Own Electrical Plans

Updated: Aug. 07, 2023
Electrical plans are a roadmap to project success. And, yes — you can draw your own! Here's what you need to know.
Starting a project without a plan is like using a coin flip instead of GPS for navigation. Sure, you’ll get somewhere — heads go left, tails go right — but is it really the best idea? When we’re talking about electrical projects, absolutely not. Having an electrical plan to guide you as you install new lighting and other devices is much safer and saves time.
Whether you’re starting from scratch with a new shed or cabin, or extending a circuit to get rid of that extension cord you’ve been using for years, an electrical plan will arm you with needed information before you start your project. In my work as an electrician, I’ve been saved from calamity several times by trusting my plan and proceeding cautiously.
Luckily, you don’t have to be an expert to put together an electrical plan. You can even draw your own. All you need are some tools and a little patience.
On This Page
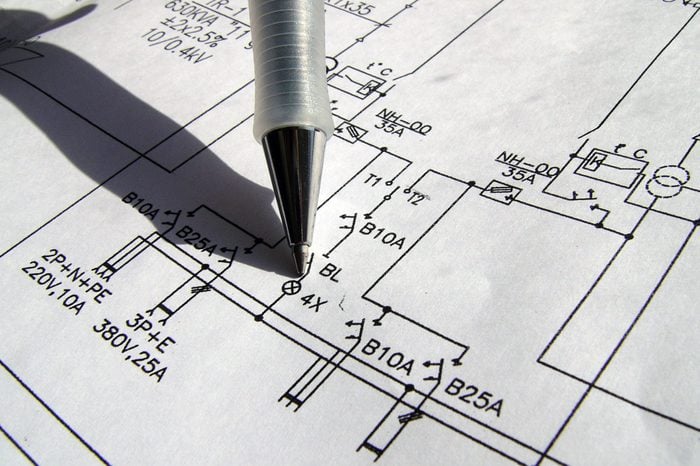
What Is an Electrical Plan?
An electrical plan is a detailed drawing or diagram that shows the locations of all the circuits, lights, receptacles and other electrical components in a building. Professional electricians rely on electrical plans when installing or renovating electrical systems. Homeowners can use these detailed drawings to help with DIY projects, new construction planning and permitting applications, too. Even if you’re not an expert, an electrical plan can help you organize and diagram potential and current electrical systems.
When Do You Need an Electrical Plan?
Whether you’re doing major renovations, minor updates, or building a home or cabin from the ground up, you need an electrical plan. Even if you’re not doing the work yourself, having a detailed plan of your current layout and your ideas will help construction professionals understand your goals. Often, city permitting officials require you to submit an electrical plan before issuing a permit.
Completing an electrical layout of your home also works as an organizational tool, even if you don’t plan to do major remodeling. If you’ve ever tried to find an incorrectly labeled breaker when trying to shut off a circuit, you know how frustrating it is when your panel’s a mess. Drawing an electrical plan, and using the process to update the circuit labels in your panel, saves time and frustration in the future.
Electrical Plan Drawing 101
Before starting your electrical plan, have the right tools on hand to make your plan easy to read and understand. Include all lights, switches, receptacles, motion detectors and other sensors, and fire alarms if hardwired. If you’re submitting this plan to a permitting agency, make sure to include a directional arrow pointing north and a legend of the symbols used.
Here’s what you need.
- Planning software (optional);
- Tape measure;
- Colored pencils;
- Graph paper;
- Architect’s ruler;
- Non-contact voltage tester and/or receptacle tester; and
- Labels and pen or marker (for the panel).
Lay Out Your Home
You can lay out your home by hand or with software like SketchUp or RoomSketcher. If you choose paper and pencil, grab some graph paper and a ruler to make it easier and neater. You want your rooms drawn to scale and with enough room to see both what’s currently there and to visualize the electrical components you want to add. If your home is large, consider breaking up the plan into manageable chunks, like one room or floor per page.
If you’re drawing your plan by hand, decide your scale. Graph paper has 1/4-inch squares, so 1/4 inch = 1 foot could be an easy one to choose. Using a triangular architect’s ruler helps — they have the scale worked out for you and printed right on the sides. Measure your rooms precisely, and include any furniture, cabinets and other features that will help determine where your lighting and receptacles go.
Draw Electrical Devices
Once you have your blueprint, start marking where your electrical components are (or where you want them to be, if you’re building new). Walk around your rooms and make note of where receptacles and switches are located on the wall, and where lights are on the ceiling. Use symbols — “S” for switches, and circles for can lights — to represent the devices. Use common electrical symbols or make up your own and create an easy-to-understand key.
Draw lines between lights and the switches that control them, and between receptacles that are on the same circuits. (See Trace the Circuits below if you’re not sure.)
Trace the Circuits
This is a great time to update your electrical panel’s circuit directory, which is the legend inside the panel describing all the circuits in your home. Draw your electrical panel, then start tracing the current circuits and marking them down on your scale drawing. Verify that the circuit breakers are labeled correctly by flipping them off one by one and testing each receptacle, light and switch with a receptacle tester and non-contact voltage tester.
Originally Published: August 07, 2023