
What To Know About Planting Bulbs in Pots

Updated: Apr. 09, 2024
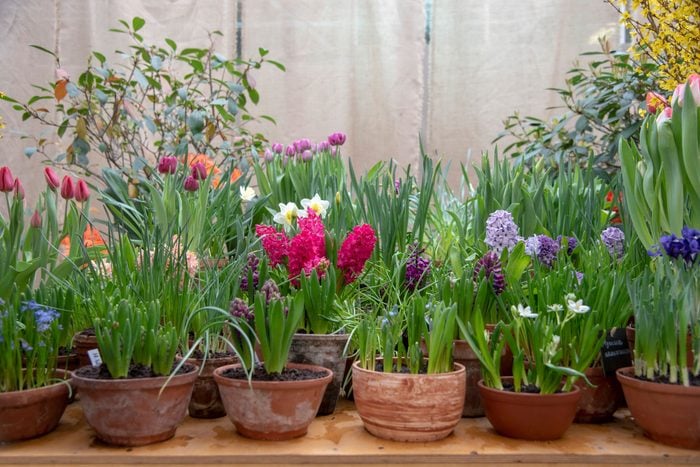
Love the look of potted tulips in the springtime? Grow your own springtime blooms with these step-by-step tips.
You’ve seen stunning images of potted flowering bulbs fill your social feeds every spring, but have you ever wondered how to do that yourself? Planting bulbs is easier than it looks! Follow these simple tips this fall to fill your patio with gorgeous tulips, daffodils, fragrant hyacinths and more next spring.
On This Page
What’s the Advantage of Growing Bulbs in Pots?
If you lack space in your garden, deal with voracious squirrels or voles or have heavy clay soil, planting bulbs in pots probably is your best option. In the spring, you can set your containers anywhere you’d like a pop of color, whether outside your kitchen window or next to your front door.
Durable clay, fiberglass or metal pots keep varmints from burrowing in and devouring your bulbs, while lightly textured potting soil prevents the bulbs from retaining too much moisture and rotting.
What Kinds of Bulbs Will Grow in Pots?
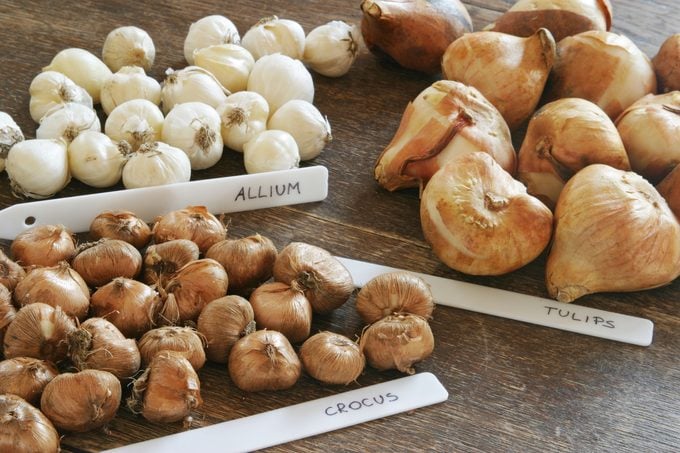
Any kind of spring blooming bulb will grow in a container, but a few of the easiest ones are tulips, miniature daffodils, fragrant hyacinths, muscari and crocuses. All are readily available at garden centers in early fall. Mail-order bulb companies begin taking orders in early summer for fall shipping, so if you buy that way you’ll need to plan ahead and order early.
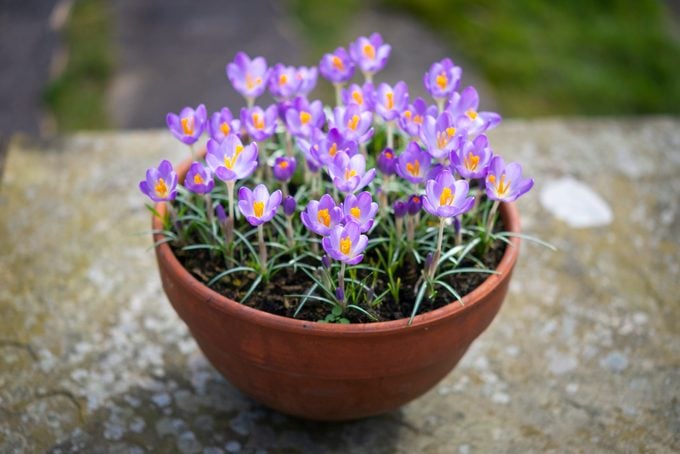
The easiest, most foolproof way to plant bulbs in containers is to put a single type of bulb in each pot. So use one pot for your miniature daffodils, another for your red tulips, and a third for your purple crocuses.
Once you’ve gotten the hang of growing bulbs in containers, you could try a more complex planting with layered bulbs of several types in one large container. An even easier way to get that look is to replant your single pots of bulbs into one big combination planter in spring. That’s a technique many professional gardeners favor because it’s guaranteed to work every time.
Do I Need To Chill My Flower Bulbs Before I Plant Them?
The answer depends on where you live. If you’re in a northern climate — generally U.S. Department of Agriculture Plant Hardiness Zones 7a or colder — you may be unfamiliar with “chilling” your bulbs, because Mother Nature does the work for you. But if you live where the winters are short and mild, you’ll need to conjure up a “winter” so your bulbs will bloom properly the following spring.
In USDA Zones 7b and warmer, order your spring blooming bulbs to arrive in early fall. You’ll need enough time to expose them to a 10 to 16 week period of temperatures between 35 F to 45 F before planting. A spare refrigerator works great for chilling your bulbs. But don’t store fruits or vegetables in the same space. Ripening produce gives off ethylene gas, which may damage flower bulbs.

What Kind of Pot Should I Plant My Bulbs In?
The most important thing about the pot you choose: It must have at least one drainage hole in the bottom. Bulbs can quickly rot in wet soil. If your bulbs fail, that’s likely the cause.
Plant your potted bulbs at the same depth as you would in the ground, but much closer together. Set them two to three times as deep as the bulb is tall, so a two-inch-tall tulip bulb should be planted four to six inches deep. Choose a pot deep enough to hold your largest bulbs.
If you plan to store your potted bulbs someplace dry over the winter, don’t worry about choosing a pot that can withstand the winter elements. If storing your pot outdoors is the only option, choose one made of a more durable material like concrete or cast iron.
How To Plant Bulbs In a Pot in Six Easy Steps
Start with a clean, dry container and fresh potting soil. Then follow these six steps:
- Fill the bottom of your container with at least two inches of potting soil.
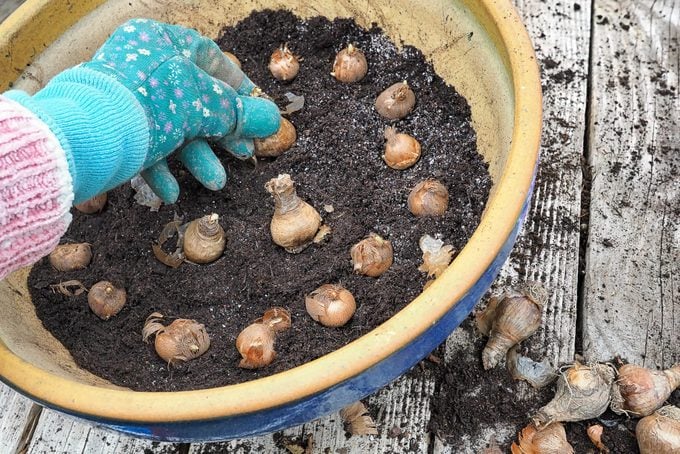
- Place your largest bulbs in the pot with the pointy end facing up. Snuggle them in so they sit upright and won’t fall over when you add more soil. Space them close together but not quite touching.
- If you’re layering several types of bulbs in one large pot, start with the largest bulbs in the bottom and successively place smaller ones on top. Leave an inch or two of soil between each layer so their roots will have room to grow.
- Add more soil until it reaches about one-half inch below the lip of the pot. This leaves space for when you water.
- Water your newly potted bulbs thoroughly.
- Top-dress the pot with a granular animal repellent like Plantskydd to ward off any curious creatures.
What Should I Do With My Potted Bulbs Over the Winter?
Now that your bulbs are all potted up and watered, choose a sheltered location like a shed or unheated garage to store them for winter.
It’s important to keep them cold but sheltered from winter rains or snow that could soak the soil and make the bulbs rot. The soil should stay only slightly moist through the winter. Place bait for mice and voles, which will happily make a meal of your bulbs if they aren’t protected.
Once temperatures rise above freezing in the spring, take your potted bulbs out of storage and let them emerge naturally outdoors. Use pot feet if you are setting them on a hard surface to allow water to drain freely and prevent rot.
See, it was easier than you thought! Time to start planning which kinds of bulbs you’ll try next year.
Originally Published: August 17, 2021