
How to Insulate A/C Lines Replacing Rotted Insulation
Updated: Aug. 18, 2023Replace rotting insulation on outside A/C lines
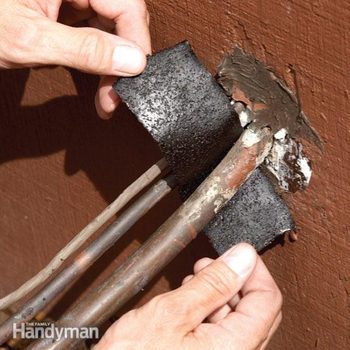
Measure the A/C line diameter and order the insulation
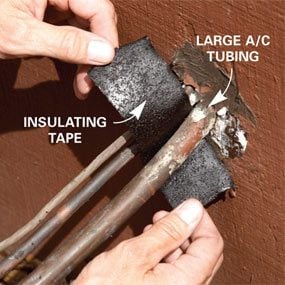
Condensation that forms on your outdoor A/C lines reduces efficiency and raises your energy costs. So you need to install new insulation. Start by peeling off all the old air conditioner foam insulation. Then measure the outside diameter on the larger of the two tubes (the skinny tube doesn’t need insulation). Unfortunately, you won’t find the right insulation at any home center. Instead, contact a refrigeration supply house or online supplier for new foam and insulating tape (Insul-Lock tubing insulating foam, and Nomaco Poly Tape, both from pexsupply.com).
Cut the new insulation to length
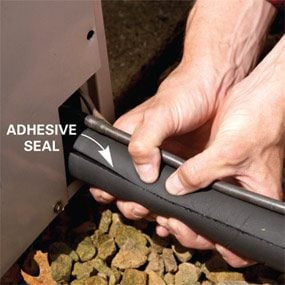
Measure the length of the A/C line and cut the insulation a few inches longer. Leave the adhesive liner in place and install the insulation.
Required Tools for this Project
Have the necessary tools for this DIY project lined up before you start—you’ll save time and frustration.
- Tape measure
- Utility knife
Required Materials for this Project
Avoid last-minute shopping trips by having all your materials ready ahead of time. Here’s a list.
- Foam insulation
