How To Refinish Your Bathroom Tile or Bathtub With a Kit

Updated: Apr. 08, 2024
Want to change that dated tile or worn-out bathtub but can't afford a remodel? Learn how to paint it instead with this step-by-step guide.
Two days
Beginner
about $100
Introduction
Revitalizing your bathroom doesn't have to mean a costly renovation anymore, especially replacing unsightly tubs and tile. Whether you're seeking to update the color scheme or simply refresh the look of your fixtures, painting provides a practical alternative to expensive replacements.
You can achieve a stunning, cost-effective makeover with a DIY tub and tile painting kit, available at most home improvement centers for less than $100. These kits are beginner-friendly and the work can be completed in one day.
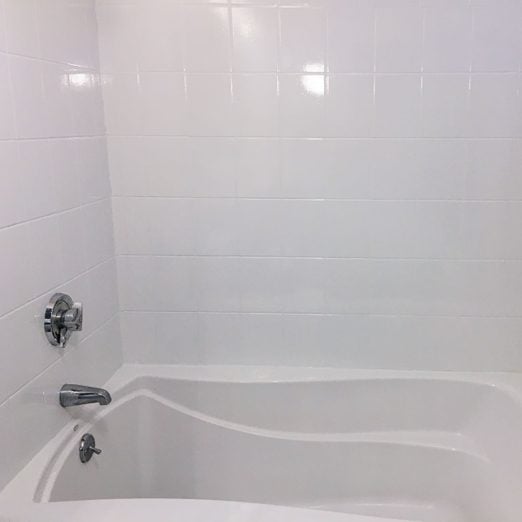
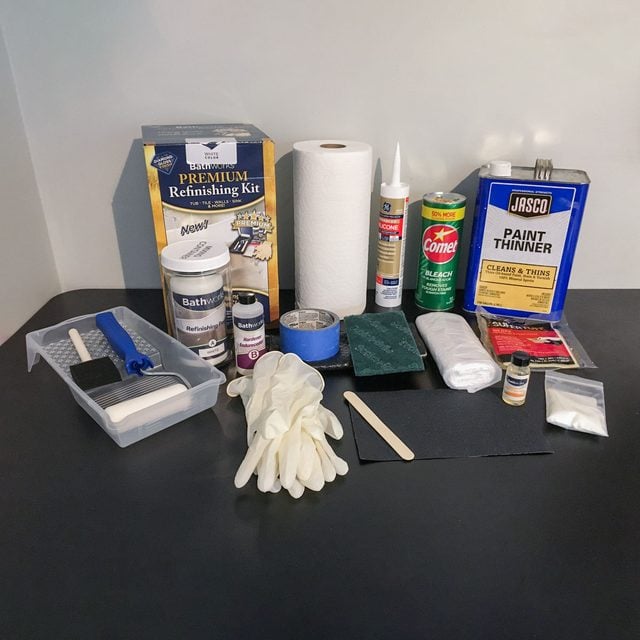
For this step-by-step guide, I'm using a Bathworks DIY Bathtub & Tile Refinishing Kit to paint a tile bathtub surround. A 20-ounce kit covers 60 square feet — the size of a standard bathtub — and costs around $80.
The kit comes with everything you need to paint the tub, except a respirator mask, so factor this into your cost if you don't own one. Also, if you choose to remove and reapply caulk where your tub meets the tile surround (recommended), this will cost extra as well.
While this project is great for beginners, take particular care with the surface preparation steps. These are crucial to the longevity of the final product. It takes four to six hours to complete the project, then an additional 24 hours to cure before use, so plan to be without a tub for two days.
Tools Required
- Caulk removal tool
- Fan
- Hair dryer or wet vacuum (for tub)
- Protective eyewear
- Razor blade or scraper
- respirator
Materials Required
- 100% silicone caulk
- Abrasive bathroom cleaner
- Bathworks Tub
- Garbage bag
- Mineral spirits
- Painter's tape
- Paper towels
- Protective surface coverings
- Scrub sponge/pad
- Tile
Project step-by-step (9)
Prepare the space
- Clear the tub of all personal items.
- Open windows.
- Set up a fan for ventilation.
- Turn on the bathroom ceiling vent

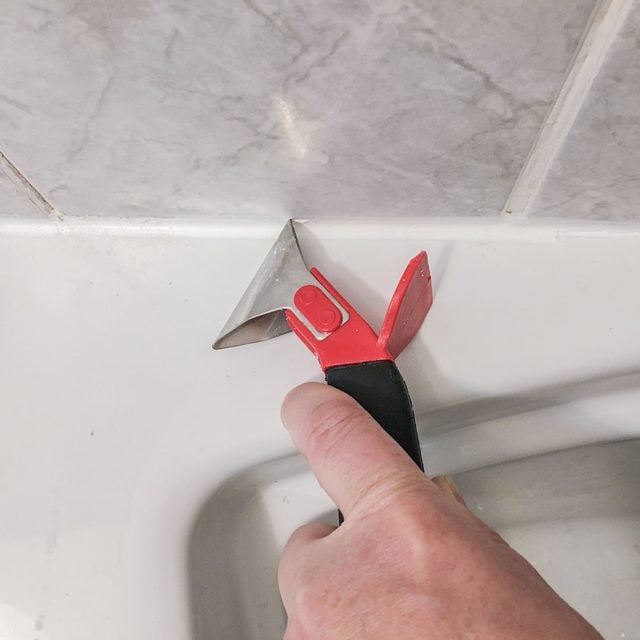
Remove old caulk
- Use a caulk removal tool and razor blade to remove all existing caulk on any surfaces you intend to paint. (In case you need this, here are some tips and tricks to replace a towel bar on tiles.)
- Apply mineral spirits to previously caulked surfaces to remove any residual product.
- Wipe dry and clean any debris.
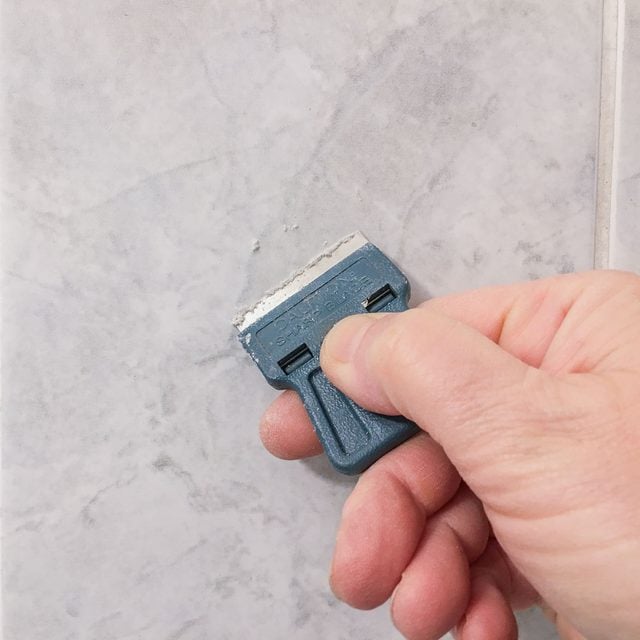
Remove soap scum
- Scrape the surfaces to be painted with a single-edge razor blade to remove soap scum buildup.
- Focus on areas under the soap tray and the tub or sink drain.
- Wipe all scrapings into a garbage bag.
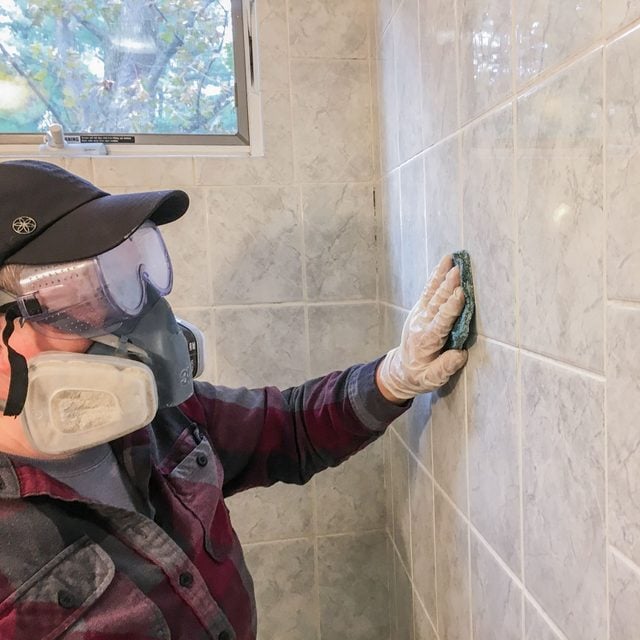
Clean the surface
- Wear protective gloves and eyewear.
- Clean all surfaces with the provided etching cleaner or Comet, mixed to a paste with warm water.
- Scrub the walls with the cleaning solution and a scrub pad or sponge.
- Rinse the surfaces well after scrubbing to remove all residue.
- While the walls are still damp from rinsing, sand the entire surface with 120-grit wet/dry sandpaper.
- Rinse well when finished and allow the surfaces to dry.
- If you’re thinking of painting a tub , use a hair dryer or wet/dry vacuum to blow water out of any drains or wall areas.
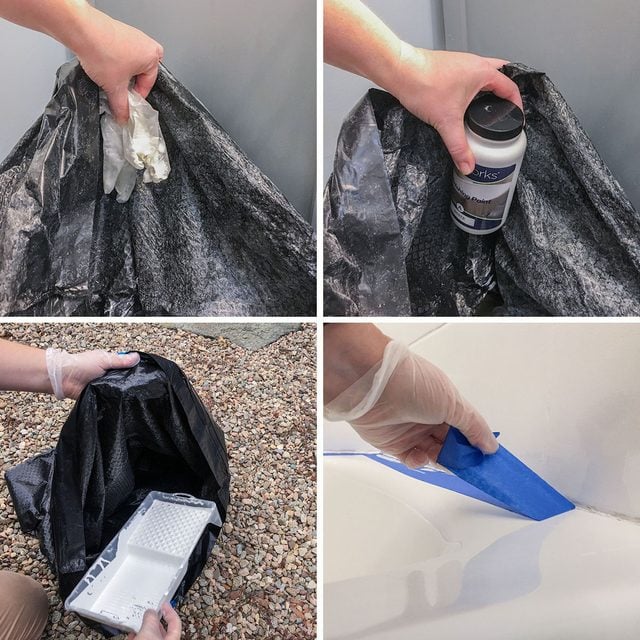
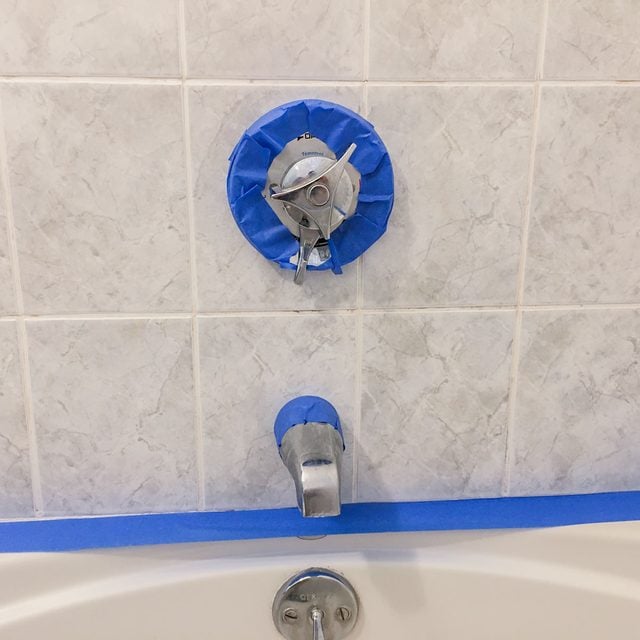
- Place and secure a glove or plastic bag over the tub spout and showerhead to prevent water from dripping onto the surface while refinishing.
Mask off surrounding areas
- Use painter’s tape to mask off any walls, fixtures or nearby areas that aren’t being painted.
- If painting a tub, consider removing the overflow and drain before proceeding.
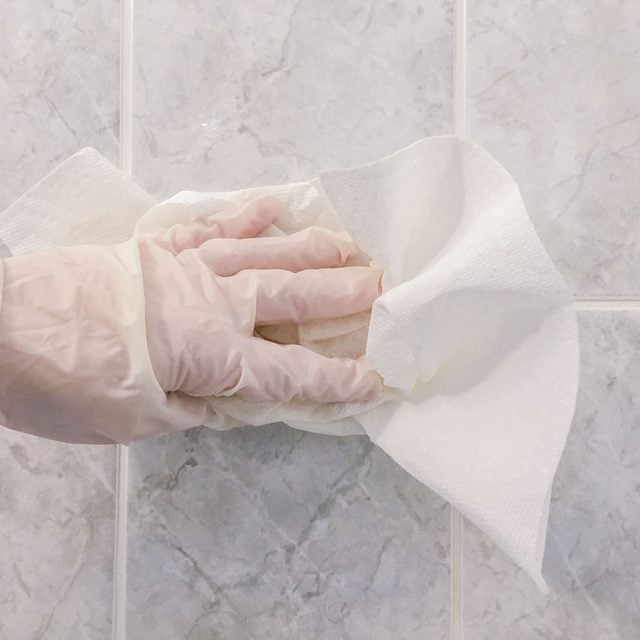
Prime the surface
- Wipe down surfaces to be painted with the tack cloth to remove all debris, dust and dirt.
- Wear gloves, respirator and eye protection for the remaining steps. Also ensure adequate ventilation.
- Empty contents of primer onto a paper towel.
- Apply to all surfaces intended for paint, ensuring complete coverage.
- Dispose of used paper towels in a closed plastic bag to minimize fumes.
- Allow the primer to dry for five minutes.
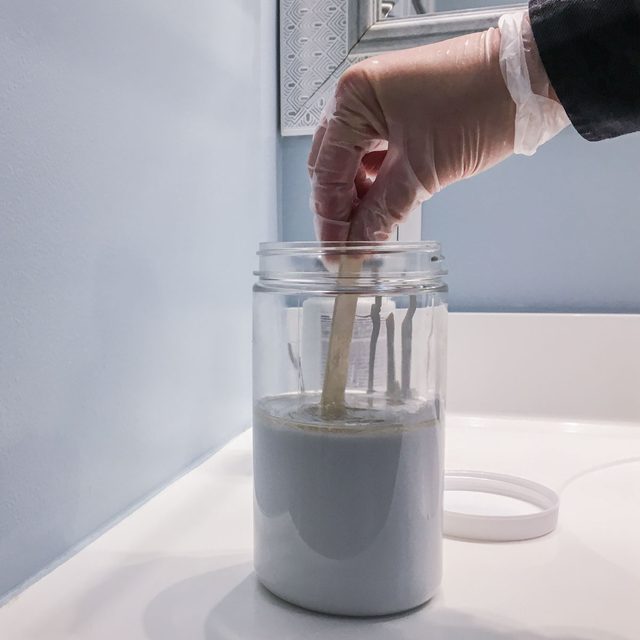
Mix the two-part paint
- Empty entire contents of Part A (Paint) and Part B (Hardener) into the provided mixing container.
- Mix thoroughly for three minutes with the stir stick. Mix slowly to avoid air bubbles.
- Allow thoroughly mixed paint to sit for five minutes.
- Complete the next steps within two to three hours — that’s the pot-life of the mixed product.
Paint the surface
- Pour paint mixture into the paint tray.
- Use the two-inch foam brush to paint the edges of the surface and areas where a roller will not fit.
- Use the four-inch foam roller on the large surface area.
- For tubs, begin with the inside walls, then the bottom and up the curves. Paint the top edge of the tub, the front, and finally the top deck surface.
- If painting bathroom tile surrounds or walls, start from the bottom and work upward.
- Use a fair amount of paint, but not too much. Too much paint will create runs and sags. Too little will not provide adequate surface coverage and may lead to product failure.
- Apply a second coat right away following the same rolling patterns.

Finishing touches and clean up
- Wait 45 minutes, then carefully remove the painter’s tape.
- Allow 24 hours for the paint to dry.
- Reapply a bead of caulk along the tub/tile line.
- Dispose of all unused materials and debris immediately after completing the project, following all state, city and town codes for proper paint disposal.