


Installing pre-used or salvaged windows in your next DIY project can save you money and keep some perfectly good windows from the landfill.
A few hours
Intermediate
Varies
Introduction
Recycled or salvaged windows will save you money and keep perfectly good windows out of the landfill.Tools Required
- Drill/driver
- Hammer
- Level
Materials Required
- Recycled window
- Roofing nails
- Shims
- Silicone
- Trim head screws
- Window flashing tape
To save some money and keep some perfectly good products out of the landfill, you can purchase windows from a re-use company that sells recycled building materials. Some were salvaged or mis-ordered. And some are new materials that, for one reason or another, were never used.
If the windows have been previously installed, you may need to order replacement parts like nailing flanges and hardware from the manufacturer. And you might not find a matching set of all the windows you’re looking for, so you’ll likely make some compromises there.
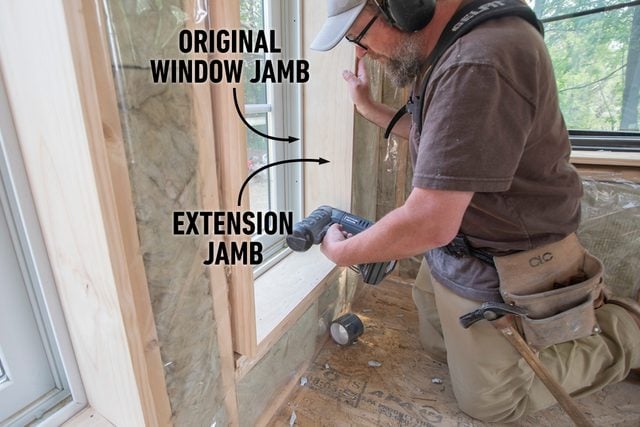
You may also need to add extension jambs to the window to meet the depth of your framing.
As long as you have all the necessary window parts, the process of installing previously used windows is no different than installing new windows and flashing.
Project step-by-step (7)
Step 1
Frame the Window Opening
Frame the window openings as you’re framing the walls.
To find the size of the openings, measure the windows and add 1-1/2-inches to the width and height. This leaves space on all sides of the windows to plumb and level with shims, as well as insulation.

Step 2
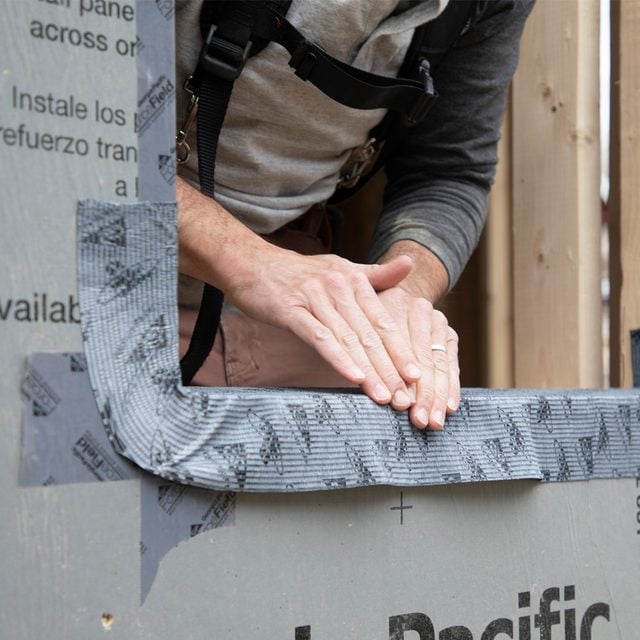
Install the Sill and Sill Tape
Cut a piece of cedar bevel siding to fit the windowsill. Set it in place with the thin edge towards the exterior. This way, if any moisture does get in around the window, it’ll flow outward.
Tape the sill using flexible sill tape, extending about six inches up each side. Tape the seams where the sheathing meets the studs with window flashing tape.
Step 3
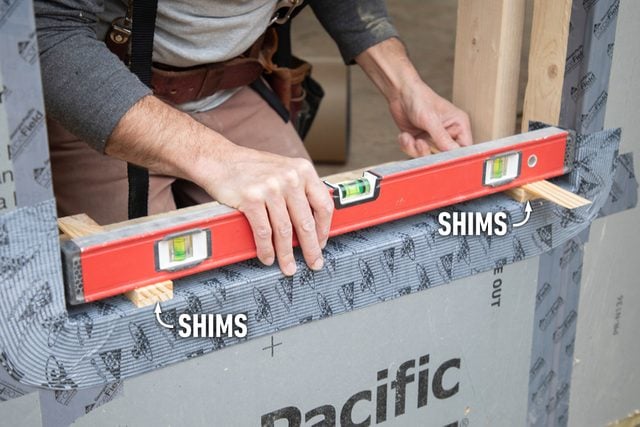
Shim the Sill
Level 3/4-inch thick shims on the sill.
Step 4
Set the Window in Place
With a helper, set the window into place on the shims. Apply silicone to the flange, then tip the window into the opening.

Step 5
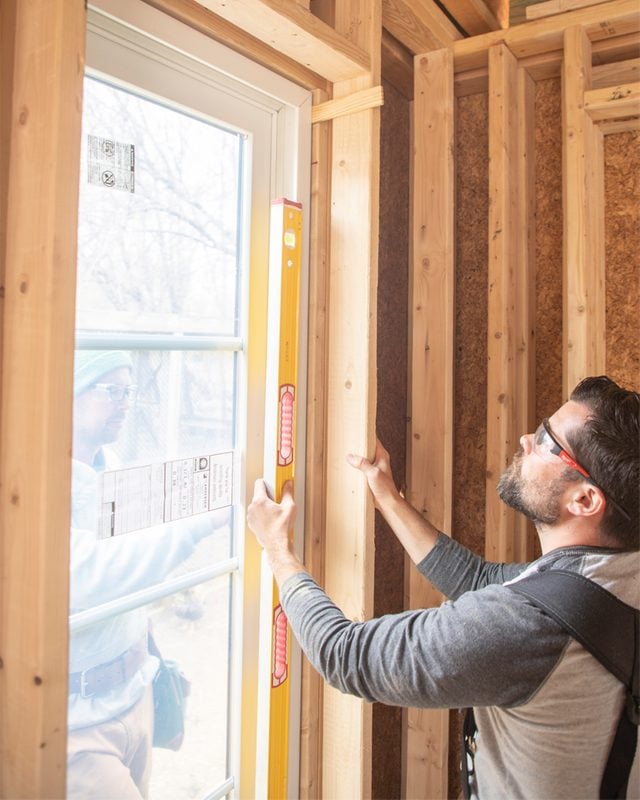
Level and Secure the Window
With one person inside with a level and one outside with a hammer and roofing nails, fasten the window to the sheathing.
Level the sill and nail the two bottom corners of the flange. Then plumb the sides and nail the top corners. Use a straightedge on the jambs as you’re nailing off the flange, shimming the jambs as need to keep them perfectly straight.
Step 6
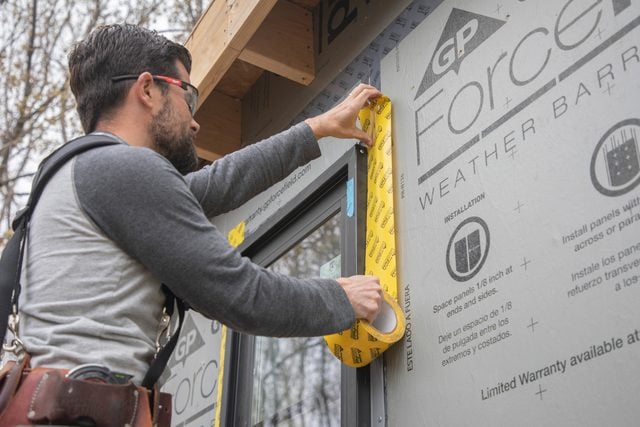
Tape the Flanges with Flashing Tape
Tape over the nailing flanges with window flashing tape. On the inside, drive trim head screws through the jambs into the studs to firmly secure the windows.
Step 7
Add Extension Jambs
If you need to add extension jambs, pre-build them before installing instead of installing one board at a time. This approach ensures the extension jamb is square and makes installation a breeze. Just set the assembled jamb in place and fasten it to the framing.
Finish by installing the interior window trim.
Originally Published: June 23, 2023