
Learn how to achieve a mirror-like finish on your next project from a furniture maker with more than 40 years experience.
Master the Art of Wipe-on Poly

Updated Feb. 22, 2021
1
/
18
The best choice for a clear coating is often a specialized finish like pre-catalyzed lacquer—but that assumes you have a spray booth outfitted with high-end equipment. For most of us, polyurethane provides a combination of cost and durability that’s hard to beat. With wipe-on poly, you also get goof-proof simplicity, speed and convenience. It’s not only works on furniture, it’s also a great way to finish trim.
2
/
18
Meet the team
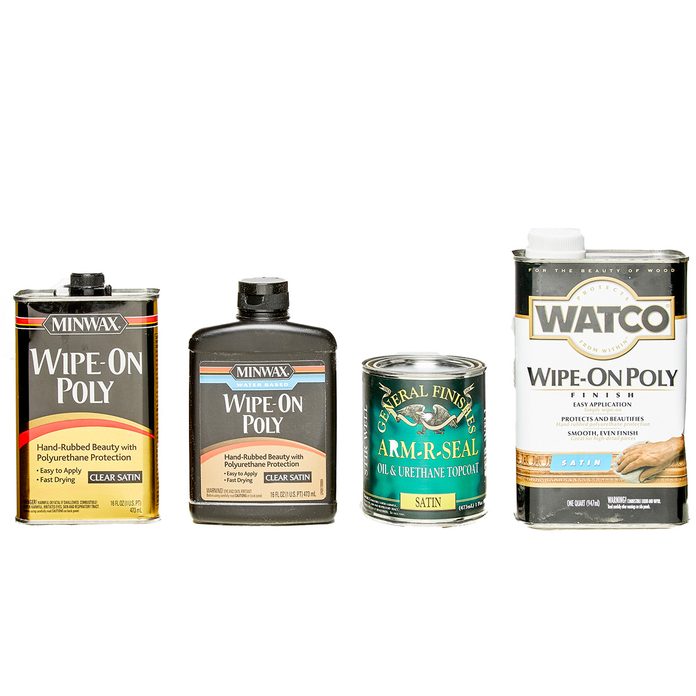
We tried four versions of wipe-on poly. In terms of results, we found only small differences and were happy with each. Most home centers carry various sheens, but only one brand. All these options, and more, are available online. Prices start at about $15 per quart.
Minwax is the most common brand of oil-based wipe-on poly. Like other oil-based coatings, it adds a slight amber color to the finish. That can be good or bad, depending on the project.
Minwax water-based wipe-on poly dries faster than oil-based products, so you have to move fast. Unlike the others, it has no amber hue.
General Finishes Arm-R-Seal is formulated for brushing or wiping. It’s slightly less amber than the other oil-based finishes.
Watco wipe-on poly is most like the Minwax oil-based product. Be careful when shopping; Watco’s beloved Danish oil finishes comes in a similar container, and it’s easy to grab the wrong product.
3
/
18
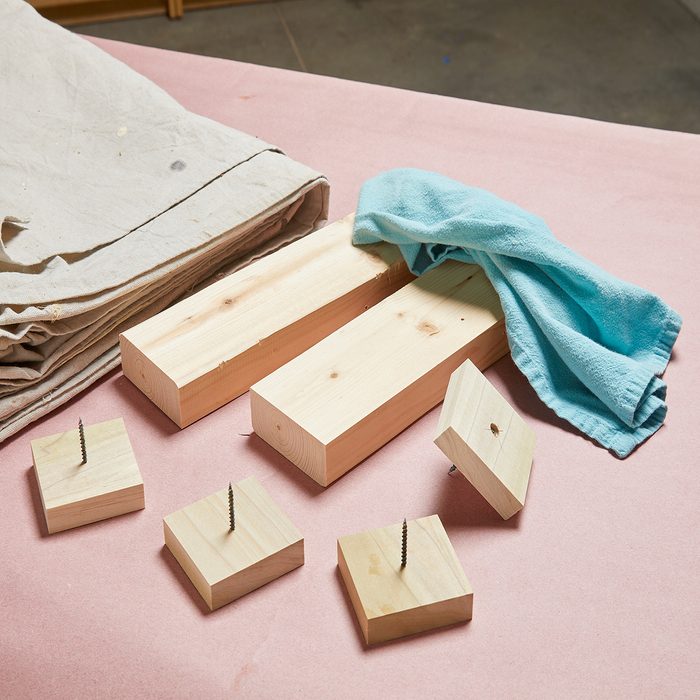
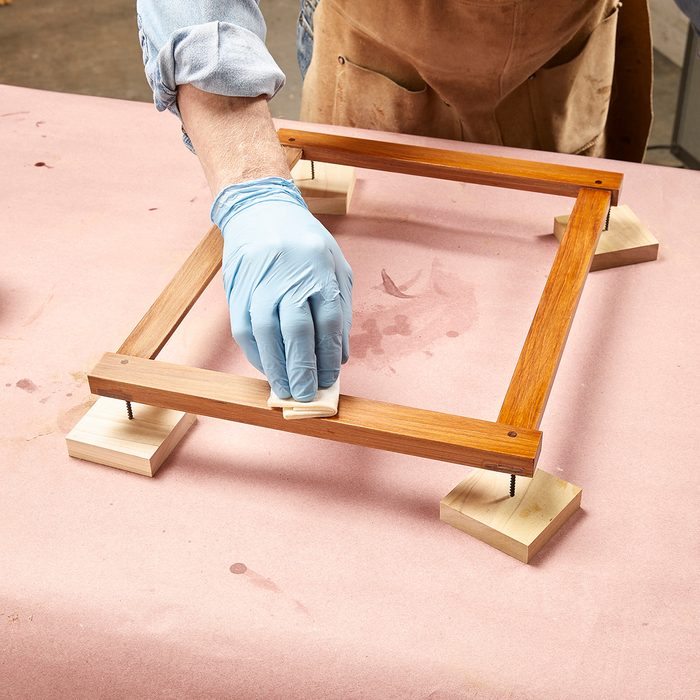
Set the stage
Drips happen, so use resin paper, a drop cloth or newspaper to protect your worktable. If your project has legs, make standoffs for them to perch on. Standoffs allow you to wipe finish all the way down to the ends of the legs. They poke holes in the wood, so if you have parts that must be finished on both sides, such as a shelf, set them on blocks covered with cloth instead.
4
/
18
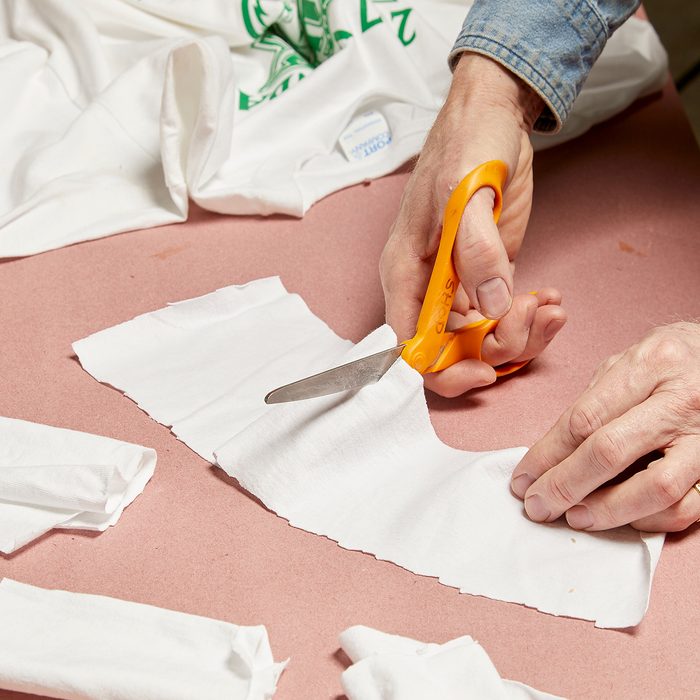
Cut up an old T-shirt
Cut a T-shirt into 6-in. squares. Fold each square in half, twice, to make applicators. White fabric is best because any lint left in the finish is less likely to show.
5
/
18
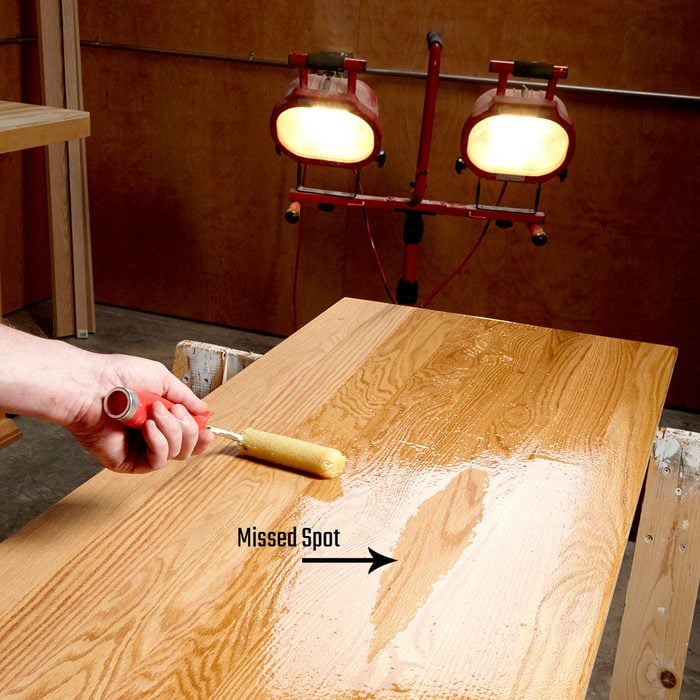
Bright lighting is critical
Good light helps you avoid leaving drips, sags and “holidays” (spots that you accidentally skip). When you’ve just applied finish to an area, check to see that all of it looks shiny and wet. Use a portable light if you’re working in a dim room.
6
/
18
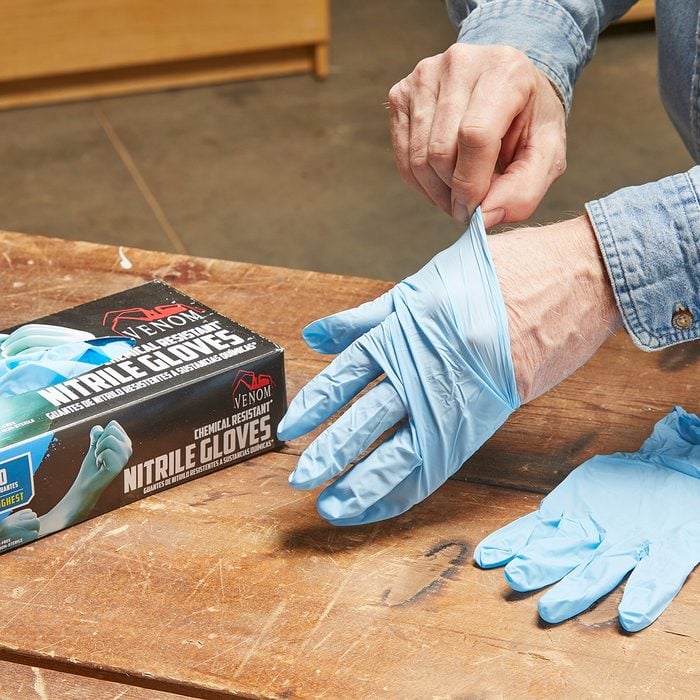
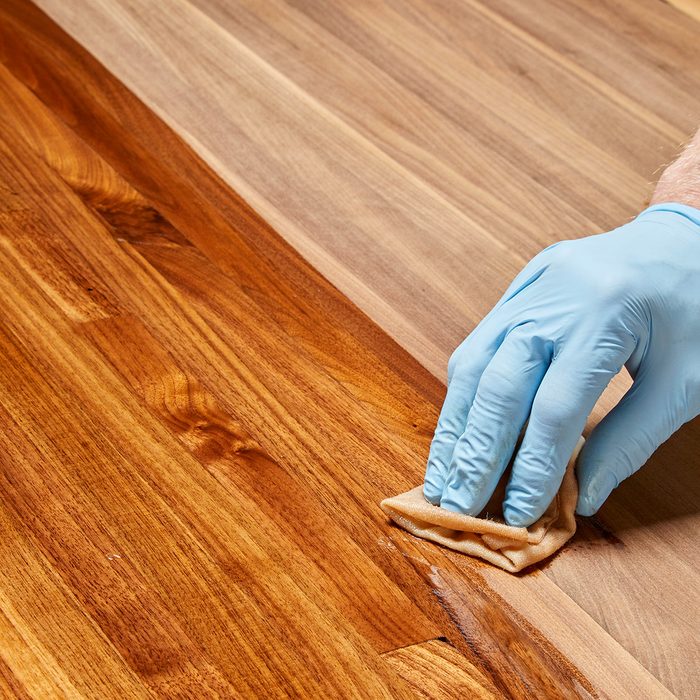
Wear gloves
Protect your hands with disposable vinyl or nitrile gloves. You can usually reuse them two or three times before they get too gummed up.
7
/
18
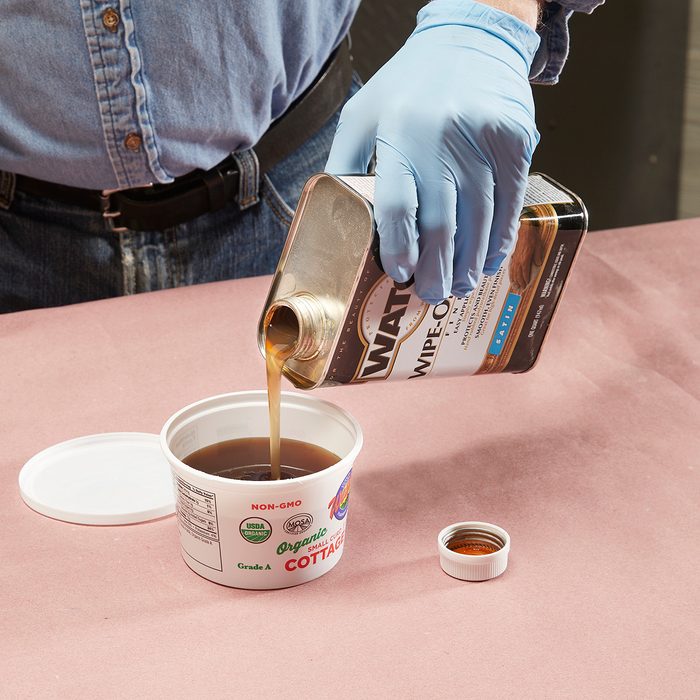
Pour it into a plastic tub
A margarine or cottage cheese tub is just right for wipe-on. Dip your rag into the finish, squeeze out the excess and wipe on. With the lid in place, the poly will remain fresh for a couple days. After a few days, the solvent will begin to degrade the plastic, so don’t use plastic for long-term storage.
8
/
18
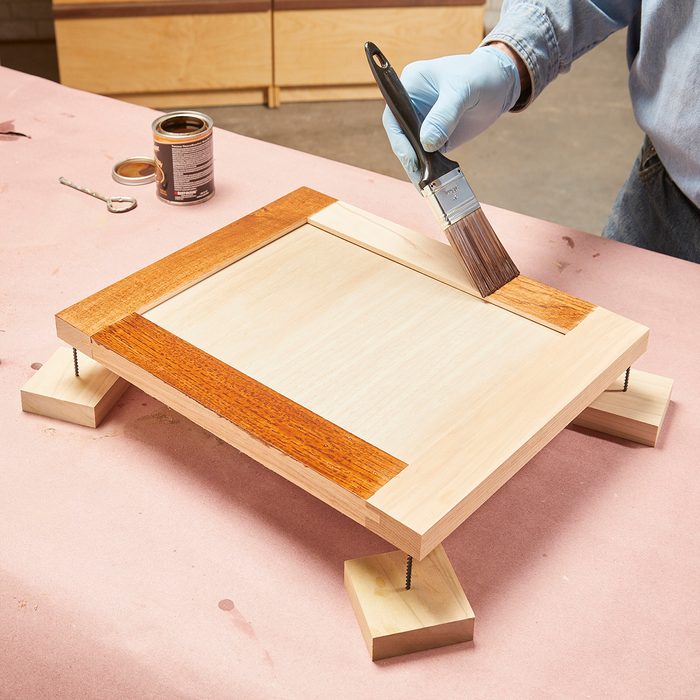
Brush first, then wipe
When you need a thick, protective buildup of poly on a door or tabletop, you have three choices: Go with brush-on poly, apply several coats of wipe-on, or do a combination of both. You can, for example, brush on two coats for a heavy build, then apply wipe-on for a flawless surface. Sand the brushed-on finish absolutely smooth and apply at least two wipe-on coats for a consistent sheen. To make sure the two finishes bond to each other, they should both be oil-based or water-based. Using products from the same company is a good idea too.
9
/
18
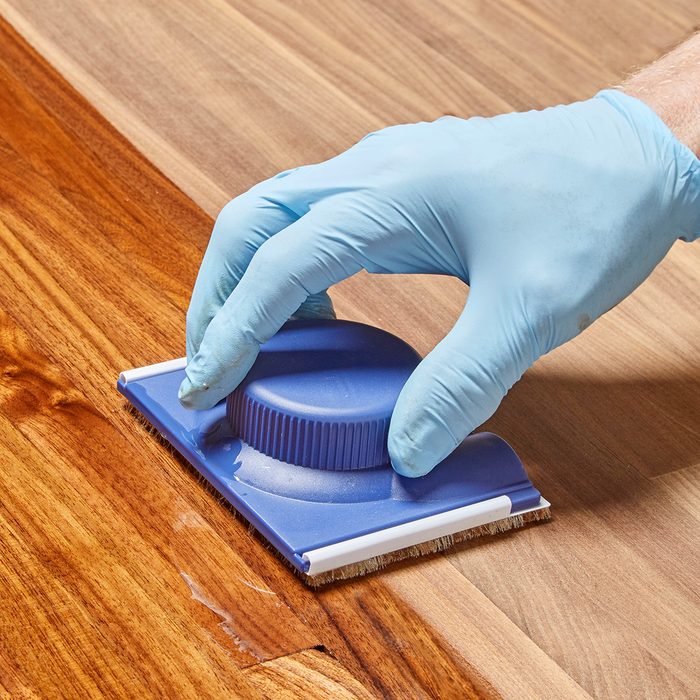
Cover large areas fast
A paint pad holds more finish than a rag and wipes it on faster. You can reuse a paint pad, too. After each coat, just store it in a sealed plastic tub or plastic bag. Get a paint pad at any home center for about $5.
10
/
18
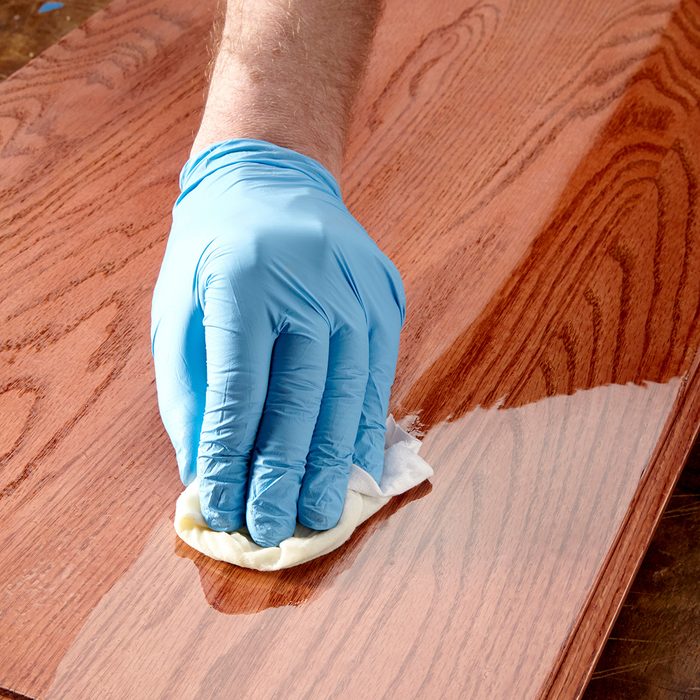
Keep the coats light
Three thin coats of wipe-on finish will look smoother than one or two thicker coats. For the best results, don’t sand after the first coat. (You might sand through it!) Apply a second thin coat, then lightly sand with 220-grit sandpaper. Then apply a final thin coat.
11
/
18
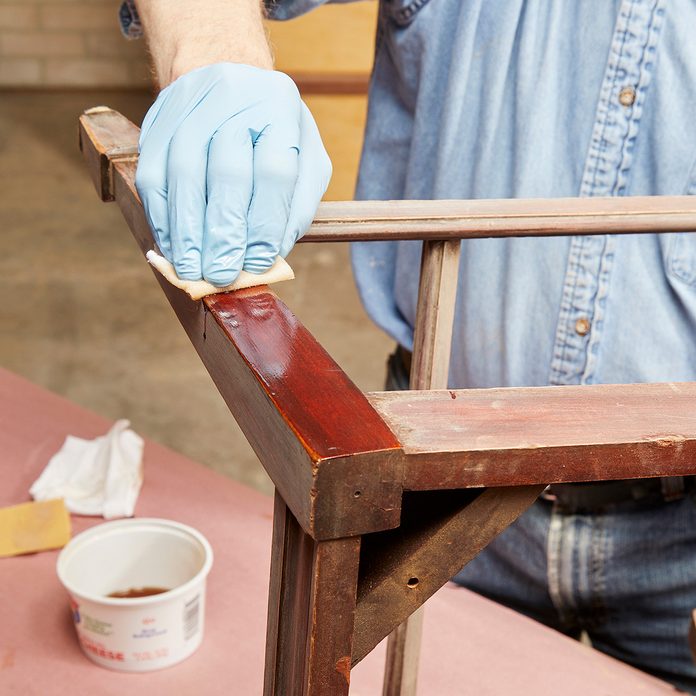
Freshen up an old finish
If your old furniture or woodwork looks dull and lifeless, try renewing it with a few coats of wipe-on finish. Wash it first with dish soap and water, then lightly sand the old finish with 220-grit sandpaper. Vacuum off the dust, then apply the finish as usual. Apply at least two coats to achieve an even sheen.
12
/
18
Let stain dry overnight
Applying poly too soon after staining is always risky. And it’s even riskier with wipe-on poly. If the stain isn’t completely dry, wiping it with a rag soaked with finish will cause it to smear. Ugly!
13
/
18

Sand by hand
Don’t use an electric sander between coats. It will remove too much finish. Sand by hand instead. Fold the paper in thirds so it doesn’t wrinkle, then hold it flat with two or three fingers. Be careful near sharp or slightly rounded edges, though. Sanding too hard might cut through the finish and leave bare wood. It’s best not to sand them at all.
14
/
18
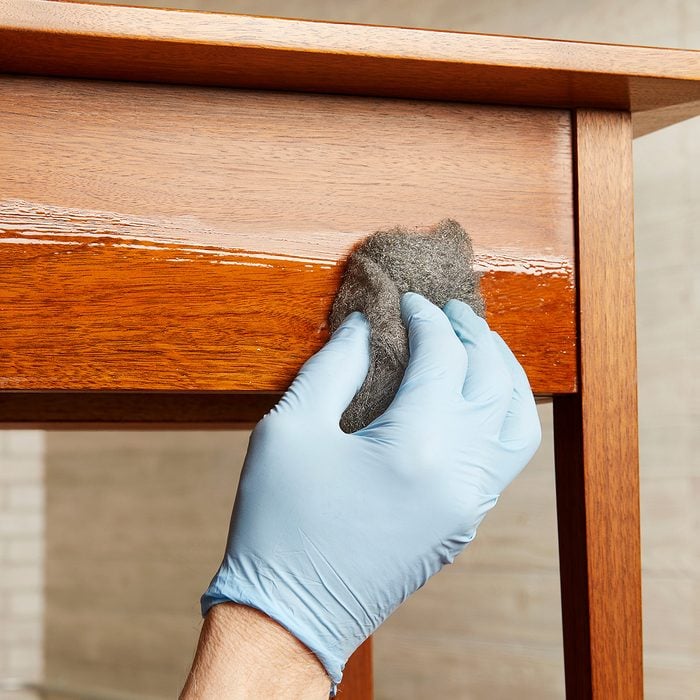
Want ultra smooth? Try steel wool
If you’re using an oil-based finish and you want to make a surface smooth as glass, apply the last coat with “00” steel wool. Rub hard. The steel wool will cut through any nibs or dust on the surface. To capture the grit and to maintain an even sheen, use a bunch of dry rags to wipe off the finish before it dries. This will leave only an ultra-thin film of finish on the surface.
15
/
18
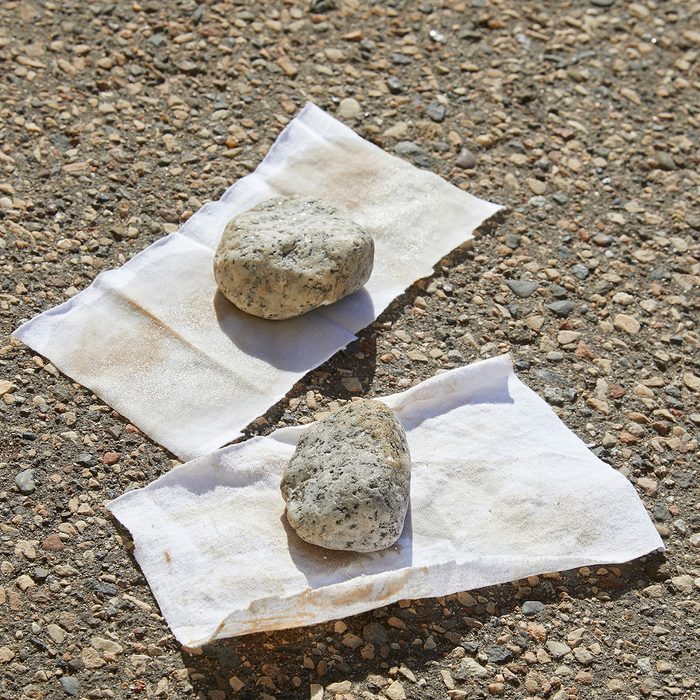
Wet rags are a fire hazard
Take no chances. If rags wet with finish are wadded up, they can heat up, smolder and catch on fire as they dry. However, wet rags are safe if you dispose of them properly. Take them outside and separate them. Place them on concrete or asphalt or hang them with clothespins to dry overnight. Be sure to keep them away from kids and pets. Once the rags are stiff, they’re no longer a fire hazard. You can put them in the trash.
16
/
18
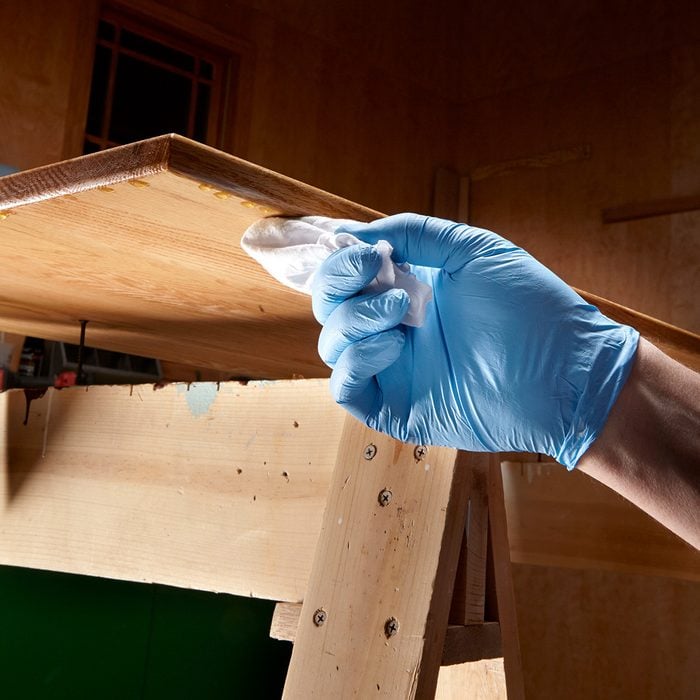
Check for drips
There isn’t much that can go wrong with wipe-on. But you can end up with a few drips or sags. Immediately after you wipe on the finish, give the whole project a quick inspection and wipe away any mistakes.
17
/
18
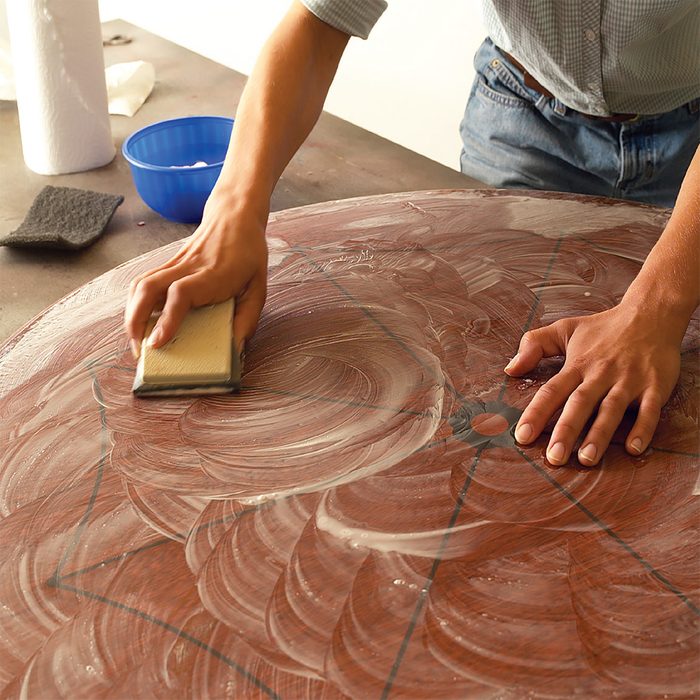
Correct bad brushwork
When brush-on poly goes wrong—dust nubs, sags, brush marks—you can correct it. After the finish has fully dried, sand with soapy water or mineral spirits and 400-grit wet/dry paper. After you’ve sanded the finish flat and smooth, a couple light coats of wipe-on poly will give you a perfect surface.
18
/
18

Meet the expert
Tom Caspar was the Sr. Editor at the American Woodworker magazine and has been a professional woodworker and custom furniture builder for more than 40 years.