
Installing a pocket door lock is essential for maximum home safety. A professional carpenter details his pocket door hardware installation process so you can replicate with ease.
A Full Guide to Pocket Door Hardware Installation

Updated Jun. 13, 2024
1
/
6
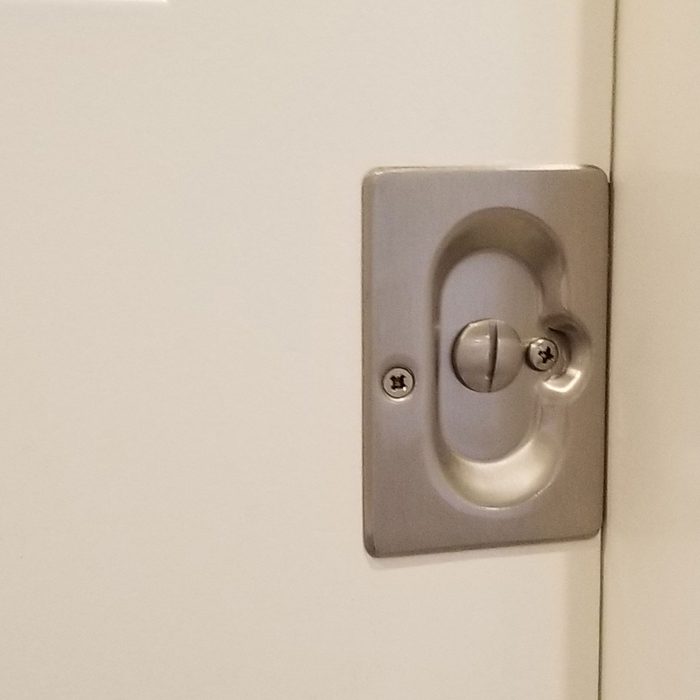
Pocket door hardware installation
A pocket door is a great space-saving solution. Since pocket doors offer a little less privacy, getting the locking hardware installed right is important. Although other styles are available, I still prefer the traditional pocket door pulls that require a notch into the door edge. I’ll show you how I do it.
2
/
6
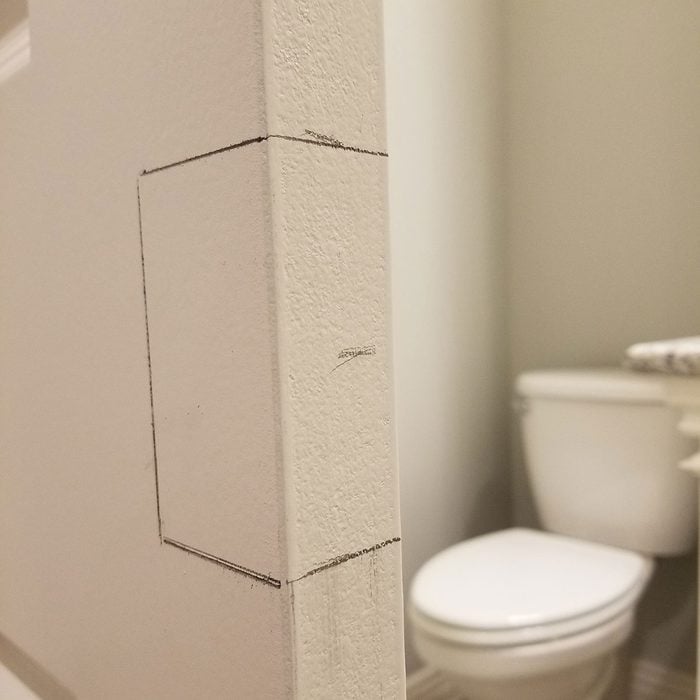
Be precise
I start by carefully marking out the cut to the size indicated by the instructions. The cut on the edge of the door needs to be right on the money because the outside door-edge end of the hardware doesn’t overlap any of the notch at all, so it’s crucial at the point its perfected since there is no forgiveness. Remember you can always make the notch bigger, but it’s a lot harder to make it smaller.
3
/
6
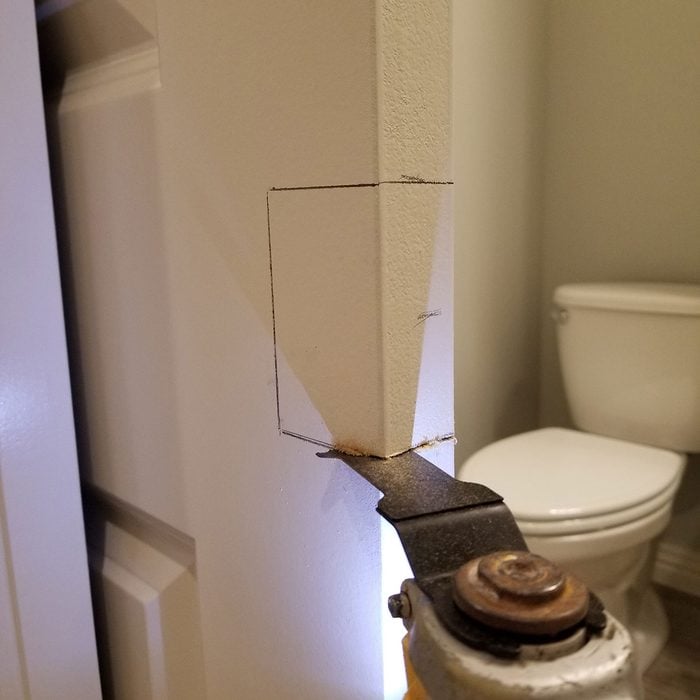
Cutting with a multi-tool
I used to cut out my notch with a jigsaw, but I had a lot of trouble with the blade bending and wood getting tore out on the opposite side, even when I put tape down and scored it with my knife. I’ve had great results ever since I switched over to an oscillating multi-tool. It’s important to cut with a sharp blade, and don’t cut all the way through the door from one side. Instead, cut halfway through from each side. This is the only way you can achieve a perfect notch.
4
/
6
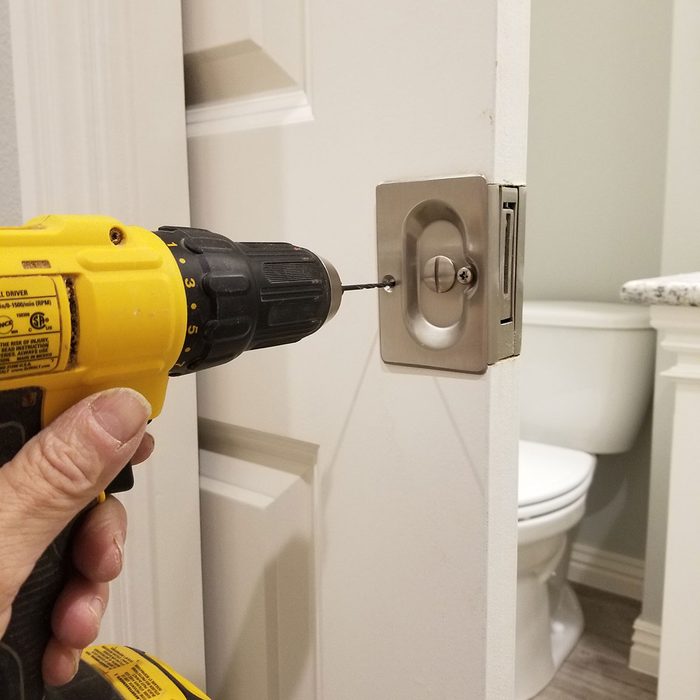
Attach the latch
Loosen the front machine screws and slide the latch in place, and then drill a couple of pilot holes for the wood screws. There is a dimple where the screw goes through the side of the hardware that normally causes the plate to stick out a little bit. To get a tight fit I drill a counter-sink hole then reinstall all the screws (below).

5
/
6

Mark the striker plate location
When it comes to locating the striker plate there isn’t a lot of wiggle room. I extend the latch and mark where it hits the jamb then temporarily screw the plate in place.
6
/
6
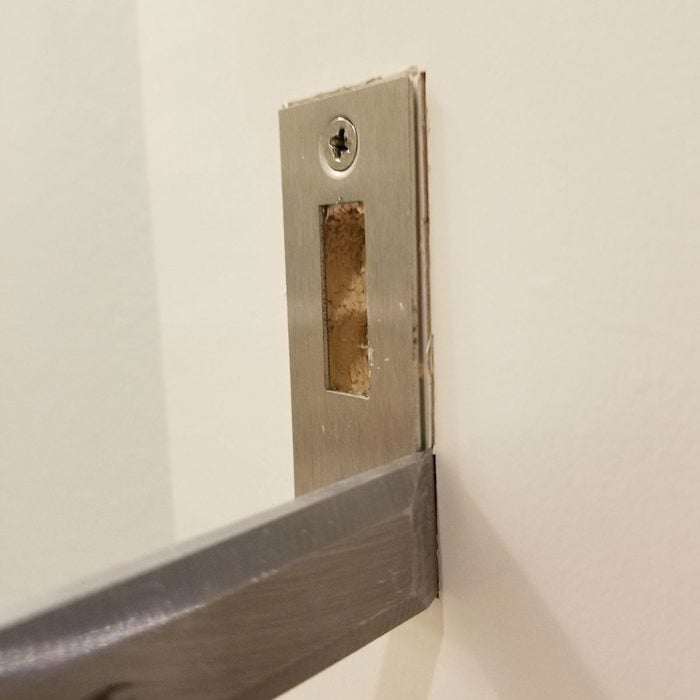
Install a strike plate
After marking the plate opening, I drill a couple of overlapping holes then temporarily put the plate back in place. I double check to make sure the latch catches well and then mark around the plate with a sharp chisel. Making shallow cuts straight into the jamb help control the depth of cut when I chisel the striker plate out. As long as I take my time the fit is usually pretty close to perfect.

Gary Striegler
Gary began working with his father as a trim carpenter in 1972 at the age of 14. As the president of Craftsman Builders, Gary is still a hands-on builder. About half of his time is still spent on the job site creating the high end interiors that have become his trademark. He is a frequent contributor to Fine Home Building Magazine and The Journal of Light Construction. Gary also enjoys teaching on subjects relating to home building. He has made presentations for The Woodworking Show, JLC Live Shows, Woodmaster Tools, Kreg Tools, DEWALT Tools, Grex Tools, and White River. Gary also teaches classes at the Marc Adams School of Woodworking.