
How to Dig Postholes

Updated: Jun. 02, 2023
The easiest and most accurate way to dig deep footings with a posthole digger.
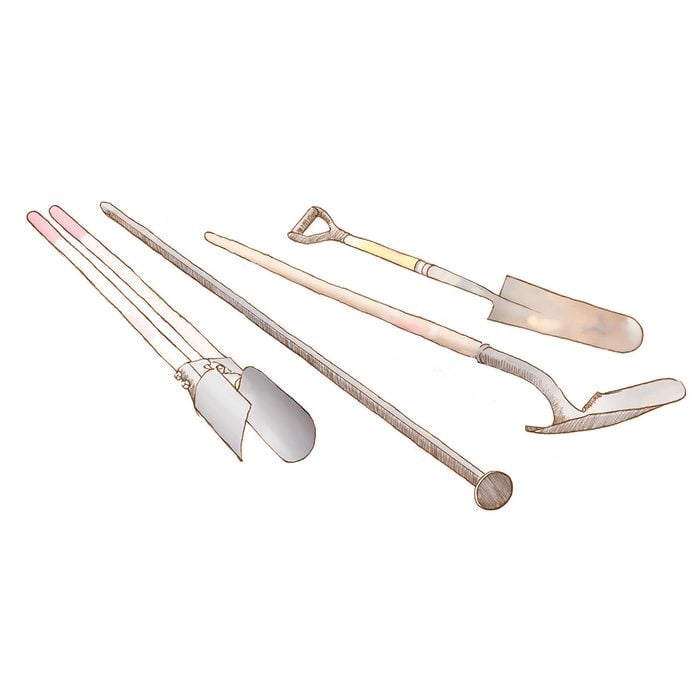
The Big 4 Posthole Tools
If you have more than a couple of postholes to dig, don’t stop at a shovel and a clamshell digger. You’ll treasure two more tools just as much. First, pick up a tile spade. The long, narrow blade will get you places no other shovel can. Also get a tamper-end digging bar.
Digging a hole isn’t all that complicated. But it’s tough work, and if you’re not careful your hole ends up in the wrong spot and you have to start over. Here are a few tips to get perfectly placed holes—with a little less sweat on your part.
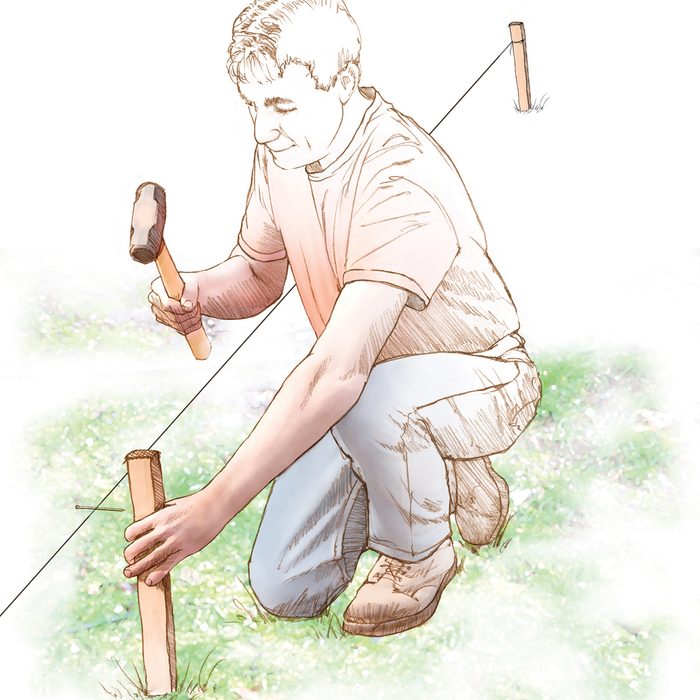
String Your Line and Pound the Stakes
Drive stakes to mark the center of each posthole, using a 2-lb. hammer.

Post-Marking Tip
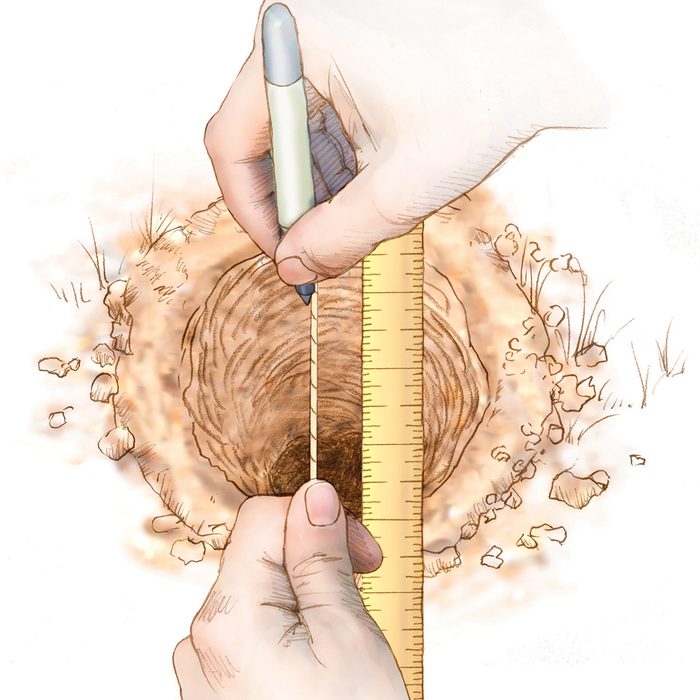
Push a small nail through your string line to mark post centers.
String a line marking the outside edges of the posts. Mark the post centers on the line by untwisting the string and pushing a nail through the strands. You can fine-tune the nail position just by sliding it to the exact location. Then pound stakes to mark the center of the holes. If you’re using 4×4 posts, that will be just under 2 in. from the string.
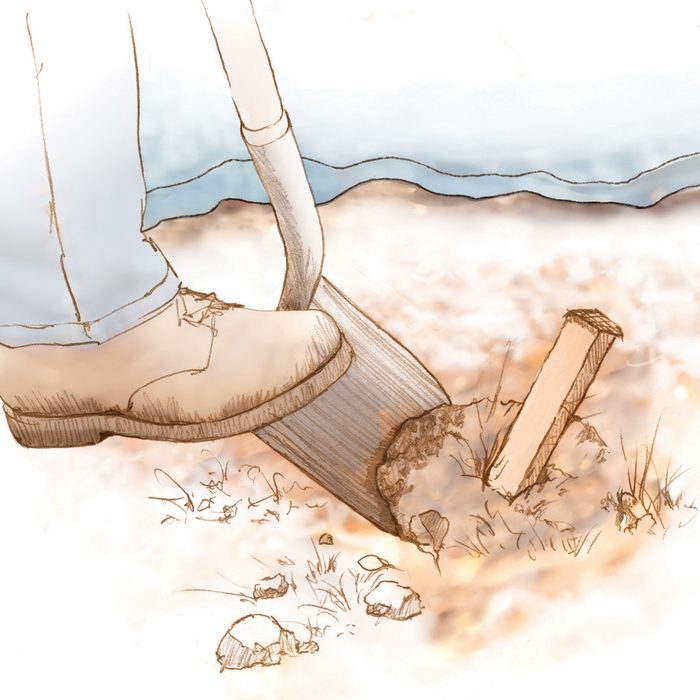
Carve Out a Soil Divot With a Spade
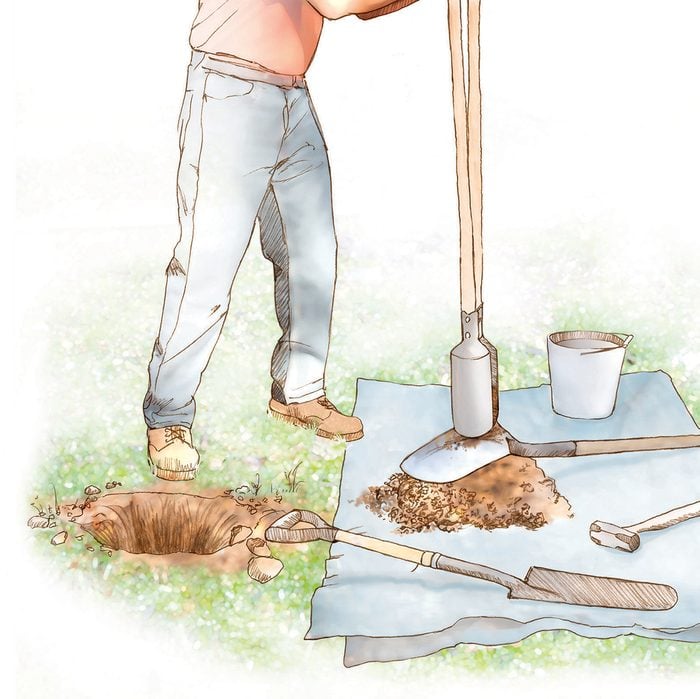
Set the string aside so you don’t wreck it while digging. And don’t just start digging away; drill yourself a pilot hole first. Dig around the stake to center the hole. Carve out a round plug to outline the posthole. That’ll get you started in exactly the right spot. Throw the dirt onto a tarp to protect your lawn.
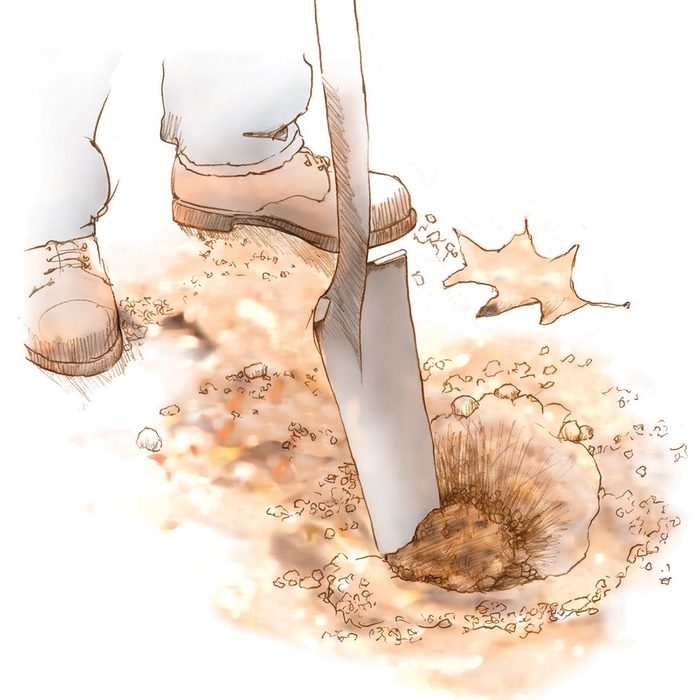
Loosen Earth With a Tile Shovel
Unless you have very soft soil, you’ll work way too hard digging with just a clamshell digger. Loosen the soil and carve away at the sides with the tile spade. It’ll easily slice through small roots.
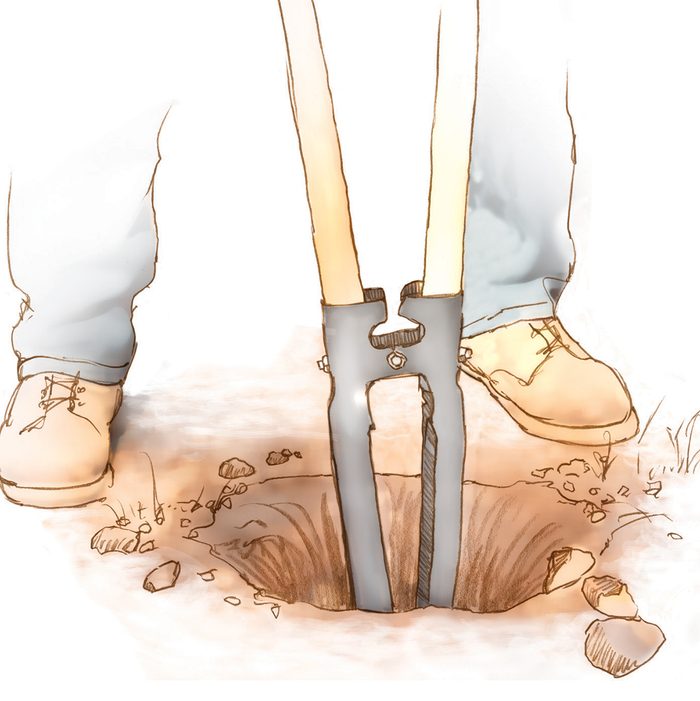
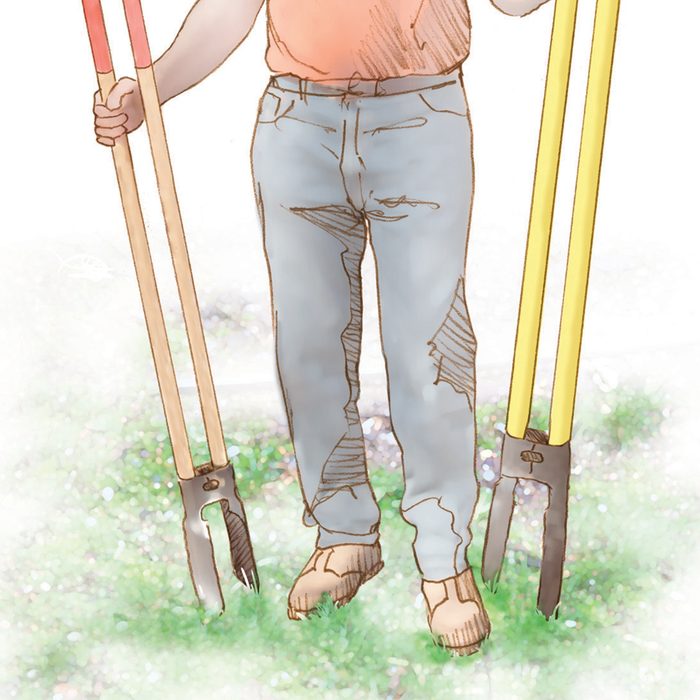
Use Your Clamshell Digger
Here’s how to use a post-hole digger: Plunge the open clamshell digger blades into the loosened soil and grab a load of fill.
Saw Through Large Roots With Power Digging Tools
Don’t kill yourself chiseling out roots. Just use a recip saw with a long, coarse blade and poke it right into the soil at the ends of the root and cut it off.
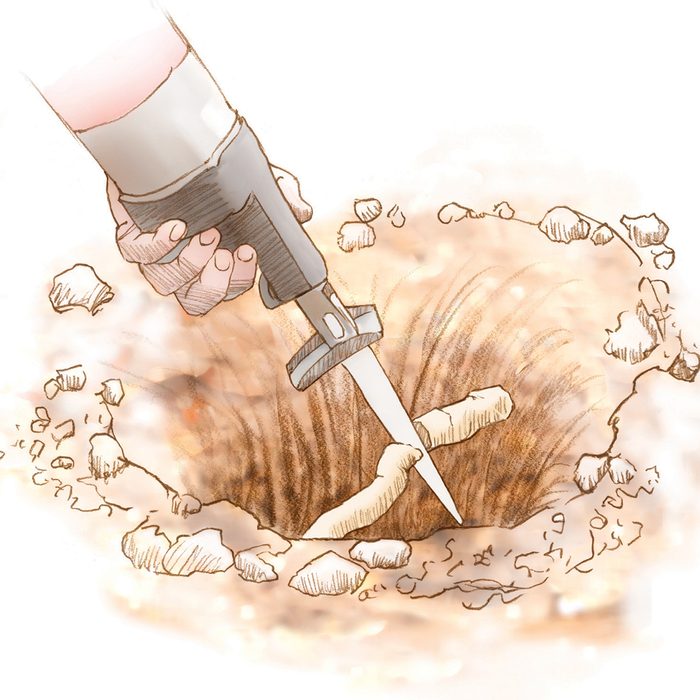
Use a Steel Bar for Rocks
Pick out rocks from the hole sides with your digging bar. Let them fall into the hole and pluck them out with your clamshell digger.
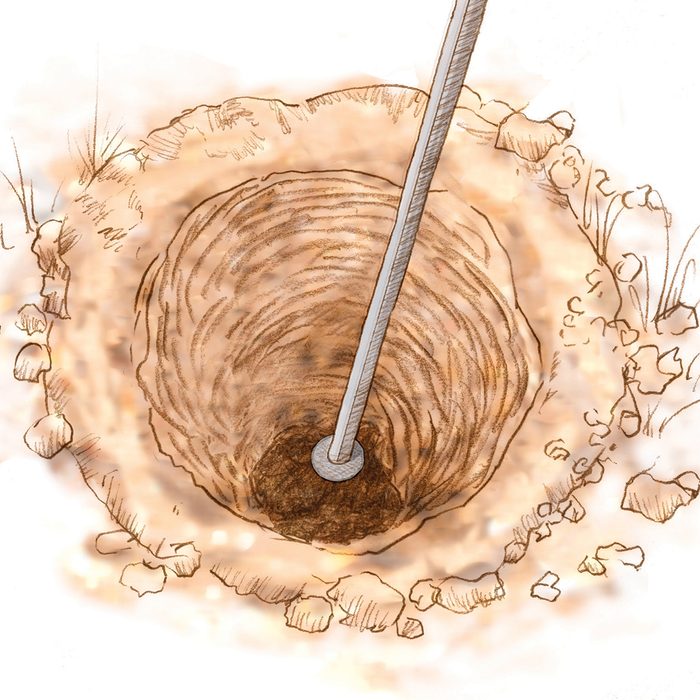
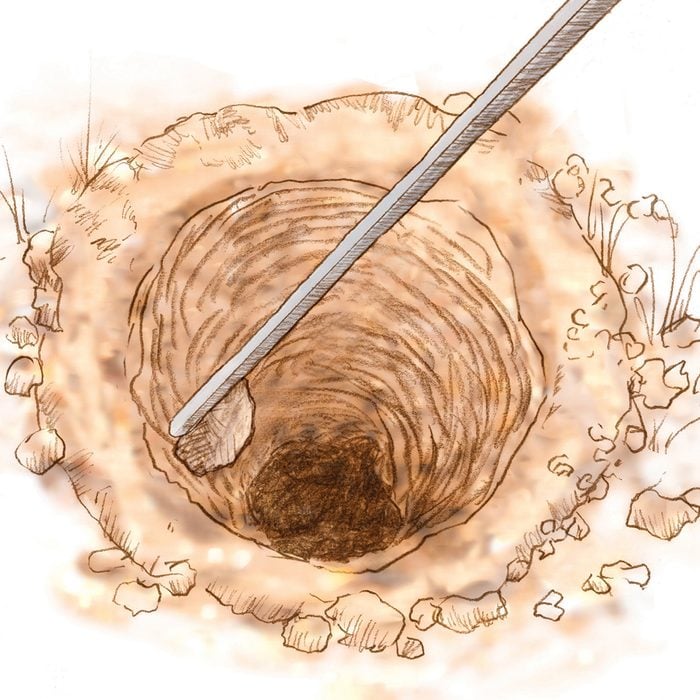
Tamp the Soil With the Other End
Use the tamper end of the digging bar to compact the soil before setting posts or pouring concrete. That prevents any settling.
Mark the Post Edge Locations
Restring the line, pull the nails and mark the exact post edge locations on the line with a permanent marker.

Cover Holes with Plywood
If you’re walking away from the postholes for a while, cover them with plywood. It just might save a broken leg and/or keep the sides from caving in during a storm.
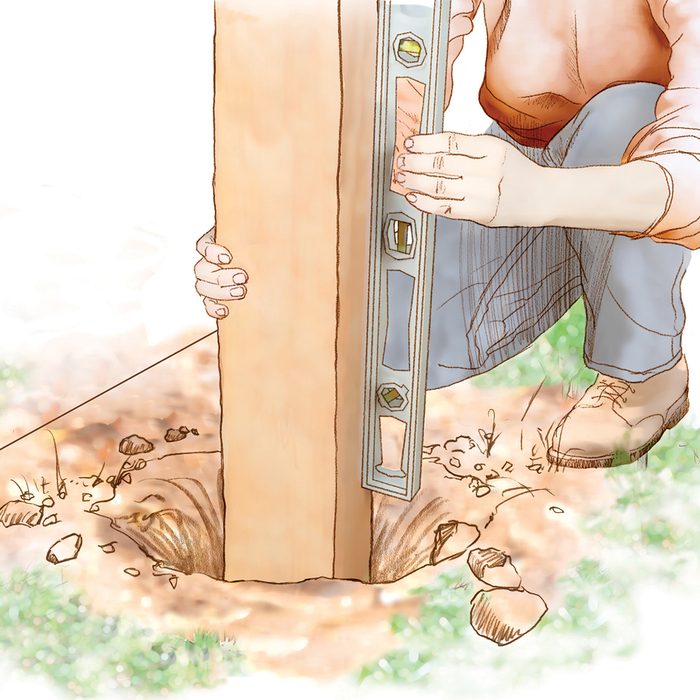
Position the Posts
Place the posts with one side brushing against the string and the edge even with your mark. Then hold the post plumb while you fill the hole. Pack the soil with the tamper end of the digging bar every foot or so.
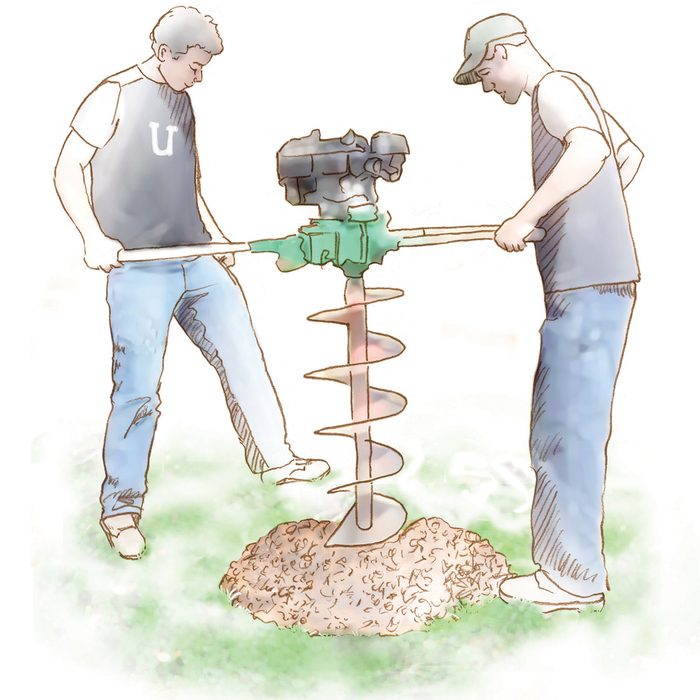
Rent a Power Auger
Power augers require a trip to the rental store and a brawny friend. And they’re worthless in clay or rocky soil. The truth is, unless you have lots of holes to dig in the sand, it’s often easier to dig by hand.
Digging In Clay
If you’re digging in sticky clay soil, dip your clamshell digger in a bucket of water so the soil won’t stick. Knock off clumps on the back of the shovel. Spread a tarp to keep dirt off your grass.
Opt for Easy Digging
Unless you’re a bodybuilder, avoid those giant, heavy-gauge, fiberglass-handled clamshell diggers. You’ll just get exhausted; you’re better off with a smaller, lightweight digger. Try these 15 tips for digging holes, too.
Originally Published: June 02, 2023