
You can save $1000 in a weekend! Here's what you need to know before you begin installing your DIY radon reduction system.
DIY Radon Reduction System Tips
1
/
11
DIY Radon Reduction
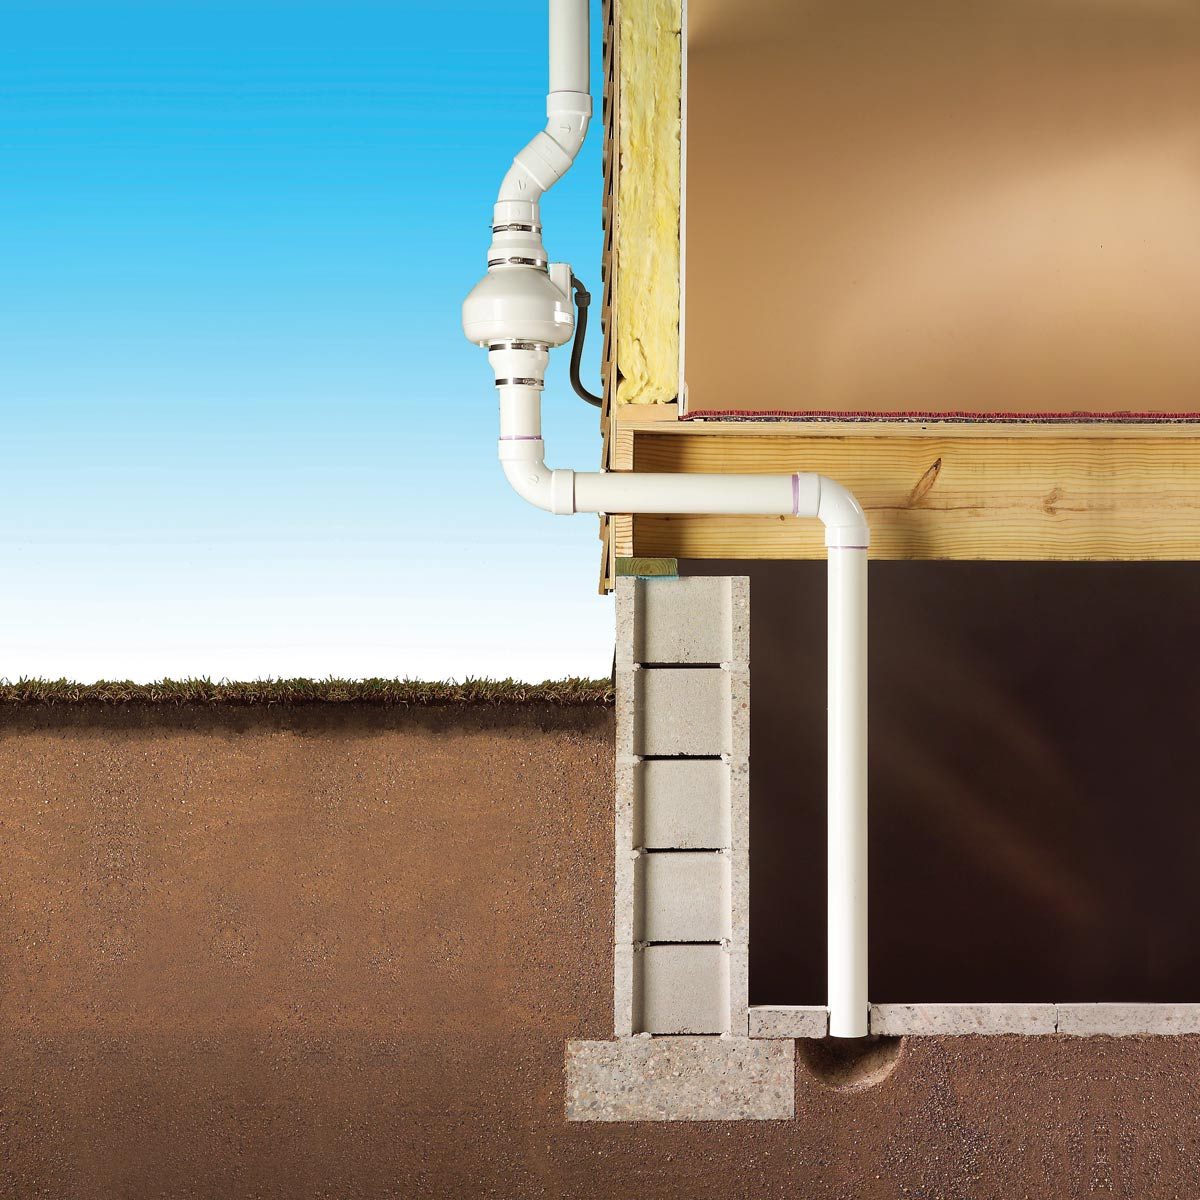
If you’ve tested for radon and found you’ve got a problem, your next question is probably “Can I fix it myself?” This article will help you answer that question. And if you decide to go for it, we’ve got some great tips from professional installers to help you get it done.
In most cases, pros charge about $1,500 to install a radon mitigation system, but you can do it yourself for only about $500 in materials.
2
/
11
What is Radon?
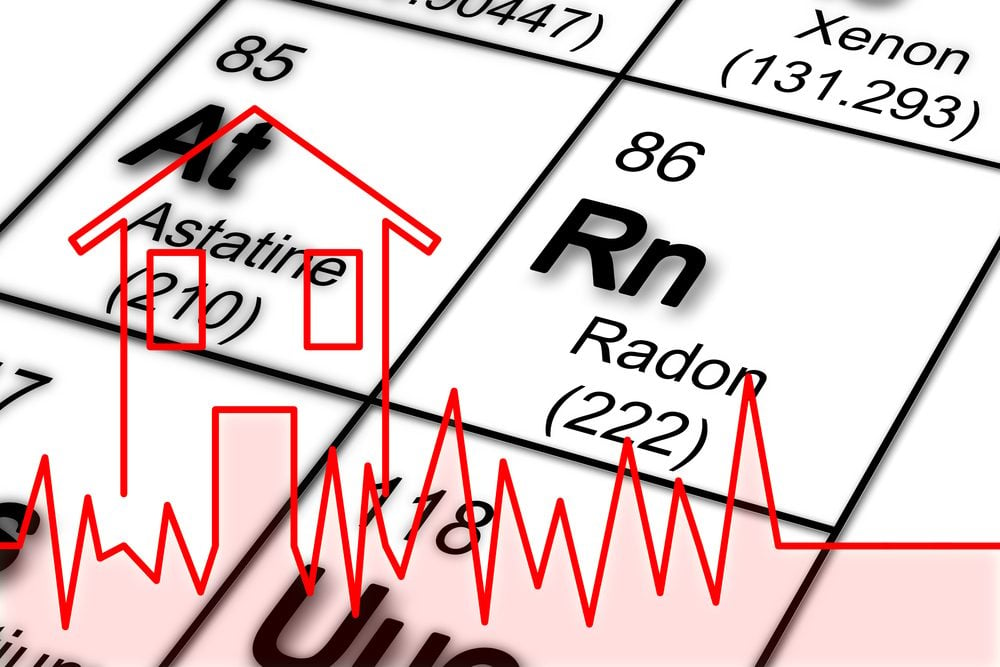
Radon is an invisible, odorless radioactive gas that seeps out of the soil and into the atmosphere. It’s almost everywhere.
In fact, you’re probably breathing in tiny traces of it right now. But when it’s trapped inside a home and reaches high levels, radon can cause lung cancer. Your house can have high levels of radon even if your house is new and your neighbor’s house doesn’t have any. The highest levels are normally found in basements, but it’s possible for radon to reach other parts of your house too.
3
/
11
Seal holes and cracks first
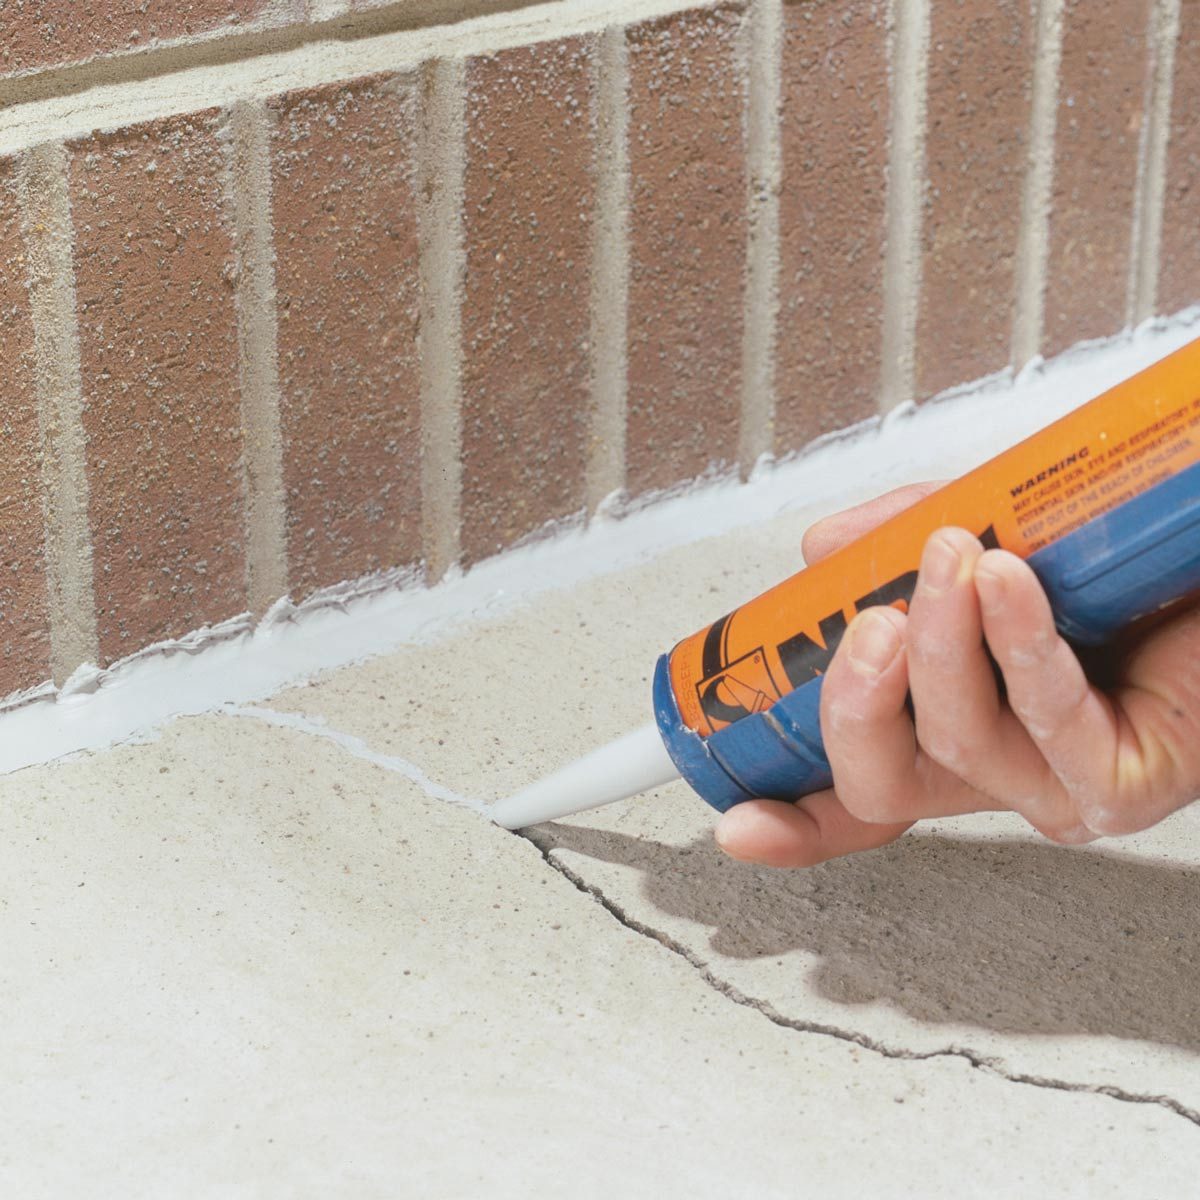
If the radon levels in your home are only slightly elevated, try sealing holes and cracks in concrete walls and floors and test again. In most cases, sealing doesn’t solve the problem. But you’ll have to seal before you install a mitigation system anyway, so it’s worth a try. Sealing is usually simple; caulk small openings and fill larger gaps with expanding foam or hydraulic cement.
4
/
11
Find the footing
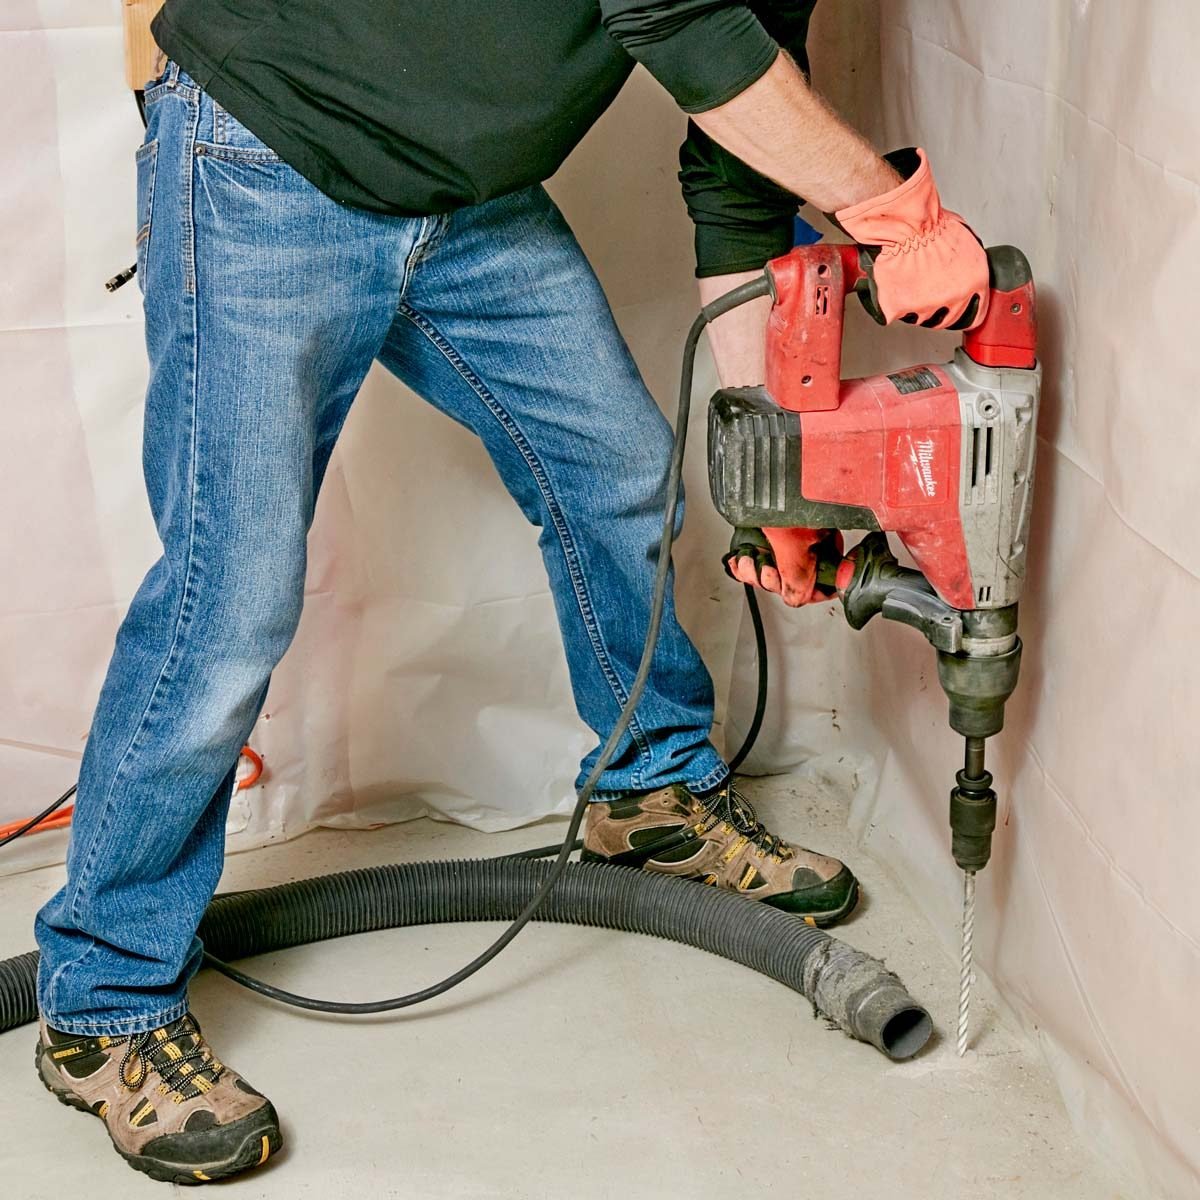
If you’ll be installing your PVC pipe close to a basement wall, drill a test hole in the floor and feel around for the foundation’s footing. Concrete slabs are typically about 4 in. thick, so use a masonry bit that’s a couple of inches longer than the thickness of the floor (our installers use a 12-in. one) to see if the footing under the foundation walls will be in the pipe’s way. If you do hit the footing, try again a couple inches farther from the wall. You can patch the test holes later with patching cement.
5
/
11
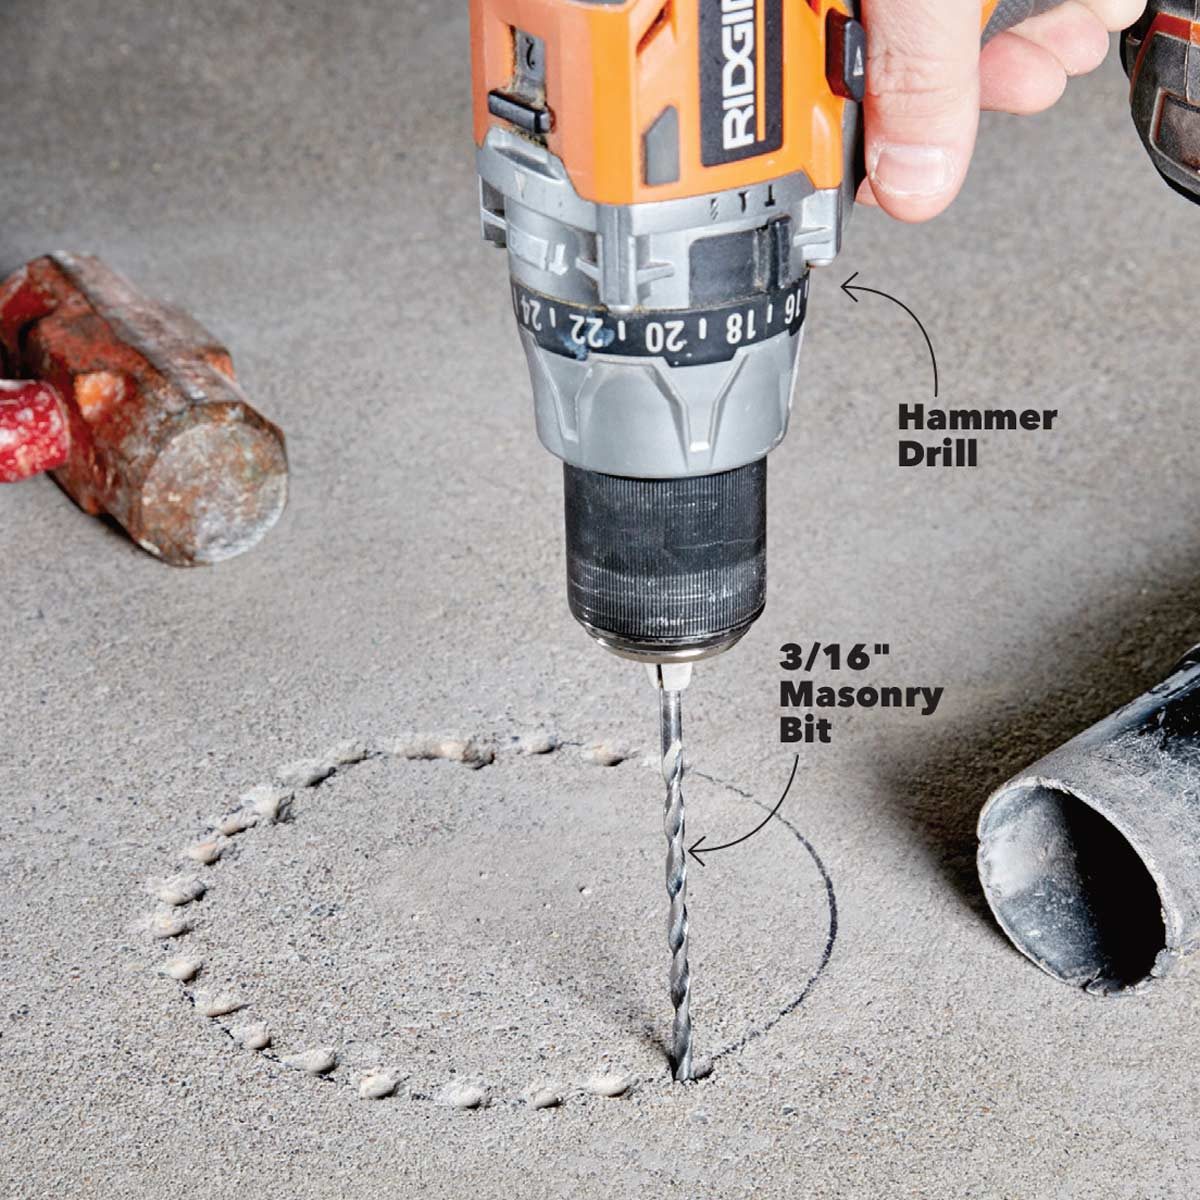
Make a big hole with several small ones
You’ll need a hole in the basement floor a little bigger than the PVC pipe to give you some wiggle room and make it easier to remove soil and gravel. You could rent a large rotary hammer drill and coring bit from the home center. But save yourself some money and try this trick instead: Just draw a 6-in. circle where the pipe will be installed. Then, using a 3/16-in. masonry bit, drill several holes close together. Now just whack the center of the large hole with a hammer to break through.
6
/
11
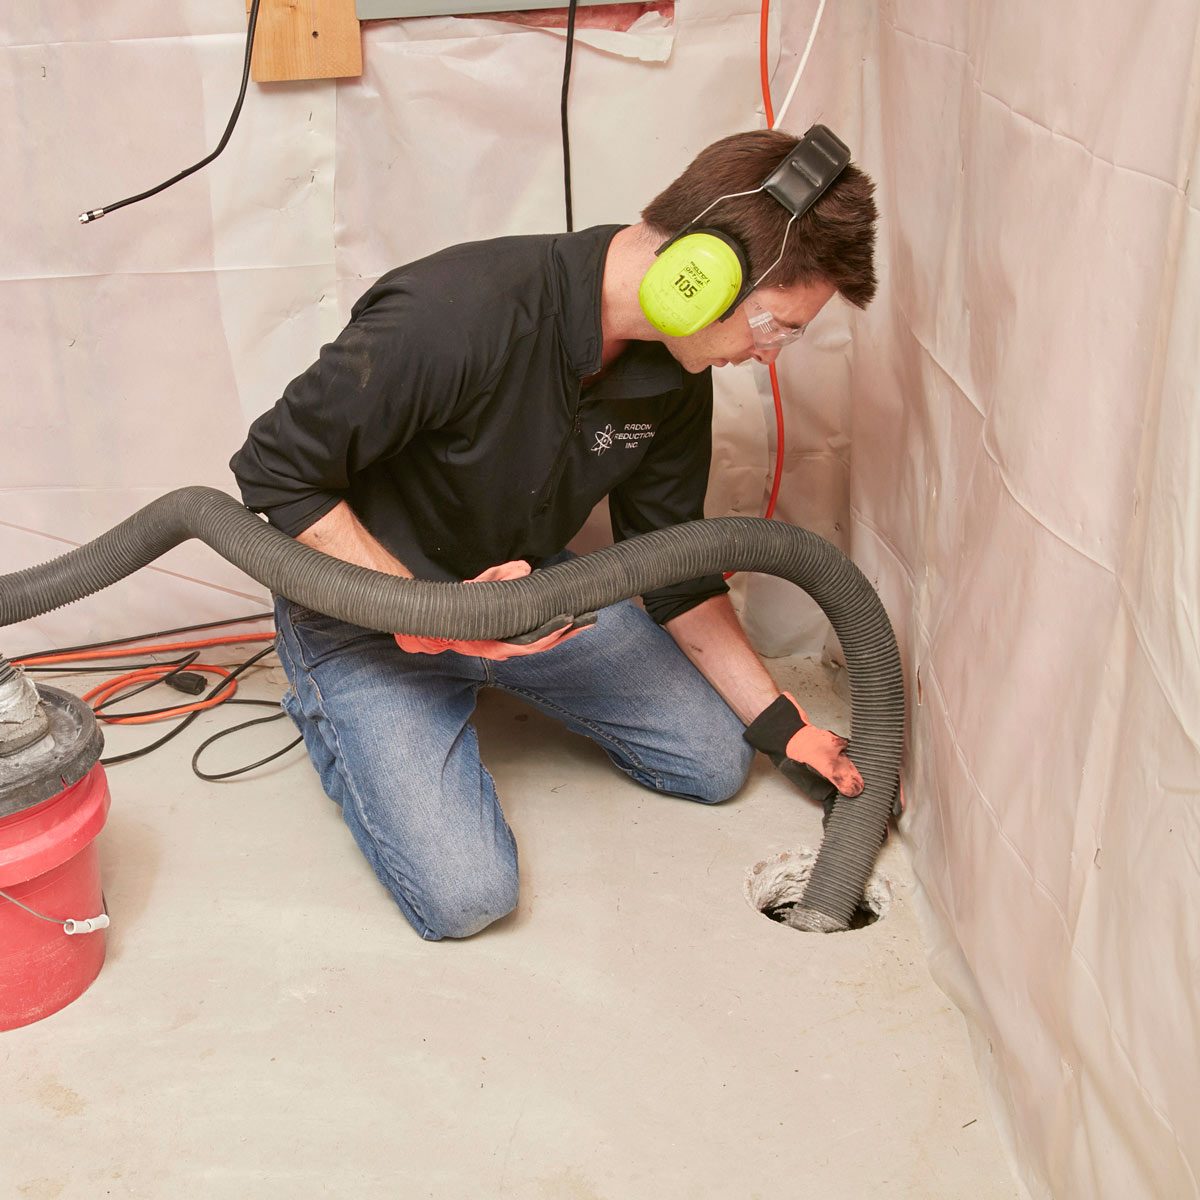
Make a suction pit
Creating a shallow pit underneath the hole gives the radon a place to collect before getting sucked up the pipe. You’ll need to remove several gallons of whatever base material is under your slab. The tighter the soil, the more material you’ll have to remove so the radon fan can do its job. For loose gravel, you need to remove only about 5 gallons. For tighter soils like sand, dirt or clay, plan to remove 15 gallons or more. A shop vacuum helps suck up the loose stuff. For tighter soil, you’ll probably need to do a combination of hand digging and vacuuming.
7
/
11
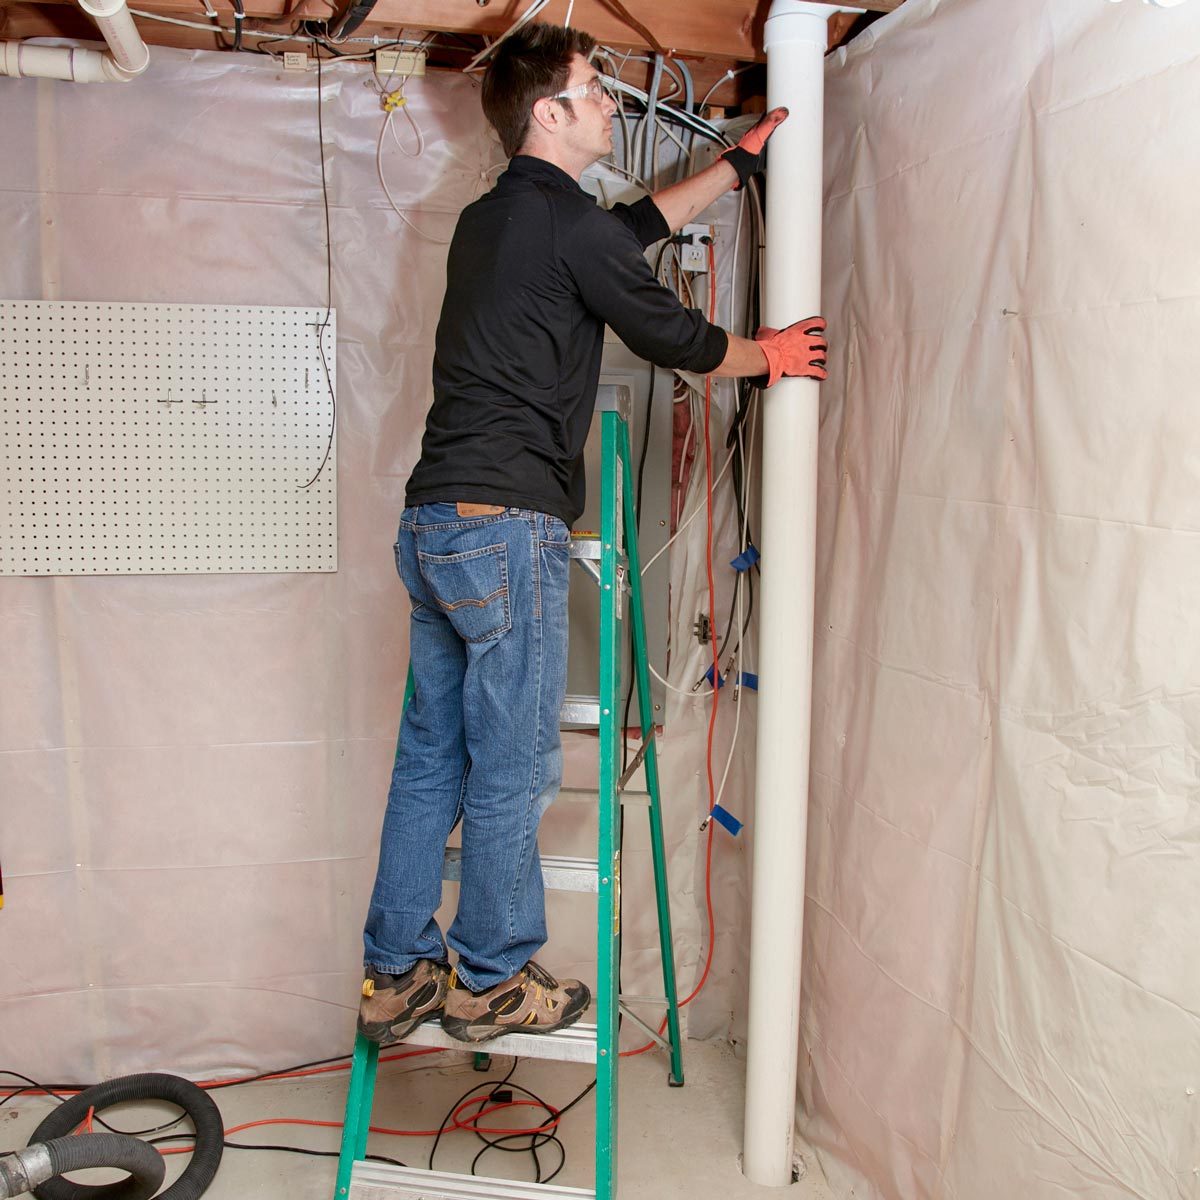
Dry-fit all the piping
Doing a “dry fit” before gluing the PVC pipe and fittings ensures that everything will fit together properly after you apply the glue. Once you commit to gluing, you only have seconds to push and twist everything together before they’re permanently fused.
8
/
11
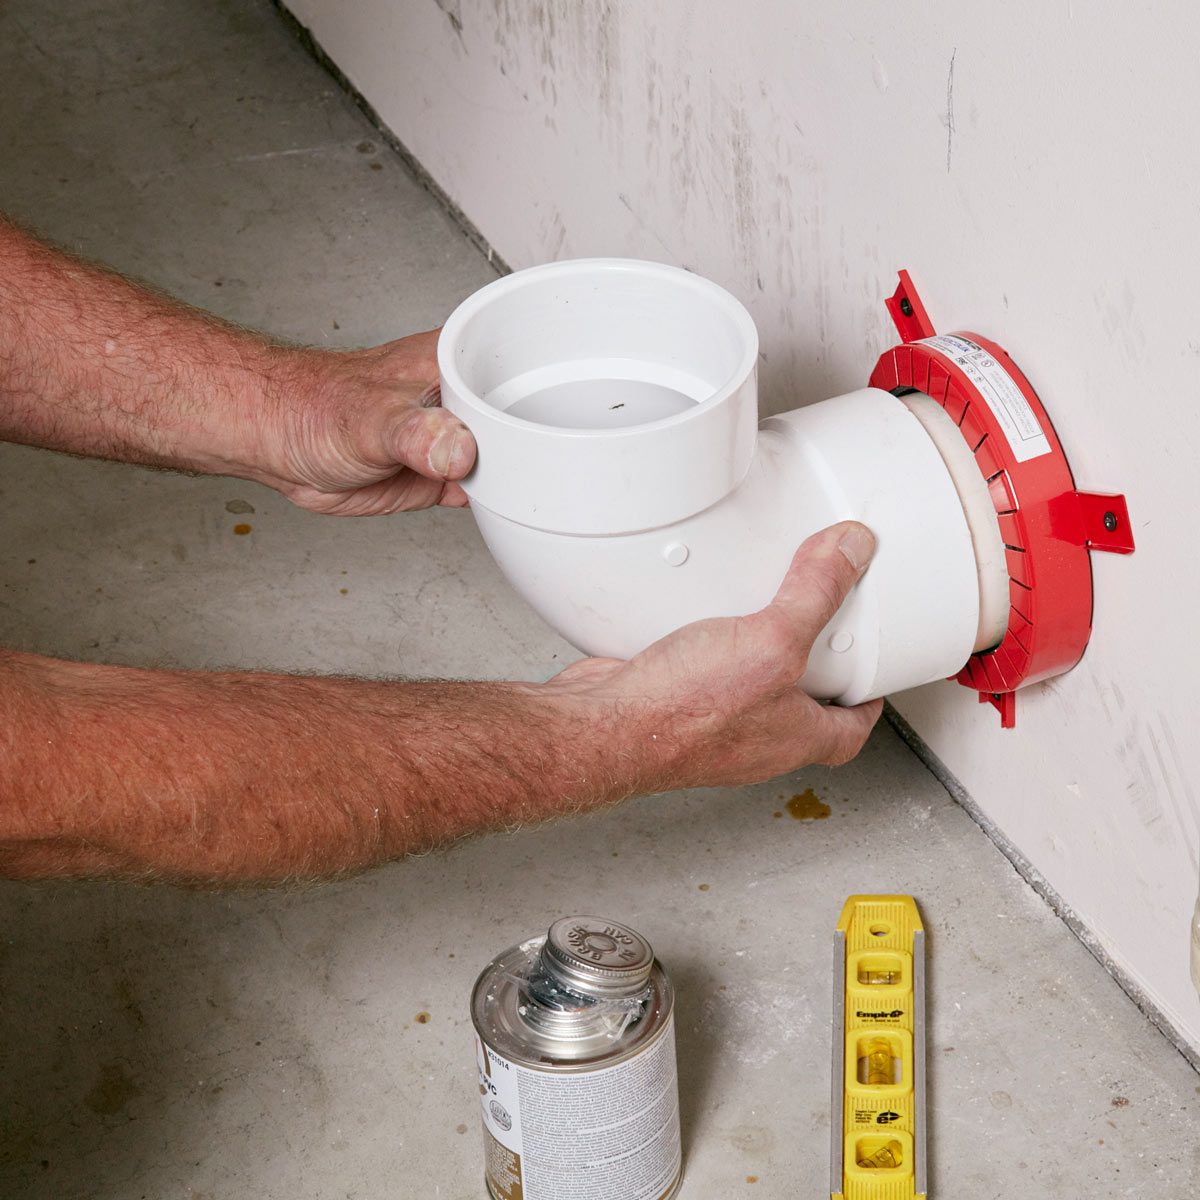
Install fire-stop collars in garages
If you route part of your radon piping through a garage, then you must install fire-stop pipe collars (also called fire barriers) wherever pipe goes through a finished wall or ceiling. The collars seal around the pipe, preventing—or at least slowing down—fire from spreading to other parts of the house. You can buy fire-stop collars for $40 to $50 online.
9
/
11
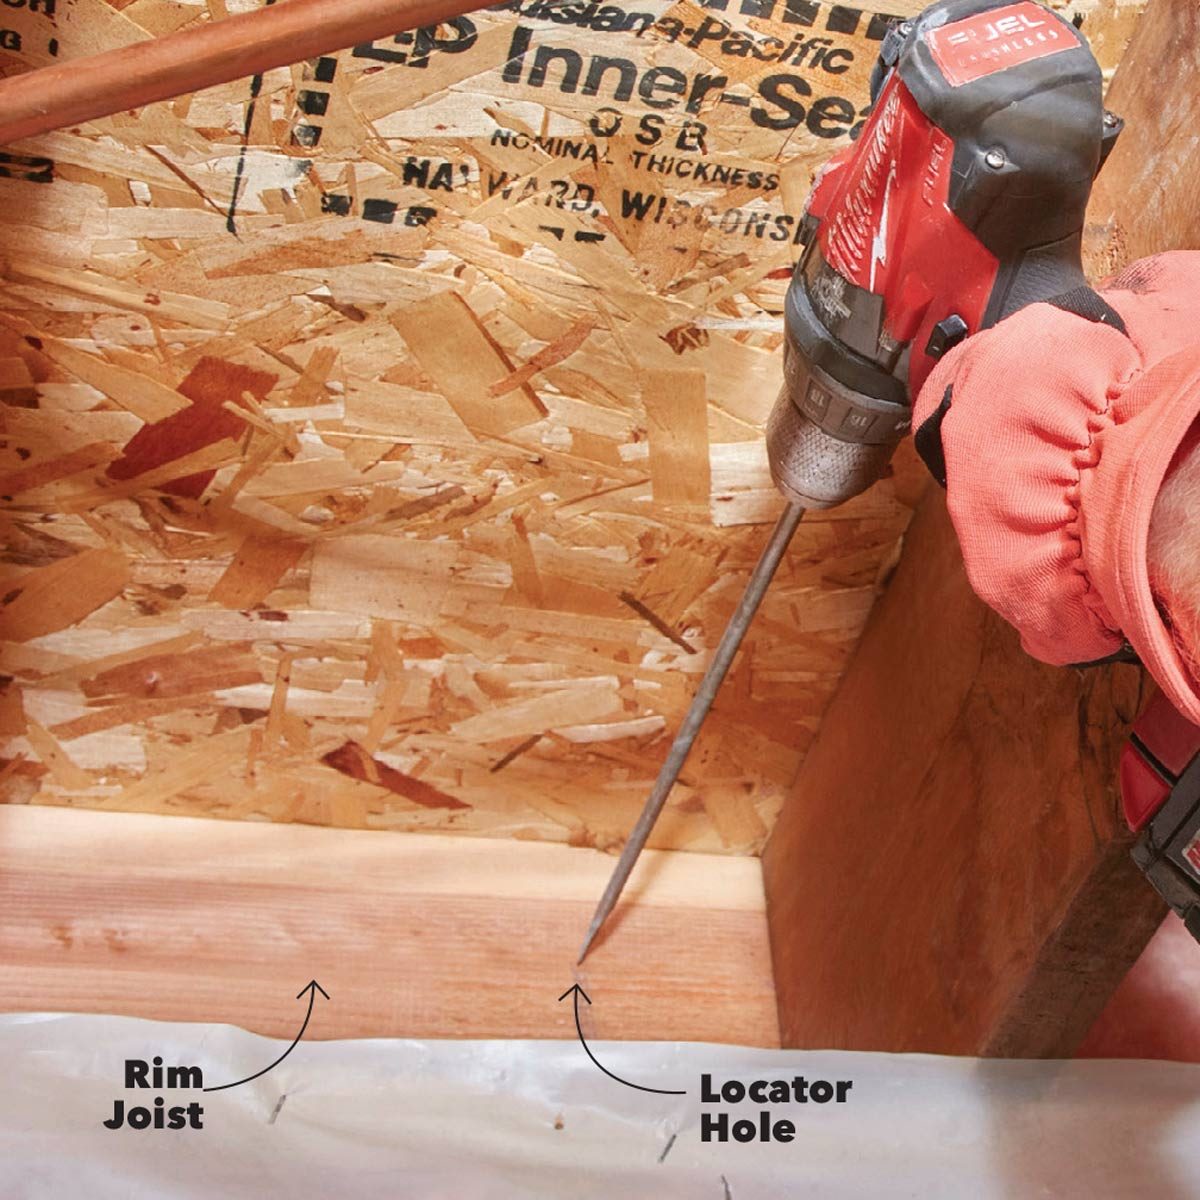
Exit through the rim joist
If you’ll be running pipe directly outside from the basement or out through an attached garage, you’ll need to cut a nice, clean hole in the rim joist. A hole saw ($25 to $40 at home centers) is the perfect tool for this job. Buy the cheapest one you can find since you’ll probably use it only once or twice in your lifetime. The installers we worked with use a 4-1/2-in.-diameter hole saw, which matches the outside diameter of 4-in. PVC pipe, giving it a very snug fit. Drill a locator hole from inside the basement first, then use the hole saw to cut the hole from outside.
10
/
11
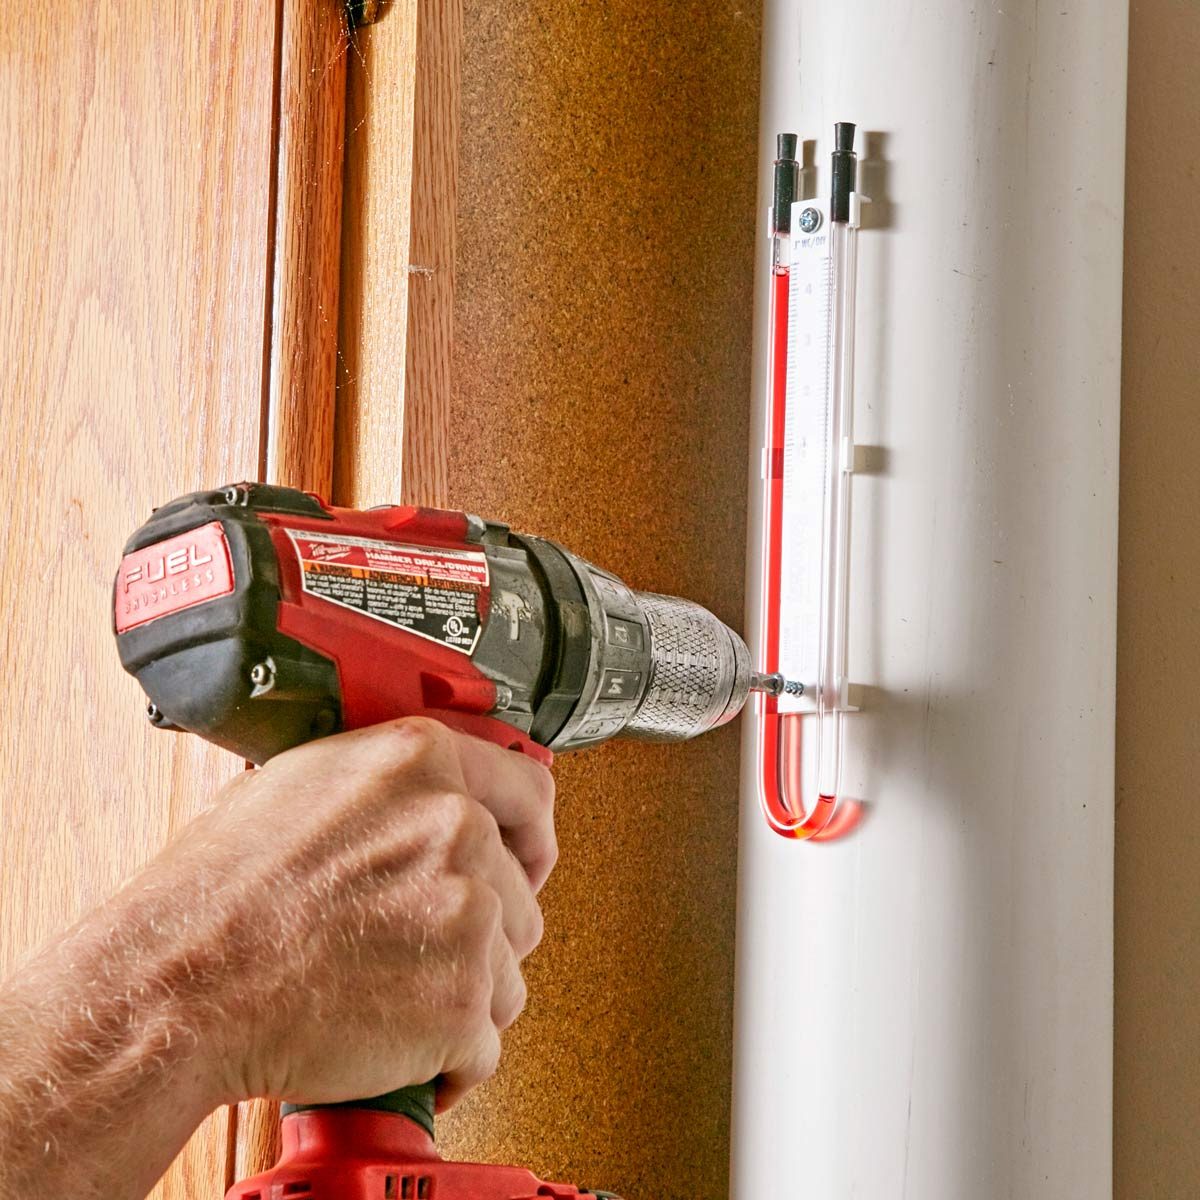
Install a manometer
Radon fans don’t run forever (typically 7 to 10 years), so you need a warning device to tell you when it stops working. One option is a liquid-filled manometer ($10 to $30 online) mounted on the PVC pipe. When the liquid level drops, the system isn’t working. Electronic monitors that measure radon in the air are another option. The Safety Siren Radon Detector, for example, sounds an alarm when radon levels become dangerous ($130 online).
11
/
11
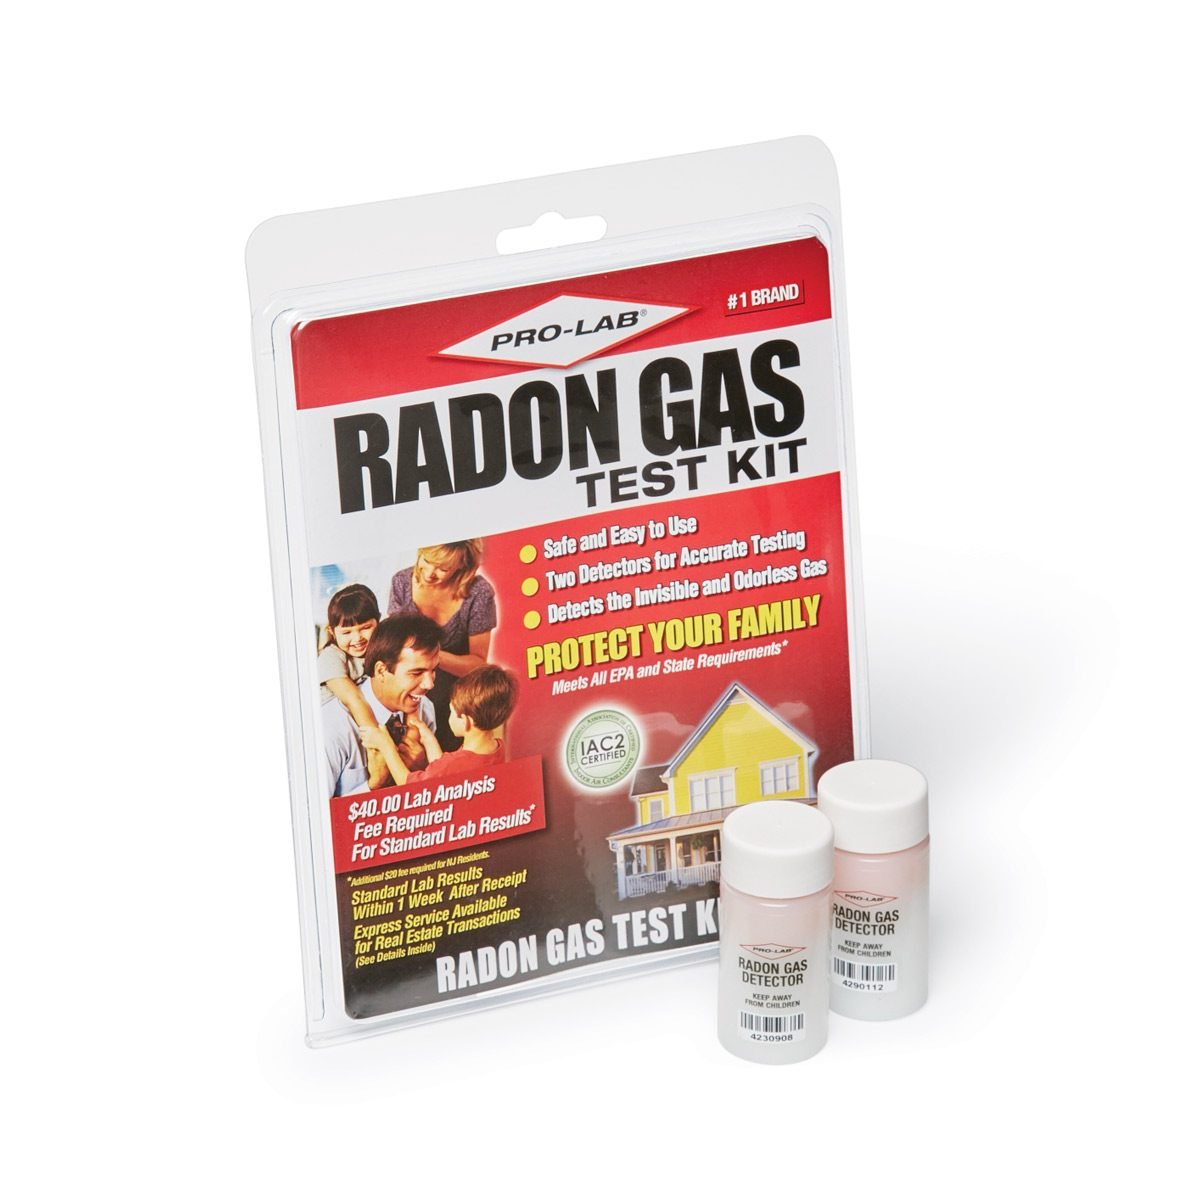
Do another radon test
After installing your radon system, do another test. If that test shows you still have high levels of radon, contact the company you bought the fan from. Chances are, you’ll need to install a more powerful fan. But in some cases, a second suction point (where pipe enters the floor) is the solution.