
Retaining wall blocks are really heavy. You don't want to lift them twice. Learn how to build a rock solid retaining wall right the first time.
How to Build a Retaining Wall That Will Last a Lifetime
1
/
18
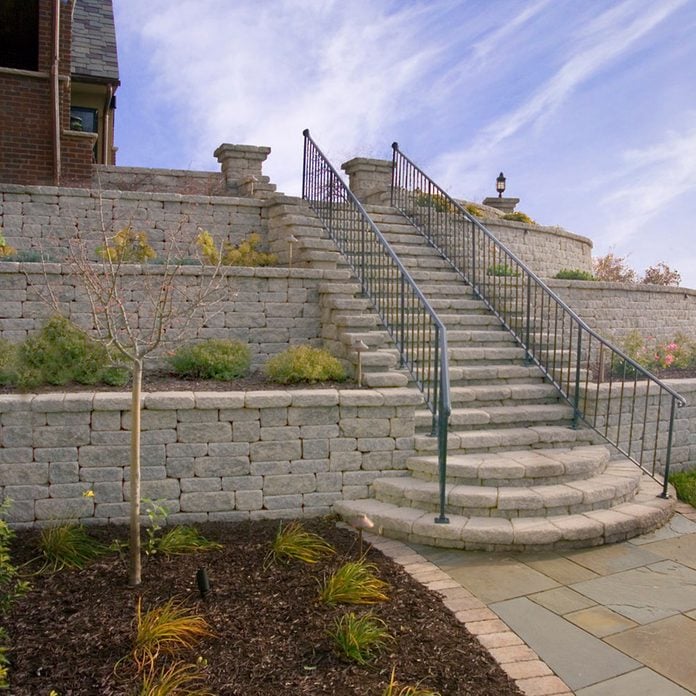
How to Build a Long-Lasting Retaining Wall
Anyone with a strong back can stack up a bunch of blocks and build a pretty stone retaining wall. But it takes skill and planning to construct an attractive wall that can also handle immense pressure, shrug off the forces of gravity, stand for decades and laugh in the face of Mother Nature.
That’s the kind of wall we wanted to learn how to build, so we went to work with some hardworking hardscaping pros. They showed us that it’s all about a solid base, proper drainage and the right materials for the job. They also shared a few handy tips they’ve picked up over the years.
2
/
18
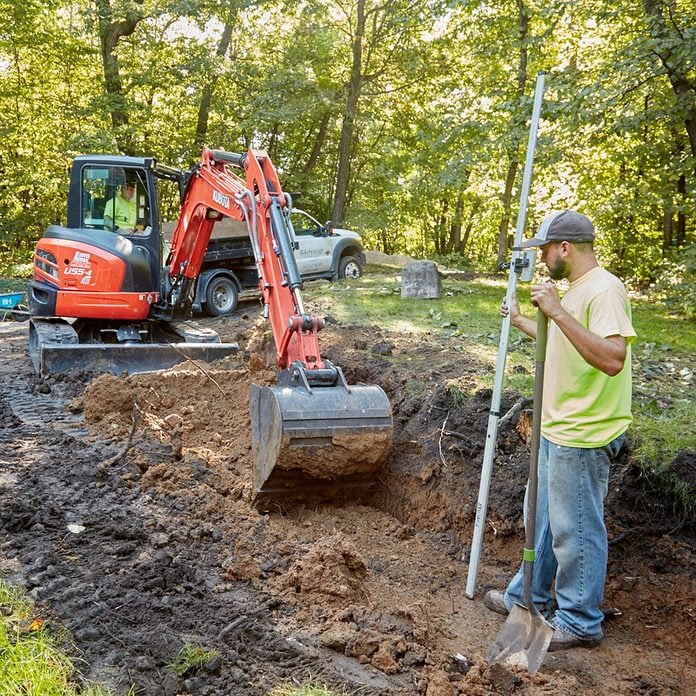
How Wide Should a Retaining Wall Trench be?
The trench you are going to build your retaining wall in should be wide, deep, and level. Size the trench so there’s enough room for the block and at least 8 inches of space behind it. Excavate deep enough to completely bury at least one full course, including space for 6 to 8 inches of base material. Establish a level trench to ensure an even layer of base material. That will help prevent the wall from tipping after freeze/thaw cycles. Our experts use a laser level and a story pole to determine the depth of the trench.
3
/
18
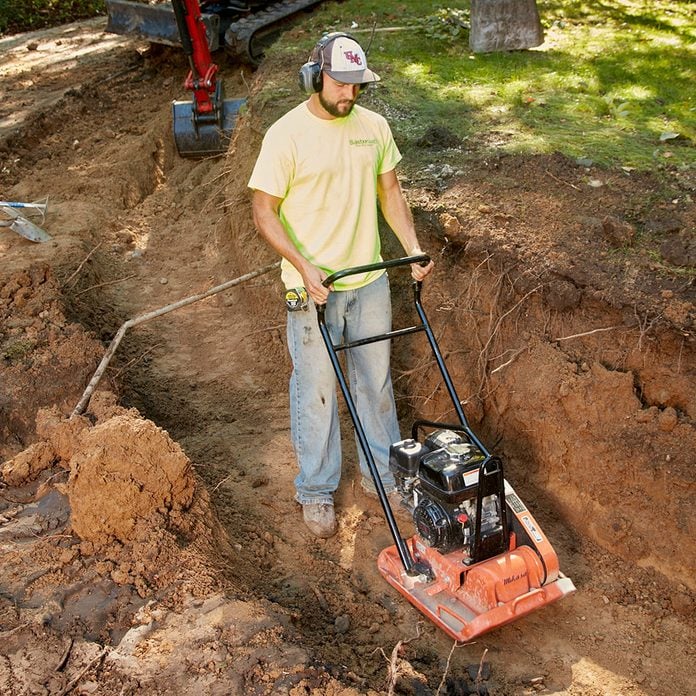
Compact the Trench
Compact the soil in the trench bottom with a hand tamper or vibrating plate compactor. This step is often neglected. The excavator, and even hand shovels, can disturb and loosen the top inch or two of soil, and that’s enough to make your wall settle—settling is bad!
4
/
18
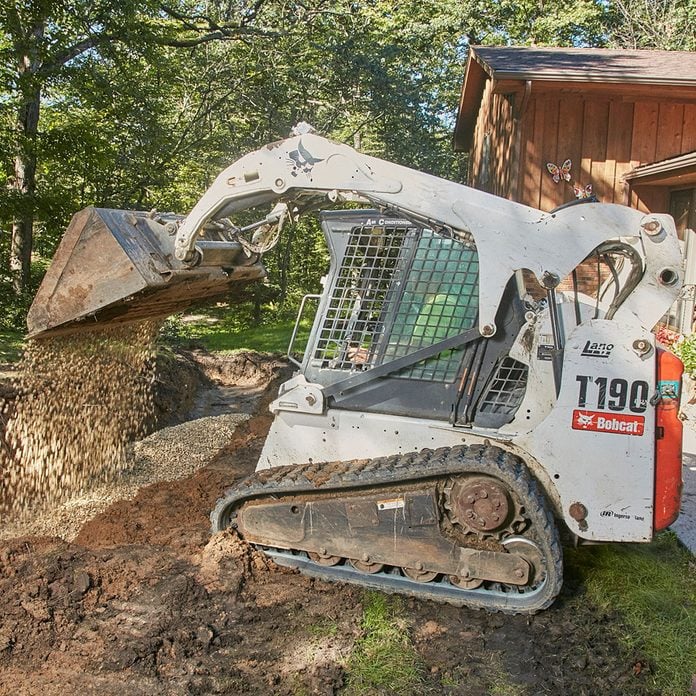
Lay a Crushed Stone Base
Our experts prefer crushed stone for the base rather than naturally occurring gravel dug from a pit. Crushed stone is a little more expensive. However, it provides better drainage, and because of the sharper angles on the stone, it requires less compacting, and once it’s compacted, it stays that way.
Joe and Jake have found that crushed stone sized between 1/2 inch and 3/4 inch is best suited to handle the heaving forces created by the harsh freeze/thaw cycles here in Minnesota. Avoid rounded stones like pea gravel or river rock; they don’t form strong interlocking bonds like angular stone.
Leave the stone no more than 1/2 inch higher than you want the final height to be, and then make a couple passes with a hand tamper or plate compactor. You’ll notice the stone is almost 100 percent compacted as soon as it’s laid in the trench. The same type of stone will be used for backfilling, which also eliminates the need for hauling in multiple materials.
5
/
18
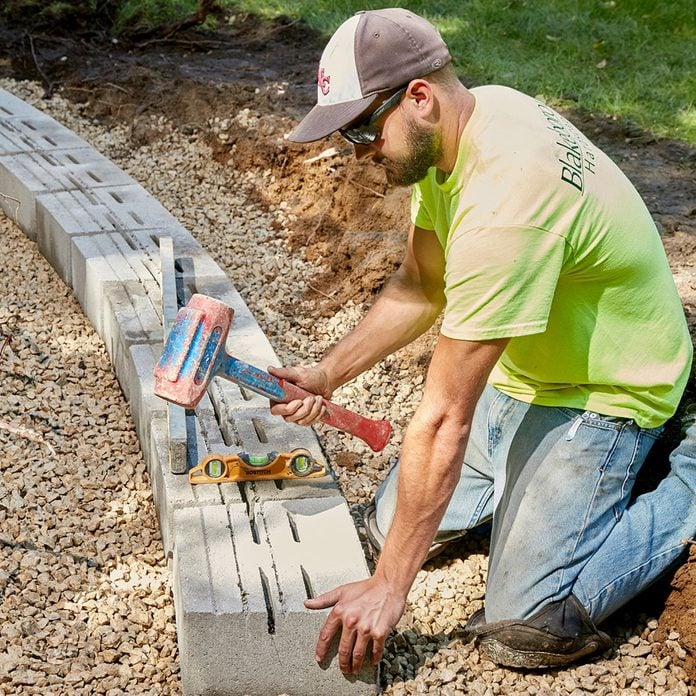
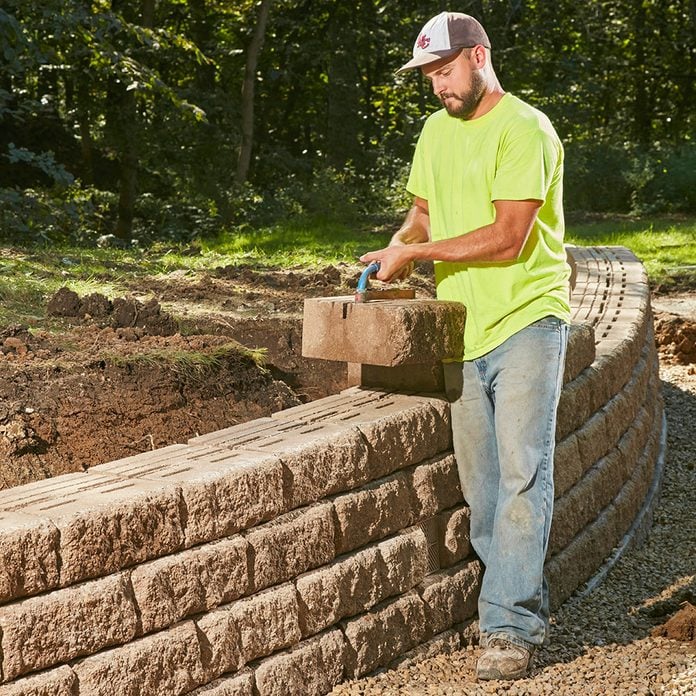
Get the First Course Right
Use a torpedo level to level each block front to back and either a 4-foot or 6-foot level to keep each course level and even. Set the blocks with a heavy rubber or plastic mallet. Getting the first course flat and level is extremely important, so take your time. Try to lay the course as close to the center of the trench as possible.
6
/
18
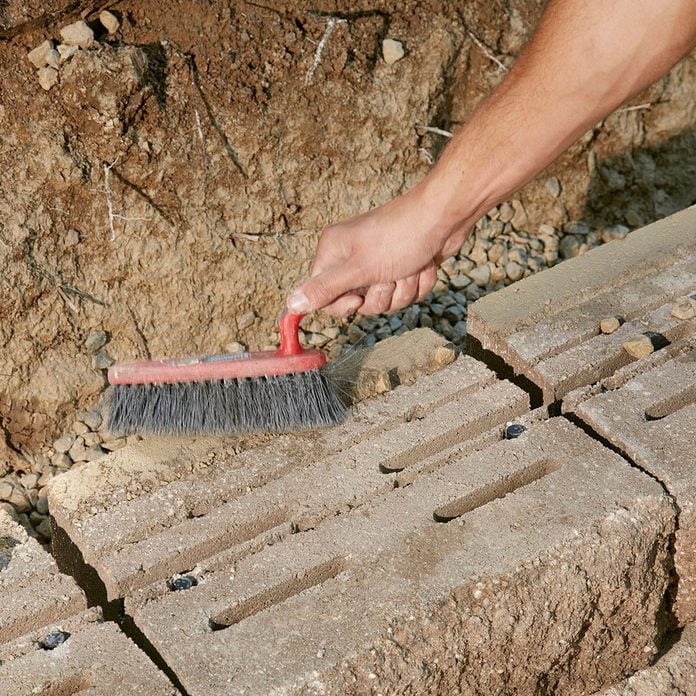
Sweep Before Stacking
Even a small pebble on the surface of a block will throw the one above it out of alignment. And that crooked block will affect the one above it, and so on. That little stone could eventually create an unattractive hump in the top course.
7
/
18
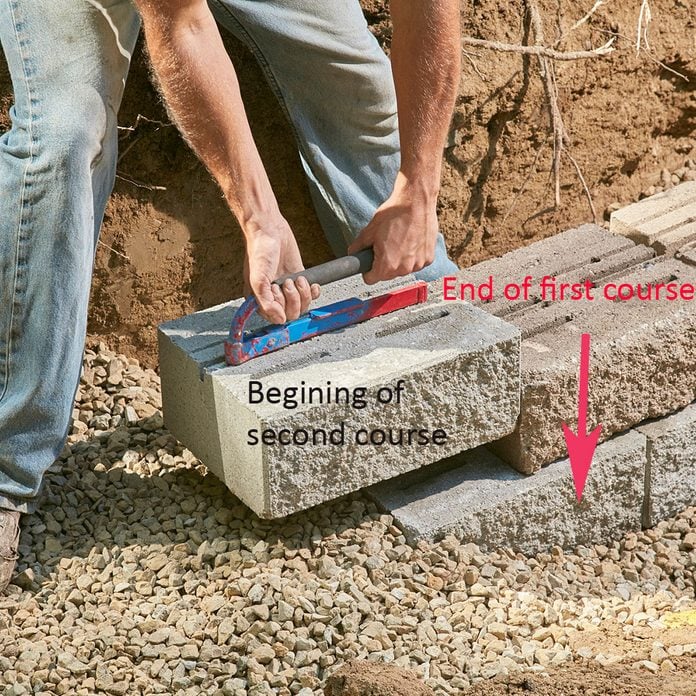
Step up After Two Full Courses are Below Grade
If the wall runs up a hill, continue each base course into the hill until the top of the second course is level with the grade, and then start your second base course at that point. If you have the option, it can be easier to excavate and lay the lowest course before excavating the trench for the next step, especially if you have to step up several times. Save yourself some money and install the cheapest style/color that matches the wall style (usually the gray ones) on the bottom course since it won’t be seen.
8
/
18

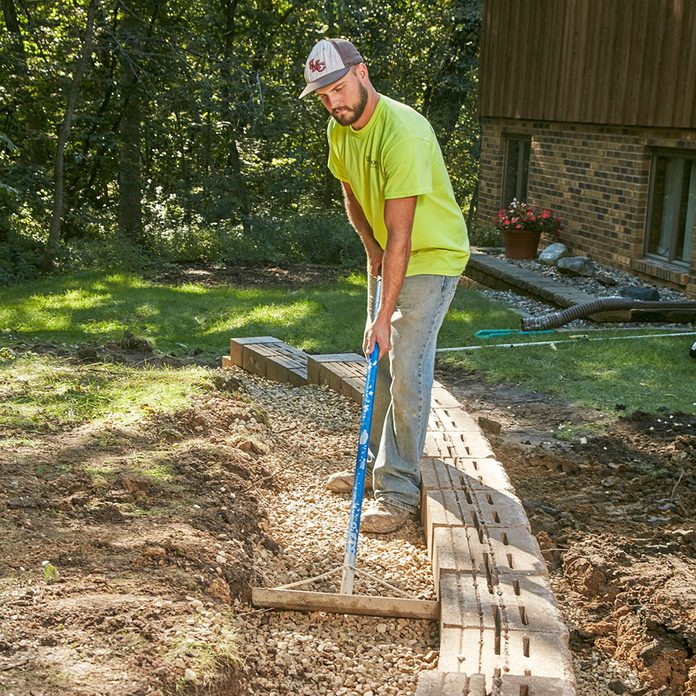
How to Set up Retaining Wall Drainage
Retaining wall drainage is an incredibly important part of building a stone wall. Once a few rows have been stacked, backfill the wall with rock so it matches the grade height in front of the wall, and then lay down perforated drain tile on top of the rock. Install drain tee fittings and a drain grate every 25 feet to 50 feet, depending on how much rainwater is expected to run down to the wall. Cut one block down to accommodate the drain grate. Screw the drain tile parts together so they won’t come apart when they get covered with more rock. Also, drain the tile to daylight at the ends of the walls whenever possible.
9
/
18

Which Retaining Wall Blocks are Best?
These solid blocks are heavy. Lighter, hollow blocks are available, but they can’t be split because cutting them will expose the voids. Also, some hollow blocks require individual backfilling, which is time consuming. These pros prefer Versa-Lok blocks, which are held together with pins rather than a lip on the bottom because pinned blocks work better on tighter curves, and the flat bottom makes them easier to stack. They have also found that the small back lip on some lipped blocks can be prone to cracking, which will weaken the wall.
10
/
18
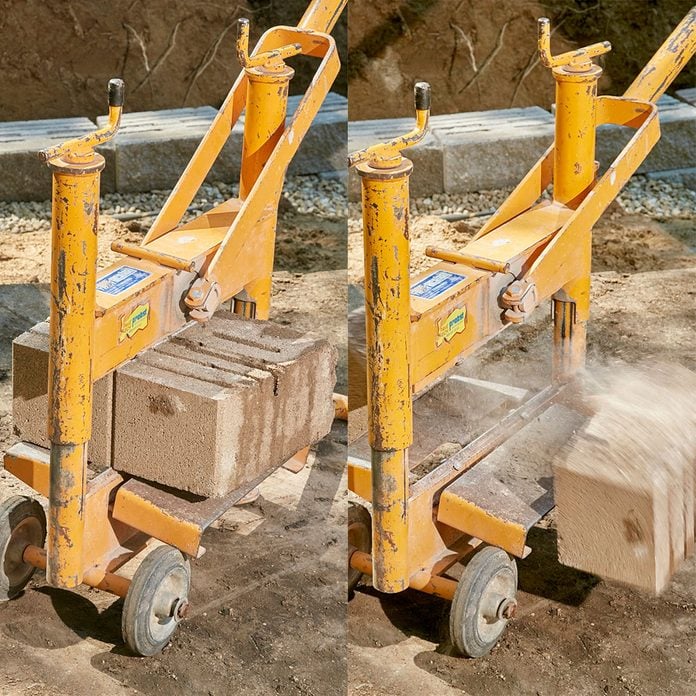
Split Blocks for a Rough Finish
If the end of a block will be visible, and you’d like it to match the other rough surfaces, use a block splitter.
11
/
18

Smooth Cuts With a Saw
Use a gas-powered cutoff saw like this one for a smooth cut. This saw can cut with or without water. Water eliminates the dust but creates a messy slurry that can permanently stain surfaces like driveways and sidewalks. If you don’t use water, make sure the dust doesn’t blow into the house or on a neighbor’s house.
12
/
18
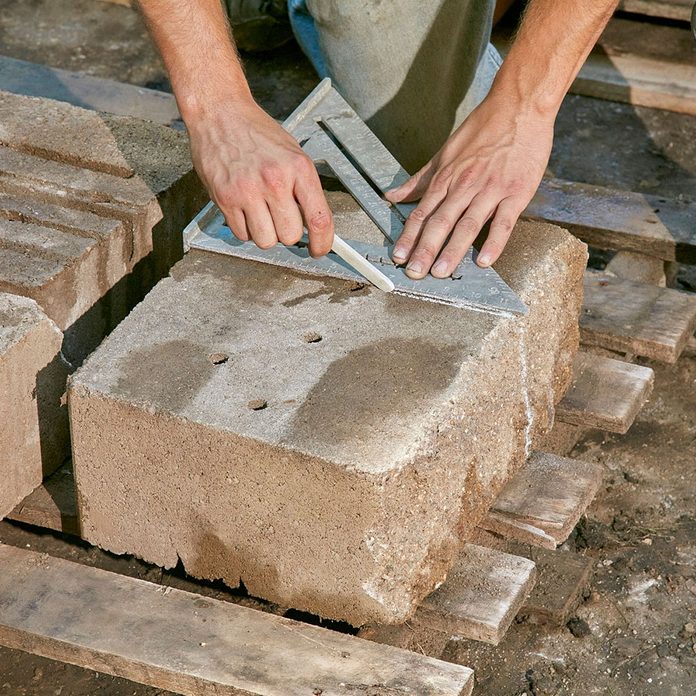
Mark Cuts With a Soapstone Pencil
These pros like soapstone because the lines created by grease pencils and markers can stay visible for a long time, whereas soapstone washes off in the rain. The downside is that soapstone doesn’t work as well on wet blocks. You can find these pencils at online retailers.
13
/
18
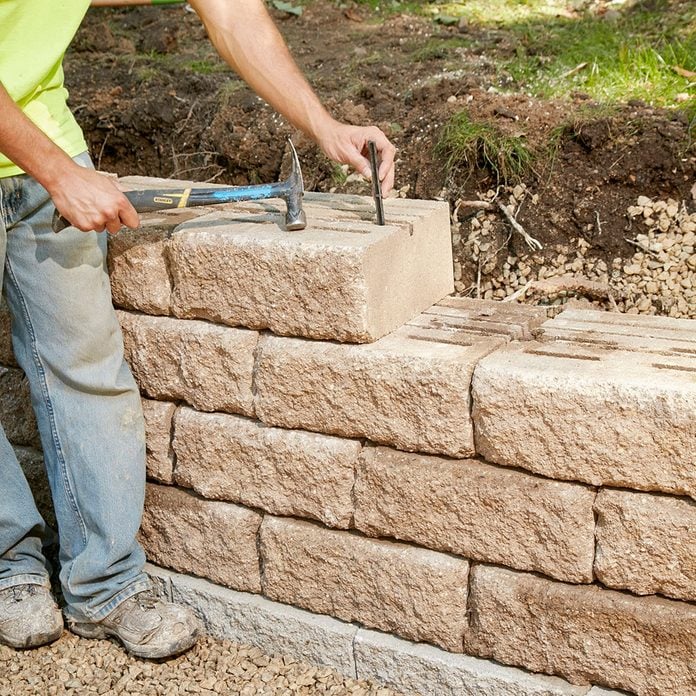
Stagger Joints and Keep Them Tight
Stagger the overlaps and try to keep the butt joint between the blocks as tight as possible. Large gaps can create a pathway for water and sediment. Whichever type of block you use, make sure you follow the manufacturer’s instructions.
14
/
18
Why You Should Backfill With Stone
Versa-Lok recommends compacting the angular stone as you backfill, but check the installation instructions for the type of block you’re using. Backfill about 8 to 10 inches below the top of the capstones. This will allow enough room for the topsoil and turf.
15
/
18
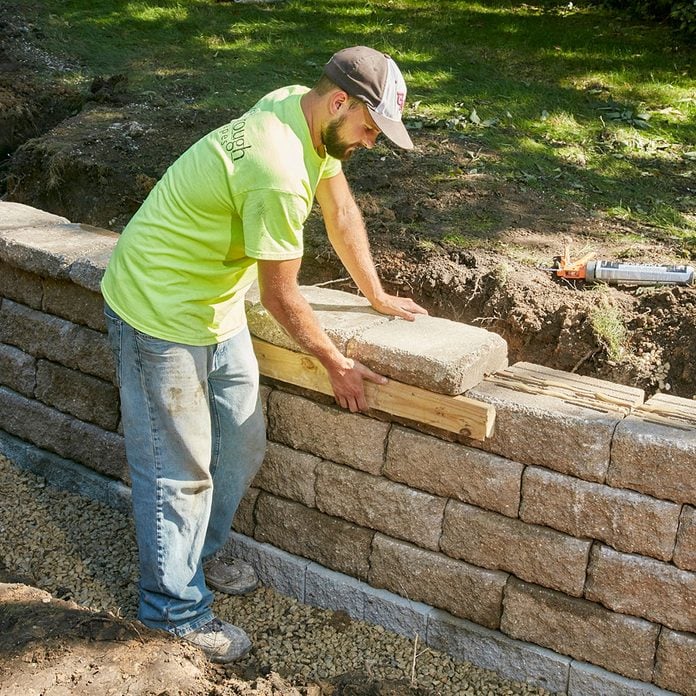
Align the Capstones
Secure the capstones with a specialty landscape block adhesive, which stays flexible over time. Make sure the blocks are dry before applying the adhesive. Overhang the capstones about 1 to 1-1/2 inch. Joe and Jake use a scrap 2×4 as a guide.
16
/
18
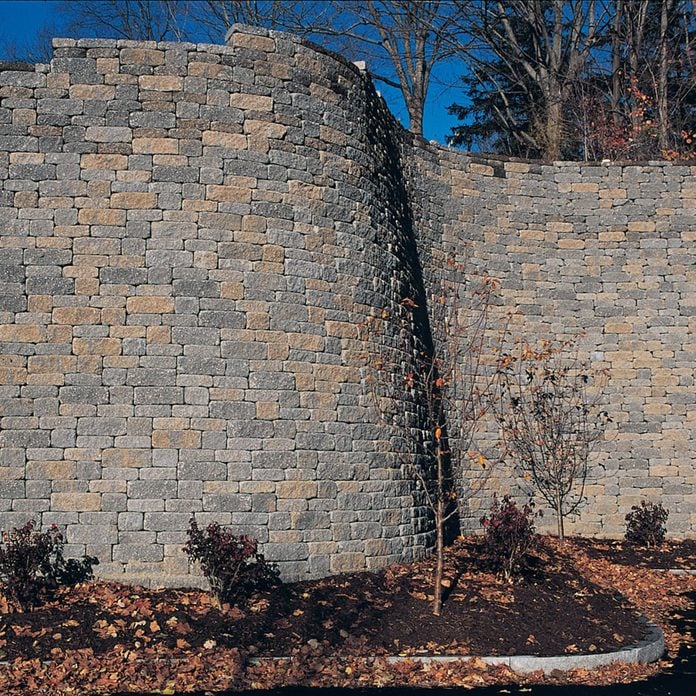
Retaining Walls With Tiers
If you’re building tiered retaining walls, set each tier back far enough to prevent the weight and pressure of the wall above from destroying the one below it. The rule of thumb is to separate wall tiers by a distance that’s no less than twice the height of the wall below. So if the bottom wall is 4 feet tall, the wall above it should be built at least 8 feet behind it.
17
/
18
Tall Walls Need Engineering
Walls more than 4 feet tall will likely require a building permit and a plan made by a licensed engineer. The engineer will specify the base’s width and depth, how far down the base course should be buried, and whether or not a geogrid (soil reinforcement system) should be used.
18
/
18

Meet the Experts
Joe Blakeborough (right) owns and operates Blakeborough Hardscapes in Prior Lake, MN, with the assistance of his younger brother, Jake (left). They run multiple crews that specialize in block and boulder retaining walls, paver projects, outdoor living spaces and other services.