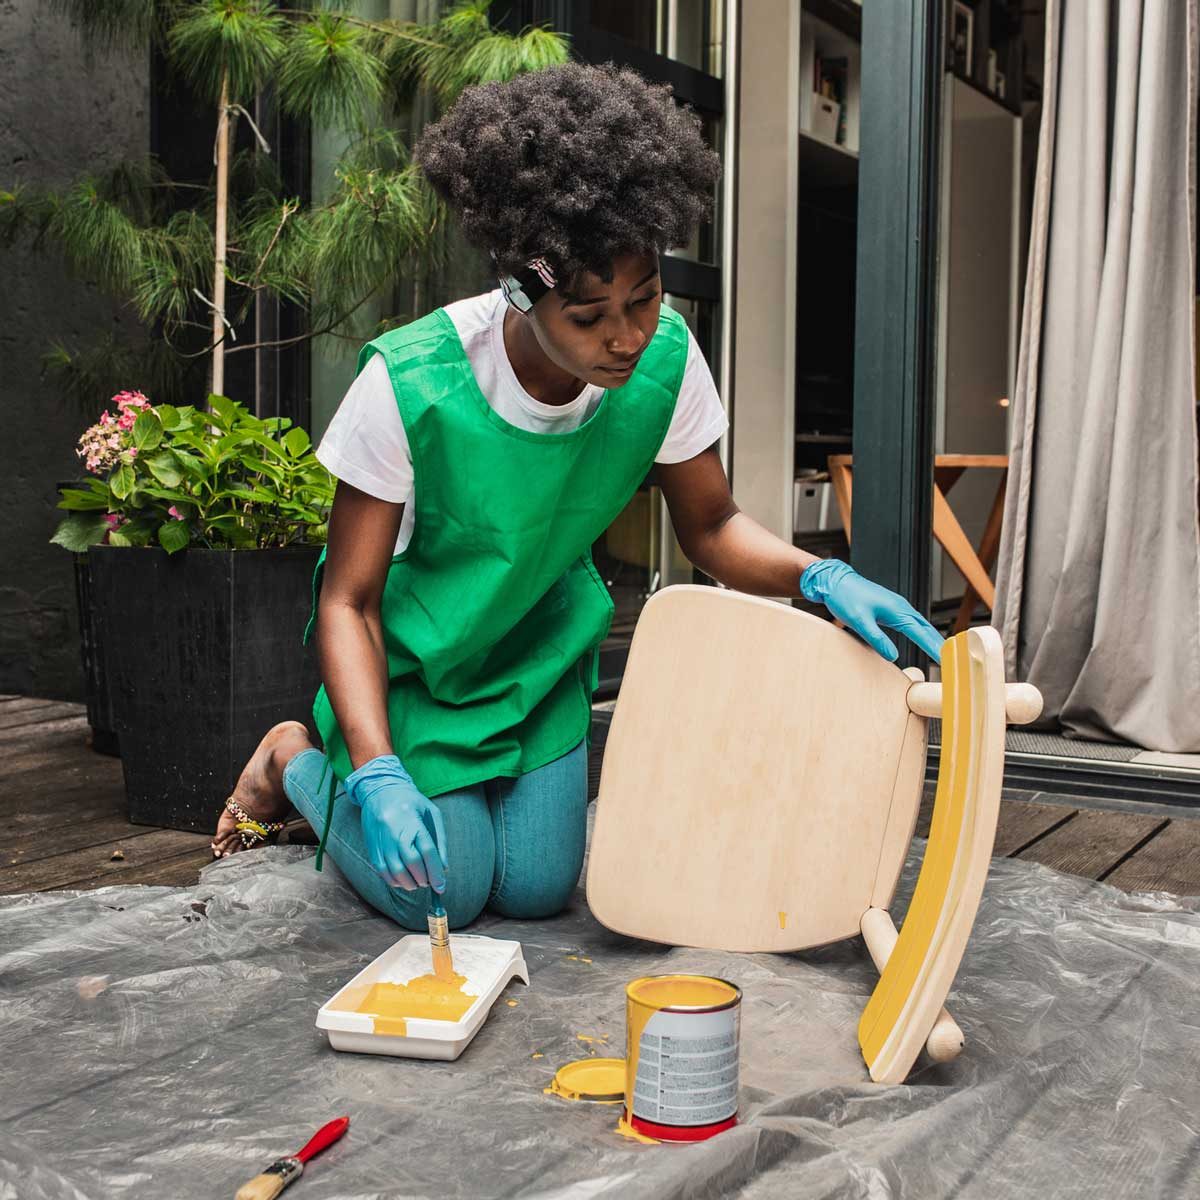
Transform the look of a chair, table or dresser with these DIY tips on how to paint furniture.

9 Essential Tips for Painting Furniture

Do you have a thrift store find that needs refurbishing, a family heirloom begging to be restored or an old dresser that’s ready for an update? Painting is a surprisingly quick and simple way to create a decorative and personalized piece of furniture, and you can easily do it yourself.
On This Page
How to Paint Furniture in Nine Simple Steps
Even if this is your first DIY project, you can do this! Follow these steps and you’ll successfully turn that not-so-great piece of furniture into something to be proud of.
Choose the right primer, paint and topcoat
When planning a DIY furniture painting project, selecting the color is the fun part. Here are some additional things to consider.
Primer
Primer is an undercoat that prepares a surface for paint. It seals, blocks stains and provides a uniform base for paint. It also increases the durability and appearance of the painted surface.
There are different primers specifically formulated for wood, plastic, metal or ceramic surfaces. Check the label or ask your home center professional for advice on which primer is right for your particular project.
Paint
Paint should be chosen based on:
- Type of material to be painted.
- Condition of the surface — is it pre-painted or varnished?
- Surface preparation. Bare wood? Primed?
Optional Topcoat
As the owner of a hand-painted children’s furniture company for more than 15 years, I learned from experience that there are a few situations in which forgoing a protective coating is acceptable: 1. When painting furniture with a hard, oil-based shiny enamel finish. 2. When a piece of furniture is strictly ornamental and not functional.
To maintain the beauty of your painted furniture over time — especially with high-use furniture such as a kitchen table or a step stool — adding a protective finish like Varathane Ultimate Polyurethane (water-based) or Minwax Fast-Drying Polyurethane (oil-based) is an extra step worth taking.
Gather tools and materials
Before you begin, gather all the tools, materials and supplies you’ll need to avoid a mid-project trip to the hardware store.
The basics:
- Paintbrush and/or roller and roller cover;
- Painter’s tape;
- Paint can opener;
- Mallet to close the paint can lid,
- Drop cloth;
- Sandpaper or power sander;
- De-greaser (trisodium phosphate, or TSP);
- Rags/tack cloth;
- Screwdriver.
Remove hardware
Remove all handles, knobs, drawers and shelves. Remove doors or lids. Be sure to place all screws and hardware together in a container in a safe location.
Mask off no-paint areas
If there are any areas of the furniture you don’t want painted — like hinges, drawer runners or keyholes — cover them with painter’s tape.
Cover your work area
Protect the floor or tabletop with a fabric or plastic drop cloth. Canvas drop cloths absorb splatters, drips and mishaps, saving you a lot of hassle at clean-up time.
Prep and sand
If your piece has lots of grimy build-up (chair backs are notorious for this), clean it with a degreasing agent like TSP. You can find it at most hardware stores, home centers or online. Be sure to let the surface dry before going on to the sanding phase.
For unfinished, bare wood or previously painted furniture that’s in relatively good shape, sanding to rough up the surface for the paint to adhere to is usually sufficient. Note: Furniture heavily treated with varnish should probably be stripped.
For smaller furniture, use 100- to 150-grit sandpaper and sand the piece by hand. For larger pieces, you might want to use a power orbital sander. Once the sanding is done, wipe down the surface with a tack cloth to remove dust and residue.
Prime it
Now it’s time to apply the primer (undercoat). You can use a standard paintbrush, foam brush or roller. If after the first coat you can see through to the surface, a second primer coat may be warranted. Let the primer dry according to the manufacturer’s instructions.
Once dry, go ahead and hit the surface lightly with very fine sandpaper (220 grit) or super fine steel wool (0000). Remove dust with a tack cloth.
Paint It
Get out your paintbrush, load the end with paint and begin applying it in smooth, even strokes, moving the brush back-and-forth in one direction. Don’t glob the paint on. Rather, sweep the paint thinly onto the surface.
To speed up the process, use a brush to cut-in at corners and edges, switching to a roller to cover flat surfaces. Check for drips or sags (pros often call them holidays!) and touch them up before they start to dry. Add your second and third coats (if necessary), respecting dry times and remembering to lightly sand between each coat. Find out the best paint for your furniture.
Optional: Apply a protective topcoat.
Put it back together again
When the piece is completely dry (follow the manufacturer’s recommendation), carefully peel off the painter’s tape and replace doors, handles, knobs, etc.
If the furniture has drawers, slide them back in, leaving them open slightly to avoid sticking. The paint might seem dry, but could still need time to cure.
You’re now ready to enjoy your newly, fabulously painted piece of furniture!


