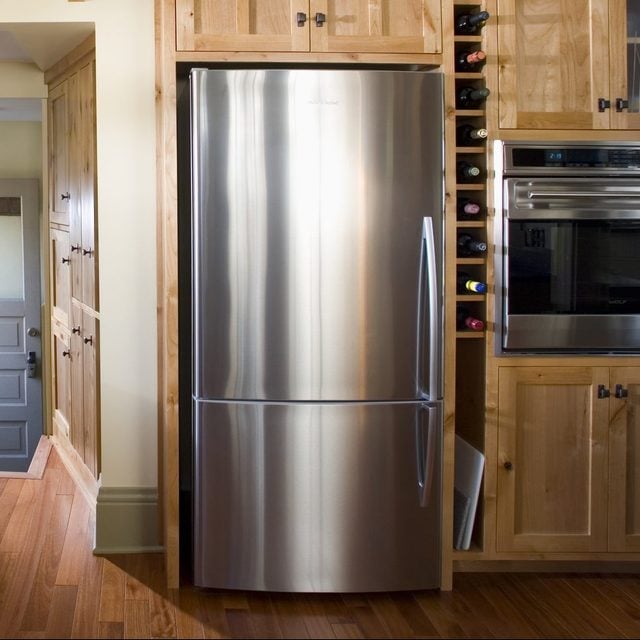
Why Is My Freezer Not Freezing?

Updated: Apr. 08, 2024
Your refrigerator's freezer compartment has one job. So if your freezer is not freezing, give these DIY fixes a try.
30 minutes
Beginner
$25
Introduction
The freezer section of your refrigerator produces the cold air that cools the entire unit. The freezer itself should hold a temperature of 0 degrees. If you suddenly notice it's warmer than that, you could end up with spoiled food.
What would cause your freezer to warm up? Here we'll cover four reasons why your freezer is not freezing, and how to fix each problem.
Tools Required
- Analog thermometer
- Coil cleaning brush
- Flathead screwdriver
- Multi-tester
- Vacuum cleaner with brush attachment
Materials Required
- Relay and Overload
Video: How to replace the overload: https://youtu.be/MNPbcicOtD0
Video: How to fix the freezer door: https://youtu.be/aC97j1RGuW0
Video: How to clean refrigerator coils: https://youtu.be/MNPbcicOtD0
Project step-by-step (7)
Check for power
- See if the refrigerator lights are on. No lights indicates a power problem.
- This sounds obvious, but make sure the unit is properly plugged in.
- Check your service panel to confirm the breaker to your fridge is in the full On position.
- If you have lights but the freezer still isn’t freezing, check your freezer settings.
Note: It’s a good idea to plug your refrigerator into a surge protector. Opinions vary on this, but I recommend it because power surges could ruin the unit’s sensitive control board.
Check freezer setting
- Set your freezer to the factory setting of 0 degrees.
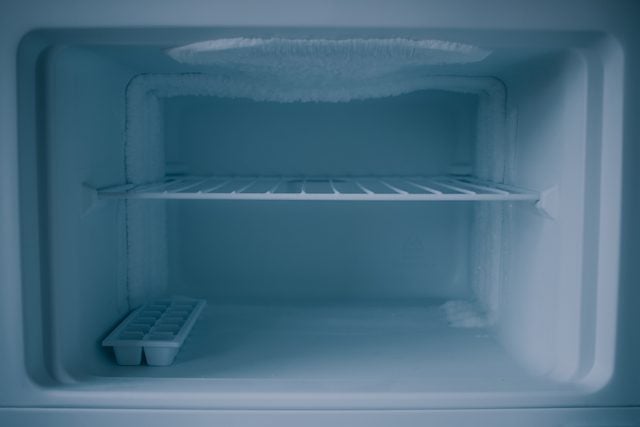
- Put an analog thermometer in your freezer for 30 minutes to check the temperature.
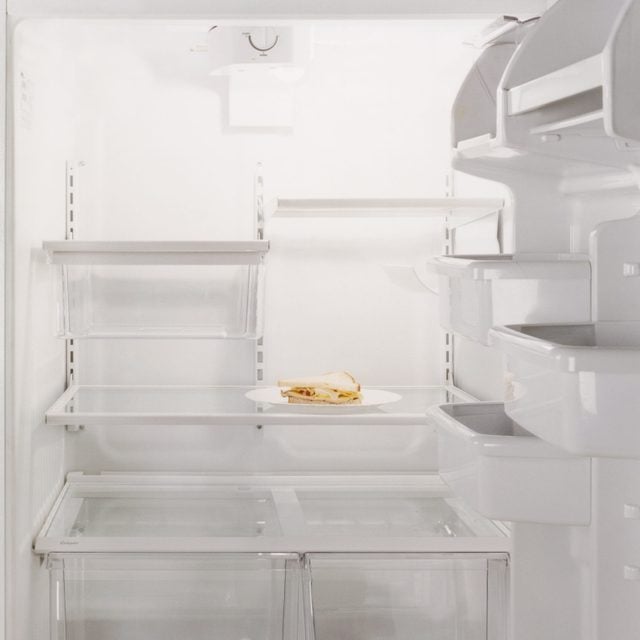
- If the thermometer shows a temperature above 0 degrees, your freezer door might not be closing all the way, or your compressor might have stopped making cold air. Check the door first. Don’t forget to check out our tips for cleaning the freezer.
Freezer door not closing all the way
- Look carefully at the sides and top to see if it looks uneven, or if there are any gaps between the rubber seal and the fridge.
- Wet your hand and feel around the seal for cold air escaping from your freezer.
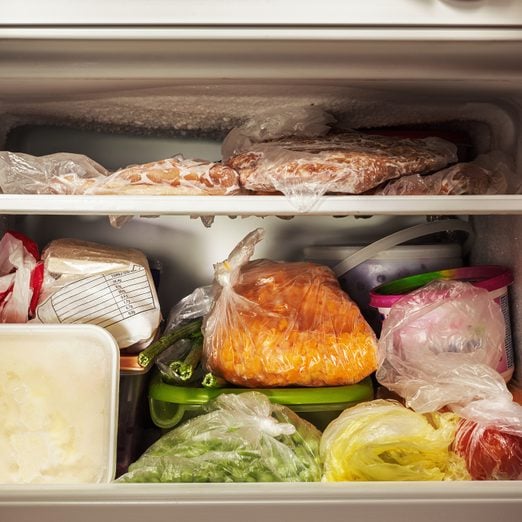
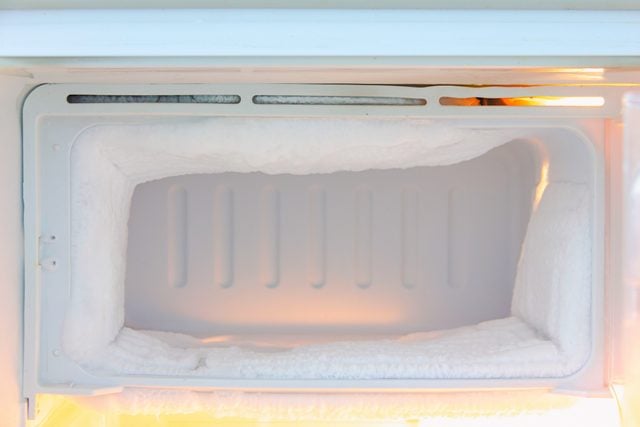
- Check inside the freezer. Any frost or snow-like ice would indicate warm, moist air is leaking in and cold air leaking out.
- Is a food item or ice tray preventing the door from closing all the way? This is a common reason for air leaks.
- If your freezer door is closing unevenly, check this video to learn how to align the door properly.
- If there are no air leaks, it’s time to check the compressor.
Checking/fixing the compressor
- Open the freezer door and reach in toward the back wall. You should feel cold air blowing on your hand. If you don’t, you’ll need to check the compressor behind your fridge.
- Pull your fridge out from the wall using one hand on each side. It needs to come out at least three feet.
- Unplug your fridge.
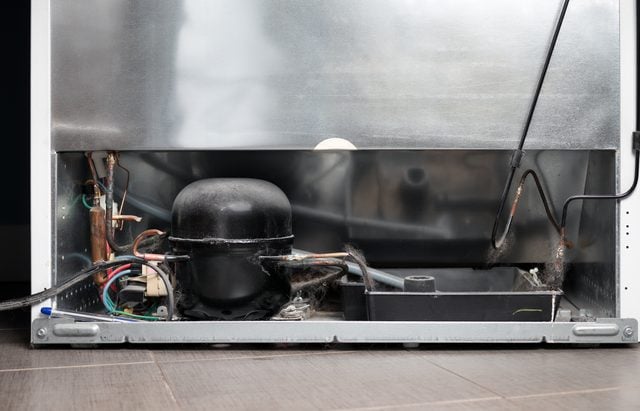
- Remove the screws around the lower rectangular panel behind your fridge. The panel might be metal or a type of hard cardboard.
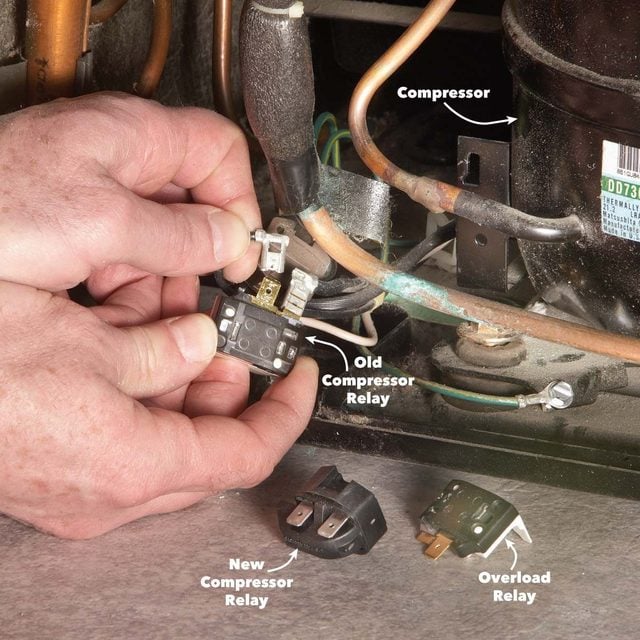
- Find the large, oval, black metal device (compressor) and look at the overload (fuse) and relay on the left hand side. There might be a plastic box covering the overload/relay. Use a flathead screwdriver to pry off the box, then take a photo of what color wire goes where. Remove the wires.
- Gently pry off the overload and relay with your flathead screwdriver, as seen in this video.
Testing the overload and relay
- Use your multimeter to check for continuity (electrical flow through the device) between the two brass holes on the back of the overload. You should hear a beep or get a number reading. If there’s no beep or a reading of “OL” or “0” on the display, then you have a blown overload that needs to be replaced. If the overload has continuity, the relay no longer works.
- Check your relay the same way you checked your overload, but put your multimeter probes on the brass terminals on the right and left side of your relay. If you have no continuity, then replace the relay.
- If you don’t have a multimeter, just replace the relay and overload. They’re cheap and easy to install.
A blown overload is almost always caused by dirty coils near your compressor, underneath or on the back of the fridge. It’s important to clean off the dust to save energy and protect the overload.
Cleaning the coils
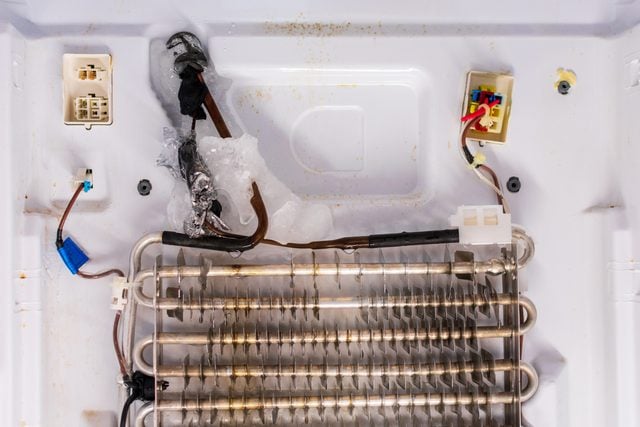
- Find your coils. On many modern refrigerators, they’re to the right of the compressor, behind the back panel you removed. This arrangement is sometimes called a squirrel cage, because it looks like a wire cylinder wheel. On older refrigerators, you’ll find the coils underneath or behind it.
- Use a coil cleaning brush or vacuum with a brush attachment to remove as much dust as you can.
Finishing up
- Plug in your fridge. You might need to move it back a bit so the cord reaches the outlet.
- Set your freezer control for 0 degrees.
- Remove the back lower panel and feel the top of the black metal compressor. You should feel a slight vibration. After about 20 minutes, the compressor should be warm. If you feel one of the brass tubes coming from the compressor, it should be pretty cold. That means the compressor’s working. No vibration and no warmth after 20 minutes points to a defective compressor or a bad controller. In that case, it’s time to bring in a pro.
Note: It may take up to eight hours to see 0 degrees on your analog thermometer. Don’t worry. It takes awhile for the freezer to get that cold once the compressor kicks back on.