
Simple Workbench Plans
Updated: Jan. 03, 2024
A full day
Beginner
$51–100
Introduction
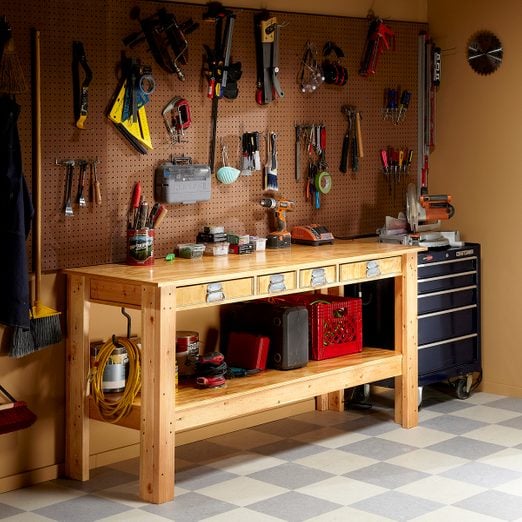
Use this simple workbench plan to build a sturdy, tough workbench that'll last for decades. It has drawers and shelves for tool storage. It's inexpensive. And even a novice can build it in one day.Tools Required
- Chalk line
- Circular saw
- Drill bit set
- Drill/driver - cordless
- Framing square
- Hammer
- One-handed bar clamps
- Tape measure
Materials Required
- Wood glue
Does your current workbench consist of two sawhorses and an old door slab? It’s time for an upgrade! There are hundreds of workbench plans out there, but not many of them call for plywood. Plywood makes a flat, stable work surface, and it doesn’t need to be clamped, glued or planed. And it can easily be replaced if it gets too beaten up after years of abuse.
You get a workbench plan that’s:
-
- Simple enough to build on a Saturday
- Easy enough for a beginner
- Strong enough to hold a V-8
- Tough enough to last a lifetime
Video: Super simple workbenches you can build


Project step-by-step (9)
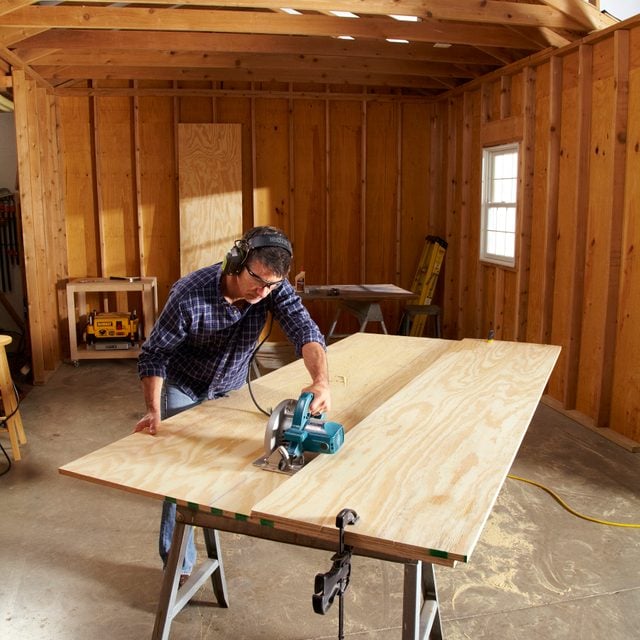
Step 1
Cut the Plywood Parts Perfectly Straight
- Cut the shelf top first and use the factory-cut edge as a guide for your other cuts.
- Pro tip: Measure the distance between the saw blade and the edge of the saw base plate, and align the shelf top that same distance away from your cutting line.
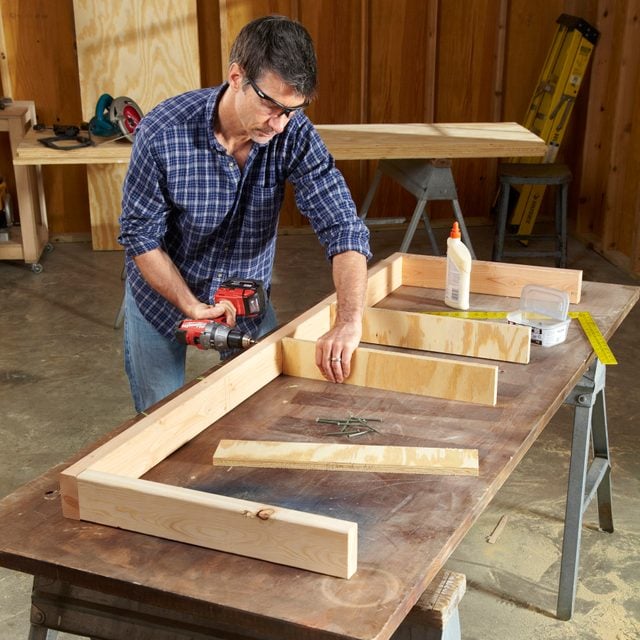
Step 2
Frame the Drawer Compartment
- Drill 1/8-inch pilot holes through the frame back and into the plywood drawer dividers.
- Pro tip: If you skip this step, you’re guaranteed to split the plywood.
Cutting List and Diagram
For the names of the parts and their dimensions, see the Cutting List.
The Cutting Diagram shows how to cut one sheet of 3/4-inch plywood. The second 3/4-inch sheet is much simpler: just cut lengthwise to yield parts C and D. Cut the drawer bottoms (J and K) from a 4 x 4-foot. sheet of 1/4-inch plywood.
Step 3
Add the Top and Bottom to the Drawer Compartment
- Install the bottom first.
- Mark the locations of the dividers, and clamp everything in place before predrilling and fastening.
- Install the top the same way, but don’t forget to add the drawer guides first.

Step 4
Screw on the Legs
- Square up one side of the leg and fasten it with one screw.
- Square up the other side of the leg and fasten with two screws.
- Pro tip: Double-check the first side before driving in the final screw.

Step 5
Install the Shelf
- Set the shelf on spacers to hold it in perfect position.
- Screw through the legs just as you did with the drawer compartment.

Step 6
Cover the Plywood Ends with Screen Mold
- Nail on the screen mold with 1-1/4-inch brads.
- Pro tip: Start with the long sections first, and use the scraps on the shorter ones.

Step 7
Build Simple Drawers
- Glue and clamp the front, back and sides together first.
- Nail on the bottom.
- Nail the sides to the front and back.

Step 8
Apply the Finish
- Sand down the rough and sharp edges.
- Finish the workbench with a combination stain and polyurethane. (We like Minwax PolyShade.)
- After one coat of the stain/polyurethane combo, add a couple more coats of regular polyurethane to the work surfaces.
- Apply an extra coat or two to the bottom of the legs so they won’t wick up moisture from your garage floor.
Step 9
Attach the Hardware
- Attach the drawer pulls.
- Install the screw eyes/drawer stops after you insert the drawers.
- Note: You may need a small screwdriver for leverage on the last few turns.