
How to Build a Welding Table
Updated: Sep. 06, 2023Admit it: You’ve always wanted to learn how to weld. This easy project will teach you how.
Video: How to Build a Welding Table
A DIY Welding Essential
A metal welding table is the perfect project to start with because you can build all your future welding projects on it. The materials will cost about $160, and this is one of the best welding table designs we’ve seen!
This table was built using a Lincoln 210MP. This machine can function as a MIG (metal inert gas/wire feed) welder, a TIG (tungsten inert gas) welder and a stick welder, but we used the MIG wire-feed function.
Materials List
- 1-1/4″ x 1-1/4″ x 1/8″ x 10′ angle iron (3)
- 32″ x 20″ x 1/8″ sheet metal (2)
- 1-1/2″ x 1/8″ x 4″ round tube (1)
- 4″ x 130-lb.-rated caster with brake (4)
- 7/16″ non-zinc or galvanized nuts, fit to casters (4)
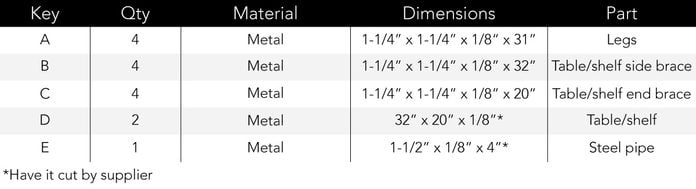
Cutting List
Weld Smart—Stay Safe
- Wear thick leather gloves.
- Wear a welding cap under your helmet. (Yes, we know our expert didn’t wear one.)
- Wear a long-sleeve shirt and pants made from cotton or leather. (These will also protect you from the arc rays, which can burn your skin like rays from the sun.)
- Wear hearing protection and safety glasses when cutting.
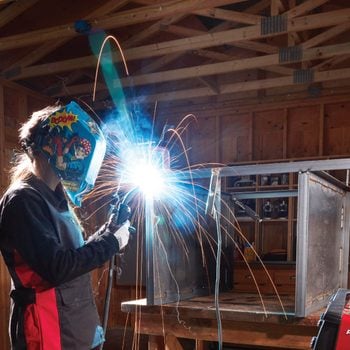
- Wear a welding helmet when welding to protect your face from sparks and your eyeballs from welder’s flash (sunburn on your eyes).
- Keep flying sparks away from flammable or explosive materials.
- Don’t touch the electrode (wire) with bare skin, and keep yourself and your clothing dry.
- Remove loose jewelry.
- Always maintain a proper ground.
- Always weld in a ventilated area, even if you use a fume extractor.
- Only weld on bare metal. Breathing in the fumes from zinc and other galvanized coatings can be extremely hazardous to your health.
Buying Metal
Home centers and hardware stores carry a small variety of sheet metal and common steel stock. The selection and prices are fine for smaller welding jobs, but for larger projects like this table, shop at a metal supplier. Metal suppliers charge up to 50 percent less, and most will be able to cut your sheet metal to exact dimensions.
DIY Welding: Practice First

Each type of welder is different, so read your operator’s manual. Achieving a good weld comes down to combining the right voltage with the proper wire speed, and this requires practice. Fine-tune the settings on the welder by practicing on the same material you plan to work with.
The wire should protrude about 1/2-in. from the gun, and the gun should be about 3/8-in. away from the surface before you pull the trigger. When you’re working on horizontal surfaces with wire-feed welders, you want to push the gun forward. The gas creates a containment-free environment, which improves the welding process. If you pull the gun, it could outpace the gas.
The speed at which you move the gun will also affect how hot the metal gets and how much wire you lay down. One popular welding technique is to move the tip slightly forward and back as you go. Called “whipping,” it helps control your speed, creates good penetration, and results in a narrower bead than you’d get by making tiny circles as you moved along.
The welding process shouldn’t produce snapping or popping noises. If a welder is adjusted properly, you should hear a consistent buzzing or sizzle, like the sound of bacon frying. This all may seem complicated, but in just a few minutes you’ll be creating solid welds.
Cut metal with a chop saw
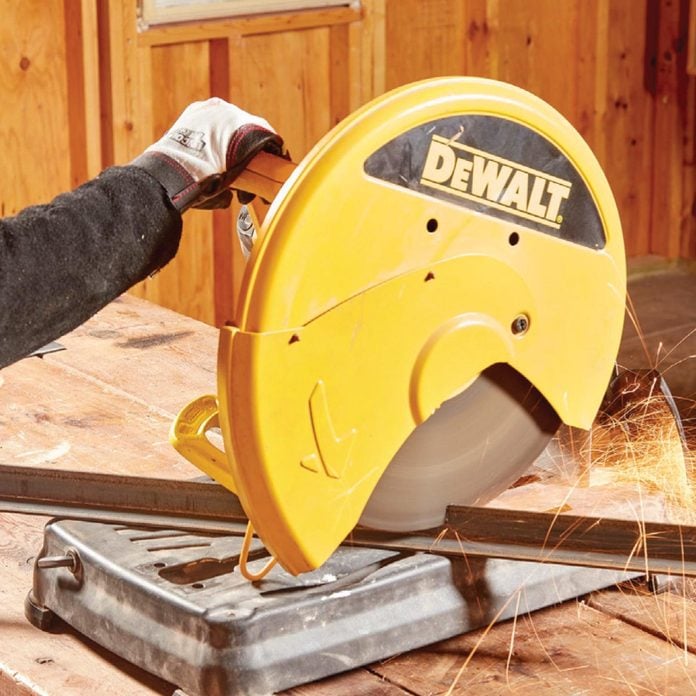
Fourteen-inch metal-cutting saws like this, outfitted with an abrasive blade, cost $100 to $200. These saws can cut bricks and pavers as well. A large metal-cutting saw with carbide teeth cuts metal like butter and with less burrs, but it will set you back more than $250. Never put a carbide-tooth blade on an abrasive saw because this saw runs at twice the rpm, a speed that could destroy the blade or worse. Miter saws designed to cut wood also spin too fast for metal-cutting blades, and since their motors aren’t sealed, the metal chips and shavings can destroy the motor.
Grind the edges

Smooth rough edges with an angle grinder. It’s also important to grind away any paint or rust. Wire-feed welders work best on clean metal.
Leave a gap
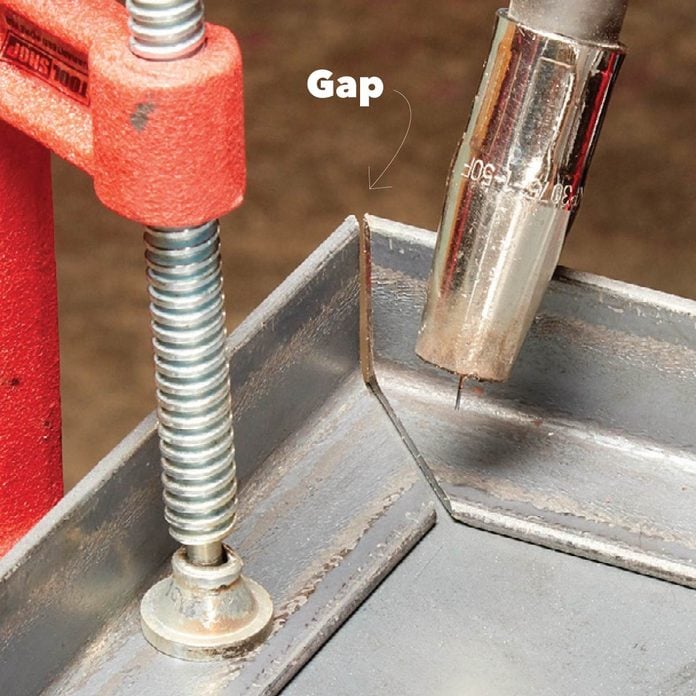
Metal from the wire is being added to the weld and will mound up a bit. If you’re welding a butt joint that you want to look good, leave a small gap, at least the thickness of the wire, to minimize the buildup. Grinding right angles into the abutting surfaces will also create room for the wire and lower the profile of the bead. This wasn’t a crucial step on this project because these welds are on the bottom of the shelves and won’t be seen.
Ground the metal

Work pieces need to be grounded in order to complete the circuit and create an arc. If your workspace is a metal table, the ground clamp can be attached to the table, but if it’s a wood table, the clamp needs to be attached directly to the work piece. Note: You may want to build your table on the ground to avoid burn marks in your workbench top. We didn’t mind the marks.
Tack first
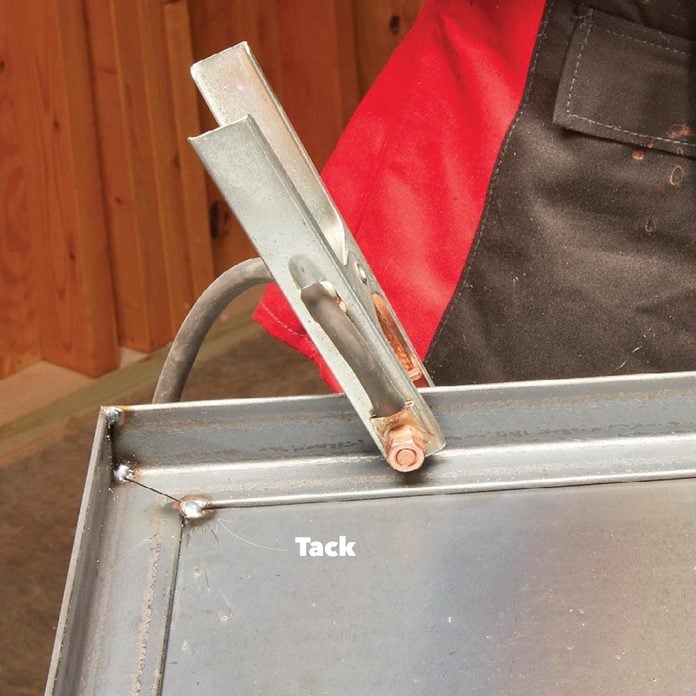
Line up the shelf braces on the surface of the table and clamp them together. Tack each brace corner to the table and to each other before welding the whole joint. This will allow you to make corrections if something gets out of alignment.
Disperse the heat

Welding too long in any one area creates excessive heat, which will expand the metal so much that the whole project could warp when it cools. Weld a few inches on one side, rotate the assembly, weld a few inches on another side, and so on. There is no reason to weld the whole joint between the table/shelf surface and the braces. Note: Fume extractors start at about $1,200 but are unnecessary if you’re welding in a well-ventilated area.
Square, clamp, tack and then weld

Follow the same procedure you used to assemble the table and shelf: Be sure everything is square and fitting together properly before welding all the joints. Tackle one leg at a time. Square the leg to the shelf horizontally and vertically before tacking it into place, and then square, clamp and tack the leg to the tabletop. Follow the same procedure for the other three legs. There are magnets available to help hold pieces in place, but a framing square and C-clamps will also do the job.
Protect threads from splatter

Buy casters that have threaded stems (bolts) so you can replace one if it gets damaged. Weld the nut in place while it’s attached to the caster. That way, the caster will line up perfectly with the bottom of the leg. Whenever you weld near nuts and bolts, always protect the threads with tape.
Accessorize

You’ll always be looking for a safe place to set down your welding gun, so a gun holder is a must-have accessory on every welding table. A simple pipe works great. You could also add a box at the end to hold your hand tools.
Weld “vertical down”
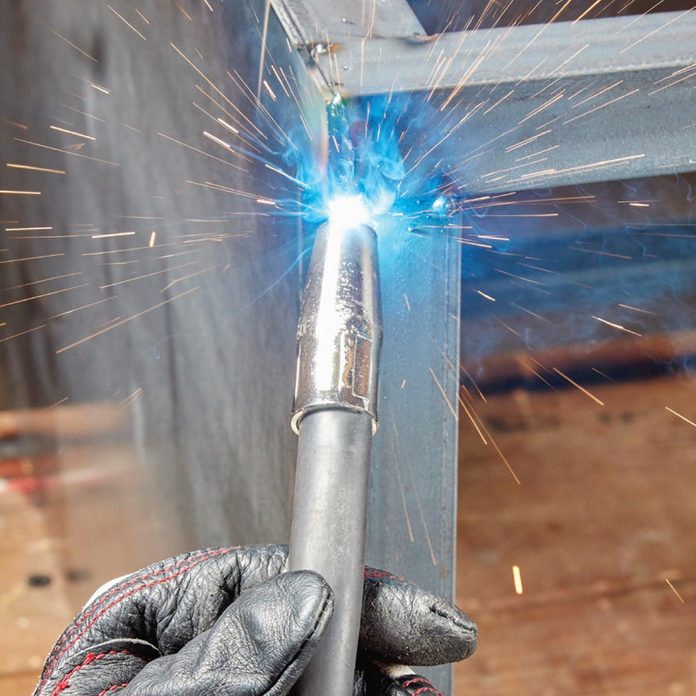
Welding from the top down works best, so whenever possible, try to keep your welding surface in a vertical position. The arcing process turns the metal into a liquid, and gravity pulls it down, resulting in a smoother bead.
Grind sharp edges
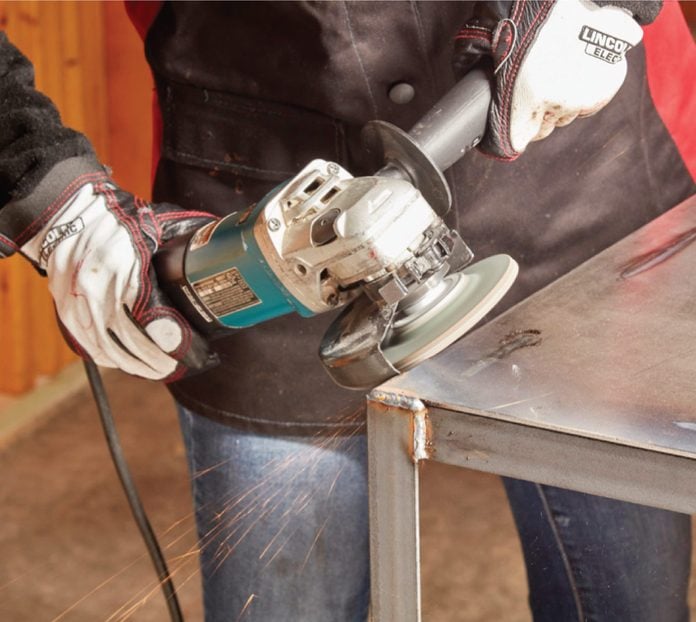
Grind down the sharp edges of the table and any ugly beads you want to smooth out. Clean the surface of the metal before you paint. Start with a household degreaser/cleaner and then wipe down with acetone. Don’t paint the tabletop or top rail; you won’t be able to ground your next welding project through the table with the ground clamp.
Keep the gun clean
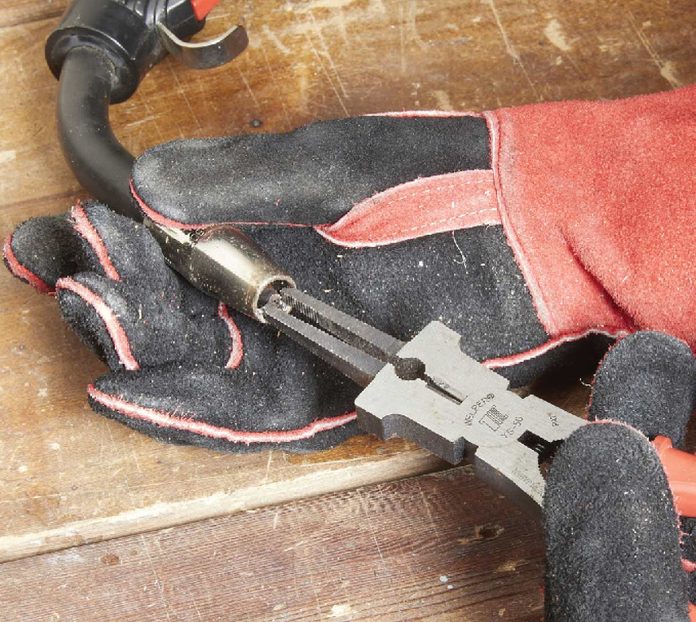
The nozzle and the tip on the gun will get covered in splatter, so it’s important to clean them off periodically. Welding pliers are the perfect tool for the job. They’re also designed for cutting wire and removing bushings, tips and nozzles, and they can work as a hammer in a pinch.

