Stronger Joints Are Better
Traditional hand-cut joinery requires skill and a great deal of practice to master. But are those fancy joints necessary? Not really. It’s totally fine to use mortise-and-tenon or a dovetail joint when a project calls for it. But for most projects, you just need joinery that’s strong and simple. The four best methods for joining wood together are pocket screws, dowels, biscuit joints and the Beadlock system. Just because there are four methods doesn’t mean you have to master all of them to be a good woodworker. Give each of them a try, pick one or two methods you like the most, and then practice those methods until you’ve got them nailed down.
Pocket Screw Pros and Cons
Pros
- Fast
- No clamping required
Cons
- Visible holes
- Doesn’t provide positive alignment
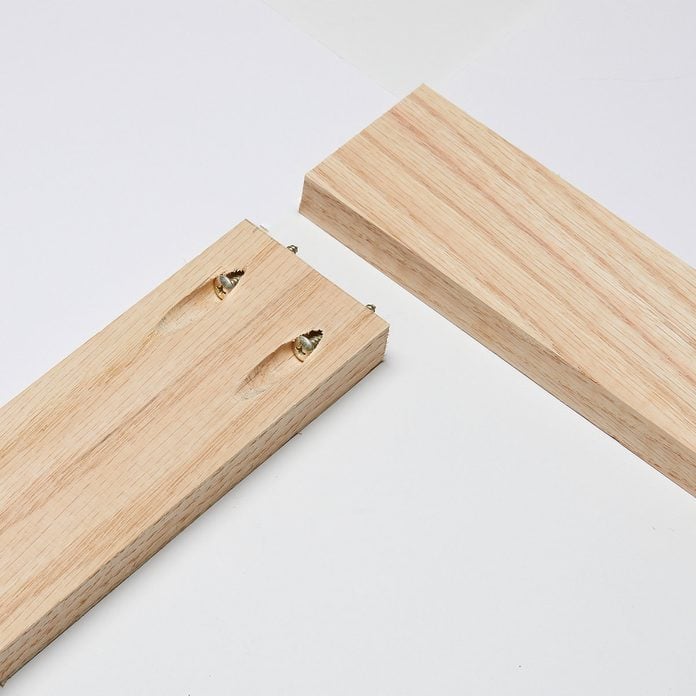
You can get a basic pocket hole kit online for about $40. You’ll need a supply of different lengths of special self-drilling washer-head screws. The only tool you’ll need outside of the kit is a basic drill driver. Once you’ve become used to the pocket screw method you can pick up more clamps, accessories, and jigs to really step up your production. The only downside to pocket screws is that without special clamps, they don’t provide positive alignment of parts for assembly.
How to Join Wood With Pocket Screws
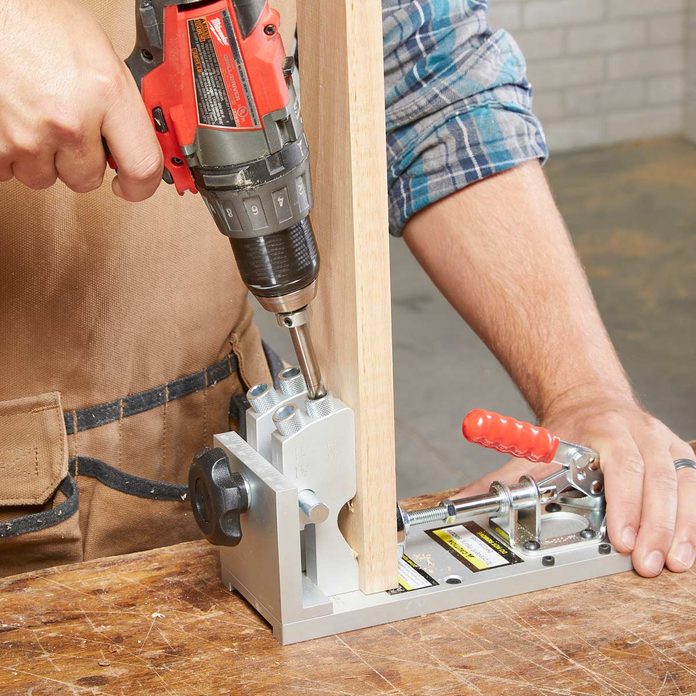
To use a pocket hole jig, just clamp your workpiece in the jig and drill the steeply angled holes. The thickness of the stock you’re drilling into determines the jig’s positioning as well as the setting of the drill bit’s stop collar. The included drill bit bores a flat-bottom hole with a short pilot hole at the center to guide the screw into the adjoining part.

Add Glue and Screw Together
Apply wood glue, clamp the parts together and drive the screws. Some pocket hole jigs are portable, so you can clamp them onto a workpiece that’s too large to put on your workbench.
Pros and Cons of Dowels
Pros
- Positive alignment both directions
- Mating dowel holes can be positioned anywhere using dowel centers.
Cons
- Requires clamping
- Slow
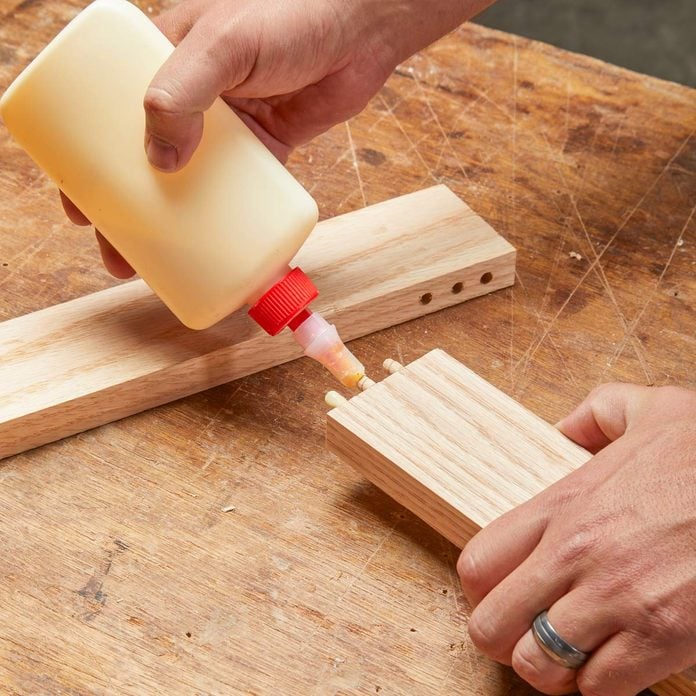
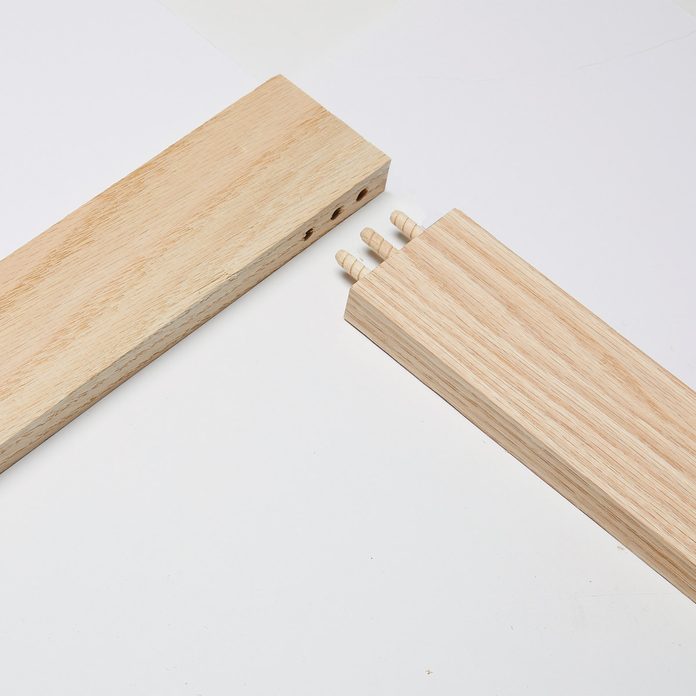
A solid, easy-to-use doweling jig won’t cost too much, around $50. You’ll need a supply of dowels and, like the pocket hole method, the only tool you need is a drill. Dowels for joinery are different from standard dowel rods found at the hardware store. Joinery dowels are grooved to keep glue from getting trapped in the bottom of the hole, preventing the parts from pulling together. The greater gluing surface provides a somewhat mechanical grip.
Unlike pocket screws, dowels provide positive alignment of parts. Pocket screws will also result in both sides of the joint look the same, without exposed screws.

How to Join With Dowels
The doweling jig we use is a self-centering jig with an integrated clamping mechanism. Mark the hole locations on both parts, clamp the jig into place, and drill the hole.

Add Glue and Insert the Dowels
Apply glue to the dowels and mating parts. Press the joint together and clamp. You can use wood shims with this jig to drill holes for offset parts. When necessary, use dowel centers to mark the starting points for drilling into the adjoining part.
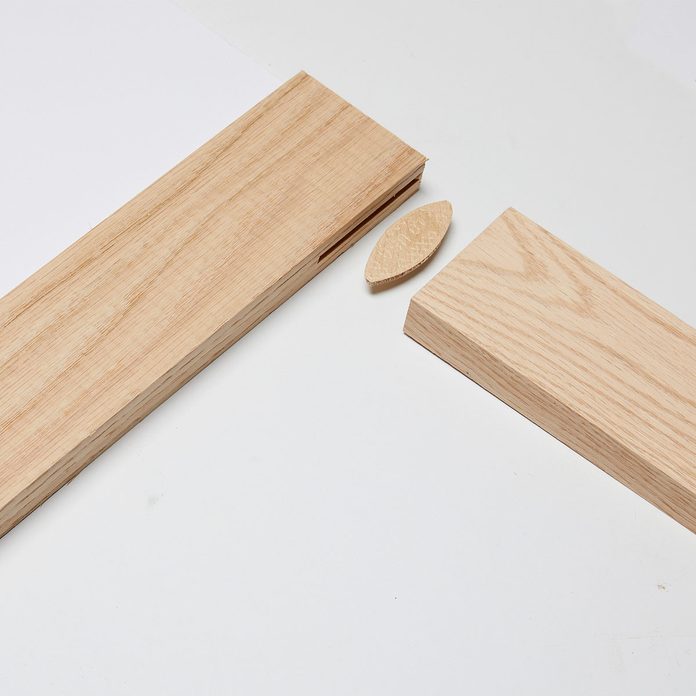
Pros and Cons of Biscuits
Pros
- Fast
- Easy to use
- Easy to offset parts
- Effective dust collection
- Positive alignment in one direction
Cons
- Requires clamping
- Parts can slide during clamping
A good plate or biscuit joiner runs anywhere from $100 to $700. The $700 variety is really nice, but it’s not necessary for a beginning woodworker. A modestly priced model works just fine. A plate joiner cuts a semicircular slot in adjoining parts to accept a plate/biscuit, which is then glued in place. Biscuits come in different sizes to accommodate various part dimensions.
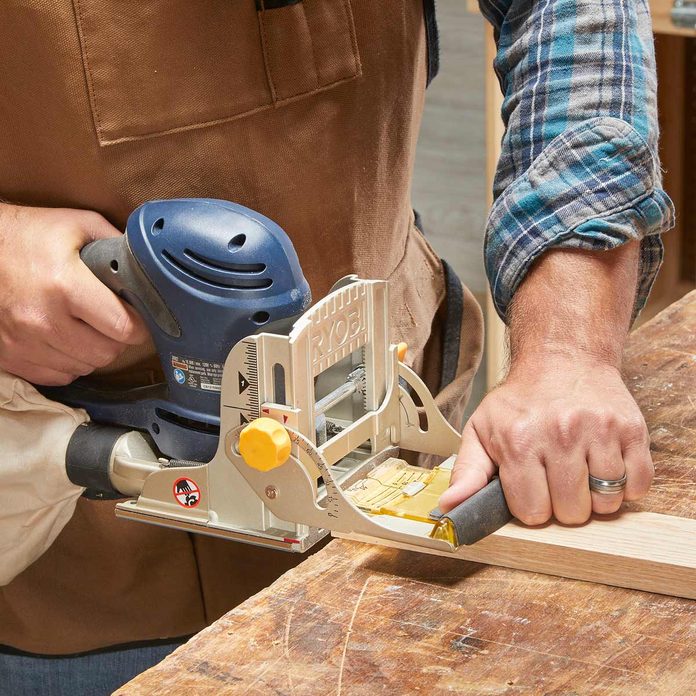
How to Join Wood With Biscuits
Mark joint center lines on adjoining parts. Set the plate joiner to the desired cutting height, and the cutting depth to match the biscuit size you’re using. Line up the guide mark on the joiner’s fence with your mark and plunge the cut.
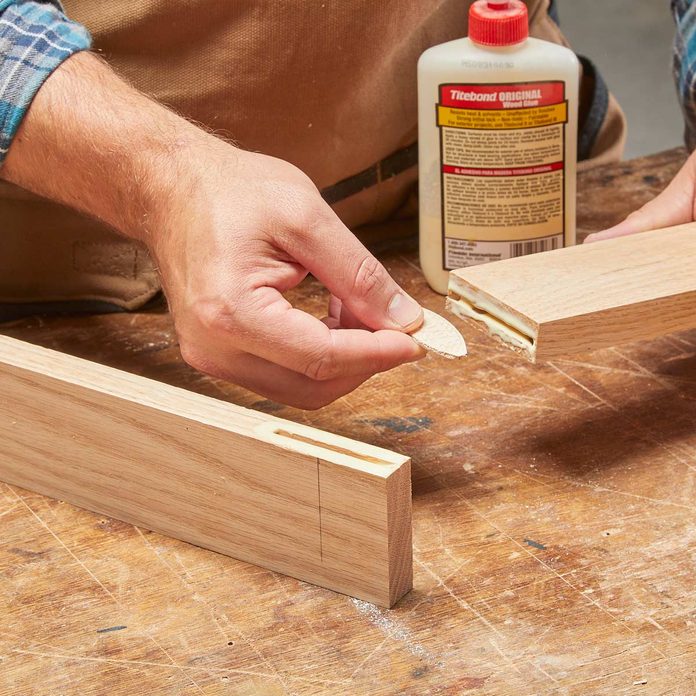
Glue Up and Insert the Biscuits
Apply glue to the mating surfaces and in the slots. Insert the biscuit, press the joint together and clamp.
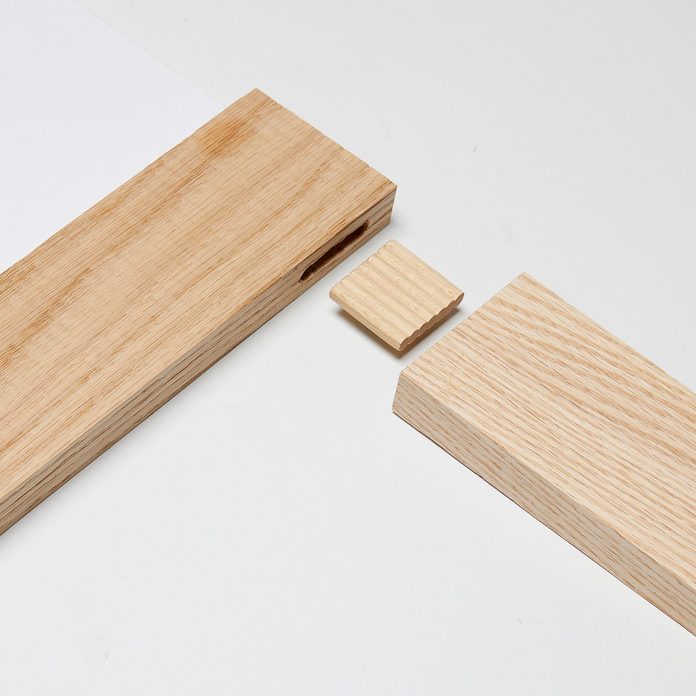
Pros and Conse of BeadLock
Pros
- Easy to use
- Positive alignment in both directions
Cons
- Slow
- Requires clamping
- Sawdust sticks in the holes
- Jig is not self clamping
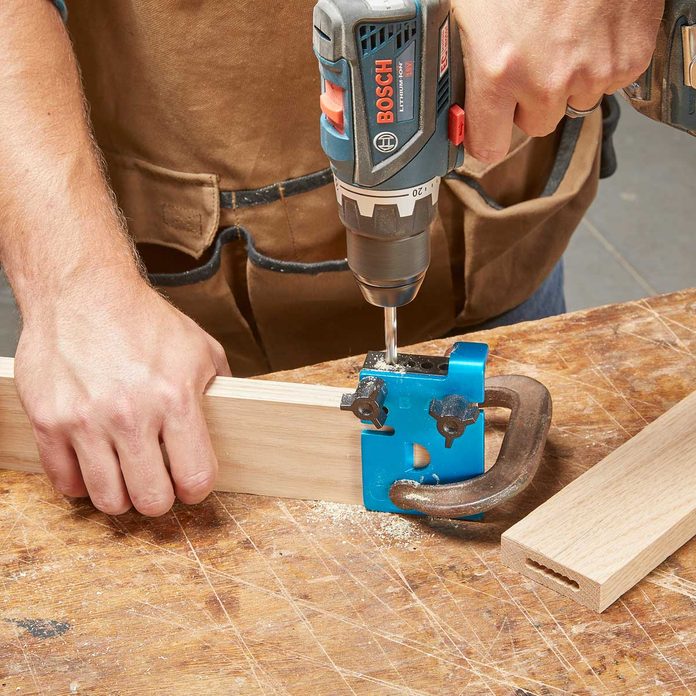
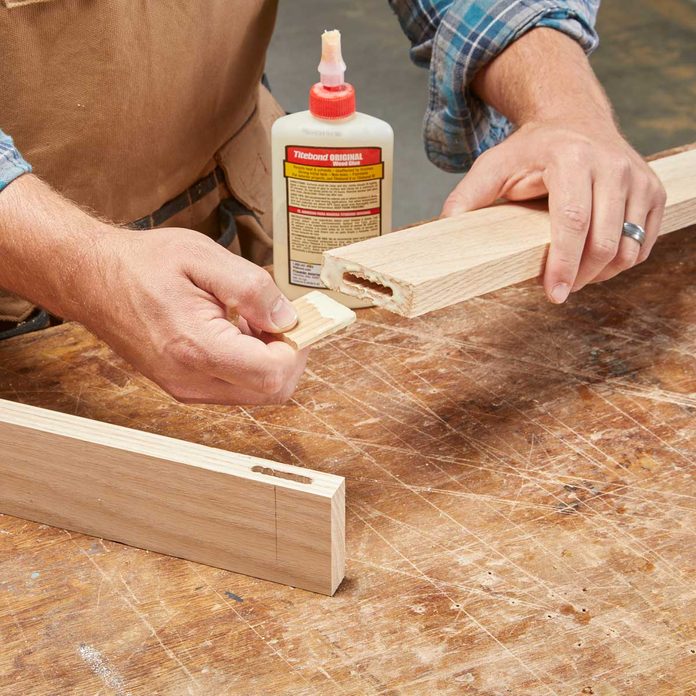
A BeadLock jig facilitates drilling mortises in adjoining parts, again using only a drill. This is one of many “loose tenon” systems. Instead of the tenon being cut from one of the adjoining parts, precut tenon stock is glued into a mortise in both parts. BeadLock mortises are just a series of overlapping holes, and the tenon stock looks like a stack of dowels.
How to Join Wood With Beadlock
Mark the joint center line on both parts, position the jig using its alignment guide, and then clamp the jig in place. Drill the first set of holes, slide the drilling block to its second position and drill the second set of holes. Repeat the process on the mating part.
Add Glue and Insert the Tenon
Apply glue to the mating parts and the BeadLock tenon. Press the joint together and clamp.
