Improper Ripping
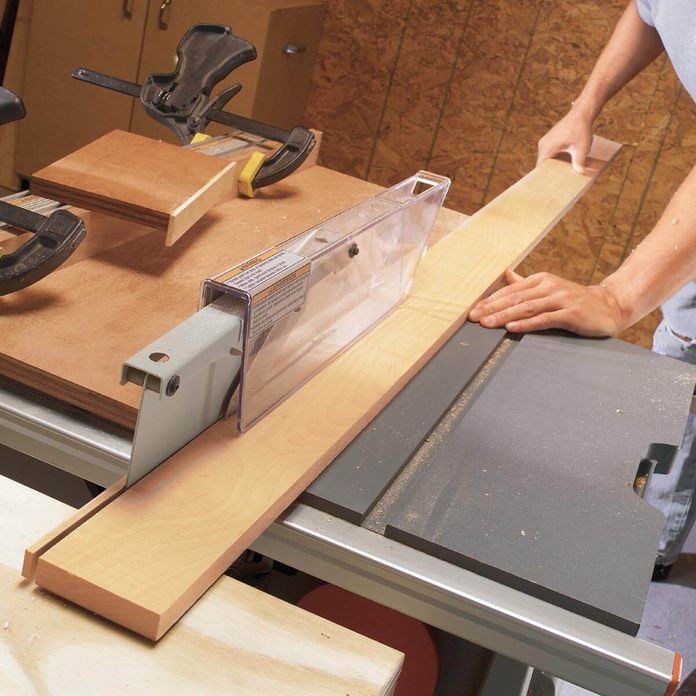
Sooner or later in your woodworking, you’ll come across a reference to “ripping” lumber. Although it may sound like a particularly forceful way of making a cut, all it really means is cutting along the length of the board. Because it’s a longer cut, it’s often done on a table saw, but it can be accomplished with a circular saw, either free-hand or with the aid of a rip fence. It can be tricky to get the rip just right, and an early mistake can have ripple effects throughout the rest of your project.
The Forgotten Kerf
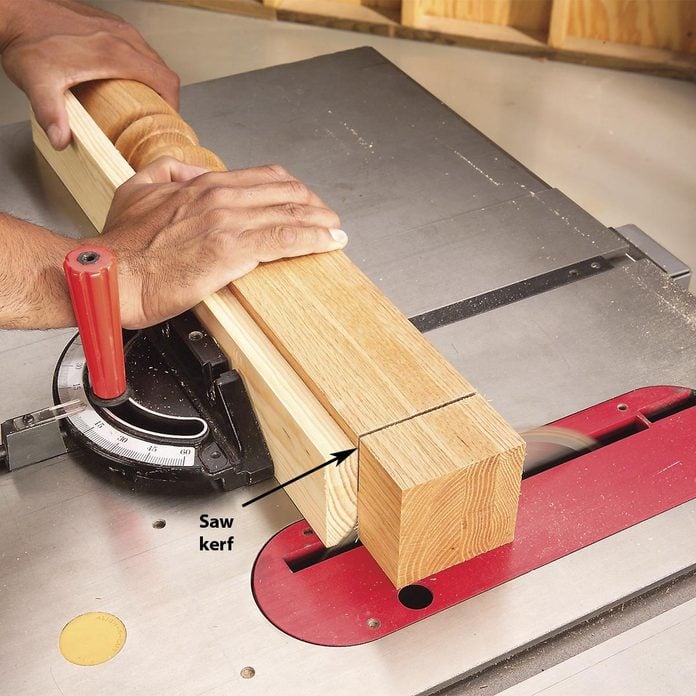
Let’s say you need to cut three lengths of 1×4 material, each 3 feet long. By happy coincidence you have a 9-foot stick of 1×4, so you quickly measure and mark two lines, and then make your cuts. But when you go to use the pieces for your project, you find that two of the pieces are too short. The reason is that you forgot to factor in the kerf, or thickness of the saw cut.
The kerf is determined by the width of the blade (usually 1/8-in.) but also the wobble in the cut, and the size of any material torn out by the blade. It’s the reason that you have to give a little extra thought to planning your cuts. The good news is that there’s an easy solution to stay ahead of this common mistake: Always measure and mark each cut. (You can use a tape measure, or speed up multiple identical cuts by using a pattern stick or stop block.)

Unexpected Blowout
Blowout (sometimes also called “tearout”) is the name for the ugly result when chunks or fibers of wood are torn out behind a saw blade. It can happen with any kind of cut, on a table saw or a miter saw, or even a router or drill. The best way to avoid unwanted blowout is to pay attention to your blade before you start to work.
A dull blade will tear as much as it cuts, and should be avoided for this reason (and for safety concerns.) Similarly, choose the right blade for the job: A saw blade with fewer teeth will cut faster, but result in more tearout. More teeth on the blade will require a slower hand but will also result in a cleaner cut. You can often find special blades for materials that are particularly prone to tearout, such as OSB and linoleum. Another trick is to protect the material with painter’s tape. Put the tape on the side that the blade will be emerging from, as that’s the area most prone to blowout.
Finishing in a Dirty Environment
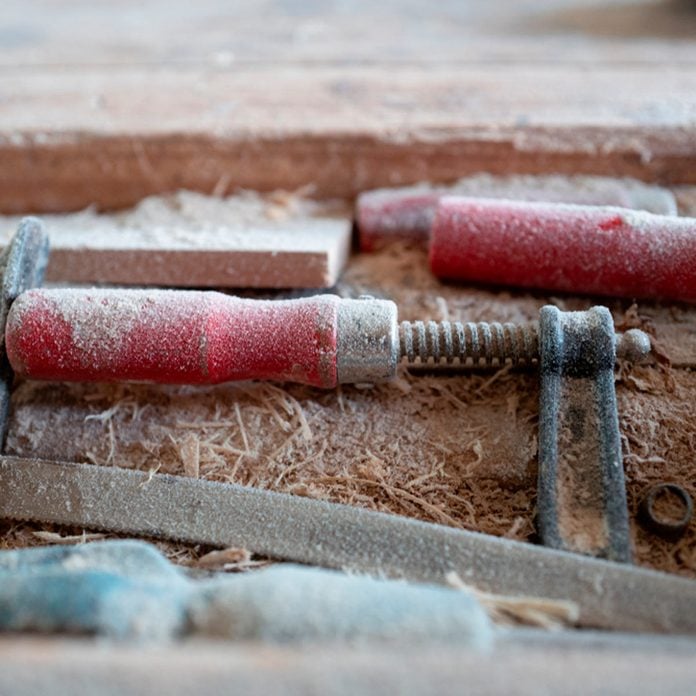
We get it: it’s tough to keep a workshop sparkling clean. But for some jobs, the environment can be just as much of a factor as your craftsmanship. It can be extremely tempting to complete a woodworking project and immediately move to the finish stage. But if you’ve been running a saw, the surrounding air is filled with dust and debris. When you lay down a stain or finish, all that dust is going to settle and stick to the surface, marring your project and ruining the beauty of the wood.
If possible, do your finish work in a different location than your build. If that’s not an option, give the room plenty of time for the dust to settle, or consider a dust collection device. A little dust on the first coat isn’t necessarily a deal-breaker, but there’s nothing more frustrating than having a beautiful piece ruined by the remains of your earlier work.
Dangerous Rag Disposal
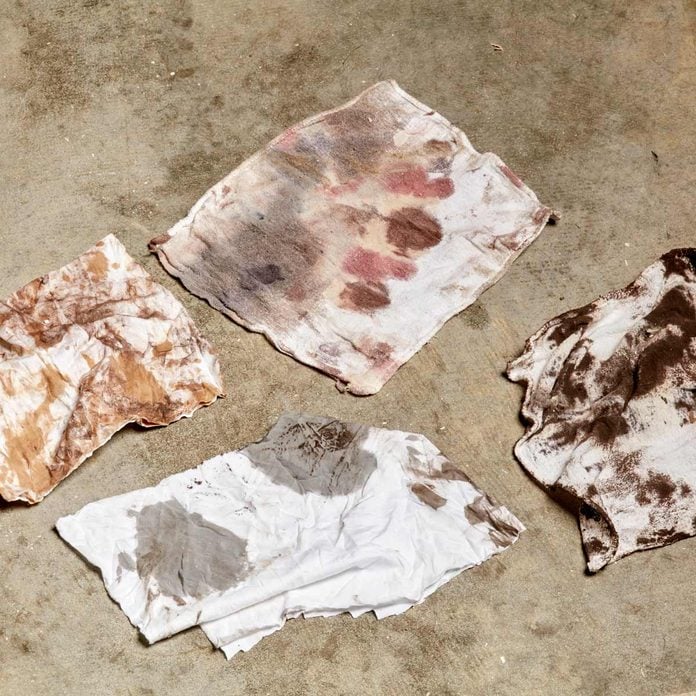
While we’re on the topic of stains and finishes, let’s talk about rag disposal. If you’re like most people, your first impulse is to chuck a used rag into the trash. The problem is that the oil-based stains and finishes commonly used in woodworking dry through a process known as “oxidation.” Oxidation produces heat, and a crumpled rag traps that heat in its folds, letting the temperature build and build. If you’re unlucky, the temperature will build high enough to reach the combustion point (which for a cotton rag isn’t that high) and then you’ve got a fire on your hands.
Pro shops have entire rag disposal procedures, but if you’re just starting out the easiest process is to simply spread used rags flat or drape them over the edge of a noncombustible item, such as the utility sink. Let them dry until the finish is fully cured, which usually takes a day or two. At that point, it’s safe to dispose of them in the trash.

Using the Wrong Tool for the Job
Woodworking can seem like an imposing craft. There are countless specialty tools, and it can be hard to keep them all straight. An important skill to develop is understanding what tool is nice to have, and what tool is truly needed. Sometimes, an arduous task can be made almost trivial simply by using the right tool.
If you’re hesitant to spend money on a specialized tool that you may only use once, there are some alternatives. Consider tool rental services, finding the hand tool equivalent, or making your purchase at a discount center. Inexpensive tools sometimes don’t last, but they may give you the opportunity to try something new and find out if you’d like to make that tool a permanent addition to your workshop.

Router Burn
Some beginning woodworkers are surprised to learn that burn marks caused by their saws and router bits are not a necessary byproduct of woodworking. Burn marks from flat blades are relatively easy to eliminate. These burn marks can be planed or sanded off. Or better yet, avoid them completely by using a sharp, clean blade.
Router burn, however, can be more difficult to remove, due to the complexity of the bit profile. To avoid router burn, make sure you are cleaning your router bits after each project. Resins and dust can build up on a bit’s surface, and cause the metal face to heat up faster. This in turn increases the chance of burning your next project. And, the higher heat dulls bits faster. So clean your bits and you’ll be saving money as well!
Also, be willing to take the time to do multiple passes when removing large amounts of material. If you are routing off more than an inch to an inch and a quarter, make several shallower passes, and you’ll reduce the chance of burn marks.

Dull Blades and Bits
Dull blades are the bane of woodworking. As mentioned in the last tip, dull and dirty blades heat up faster and tend to burn wood. They are also more prone to kick-back and tear-out. But you don’t need to spend the money on a whole new blade! Do a quick search online to see if there is a sharpening service near you. The pros there can help you determine which blades are worth resharpening and which ones are best to simply replace. A quality saw blade can be a pricey investment, but with judicious resharpening, you can keep it in service for a surprisingly long time.
The same goes for other tools: from utility knives to chainsaws, a dull blade slows you down, damages your material, and tempts you to force the tool, potentially leading to injury.
Moisture Mistakes
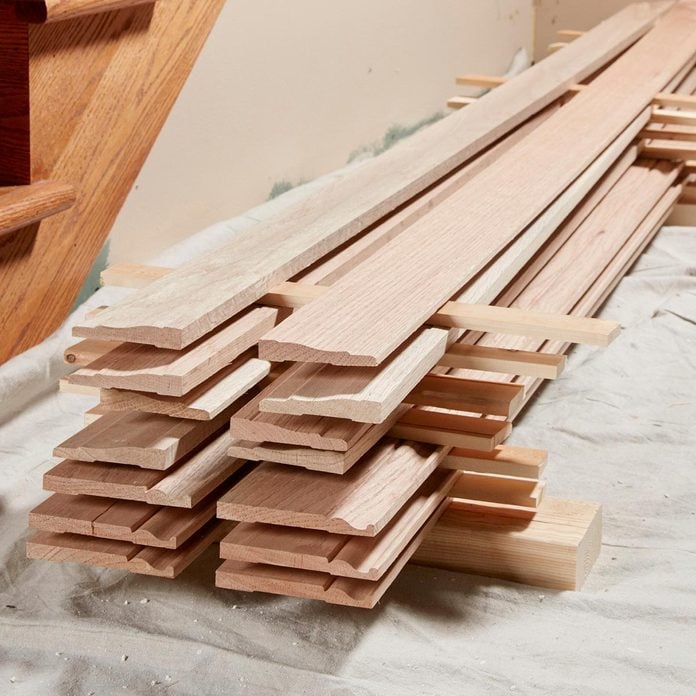
It can’t be stressed enough: wood is a natural material. It will always expand and contract with relation to the temperature and moisture in its environment. Leaving room for expansion and contraction is an important part of building science and furniture construction. When connecting wood items to an existing structure (the most common example is wood flooring into an existing house) this has to be an acclimation period before beginning work.
If you’ll be doing multiple projects, you may consider investing in a moisture meter. If you don’t have a meter, a 48-hour window is usually plenty of time to allow wood to acclimate to a new environment. It can be frustrating to wait, but it’s much more frustrating to see a beautiful woodworking project ruined by an ugly crack.

Lazy Handling
Wood seems like a tough material. But as your woodworking progresses, you’ll learn to treat your materials with care. Your finished product and raw materials should be handled thoughtfully, and treated with the care appropriate for the stage and finish of a given project.
If you’re building a built-in bookcase or dining room table, you need to be more careful than you would if you were pounding together a doghouse. Also, a product that’s halfway through the finish stage is far more vulnerable than flat stock which is about to be planed. The most common damage in the workshop is from items laid on top of materials. Hammers, saws and files can all dent or scratch wood which is destined to be the focal point of a new project.