
How to Mount a TV on the Wall

Updated: Feb. 06, 2024
Learn how to do this DIY task and save hundreds of dollars with these easy-to-follow instructions.
1 hour
Beginner
Varies
Introduction
Mount a flat panel TV yourself and save money with these easy-to-follow instructions for low profile, tilting and full-motion mounts.
Tools Required
- Cordless drill
- Level
- Pencil
- Screwdriver
- Socket/ratchet set
- Stud finder
- Tape measure
- Utility knife to cut cardboard
Materials Required
- Cardboard
- Flat screen TV mount
- Lag bolts (if not included in mounting kit)
- Masking tape
- Nail
You just bought a new TV for your home. Now you’ll need to mount it.
Mounting a flat panel TV on the wall is one of those jobs where a little know-how can save you a lot of money. Professional installation costs $150 to $350, plus the price of the mount itself. But if you can handle some precise measuring and drive a few screws, you can do a first-class DIY job in about an hour.
We’ll show you how, plus sift through the confusing variety of mounts to help you choose the version that’s best for your situation.
While you’re at it, check out our list of decorative TV wall ideas that will add an aesthetically pleasing element to your home.
TV mount styles
Don’t be overwhelmed by all the wall-mount makes and models. They’re all just variations of four basic styles: fixed, swivel, tilt and full motion.
The style mainly differ in how much they allow you to adjust the position of the screen. Adjustments can eliminate glare and increase viewing comfort, but it’s most important for picture quality.
Like a computer screen, the picture on a TV screen is clearest when viewed straight on. So a mount that offers more adjustability gives you a clearer picture in more situations, and may even increase your options for where you can place the TV.
Fixed mount
- Fixed mounts hold the TV close to the wall.
- The downside? They don’t allow tilting or other adjustments. So if you plan to place your TV far above eye level, a fixed mount isn’t the best choice.
Swivel
- Swivel mounts are similar to fixed mounts in that viewing is best when hung at eye level.
- It can move left and right to help with viewing on either side of the room.
Tilt
- Tilting mounts let you place the TV above eye level or change the angle to suit the situation.
- It tilts up and down, helpful if you are watching TV from the floor one day and a sofa the next.
Full motion
- Full motion mounts let you tilt, swivel, pan and extend the TV. The latter means you can pull the TV away from the wall and turn it to the left or right to face the viewer.
- These can mount on the wall or in a recessed box as shown.
- The mount’s arm folds into the box, bringing the TV as close to the wall as a low-profile mount. The box also provides a neat exit point for in-wall wiring.
Depending on the type of mount you purchased, the steps could look a little different, so always check the instructions before diving into the project.
Project step-by-step (6)
When choosing a TV mount
Most flat screen TVs are made to be mounted, but make sure yours is before you shop for a mount. Look for “VESA” (Video Electronics Standards Association) on the manual or the TV itself, followed by a number like “VESA 75.” Any mount with the same VESA number will work with your TV.
Also consider wiring before you choose a mount. If you plan to fish wiring through your walls, the mount design may determine how and where you can install an outlet and cable connections.
Proper TV height
I decided to mount a 42-inch TV in my bedroom above a credenza. So I purchased a full motion mount in case I wanted to pull the TV away from the wall and tilt the screen for better viewing.
Depending on the size of the TV, it might take two or three people to find the right height — two to hold the TV and a third to judge the height.
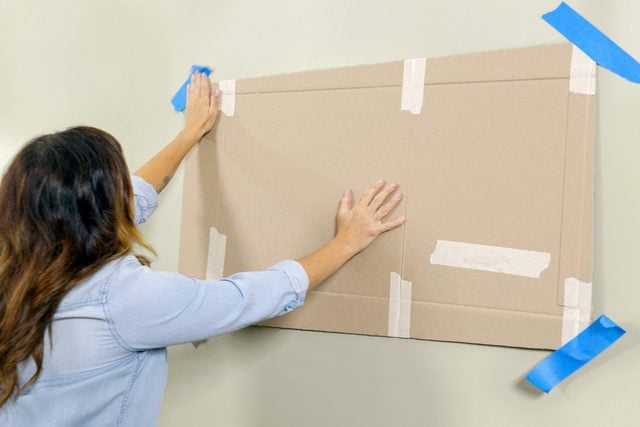
If you don’t have helpers, cut a piece of paper or cardboard the size of your TV. Use painter’s tape to adhere it to the wall to get an idea of how your TV will look in that spot from your viewing position. Painter’s tape will let you make adjustments until it’s perfect.
Pro tip: People often place the TV too high. Looking up at the screen can give you a sore neck and a murky picture, especially if the TV mount doesn’t tilt. Some experts recommend centering the screen at eye level when you’re seated. Others say a bit lower is better, so eye level is centered on the top two-thirds of the TV. (That’s where most of the on-screen action is.)
There’s no “correct” height, just what works for you. A lot depends on the size of the TV and the room. A big TV in a big room can be mounted higher on the wall because the upward viewing angle decreases when you sit farther from the TV.
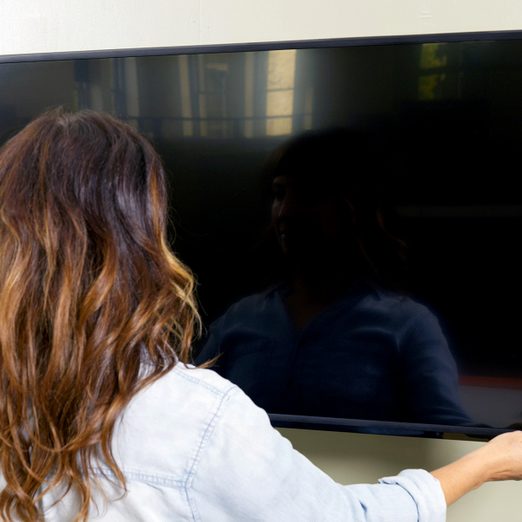
The best way to choose how high to mount your TV? Hold it against the wall and sit at your viewing location. Then decide accordingly.
If using the cardboard cutout or the TV itself, mark the top center location on the wall with tape or a pencil. Then set the cardboard or TV aside.
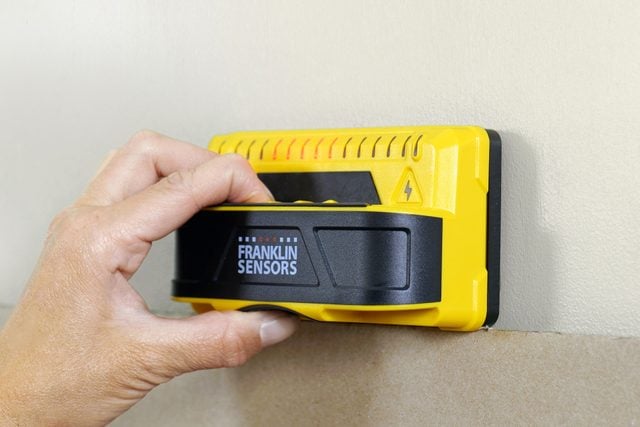
Find your studs
Next, locate the centers of the wall studs using a stud finder. The centers of the studs provide maximum holding power. Mark the location with a pencil.
To make sure it’s actually a stud, run a nail into the wall. Newer stud finders light up the entire stud, so it’s easier to see the center.
If you have concrete, brick or block walls, you can drive anchors anywhere. Check the instructions for wall anchor recommendations.
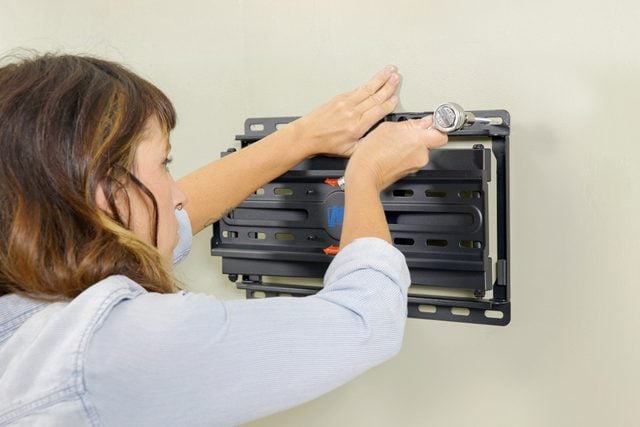
Position wall mount
Most wall plates let you slide the TV left or right a few inches, so the plate doesn’t have to be perfectly centered. But positioning the plate at the right height can be tricky. Lots of people installing it two or even three times before they get it right.
Here’s how to avoid wasted time and a wall full of screw holes:
- Put the TV upside down on a blanket or something that won’t scratch the surface, then screw the brackets to the TV following the instructions. The screw holes in the back of the TV may be hidden by plastic plugs. Just pry them off.
- Hang the wall plate on the brackets so the complete mount is attached to the TV.
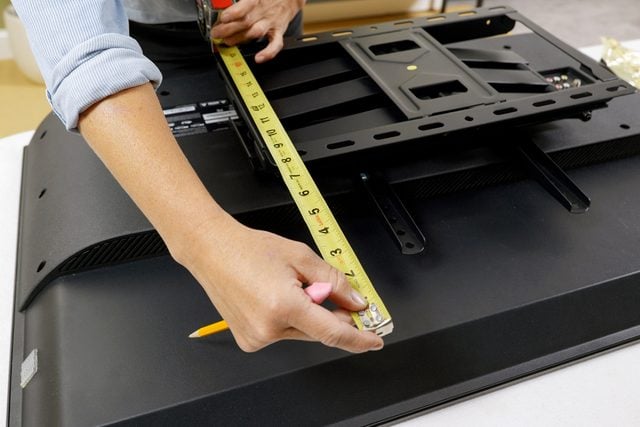
- Measure the distance from the top of the TV to the center of each row of mounting holes on the back plate.
- On the wall, measure the same distances by using the center, top TV marking to locate where the two rows of mounting holes would land.
- Use the stud marks to locate the stud within each row of mounting holes. Check the final marks with a level to make sure they’re perfectly level horizontally. There should be four markings, two on top and two on the bottom.
- Drill holes at the marks. The holes should be about 1/8-inch smaller than the lag screws. If the manufacturer didn’t include lag screws, check the instructions and pick up the recommended size at a hardware store or home center.
Mount TV on wall
After the TV installation, consider cord covers to hide away any unsightly wires. Or put up a shelf to house your sound bar and other decor items.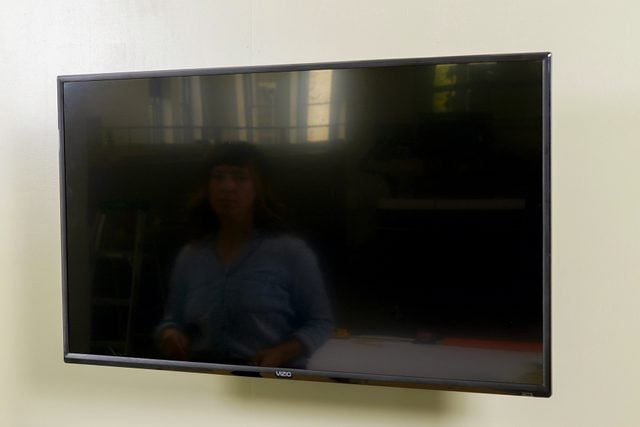
Originally Published: April 17, 2018