5 Ways To Patch Tile
Updated: Feb. 02, 2024

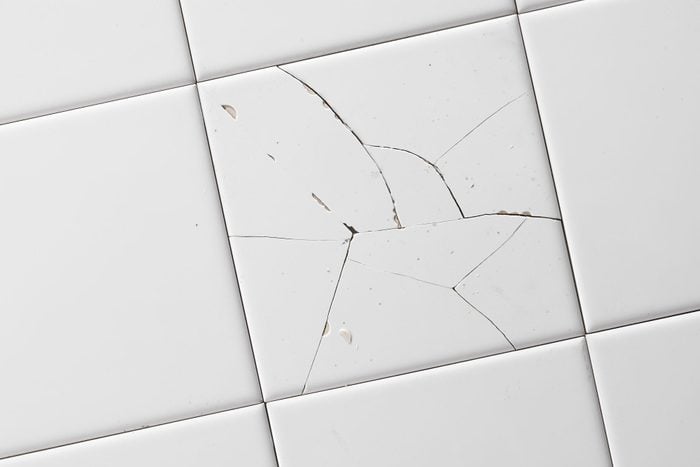
Cracked or chipped ceramic tile? Before you tear it out or plan your renovation, try one of these tile repair methods.
Our editors and experts handpick every product we feature. We may earn a commission from your purchases.
It’s inevitable. In the life of tile floors, baths and showers and other tile-covered spaces, chips or cracks occur.
Maybe something heavy fell on the tile floor and chipped a piece. Maybe the tile substrate behind the bathroom wall shifted and hairline cracks opened in the tile. Maybe the tile was never installed correctly to begin with. Or maybe you’ve got vintage tile that’s difficult to replace.
Unless the damage is extensive, it’s usually not worth the hassle and expense to replace an entire area of tile. Instead, you can patch chipped or cracked tile and almost no one will know the difference.
Here are some of the ways to patch broken tile:
Five Ways to Patch Tile
All the common ways of tile repair require one thing above all others — patience. No matter which method you choose, it’s a meticulous, multistep job that can’t be rushed.
Start by carefully cleaning the area to be repaired. This is essential, especially if the break has been there a while and it’s dirty. For chipped or cracked areas with sharp edges, you may need to lightly sand first with fine-grit sandpaper.
- Clean with a damp, soft scrub brush and some dish soap or powder cleanser.
- Dry any standing water with paper towels.
- Let the area dry completely.
Once the area is clean and dry, you’re ready to patch the tile. Depending on the type of repair and material you’re working with, here are the top options for fixing cracked or chipped tile.
Grout
If your tile is multi-colored with a non-glossy surface, you could patch it with grout for nearly seamless results. This is often an easy fix for travertine tile or other natural stone with an uneven pattern and some texture.
- Find a grout the same color as the tile, or as close as possible.
- Follow the manufacturer’s instructions for mixing the grout.
- Using a grout float, apply it to the damaged area.
- Wipe off excess with the float.
- Let the grout set. This usually takes 20-30 minutes.
- Sponge off remaining residue with a grout sponge.
Paint
If you have a good eye for color matching and a steady hand, you can paint over shallow cracks and small surface chips. The results might not hold up under a microscope, but it’ll be good enough to last until your next bathroom or kitchen renovation.
- Choose a water-based paint that matches your tile color, or buy ceramic tile touch-up paint.
- With a small hobby paintbrush, apply the paint to the unglazed, damaged tile area.
- Reapply as needed, taking care not to get paint on the glazed surface.
- Once the paint dries, apply a coat of clear, water-based acrylic to seal the job. Be sure to choose a finish (matte, satin or gloss) that matches the tiles.
Epoxy fill and paint
For wider and deeper cracks or chips that cause indentations in the tile surface, you’ll need an epoxy fill before you paint.
- Fill the crack or chip with liquid epoxy.
- Lightly sand the epoxied area.
- Repeat epoxy applications and sanding until the damaged area is flush with the tile surface.
- Paint and seal the repair area per the steps above.
Nail polish
Talk about a cheap, easy fix! Nail polish comes in nearly unlimited colors and forms a waterproof enamel finish. Use it as a fix for small cracks and chips. If the applicator brush is too big, apply with a toothpick or an ultra-fine paintbrush.
Tile repair kit
Tile repair kits provide all the patching tools and materials so you don’t find yourself missing a tool mid-project. Here are two we recommend:
- CalFlor TileFix Tile and Stone Repair Kit: We appreciate the step-by-step instructions in this kit, which comes with eight base colors for color-matching, a color-matching formula “cheat sheet” and finishing sealant.
- Sugelary Tub, Tile and Shower Repair Kit: This kit includes a two-part epoxy and two colors in addition to white, allowing for limited color matching.
