
How to Paint a Garage Door

Updated: Oct. 15, 2023
Here's how to paint a garage door and get smooth, professional results.
A full day
Beginner
Around $250
Introduction
Learning how to paint a garage door, with all of its angles and panels, may look intimidating. But with a methodical approach, you'll have it done in a day!Tools Required
- Drop cloth
- Garden sprayers
- Hose
- Paint roller
- Paint scraper
- Paintbrush
- Putty knife
- Roller tray
- Sanding block
- Screwdriver
- Shop vacuum
- Stepladder
- Wood block
- Wrenches
Materials Required
- 100-grit sandpaper
- 2x4
- Box of TSP
- Exterior caulk
- Paint
- Painter's tape
- Primer
Start with a clean surface
If you are looking to give your garage door a new lease on life, there is no easier way than preforming some simple garage door maintenance and covering it with a fresh coat of paint.
Start by removing all the dirt and grime. Wet the garage door and then spray it with deck wash. Allow the deck wash time to work, as directed by the manufacturer. Then, complete the cleaning with a thorough rinse and allow the door to dry completely.
Some people prefer to clean with a power washer. In most cases this is not necessary, but can be done with careful attention to pressure. Too much pressure or working too close to the surface can dent metal, score wood and remove the primer coat.
After washing the garage door, thoroughly rinse any nearby plants to remove any cleaner that may have settled on them. Plants that get splashed with cleaner will turn yellow.
Project step-by-step (8)
Remove paint from garage door
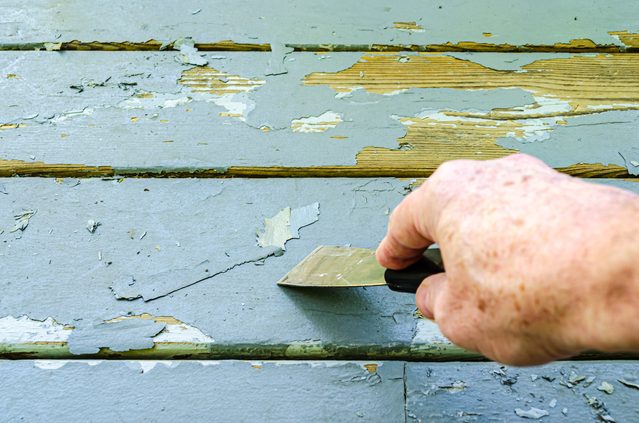
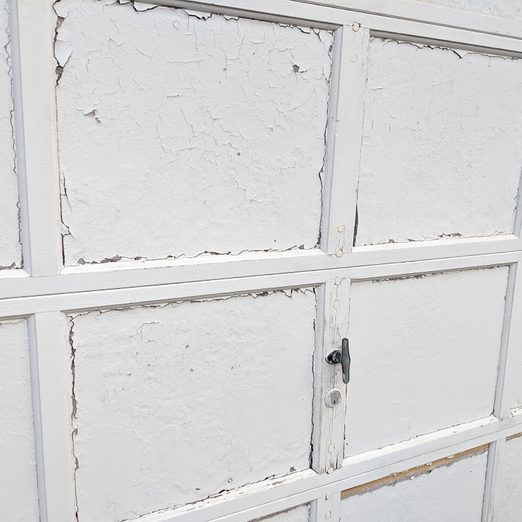
Scrape and sand any loose paint. For wood doors, any bare wood that looks gray needs to be sanded down or the garage paint won’t adhere to it.
Wood doors may also have cracks or holes that need filling. Apply caulk to these gaps with a putty knife to restore an even surface. Once dry, sand to smooth over where you have patched. Vacuum and rinse to remove any loose material and dust. Allow the door to dry completely.
Prime and Scuff
For unpainted doors, apply a coat of primer. (Use the technique described for painting the topcoat on wood doors in Steps 6 and 7.)
Otherwise, simply spot-prime any bare spots and/or patched areas and allow to dry according to the manufacturer’s directions. Sand the newly primed spots to blend in with the rest of the door surface.
Continue lightly sanding the rest of the door, just enough to remove any gloss and help the new coat of paint adhere better. Take care not to sand through thin layers of primer. If you do, back up and spot prime again.
Vacuum, rinse and dry as before.
Tape as Needed
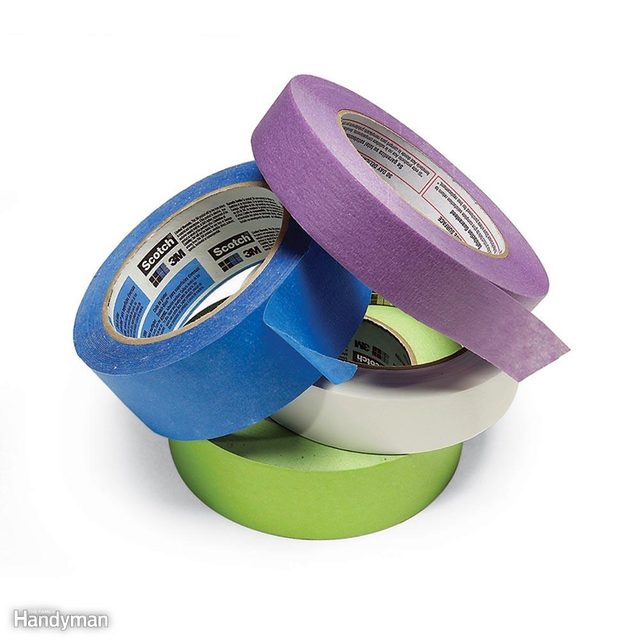
Tape off or remove any hardware that you don’t want to paint.
Tape off the garage door bottom seal that runs underneath the bottom edge of the door, as well as any trim that you don’t plan to paint.
Also tape off any vinyl-flange garage door weatherstripping running along the top and sides, if desired. (Your other options: Leave it so you can paint it—it actually holds paint quite well—or, if it’s cracked or torn, remove it now, then replace after painting.)
You may want to tape the bottom side of each horizontal section, too. See Step 7 (Pro Tip) to help you decide.
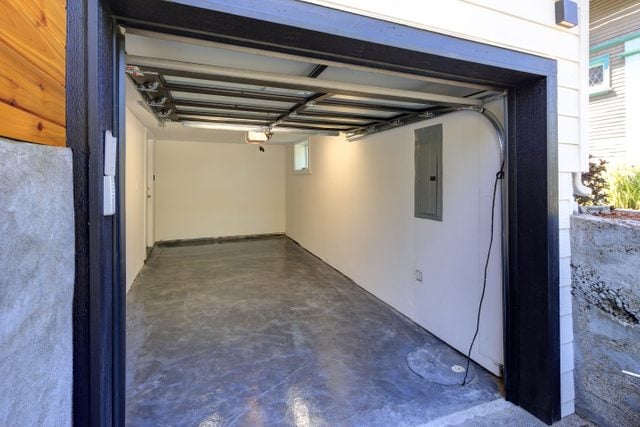
Now, lift the garage door to its fully open position. Lay dropcloths to protect the driveway and garage flooring.
Position the Garage Door
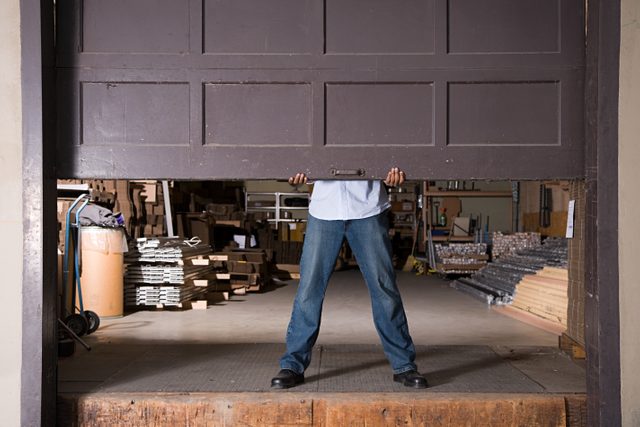
If you have a garage door opener, disengage the door from the drive mechanism. (It’s usually a short cord with a plastic handle hanging from the door track).
Lower the door manually onto a block of wood. Use a short piece of either 2×4 or 4×4, depending upon how much lift you need to move the door into a good position. When lifted, the top should ease about an inch away from the trim, allowing you access to the edges of the door and its top edge.
Paint the Top Section First
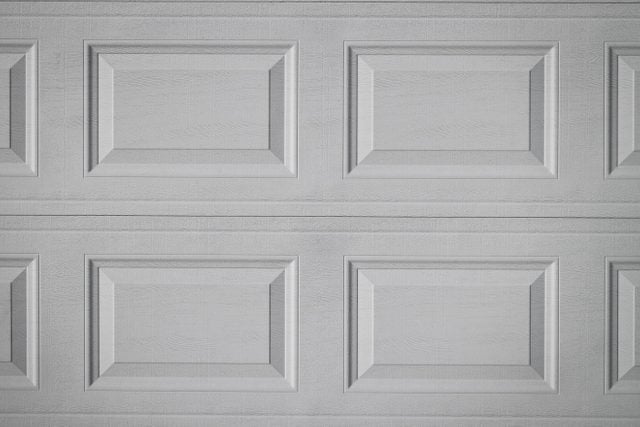
Use a stepladder to begin painting the door from the top. As a standard garage door lifts, it breaks into horizontal sections. Oftentimes, each of these sections is made up of a row of decorative panels.
For wood doors: Begin with any visual framing elements, then paint out the dimensional edges and corners around the framing using a four-inch brush. Finish with the center panels. If large enough, coat the wood garage door panels with a roller, but keep an eye out for complete coverage. Rougher surfaces may require back-brushing to get the paint everywhere it needs to go. Finish with a final roll to smooth.
For metal doors (particularly with the standard multi-panel rows): A flat-edged, four-inch brush works best for this job. (Angled brushes don’t allow you to reverse the brush if the corner frays—kind of like a no flip/can’t flip mattress.) Paint the stiles around the panel first. Pay particular attention to smoothing out any drips, and don’t allow paint to run under the section onto the edges that come together when the door closes. Keep those clean.
Next, work toward the center of each decorative panel, painting around the edges of the stiles first. Check the lower corners of these edges for pooling paint. These have the potential to run. Now, coat the center of the panel.
Once coated, finish with three horizontal four-inch strokes to cover the 12-inch panel—one running right across the top, another running left across the middle, then the final going right across the bottom.
Methodically finishing each panel this way leaves a pristine, smooth finish that is uniform across the door.
Pro Tip: Don’t Paint Between Sections
It may be tempting to paint the edges between the sections. However, our experts recommend leaving them alone. Visible only while the door is opening and closing, they don’t get exposed to the elements in either the open or closed position. If you are worried about paint running between the sections, apply a layer of tape to the bottom side of each section—just make sure to apply it far enough back so that the unpainted area cannot be seen with the door closed.
If someone has painted the section edges in the past and you can’t stand seeing the old color, they can be painted—but use caution. Prop the door to expose one set of edges at a time, then paint and allow them to dry completely before closing. Even if the paint is dry to the touch when you close the door, the paint is still curing. It may stick together and pull away from the door in places if closed too soon. This is a time-consuming task and requires patience (and leaving your garage door in some stage of open for several days).
Paint Down to the Bottom
After completing the top section, you can set the stepladder aside. Lift the door until the second section of the door is at a comfortable painting height. If the door does not stay in position on its own, find something sturdy, such as a length of 2×4, to prop it in place.
Paint this section in the same way as you did the first section. With the door in this position, you may not have room to get the brush into the edges under the weatherstripping. If that’s the case, just pull it back with your fingers while you paint.
Let It Dry
When the door is painted, leave it fully open and to dry. After a few hours, it should be dry enough to close.
We recommend applying a second coat to garage doors. Even if the paint manufacturer claims it covers in one coat, garage doors take a lot of abuse. A second coat ensures a long-lasting finish.
Originally Published: November 22, 2019