
How to Make Solar-Powered House Numbers

Updated: Jun. 01, 2023
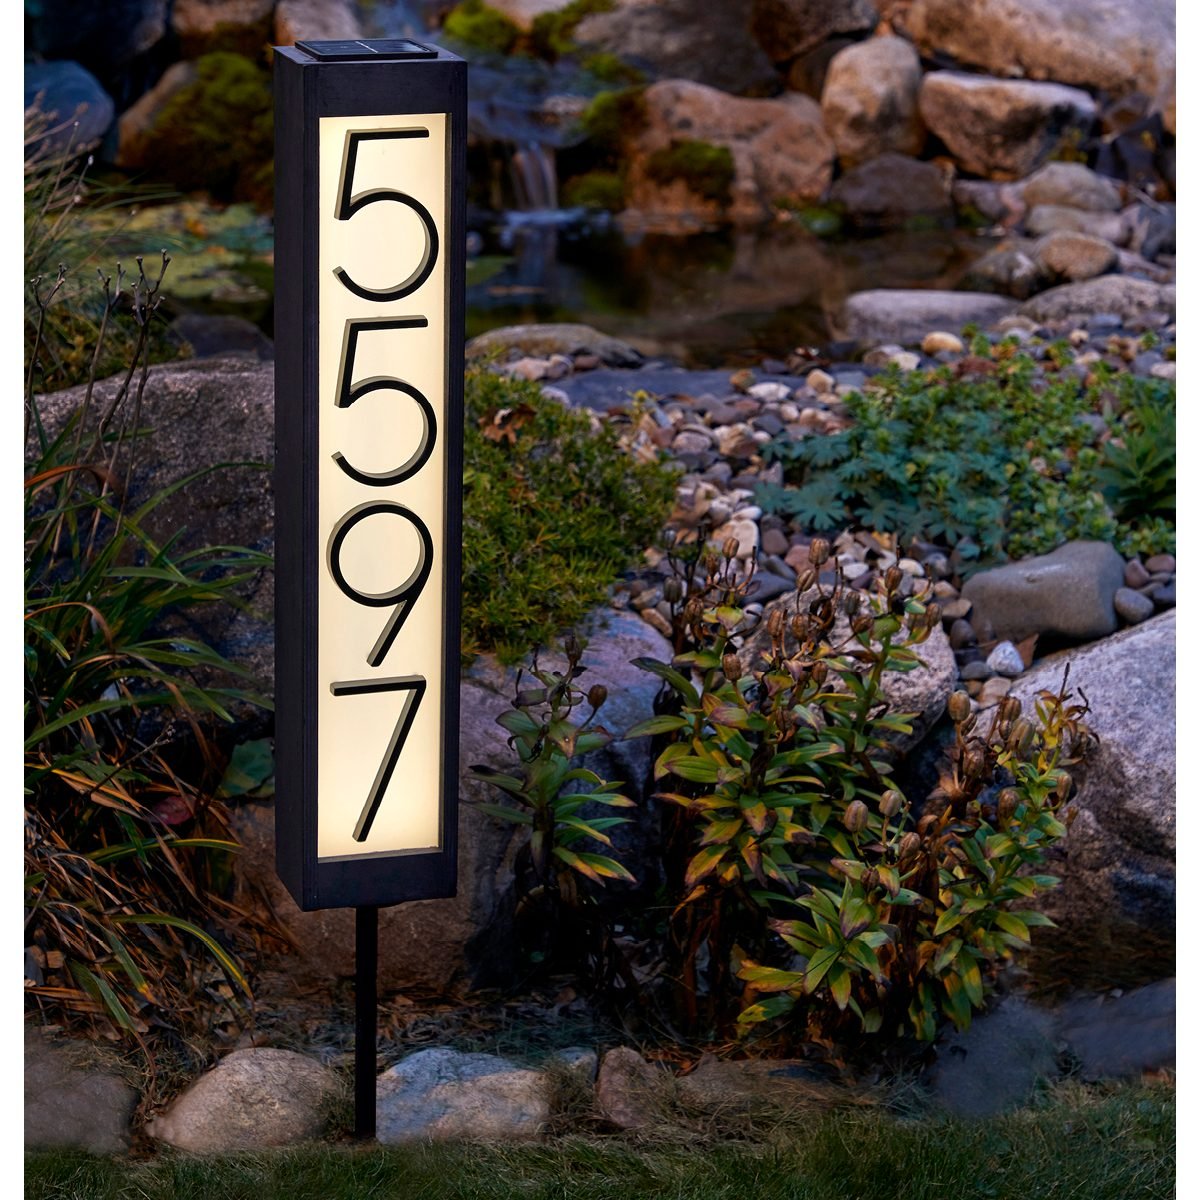
Your dinner guests will never miss your house again once you install these solar-powered house numbers.
A half day
Intermediate
$20-50
Introduction
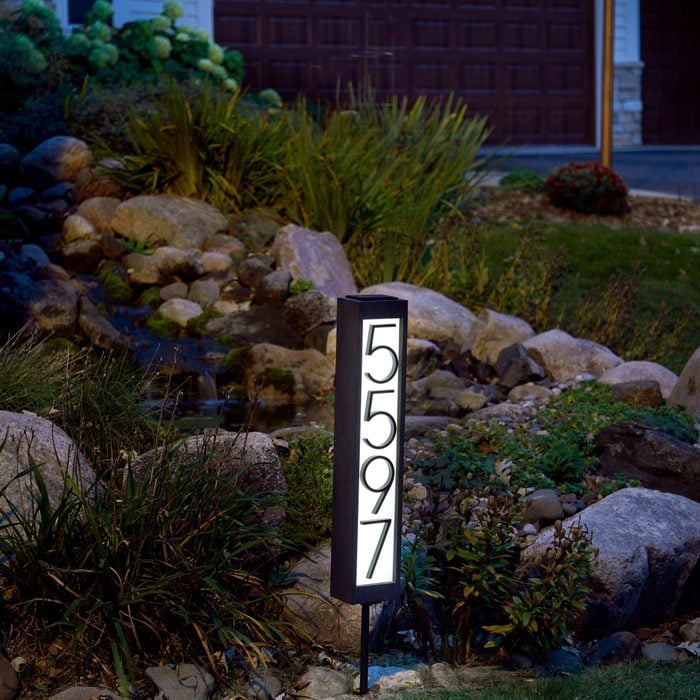
Illuminate your house numbers with this solar-powered LED light box. Apart from making your home more sustainable and saving you money on your power bill, the use of solar power to light your address sign eliminates the need to run any underground electrical wiring to the installation site.In an afternoon, you can easily complete this simple and inexpensive project with only a few tools, improving your home's curb appeal immediately.
Tools Required
- 1/2" drill bit
- 18-Gauge Brad Nail Gun
- Drill/driver
- Hearing and eye protection
- Measuring tape
- Miter saw
- Table saw
Materials Required
- 1-1/4-in. 18-gauge brad nails
- 1-1/4-in. wood screws
- 1/2" Galvanized pipe flange
- 1/2"x12" Galvanized pipe
- 12"x36"x1/2" Baltic birch plywood
- 3/4" 18-gauge brad nails
- Acrylic latex exterior paint
- Plastic wood filler
- Solar LED light strip
- Waterproof wood glue
- 1/8" acrylic sheet 12"x24"
Project step-by-step (13)
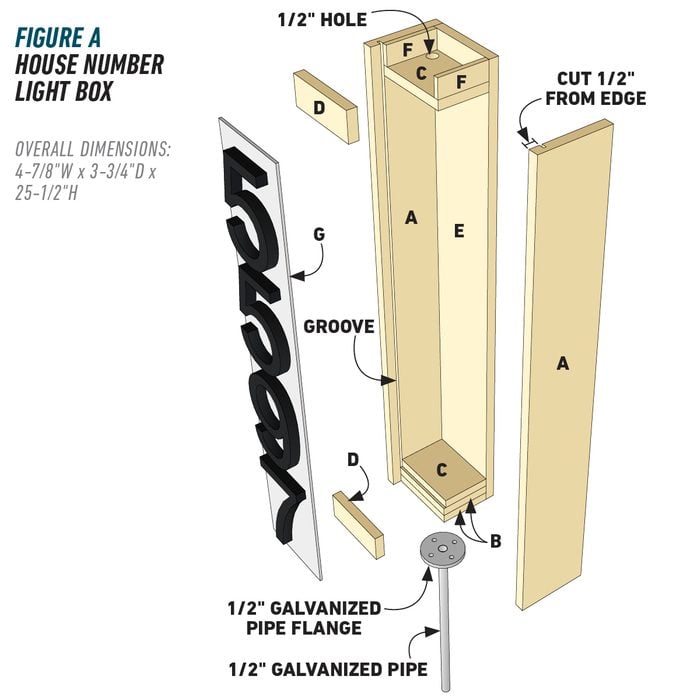
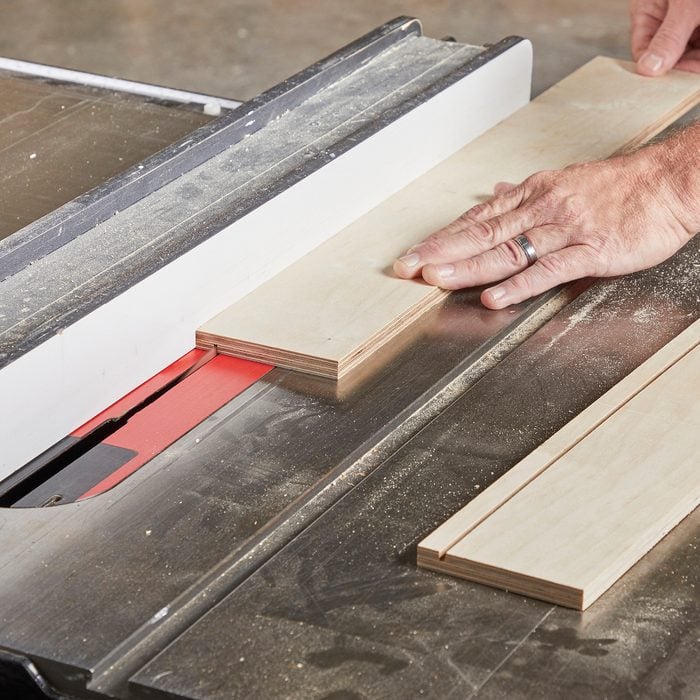
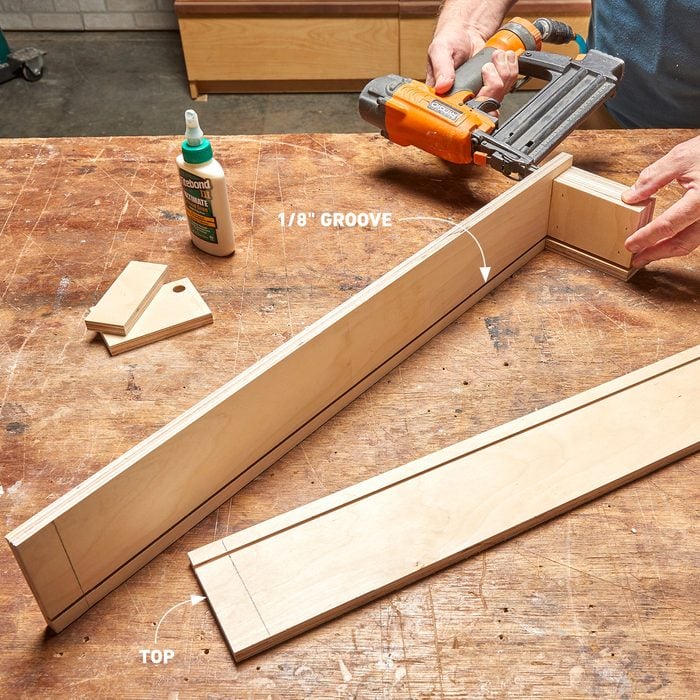
Cut Sides and Back
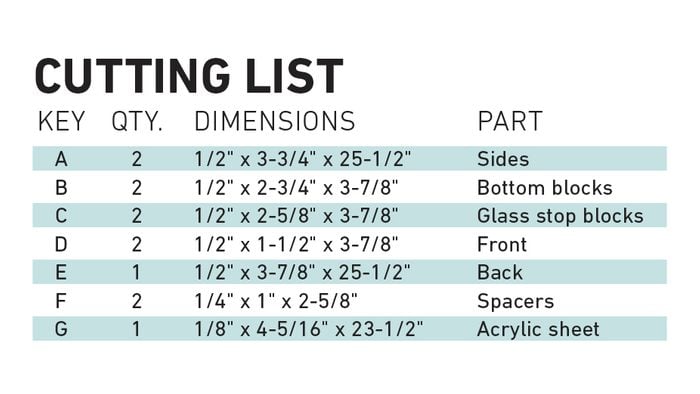
- Cut two sides at 3-3/4- x 25-1/2-inches.
- Cut one back at 3-7/8- x 25-1/2-inches.
- Make a 1/8-inch wide x 1/4-inch deep groove 1/2-inch from the edge on both sides. (See photo.)
Cut Blocks and Fronts
- Cut two bottom blocks at 2-3/4- x 3-7/8-inches.
- Cut two glass stop blocks at 2-5/8- x 3-7/8-inches.
- Cut two fronts at 1-1/2- x 3-7/8-inches.
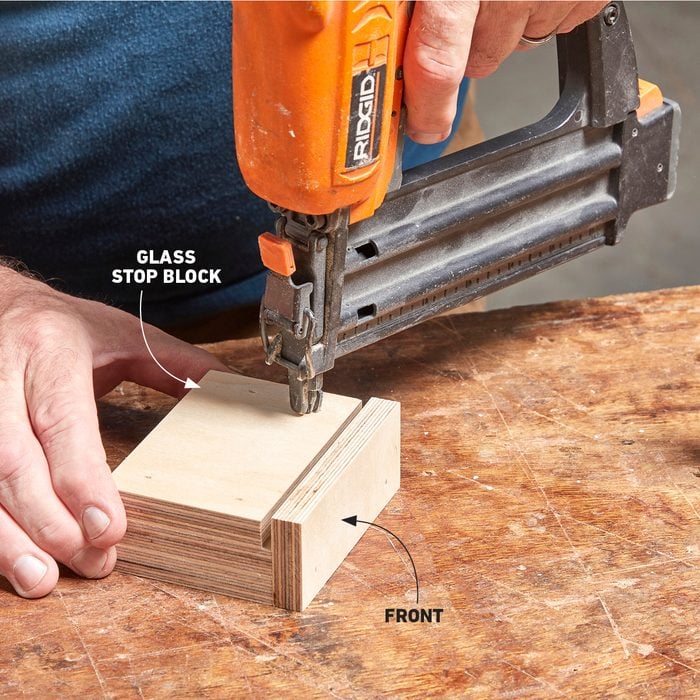
Assemble Bottom Blocks
- Secure the two bottom blocks together using wood glue and 3/4-inch nails, keeping them flush on four sides.
- Next, attach one of two glass stop blocks to the bottom blocks, keeping it flush on three sides using wood glue and 3/4-inch nails.
- Attach a front to the bottom blocks leaving a 1/8-inch the gap between the front and the glass stop. (See photo.)
Attach the Sides
- Draw a line on the inside of both of the sides, one inch from the top.
- Apply wood glue to the left side of the bottom block assembly and position it with the front-facing down.
- Attach the left side to the bottom block assembly using wood glue and 1-1/4-inch nails. Be sure the left side is flush at the front and bottom of the bottom blocks, and the 1/8-inch slots on each piece align.
- Attach the right side in the same manner.
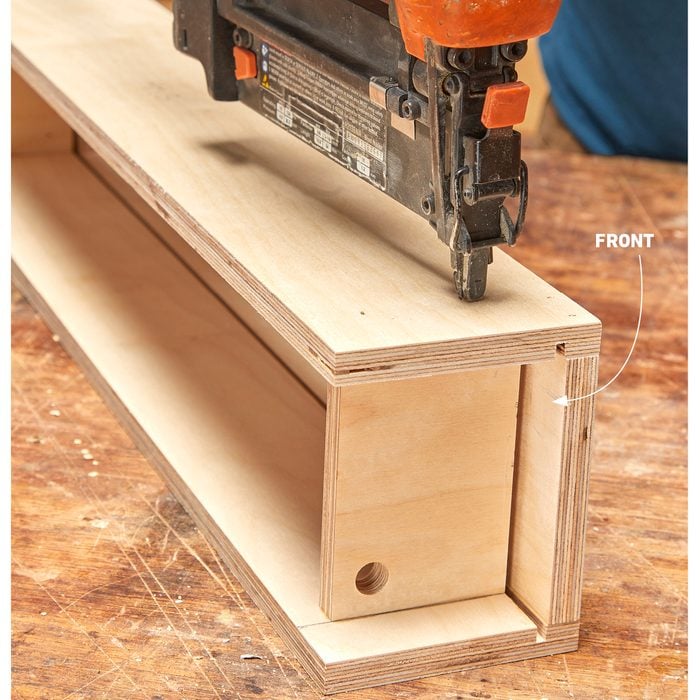
Attach Glass Stop
- Attach the second glass stop block to each of the sides, just below the one-inch line, and behind the 1/8-inch slot using wood glue and 1-1/4-inch nails.
- Attach a front to both sides leaving a 1/8-inch gap between the inside of the front and the glass stop block. The front should be flush with the front edge of both sides. (See photo.)
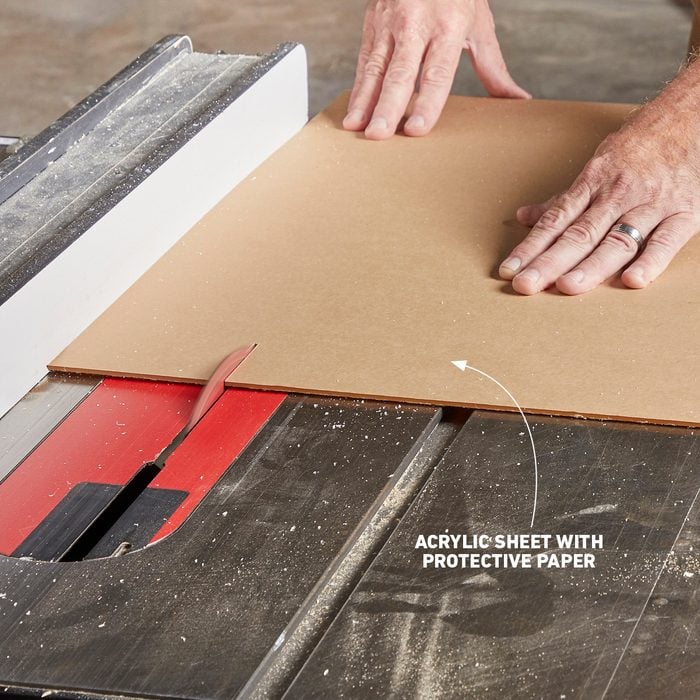
Cut Acrylic Sheet
- Cut a piece of 1/8-in. acrylic sheet at 4-5/16- x 23-1/2-inches.
- Slide the acrylic sheet into the 1/8-inch slot at the top of the box. The sheet should slide all the way to the bottom blocks.
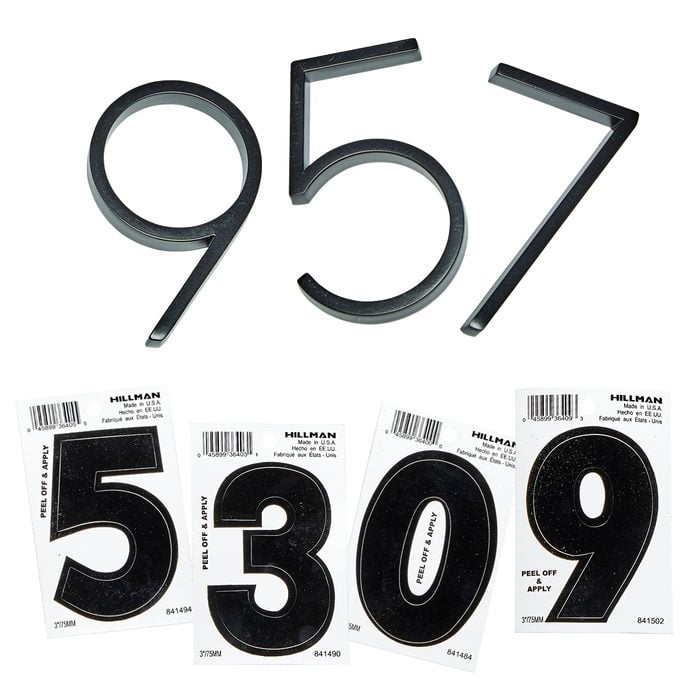
Numbers
- You can choose to affix peel and stick decals or flush mount numbers to the acrylic sheet. You can also paint numbers freehand on the acrylic sheet, or spray paint using stencils.
- For flush mount numbers, position the numbers in the center of the acrylic sheet so there are equal gaps between each number and from each side. (Some numbers come with templates.)
- Mark all the holes for the numbers and drill 3/16-inch holes at each mark.
- Slide the acrylic sheet out of the box and set it off to the side.
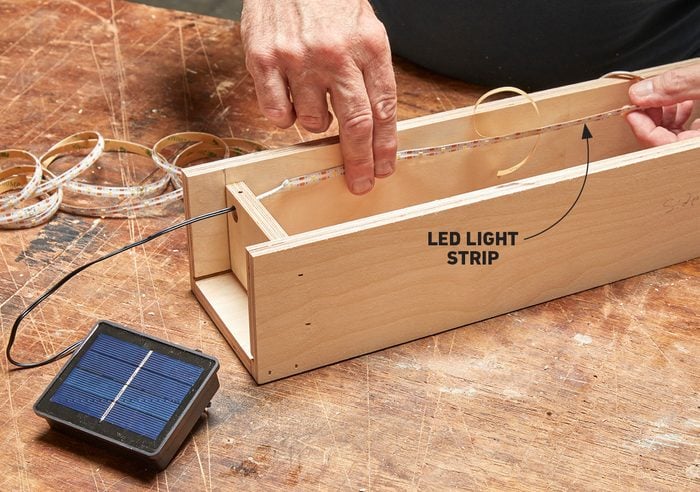
Install LED Light Strips
- Drill a 1/2-inch hole in the upper glass stop block.
- Feed the solar LED strip lights into the 1/2-inch hole until all the lights and the lead wire from the solar panel are on the inside of the box.
- Peel back a few inches of the protective tape from the back of the LED strip. Stick the strips of LED lights to the inside of the box starting at the top, working your way around to one side, then the bottom, and finally up the other side. Peel the protective tape as you go.
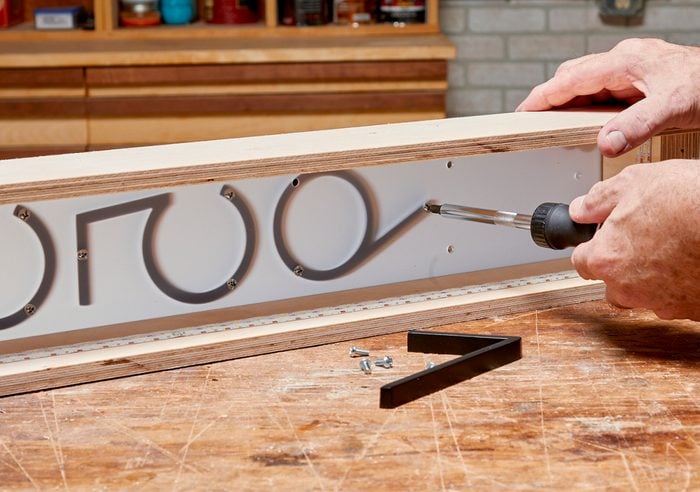
Install the Numbers
- Peel the protective paper from both sides of the acrylic sheet and slide the acrylic sheet into the box.
- Proceed to attach your numbers to the acrylic sheet. (If you are attaching raised numbers with screws, do not over tighten the screws — you may crack the acrylic sheet.)
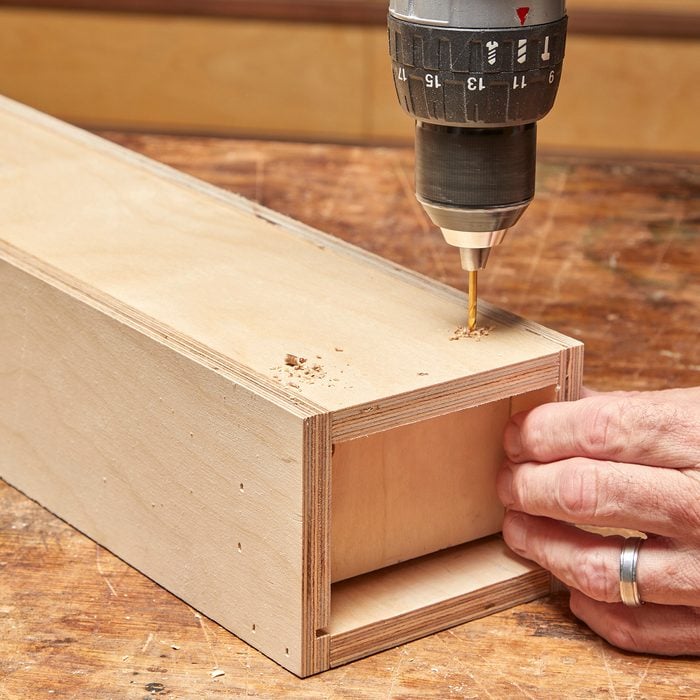
Install the Back
-
Position the box so the front is facing down on the table. Slide the back between the two sides, keeping it flush with the top and bottom of the sides. (If the back is too tight, trim a little bit off one side.)
-
Drill two 3/16-inch holes through the back into the bottom blocks. Drill two more 3/16-inch holes through the back into the glass stop block 1-1/4-inch in from the edge of both sides. Drill two 3/16-inch holes through the middle of each side into the back, 1/4-inch from the back edge.
-
Secure the back to the box by driving 1-1/4-inch screws into your six pre-drilled holes.
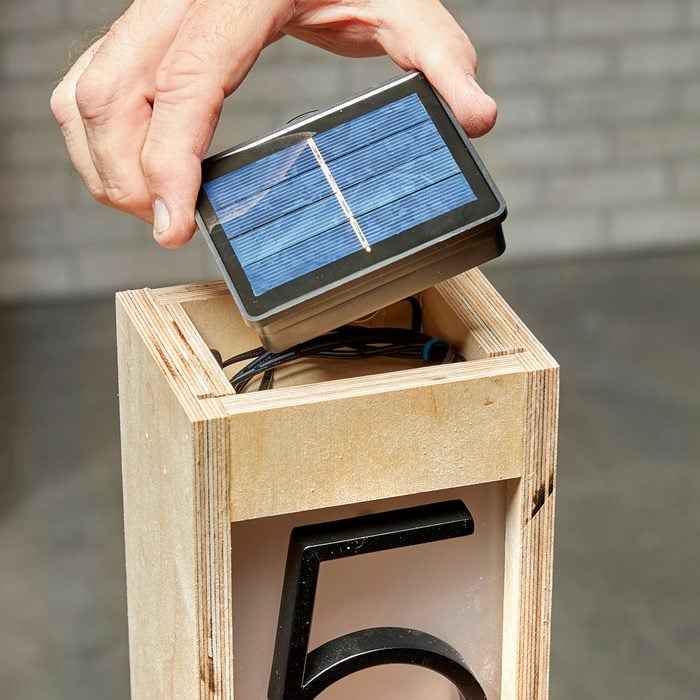
Fit the Solar Panel
- Since each solar panel is a little different, you may have to custom fit yours into the box. You could add spacers to the inside of the solar panel compartment or perhaps notch out the back, depending on the size of your solar panel.
- If you use these solar LED strip lights, cut two 1/4-inch spacers at 1-inch x 2-5/8 inches. Be sure the solar panel fits snug before gluing the two spacers to each of the sides in the solar panel compartment.
- Loop any excess wire and store it under the solar panel. (Zip ties come in handy for wire management.)
- Be sure to press the ON button before fitting the solar panel into the box.
Finishing Touches
-
Finish off the box by filling all the holes with plastic wood filler. Sand all the surfaces with 150-grit sandpaper. Seal the box with spar urethane or paint it to match your exterior trim’s paint.
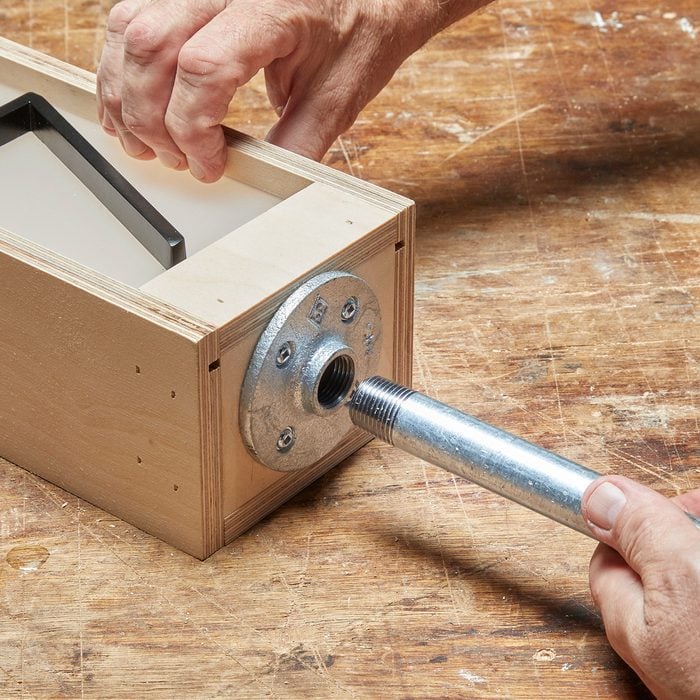
-
Center the pipe flange on the bottom blocks and attach it with four 1-1/4-inch screws. Thread the pipe into the flange and tighten.
Box Placement
- Place your new solar-powered house number box in an area of your front yard landscaping where it can get at least four hours of direct sunlight.
Originally Published: April 05, 2021